


Door To Hall Tree / Hall Shelf

10 Materials
$15
1 Day
Easy
A lunch date shopping trip turns to a family project! That day we went to a local vintage shop to have lunch and shop. I go to local shops often to see what's new. When my daughter saw this door in a friend of mines booth she had to have it. He sells stuff so cheap it was only $10. She wanted to make something, college kid with no money. I thought this would be fun. We had taken a good friend with us on this trip and she said I'll buy it for her. I told her I can get it ,but she insisted. She wanted to see what she can come up with. The challenge began, when we got home She looked at some pictures and came up with a door shelf / hall tree. I went to my stash of things. I buy items when I see them inexpensive. I had a couple ball feet I had pulled off a couch that someone was throwing out, and 2 table legs not sure where I had gotten them, but knew I could use them that day. I had a pallet box lid that her boyfriend had brought me home from work. I though that should work perfect. See below what our family project turns out like.
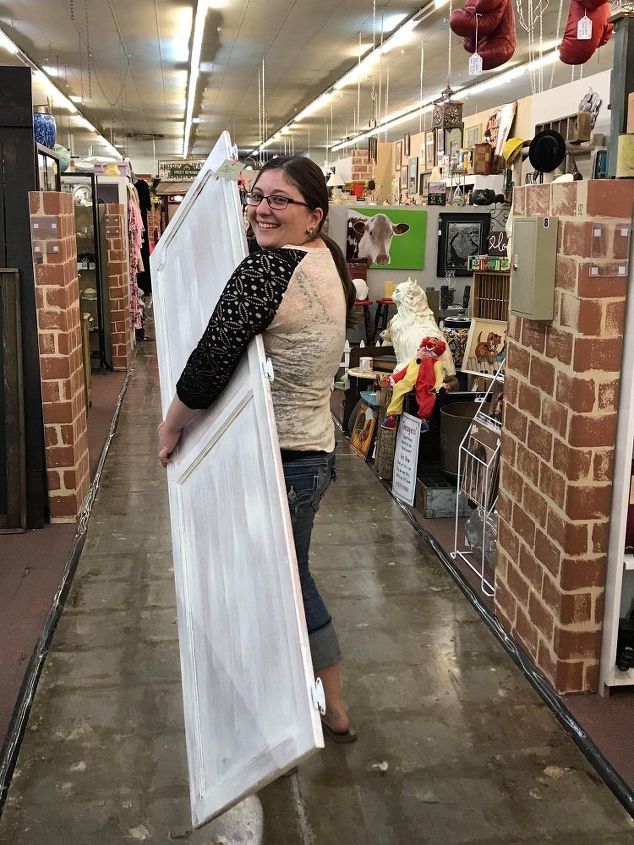
My daughter caring the door at the vintage market here in Chandler Arizona. Let the fun begin.
What you'll need:
Door
Screws & screwdriver
2 feet
2 legs
wood
paint
saw
stain
Chalkboard paint
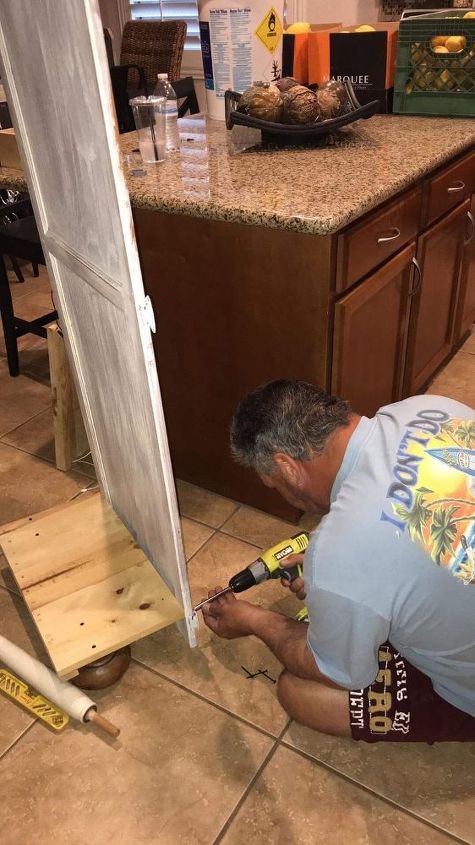
We started by cutting the pallet box lid in the size we needed 20"x12" I didn't want it to be to big as the door was pretty light. The door size was 21"x 66". I then set the feet under the cut shelf we had just cut. We then used screws to screw two through the shelf into the feet. I then had my boyfriend attach the door with some screws at the desired height going from the back into the wood shelf.
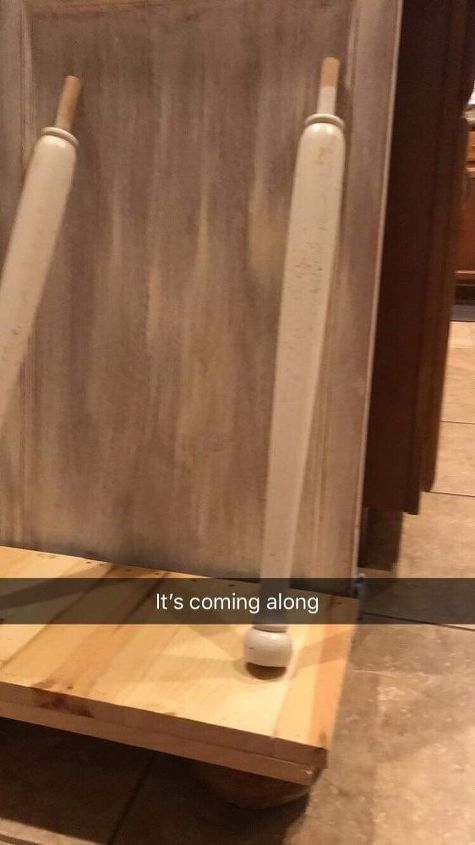
At this point it would stand up alone. Now we needed to figure out how tall the legs where and how to attach them to make the top shelf. We just repeated what we did on the bottom one, but this time we used a pilot hole to drill the legs as they where much smaller. Using the pilot hole helped to prevent the wooden legs from cracking when the screw got drilled in. Normally the leg would go in a whole but I couldn't do that as I needed the height or the shelf would be to short so we put them upside down because we all thought it looked better.
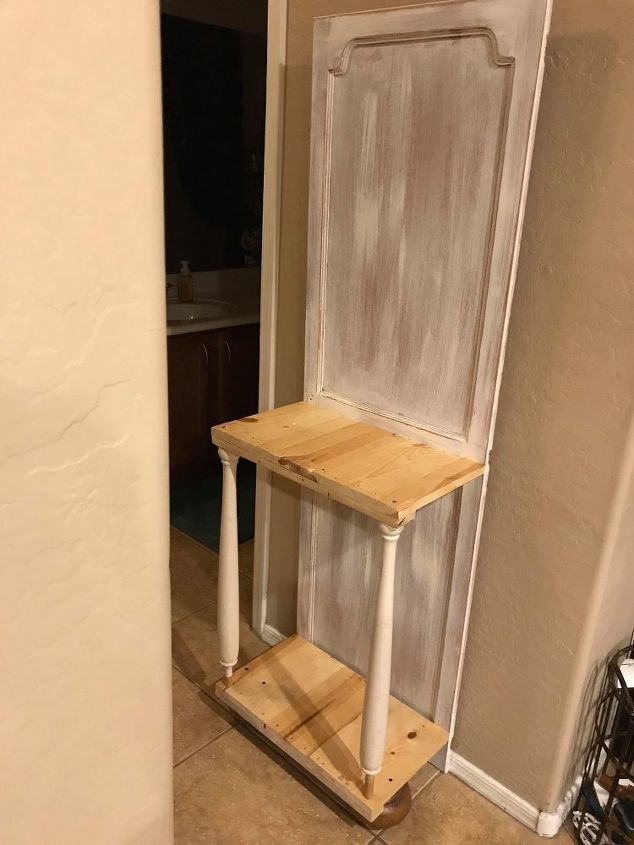
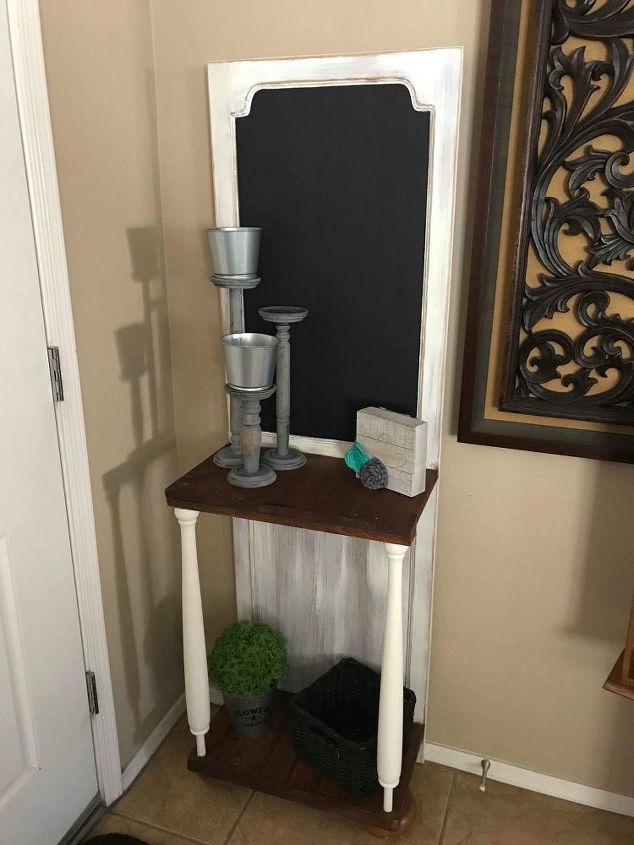
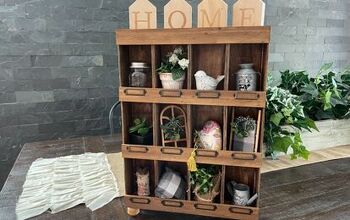
So I have it all assembled. 2 ball feet, 2 long table legs used upside down and the pallet lid cut and the door that was attached from the back. It stood nice and set against the wall perfectly. Now how to paint it. As you can see when we bought it, it was already white dry brushed. I told my daughter less work so lets just leave it, even though my daughter wanted teal. Instead my daughter thought lets paint the top portion with chalkboard paint. I thought it was a good idea so we painted where it recessed in the door. I outlined it as I have a steady hand and I had her fill it in. I find with chalkboard paint it takes 2 to 3 coats. It sure did take 3 coats the door just absorbed the paint, and for chalkboard paint you really want it to be solid. I then had her stain the wood we used special walnut and stained the 2 wood shelves. I then stepped back in and pained the white on legs as well as some touch ups.
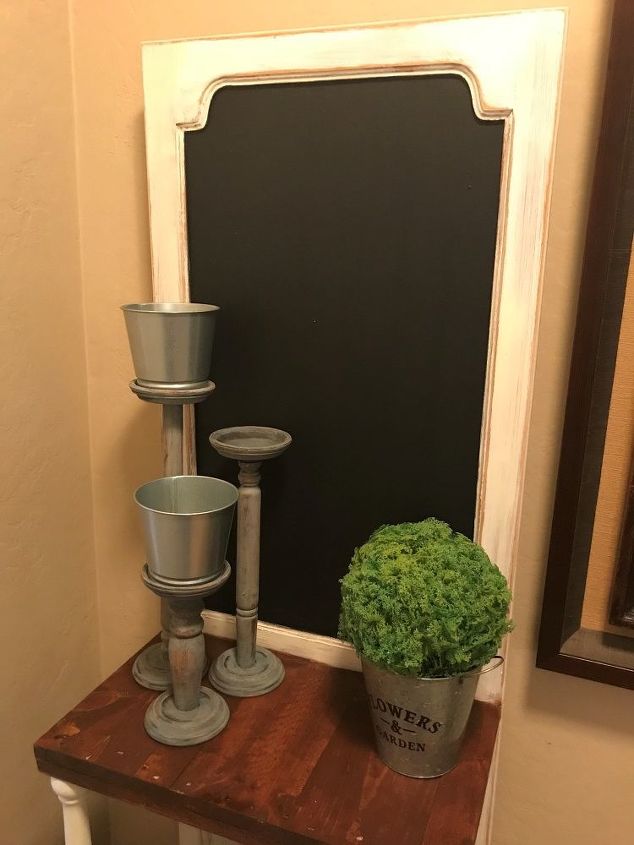
The chalkboard painted in the recessed area now someone could leave messages if they want to or Welcome which is what my daughter thinks someone will do with it.
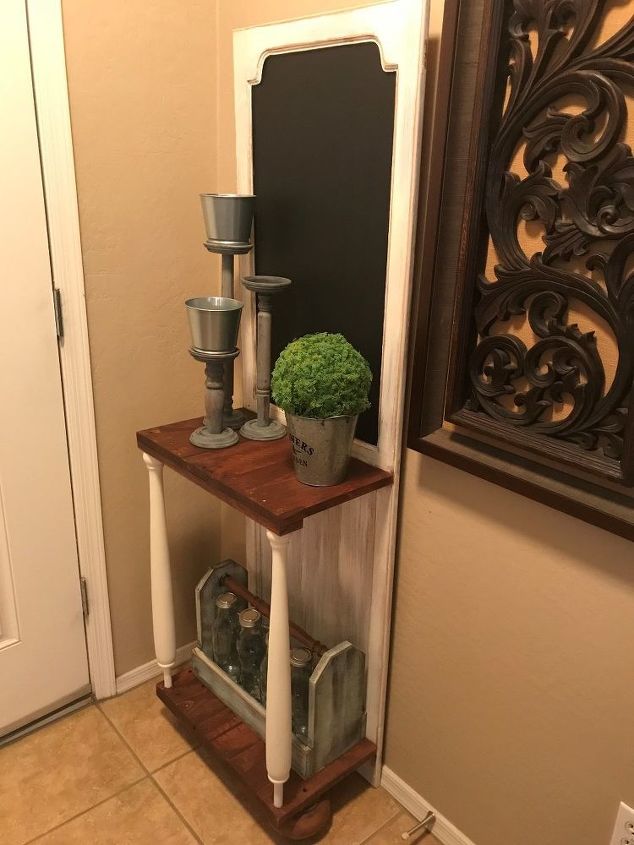
This the side view of the hall tree it worked out perfect. Choosing to do it narrow worked out to be perfect because it fits perfectly behind the front door. I could have added hooks to the sides to hang coats but we live in Arizona, and it doesn't get cold enough here for jackets so we decided to leave it as a decorative shelf.
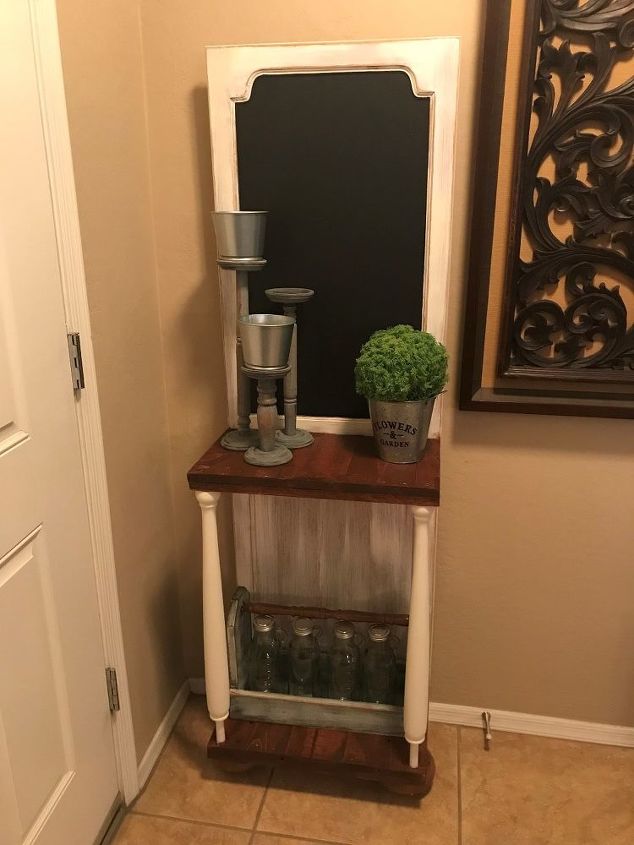
this hall tree turned out so cute it was just made up as we went along sometimes those are the best kind of project because sometimes having something planned leads to overthinking which can lead to disaster, especially with a family project! We hope we inspired you to do a project that your whole family can enjoy and add their on touches on.
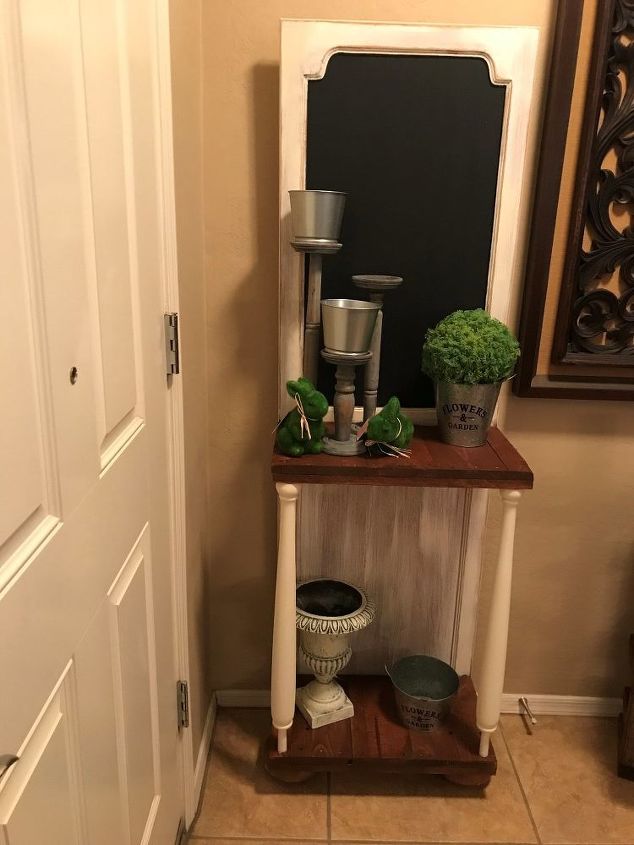
Its up for sale at Gilbert Marketplace college kid trying to make a few bucks. Even though mom loves it. I think it would also make a cute potting shelf for the patio or in someones garden. What do you think?


Any price and availability information displayed on [relevant Amazon Site(s), as applicable] at the time of purchase will apply to the purchase of this product.
Hometalk may collect a small share of sales from the links on this page.More info
Comments
Join the conversation
3 of 6 comments
-
Thank you
-
Terrific idea & Great job! Thank you for sharing!


Frequently asked questions
Have a question about this project?
Love this have wanted one for years but to expensive, I need the coat hooks and a bench on the bottom that opens. How do I follow you?