


Easy DIY Embroidery Art on Canvas
It’s so easy to create DIY embroidery art on a canvas frame from the dollar store. I’ve always loved redwork embroidery, and this project was an easy way to create a piece of redwork embroidery art.
To see more craft and DIY projects check our my blog Color Me Thrifty here.
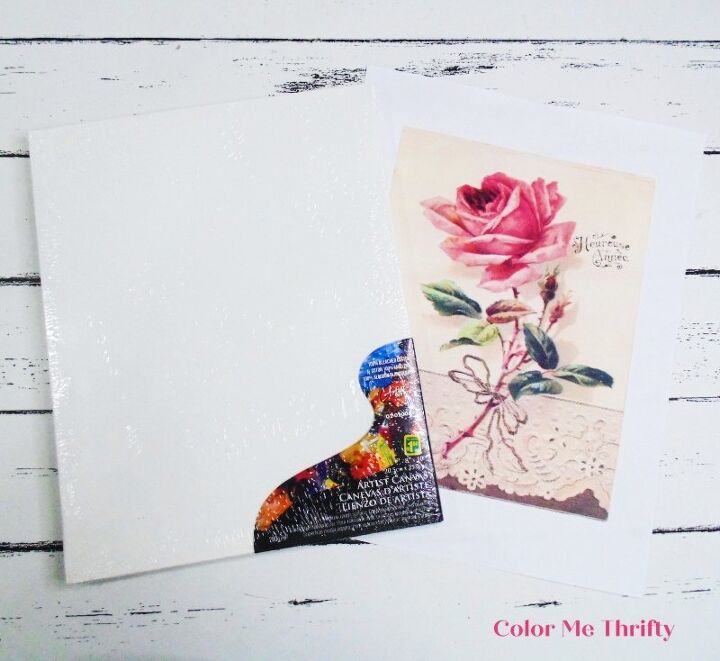
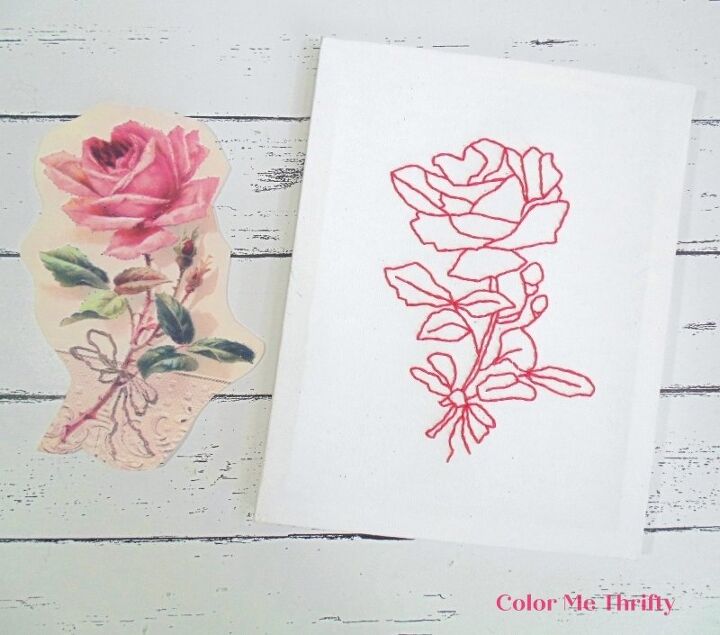
I started with this 8″ x 10″ canvas frame that I found at the dollar store for $1.50, and I love roses so to create my embroidery canvas art I’m using this lovely from the Graphics Fairy, which I printed on regular paper. To get this graphic check out my blog post to get the link.
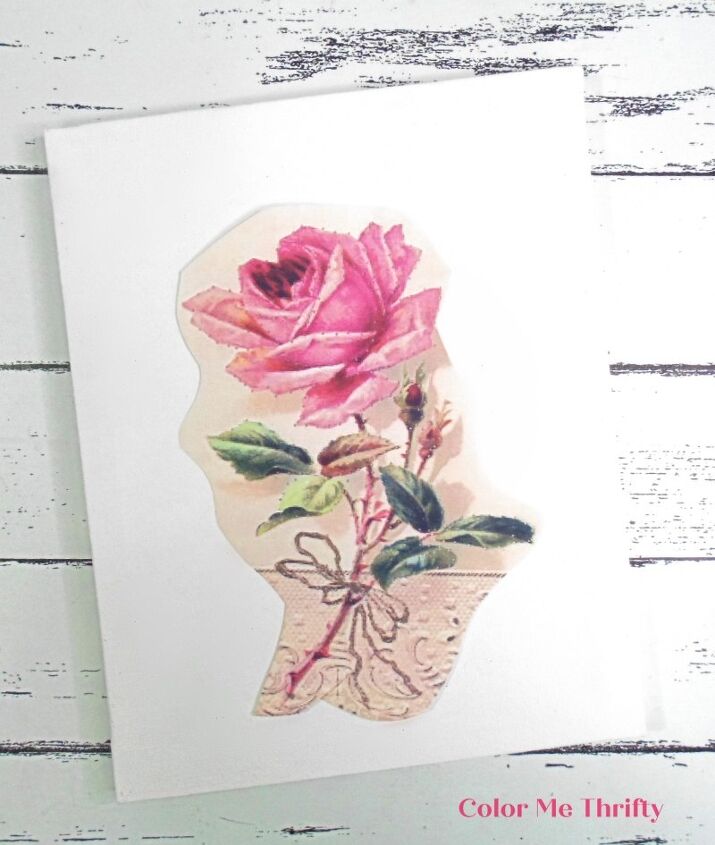
The first thing I did was trim around the graphic to make it easier to judge its placement on the canvas, attempting to have about the same amount of space all around it.
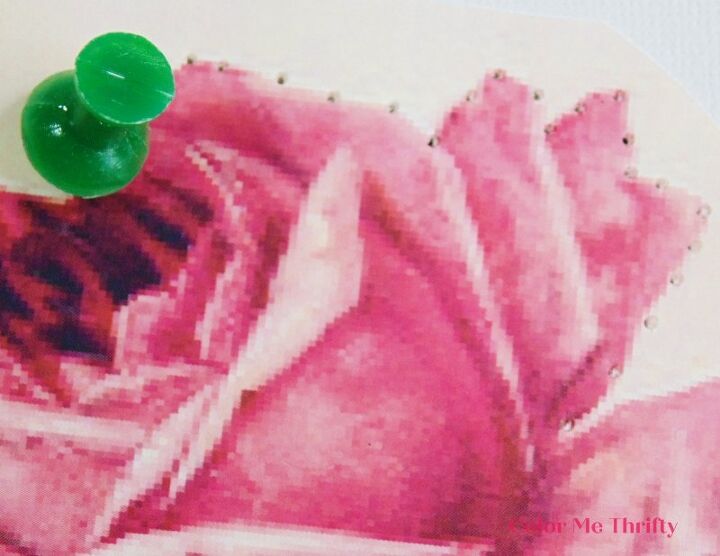
Once I had the graphic where I wanted it, I used a tack to create my embroidery pattern with small holes. I tried to space the holes apart equally, but they certainly don’t have to be perfect.
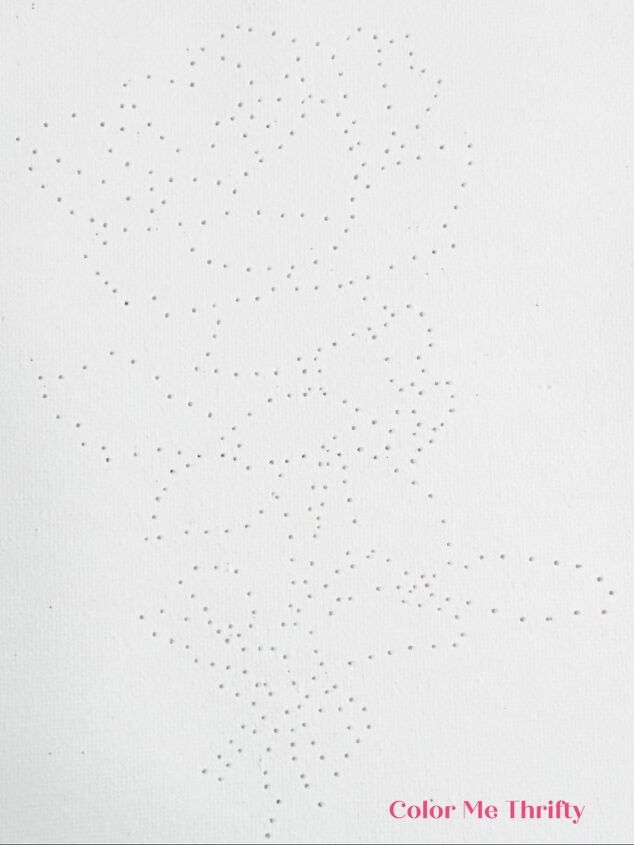
I just winged the pattern, but you could certainly draw outlines on your graphic as a guide if you like. And you can pick and choose what parts of the graphic you want to include in your pattern. I did leave out a few small things.
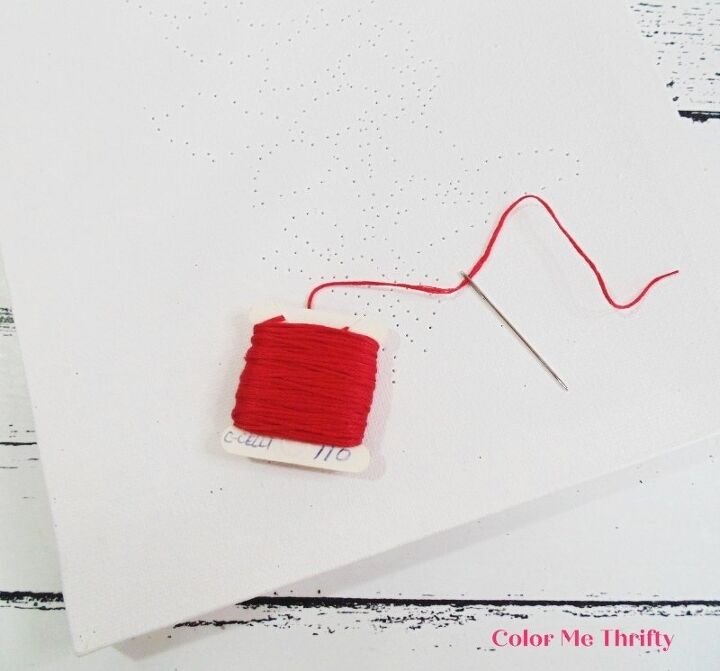
Because I’m doing redwork embroidery, I’m using red embroidery floss. But you can use whatever color you like.
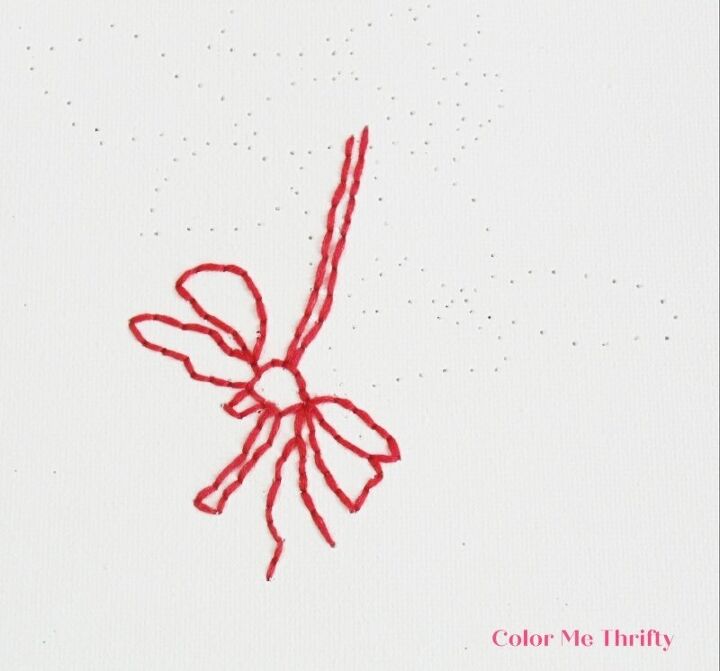
I started at the bottom with the bow.
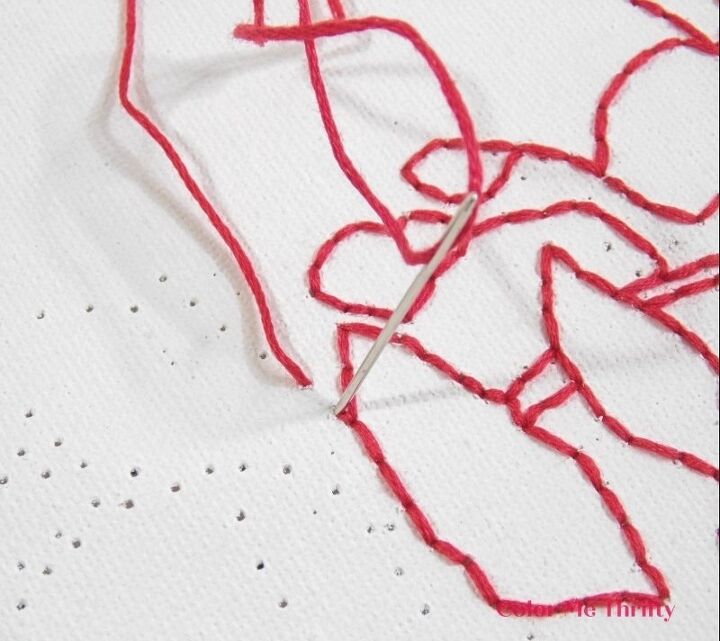
This is just an easy peasy back-stitch. Just tie off the floss at the back at the start and again at the end. It’s that simple.
I’m not sure why I went from the bottom up. I guess I was leaving the best for last.
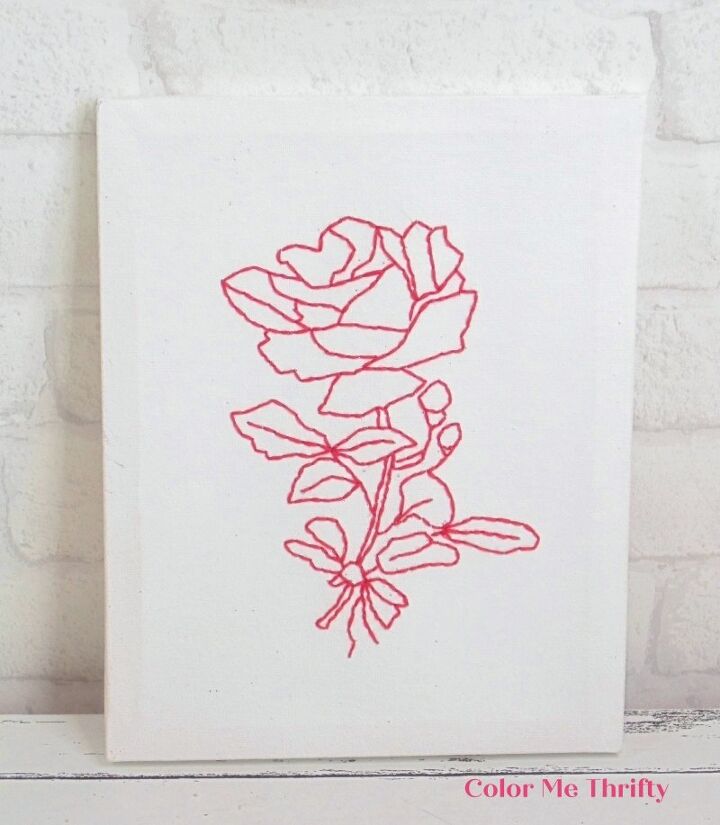
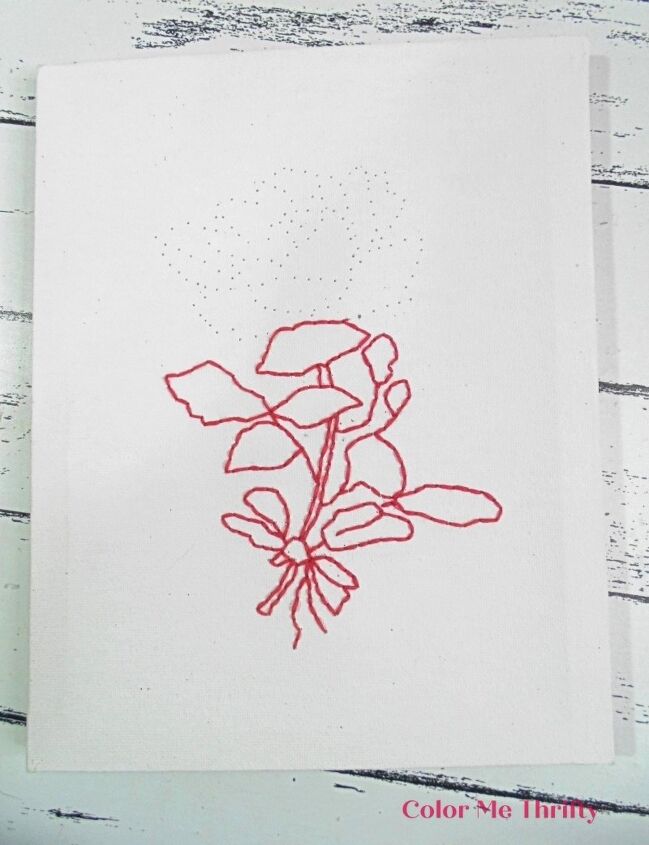
And here’s my finished redwork rose.
Some of the leaves on the right are a little wonky looking compared to the graphic, but I still love how the embroidery turned out. The canvas frame on the other hand was looking a little bit naked to me.
Supplies needed for DIY embroidery art
- 8″ x 10″ canvas frame
- embroidery floss
- needle
- tack
- scissors
- jute twine
- glue gun
- glue sticks
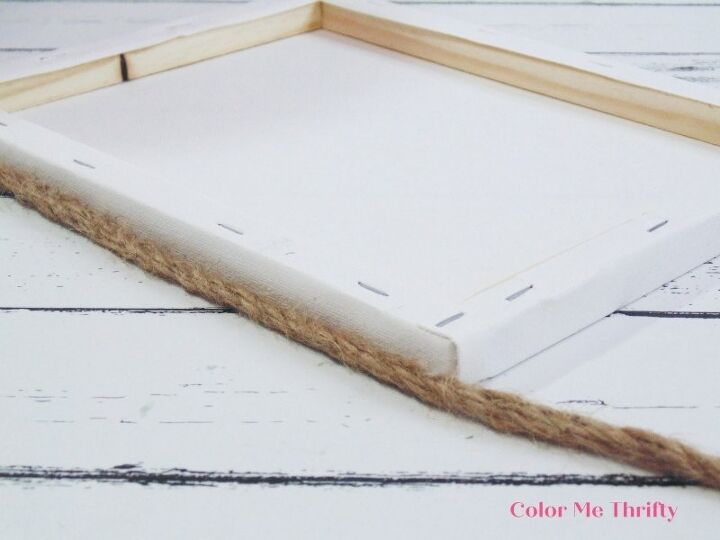
So I decided to add one of my favorite things to it…. jute twine. I turned the canvas over and did two rows around it with my glue gun.
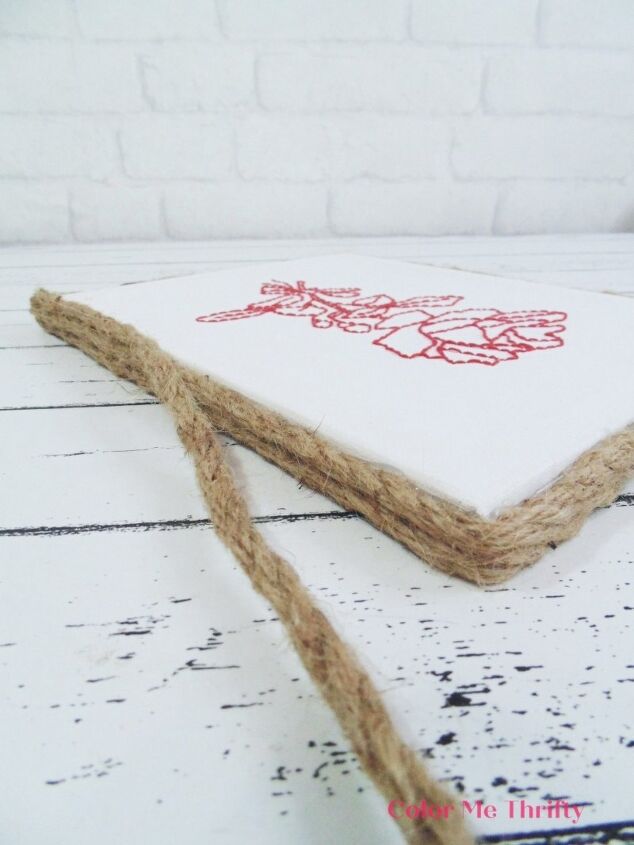
Then a did a third row around the top edge to finish it off.
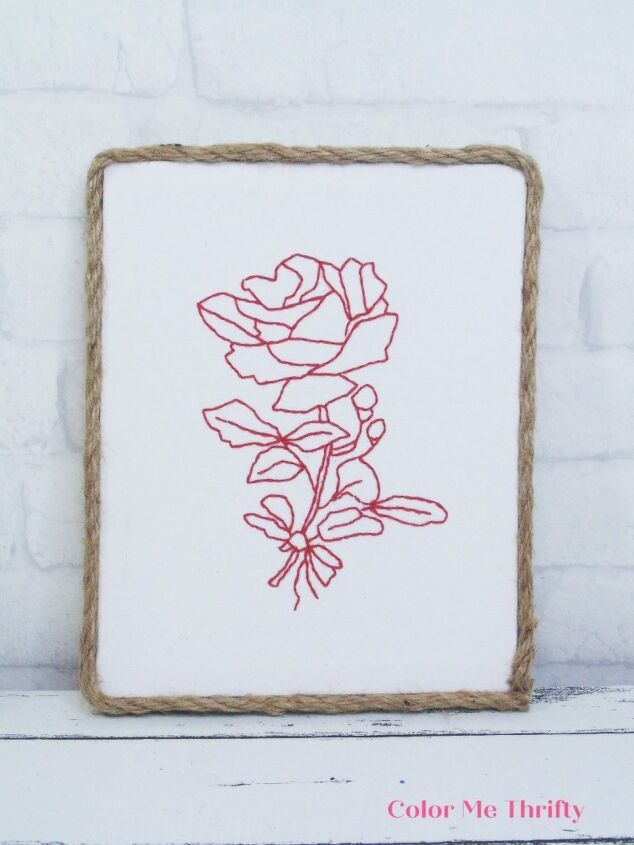
I think the jute twine makes all the difference. It adds a rustic touch, which I love, and it helps to make the embroidery pop.
You can hang it as is, or add a picture hanger to the back.
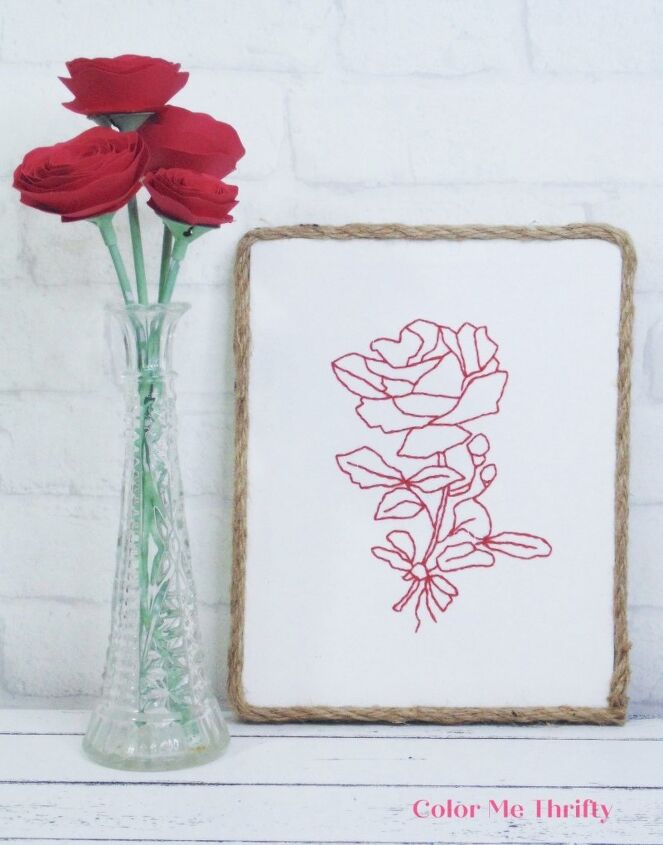
This embroidery on canvas was such a fun and easy project. I’m displaying mine with some of my DIY Rolled Paper Roses.
I did the embroidery while watching television, so I’m not sure how long it took but I have to say that I found the actual embroidering very relaxing and enjoyable.
Any graphic could be used to create a pattern on the canvas to create any kind of embroidery canvas art that fits your style and decor.
Resources for this project:
See all materials


Comments
Join the conversation
-
What a great idea! Turned out fabulous!
-
Such a great idea and would make a wonderful gift for someone special. Thanks!


Frequently asked questions
Have a question about this project?