


How to Install Shiplap With a Paint Pen or “Sharpie Shiplap”

If you follow me over on Instagram @somethingpaintedwhite, then you know we purchased a very small summer home so that we could escape the blazing heat of Phoenix. It's actually a 1991 Park Model RV with a room addition and is a total of 800 sq ft. Cozy!
We've been ripping out cabinets and putting our own stamp on this little place. I really need to get busy and write some blog posts about all the projects we've been doing there. I'll work on that. 
As you'll see in the below photo, the cabinets are very outdated (along with everything else).
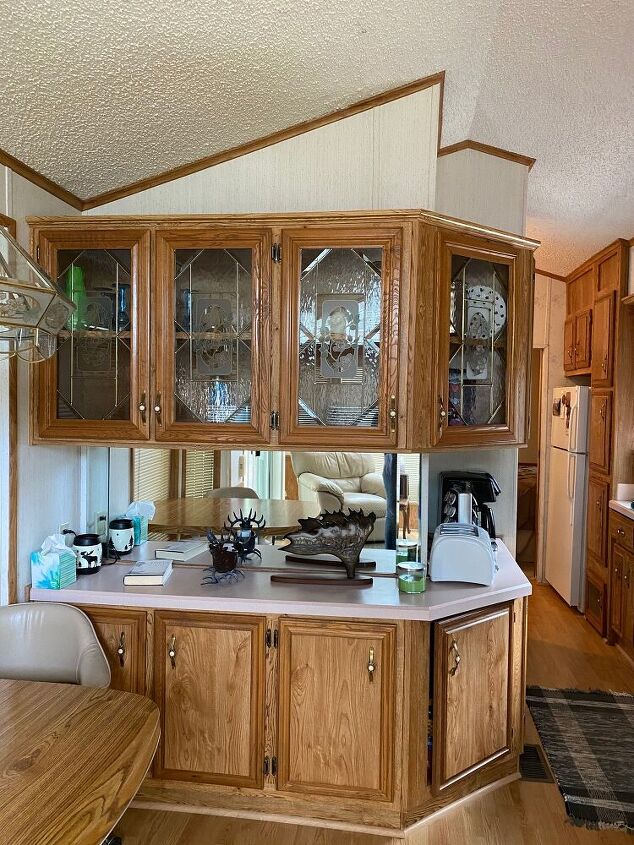
Believe it or not, this is the before of the wall I'm ship lapping!
I had a vision for this place the first time we saw it and it's so fun to see it come to life!
We recently removed the upper cabinets on this wall and I installed shiplap on it! Sort of! I used a paint pen!
Even more recently we decided to remove the lower cabinets along with the icky pink countertops (why pink!!!, I mean I just don't know how that was even a good idea in 1991) which meant “installing” more shiplap!
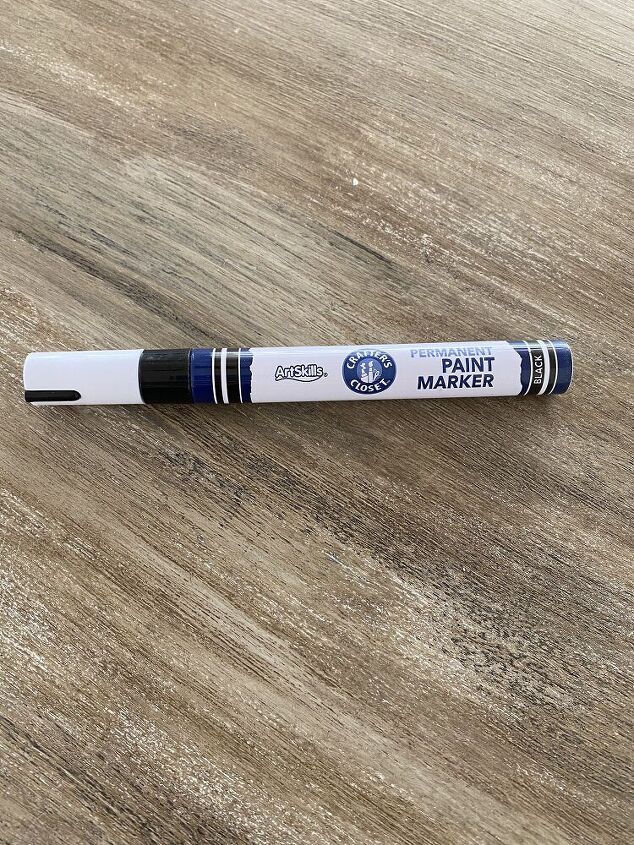
This technique is known on Pinterest and Instagram as Sharpie Shiplap, but I decided not to spend the $10 on a Sharpie paint pen, instead, I got a paint pen from the dollar store for $1.79. Worked like a dream. But Dollar Store Paint Pen Shiplap just doesn’t have quite the same ring to it so we'll just call it Sharpie Shiplap!
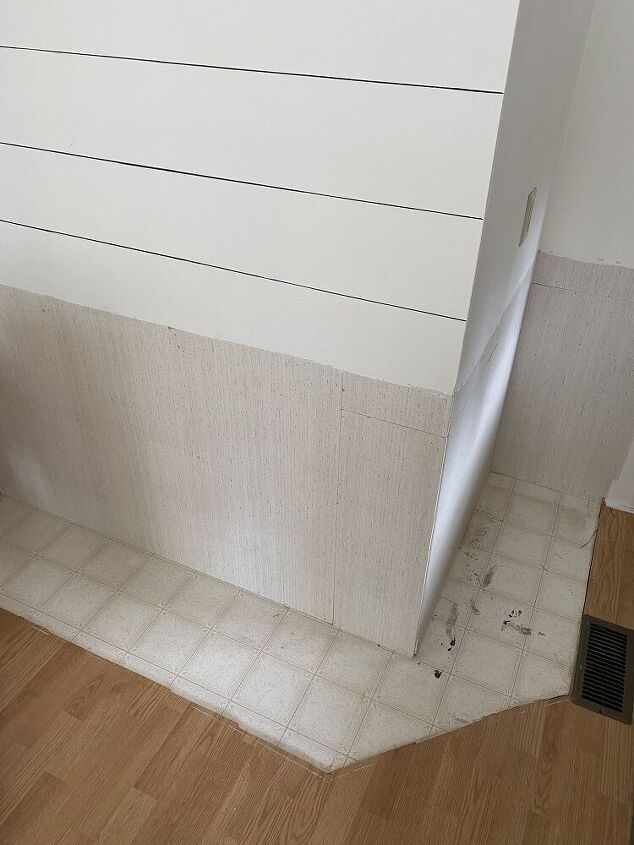
With the cabinets removed I now had to paint the lower part of the wall and “install” more shiplap down to the floor. Since I didn’t take pics of the upper part of the wall when I did this process, I decided to show you how this is done on this lower half of the wall.
Once the cabinets are removed this is what I’m left with. The walls in these park model RV’s are typically drywall with wallpaper on them from the factory and it is not fun to paint. Sanding and priming are the norm for prepping these walls for paint. I first did just a light sanding and then had to fill in some cracks and holes. Oh...and I skipped the priming...I'm a rebel like that!!!
Also, there's really old linoleum under them! UGH!
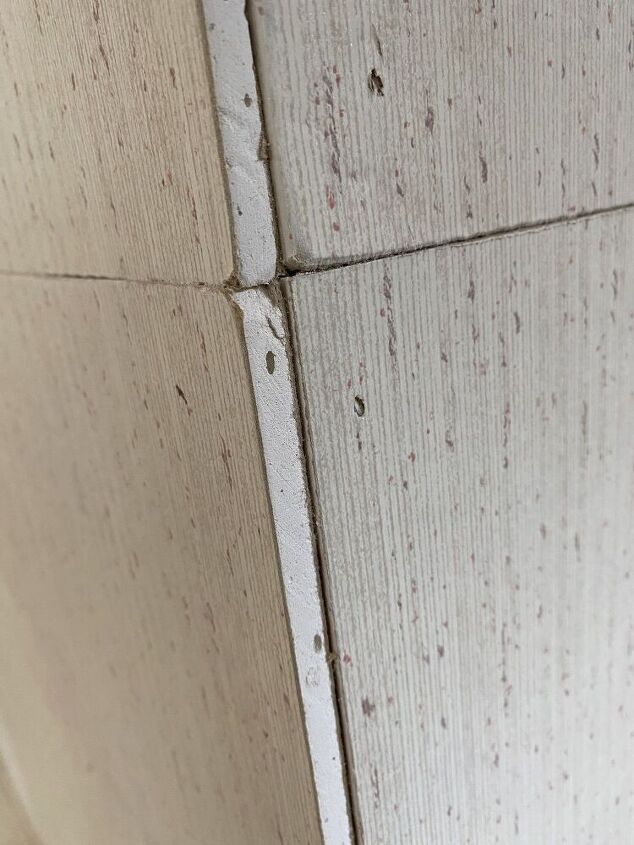
This is the corner where the shiplap wall meets the other wall which is right in the kitchen for all to see. The cracks near the top of the photo are where the upper and lower pieces of drywall come together. (It's a 1991 Park Model RV, taping and texturing did not exist in these tiny homes!) There were trim pieces covering these cracks but I removed them and now had to deal with the cracks.
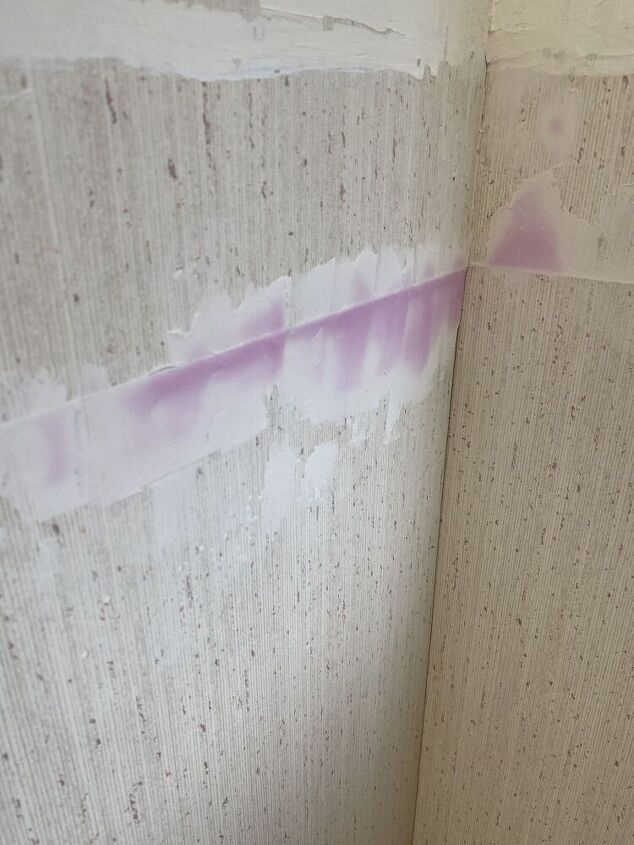
I used spackle and filled in the gaps between the drywall pieces. It won’t be perfect but it will be better. And most of this wall will be behind my coffee bar anyway.
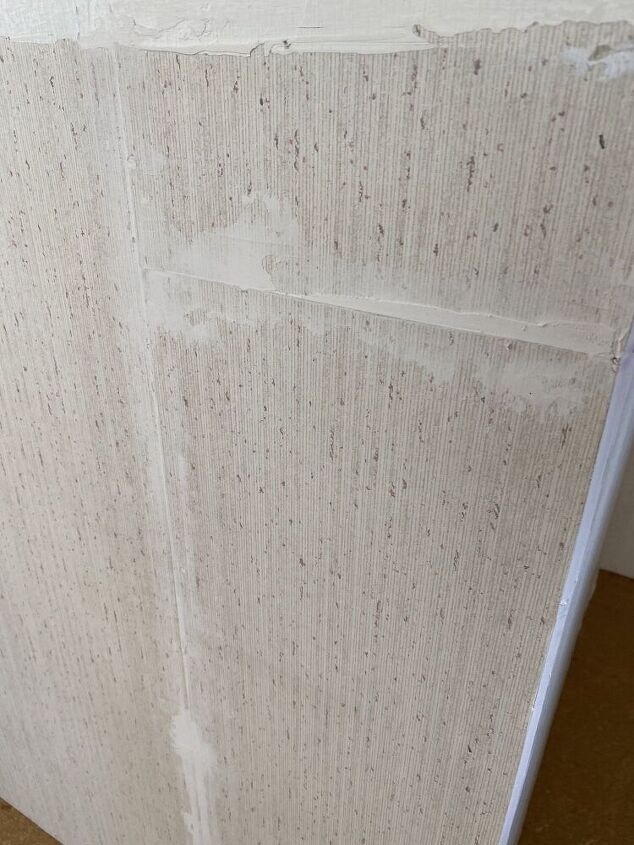
After the spackle dried I sanded it to smooth off the rough edges. I did have to apply a second coat in a few areas and then sanded again once it dried.

New flooring will be the last thing we do in our park model RV reno, so I decided to remove this linoleum so it didn’t stand out so drastically from the color of the laminate wood flooring that is currently in here.
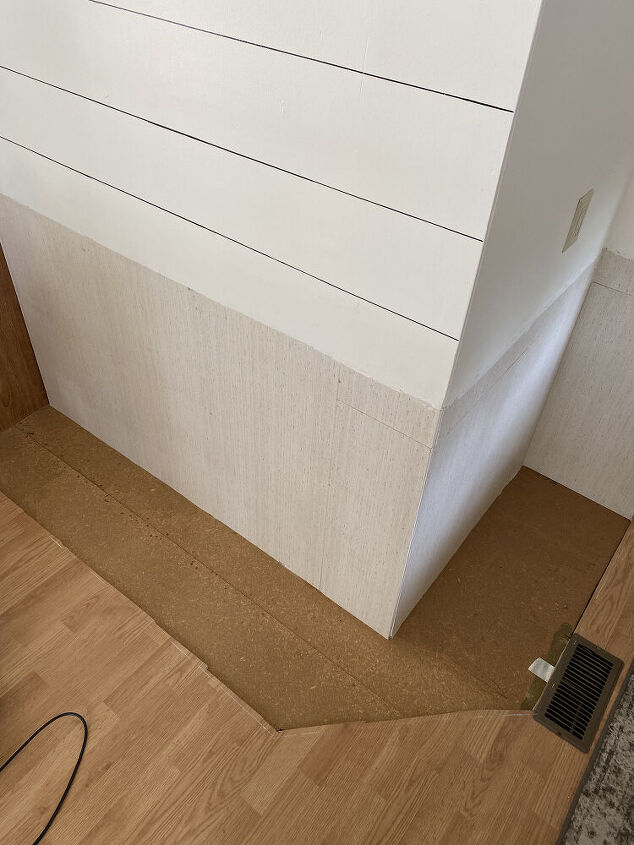
I think this looks better than the linoleum and isn’t quite as noticeable against the existing laminate flooring. Again...not perfect...but will do for now until we replace the flooring!
With the cracks all filled it’s finally time to paint. I did put some tape on the floor and used an old sheet as a drop cloth because I can be kind of a messy painter, (and it's all I had!)
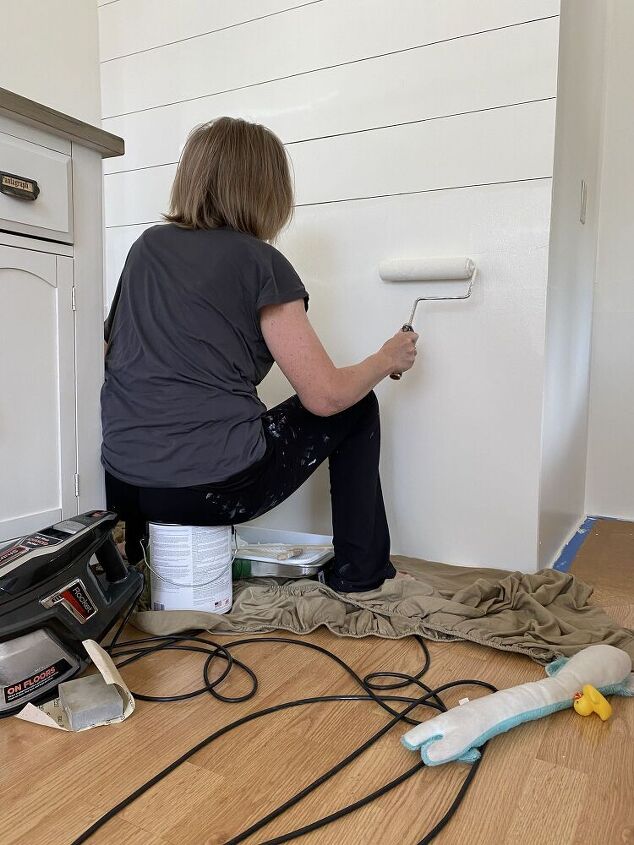
Rolling the paint on the wall while sitting on the can. Paint can!!! It was the right height and was better than sitting on the floor!
I’m using my favorite color for walls, West Highland White by Sherwin Williams. I, however, had it mixed at Ace Hardware. I love that I can get Sherwin Williams colors for Ace Hardware prices. Home Depot and Lowes will also mix other brand colors for you!
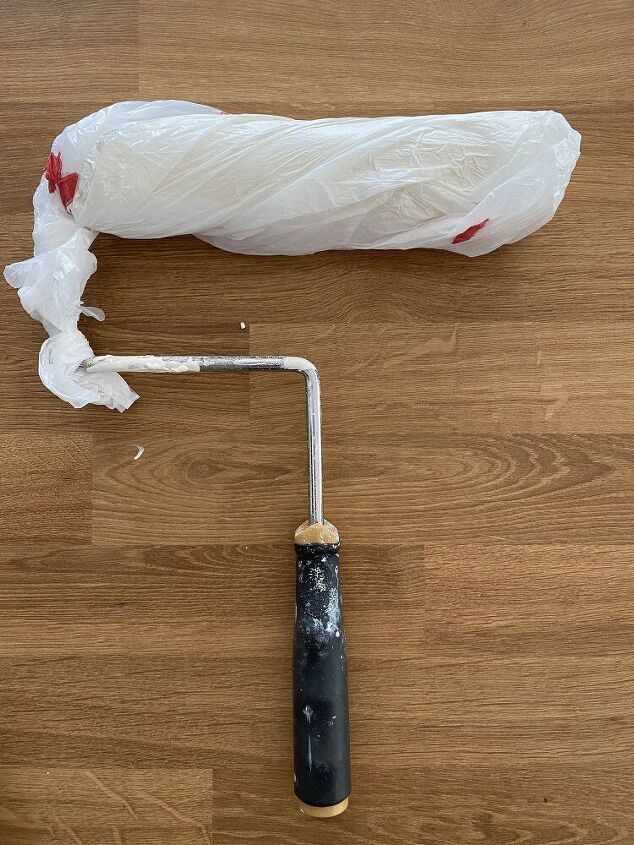
Paint rollers can be pricey so I typically use the same one for the same paint job as long as I possibly can. If I need to take a break I just wrap it up very tightly in one or two plastic grocery bags and it keeps it nice and fresh for the next time, which is typically the same day or overnight. To keep it for a longer period of time it can be put it in the freezer.
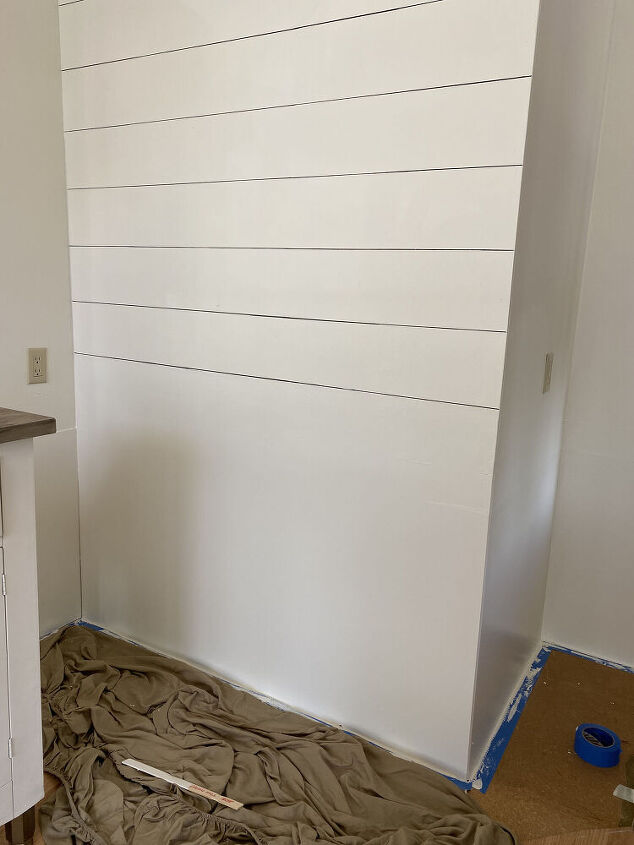
Second coat is on and dry so it’s time to start installing the shiplap, so to speak.
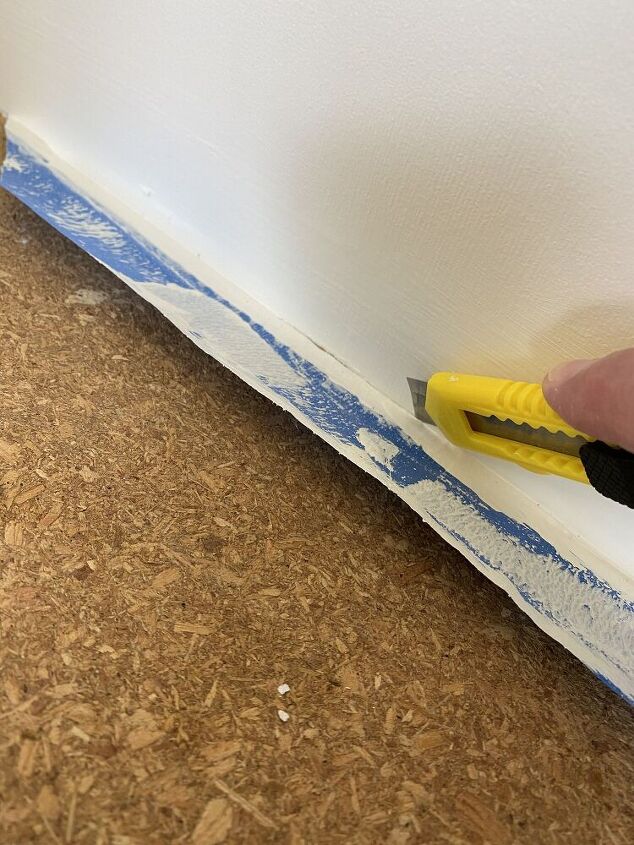
Sometimes when removing painter's tape you might come to a spot where the paint peels right off the wall because it was painted on the tape, so I always use a sharp blade and cut the tape right at the edge. That way it tears away nice and clean with no paint peeling.
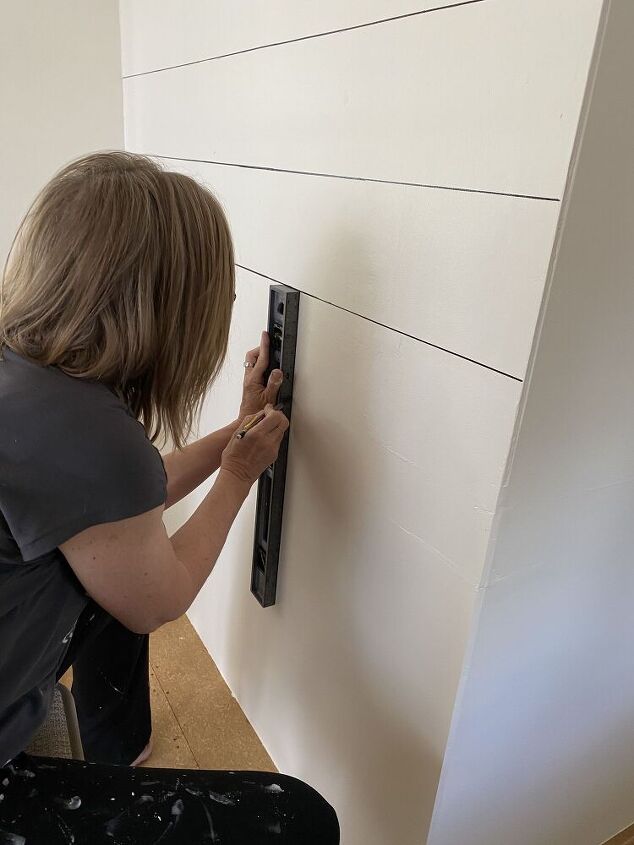
My shiplap is 7 inches wide, so I placed my level on the line above, and using the bubble, made sure I was holding it level and then marked 7 inches down from that line. I made a mark about every 12 inches across the wall.

Holding the level on the marks, and making sure it’s perfectly level, I began drawing the lines with my dollar store paint pen.
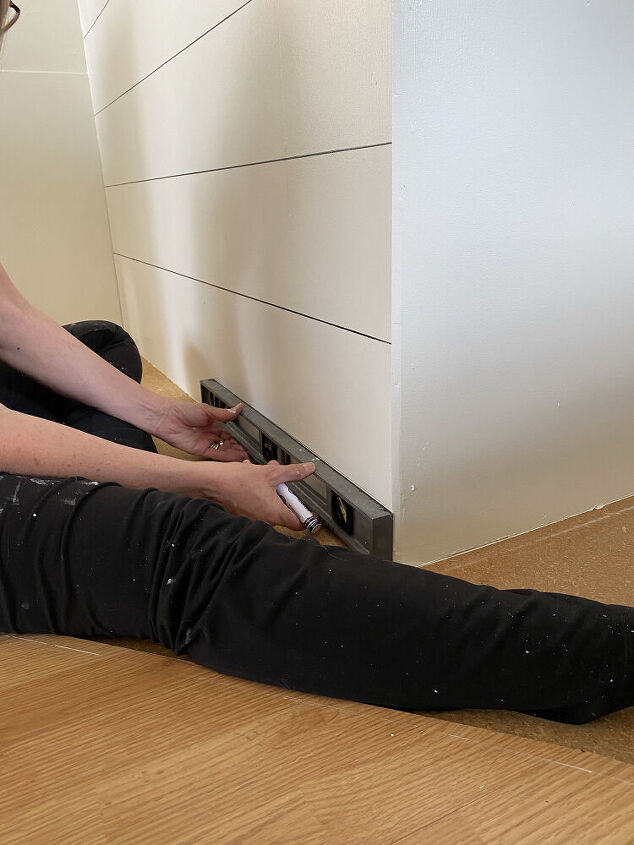
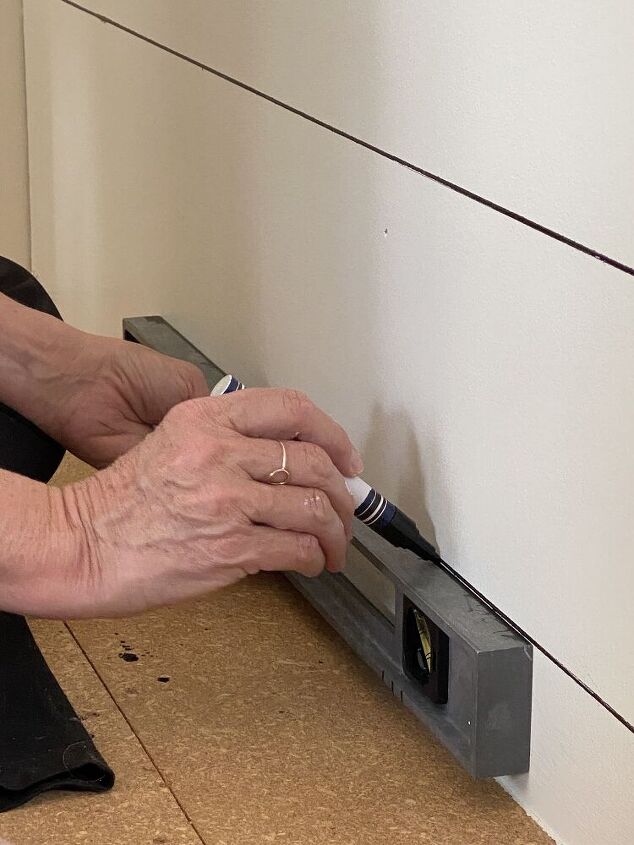
It’s really quite simple to do this shiplap technique, it’s just a matter of drawing lines on the wall with one hand while holding the level very steady with the other. No problem! :)
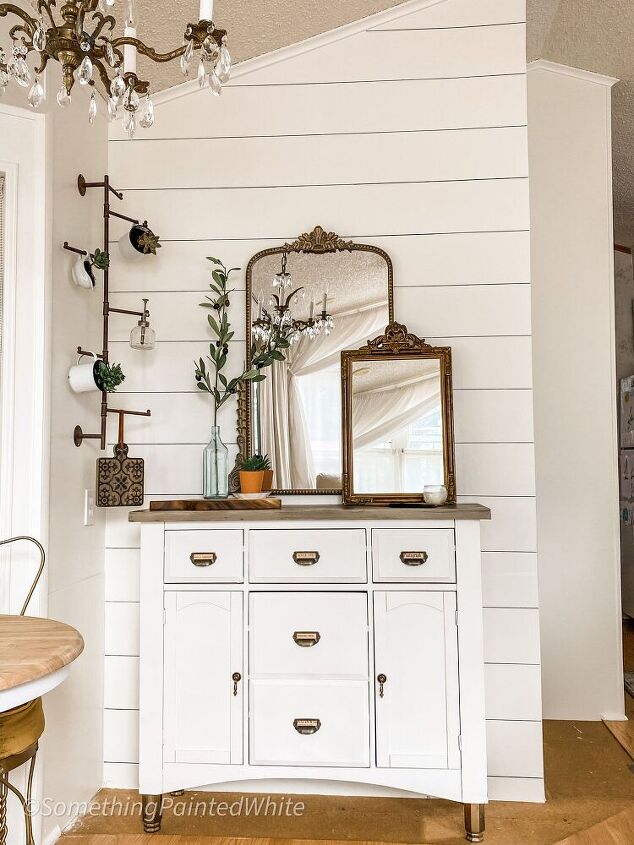
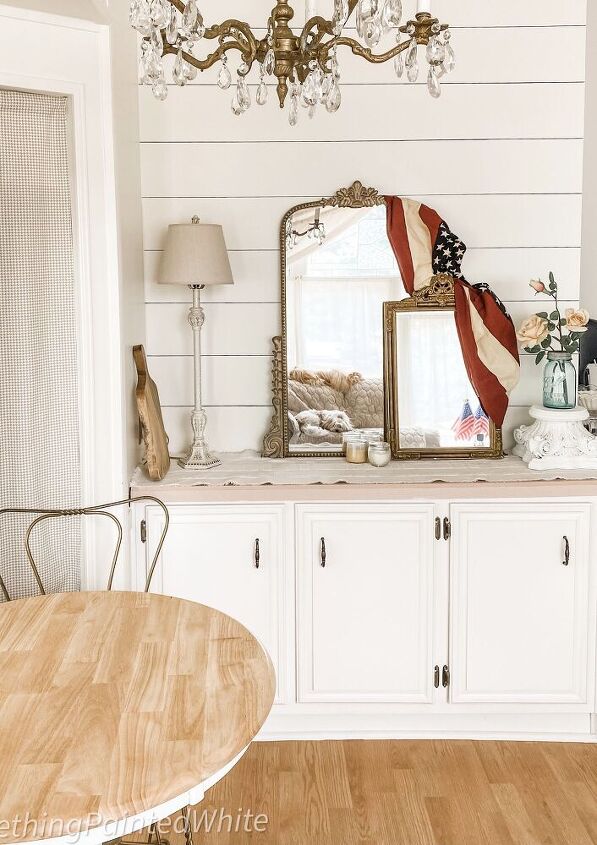
I am so happy with how this wall turned out and have some ideas for doing this technique on at least one more wall.
Everyone that has come to visit thinks this wall is actually Shiplap, they even walk up and touch it to be sure.
If you’re thinking of adding shiplap in your home, give this technique a try. It’s cheap, easy, and fast. My favorite kind of DIY!
I would love for you to take a look at my blog www.somethingpaintedwhite.com for other DIY's I've done and with any luck, I'll be adding some posts about all of our projects at 'the Ranch', (that's our nickname for our little summer home!)
Thanks for being here friends,
Happy Shiplapping,
Cindy


Comments
Join the conversation
-
Love this idea! Looks fantastic! Thanks for sharing! Will have to try this in the future!
-
This is an awesome idea, and it actually looks like the real thing! I'm going to have to find a place in my home where I can do this, cause it's a style I really like. Thanks for sharing your project! Jody


Frequently asked questions
Have a question about this project?
I love love love that coffee cup holder in the corner. Where did you get that???
What you doing about the floor?