


How To Make Pine Cone Flowers and Simple Pine Cone Wall Art!

It's the season for pumpkins, leaves and pine cones with all the beautiful warm colors of Autumn, just love this time of the year!! I want to share two of my projects I created with pine cones, hope y'all like them!
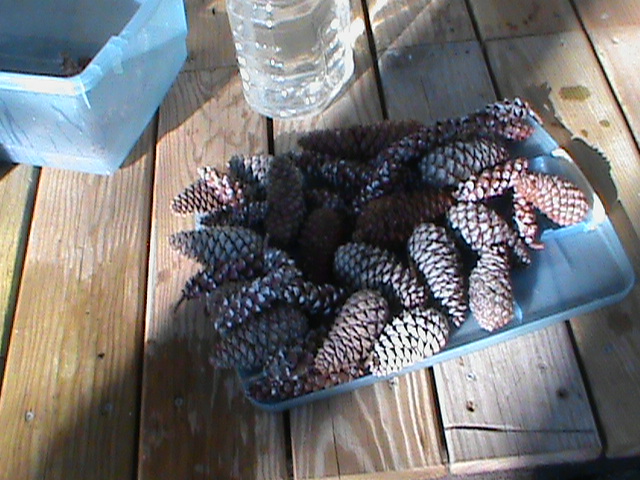
Pine cones after soaking in bleachy water will clean them. They will also open up after awhile to spread their seed !
!
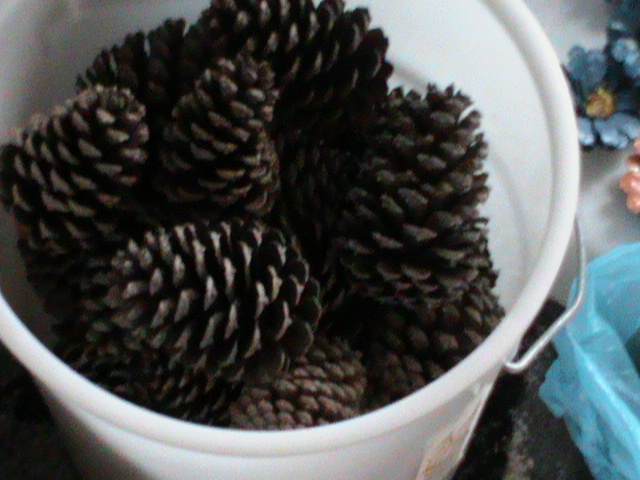
This is a batch after drying. I then soak them in plain water for about a half hour or so, that makes them sooo much easier to cut. 
You will also be able to get a scale off whole without it cracking or breaking.
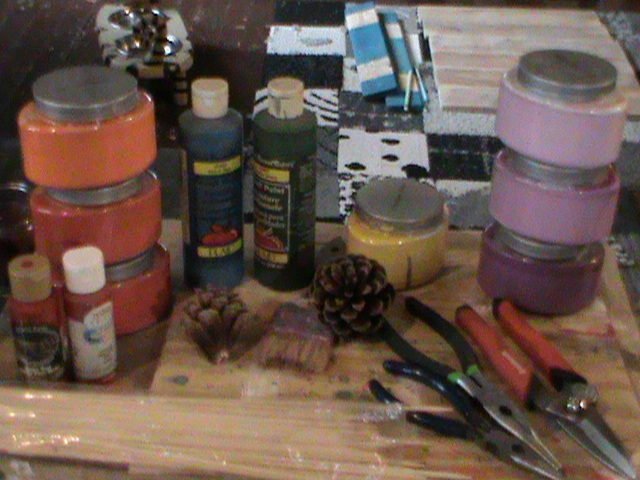
Tools and paints I used to create the flowers! Such pretty, vibrant colors ! You can use whatever color/s and paint you want just make sure you seal them with a couple of coats of a clear gloss or glaze.
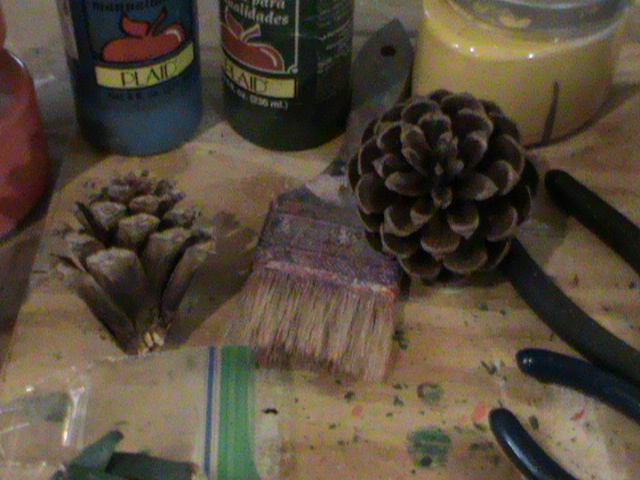
I found using a stiff paint brush helped get into the layers of scales. You could use spray paint too, it might be easier and quicker !
!
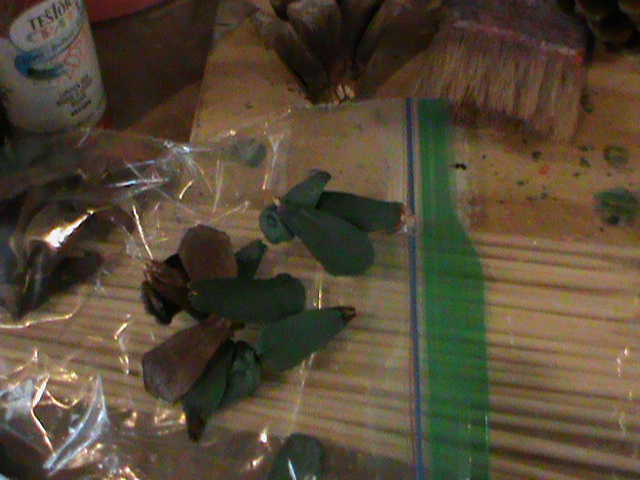
It took a few hours to do this part with the drying time and a second coat of paint. While the cones were still damp I took wood skewers (painted green) with a drop of wood glue on the sharp/pointy end and twisted them into the ends of the flowers. I then added some scales to the bottom of the flower (painted green) to look like the sepal attached with wood glue.
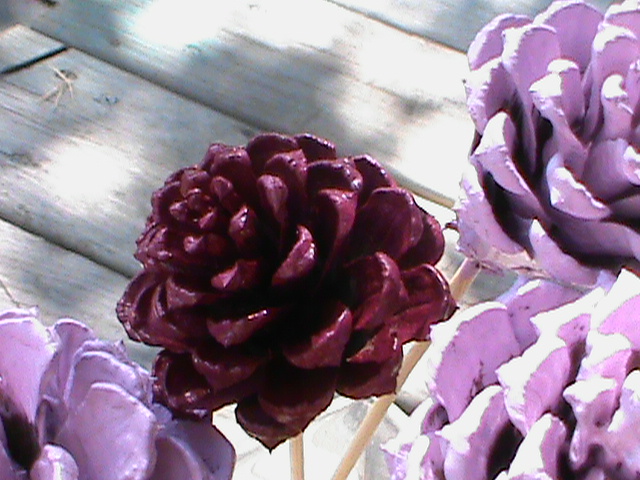
I found I could get 2 or 3 types of flowers from 1 cone depending on how large the cone was, this is the top of the cones and I'll show you another part in the next project below!
How beautiful is that!!!
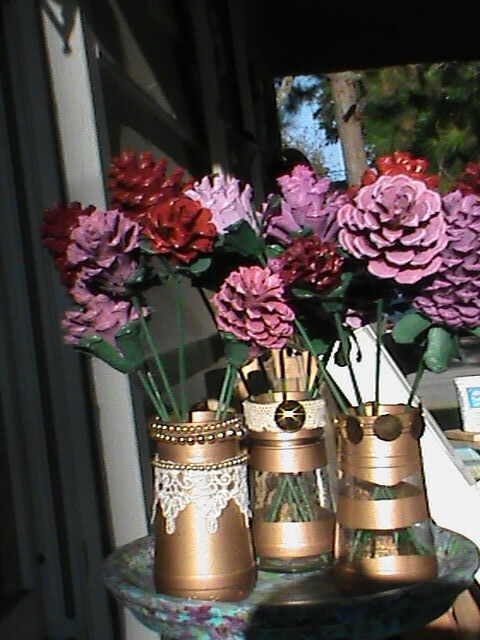
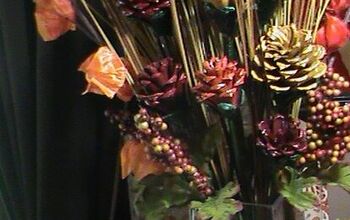
Roses
I think I did close to 3 dozen!! I made a few vases from olive jars, super easy upcycle! I also mixed some colors together to get more colors and sealed with a spray glaze.
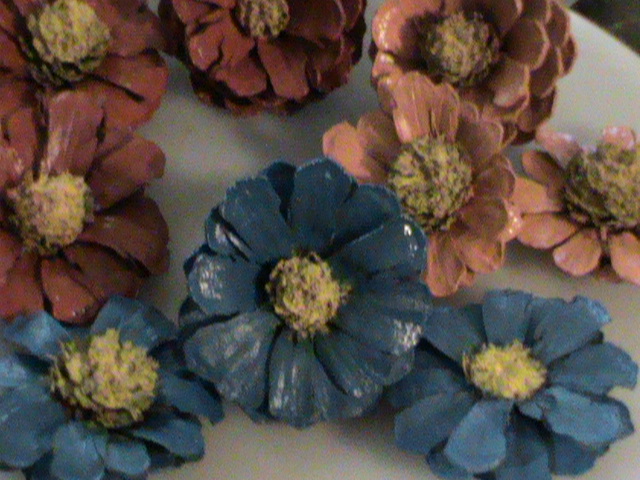
This is the second project with the bottoms of the cones. The bigger the cone the more parts you can get and use. I found while the cone is damp you can tear off some center scales then use heavy duty scissors to cut in half or thirds by scoring the core of the cone with the scissors. To make the little part that looks like the pistil all you have to do is pull the scales out and cut to shape! Easy peasy ! Paint whatever colors you like! I chose red, orange and blue for Autumn decor and they are so cute!!
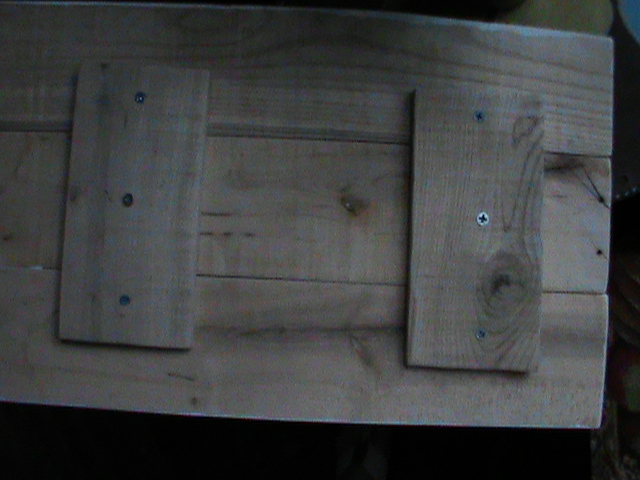
I wanted to make some wall art with these and I have a ton of wood so I made several wood hangings but you could also use a canvas frame. I painted all of them off white.
Vase and wood grain
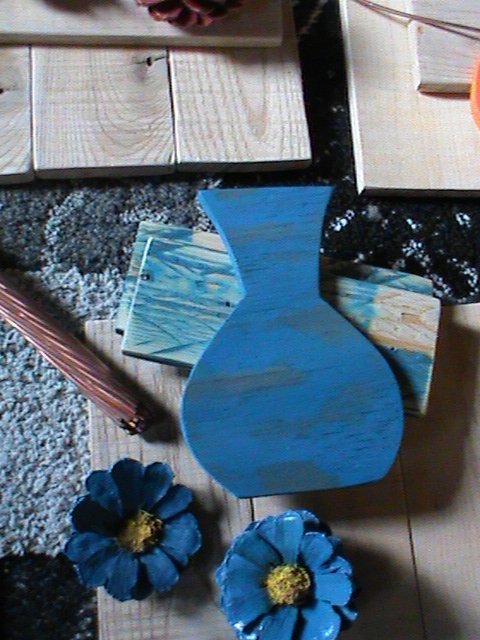
I also thought putting the flowers in a vase would be different and cool! I drew out a few different shaped vases on plywood. I decided this shape would work best for me, I cut 4 vases out with a jig saw. The plywood has such pretty grain that going with a light coat of color would bring it out more and it did! I sealed everything with a clear gloss spray paint.
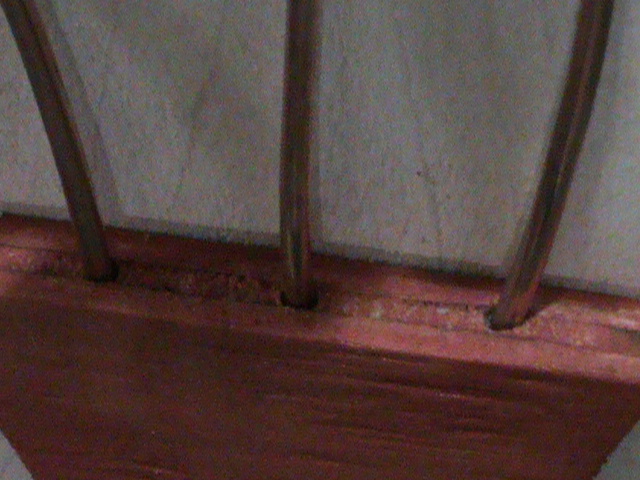
I used copper wire for the stems in various lengths and drilled tiny holes in the top of the vase to hold the wire in place. I then used wood glue to attach the vase to the wood hanging. So far I love this look!!
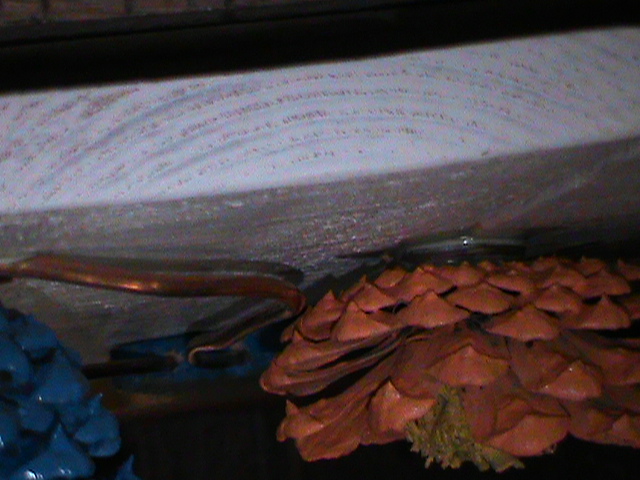
I then bent the wire to a small loop, used more wood glue and attached the flowers!
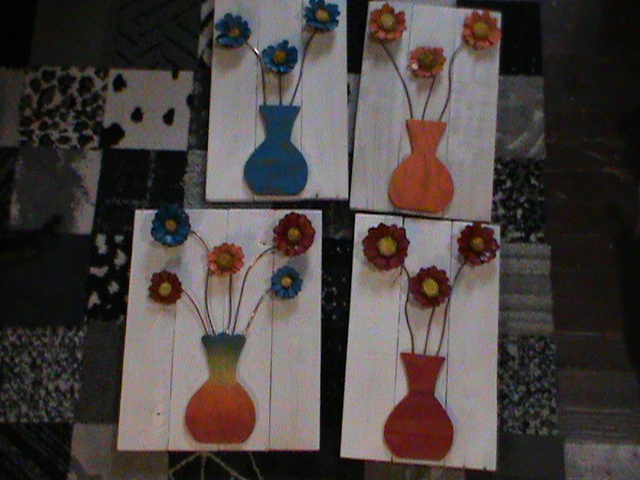
They are so freaking cute!! I created all of these flowers for free with materials I already had laying around the house and I've never made flowers from pine cones before so I'm super pleased with how they all came out looking just awesome! I will save the middle parts of the cones for another project later on for Christmas!
I love all comments and questions! Thanks for looking at my pine cone flower projects!
DIY fall project ideas
Resources for this project:
See all materials


Comments
Join the conversation
-
Thank you so much! Don't forget Fall and Winter colors too! How about Gnomes, so much you can make with them!
-
Love this idea! Making them an art piece with the vase gives me Sooooo Many Ideas!!!


Frequently asked questions
Have a question about this project?