


How To Make Pool Noodle Art In A Frame
Are you looking for an inexpensive and creative way to add some art to your home? Today I am so excited to show you how easy it is to make pool noodle art in a frame using just a few supplies.
This post contains some affiliate links for your convenience. Click here to read my full disclosure policy.
How To Make Pool Noodle Art In A Frame
Have you seen how creative some people can be when they use pool noodles to create ” pool noodle décor or art”? There are so many great ideas floating around out there that I wanted to challenge myself to come up with one!
My goal was to keep this project inexpensive, easy and tasteful like most of my DIY projects.
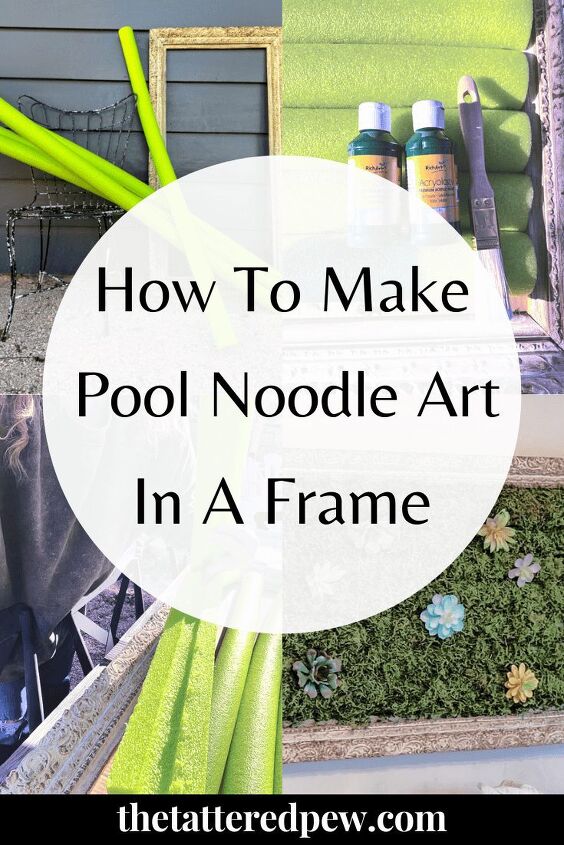
Most of my supplies, like the pool noodles, paint, brush and succulents, were purchased at The Dollar Store or were items I already owned. The Dollar store was out of moss so I made a quick trip to JOANN and purchased that along with more glue sticks! The frame was a consignment shop find that I have had for awhile now.
Creating Affordable Yet Stylish Art
We recently moved into our home and finding affordable, unique and stylish art has been a challenge. This fun idea came to me after seeing some gorgeous living wall art with succulents over on Pinterest. I decided to give it a try!
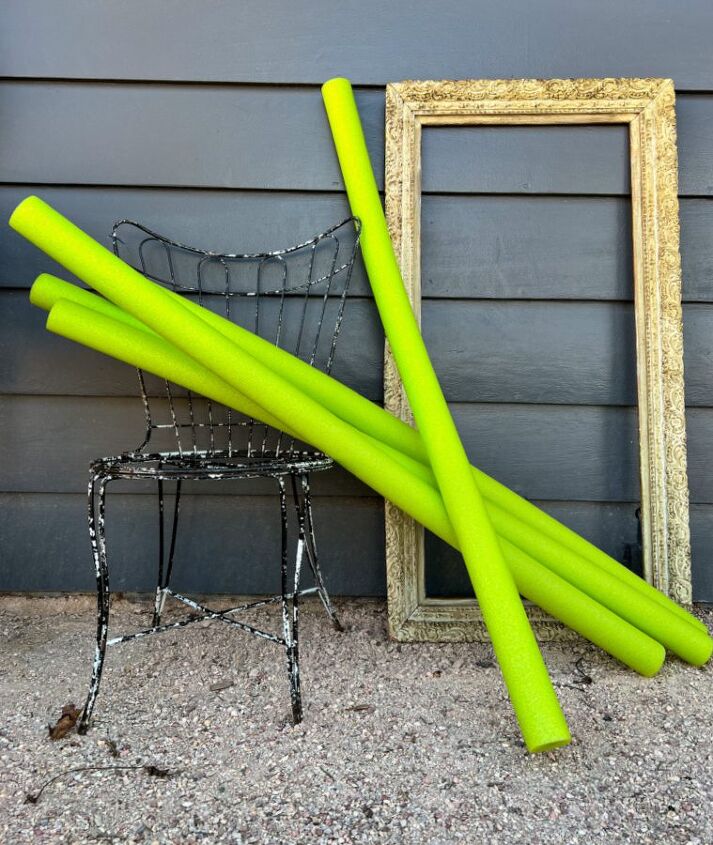
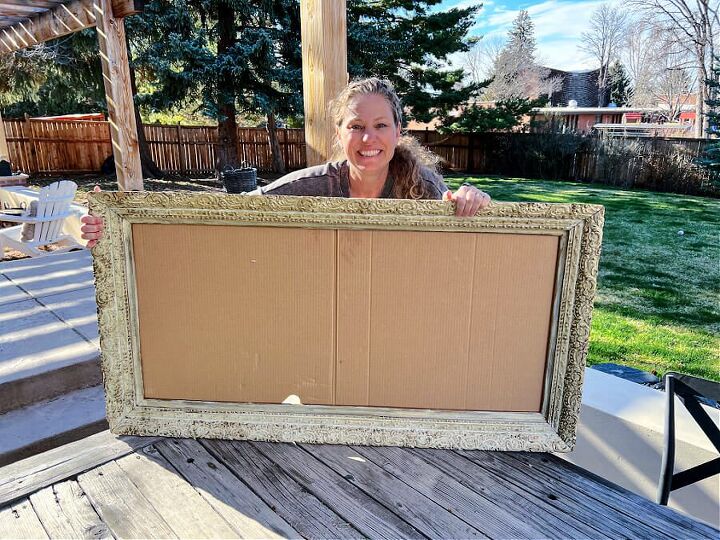
My youngest daughter has not had much going on in her room and I thought this would be a fun way to add some interest. I already had this large frame hanging in her room with wreaths still left over for Christmas. Ha! It needed to be updated and it needed to be inexpensive and fun.
I had seen some adorable pool noodle rainbow art but I wanted to try something different! So I grabbed some pool noodles and an old vintage frame and got to creating!
Supplies Needed For Pool Noodle Art In A Frame
You will need these simple supplies to make your own pool noodle art.
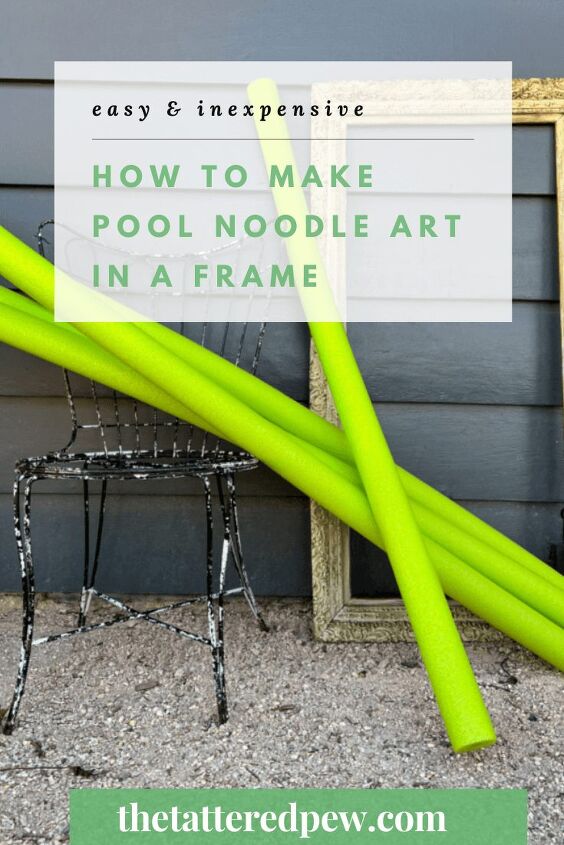
- pool noodles (Dollar Store or here on Amazon)
- Xacto knife
- hot glue gun & sticks
- frame (size of your choice)
- cardboard
- moss
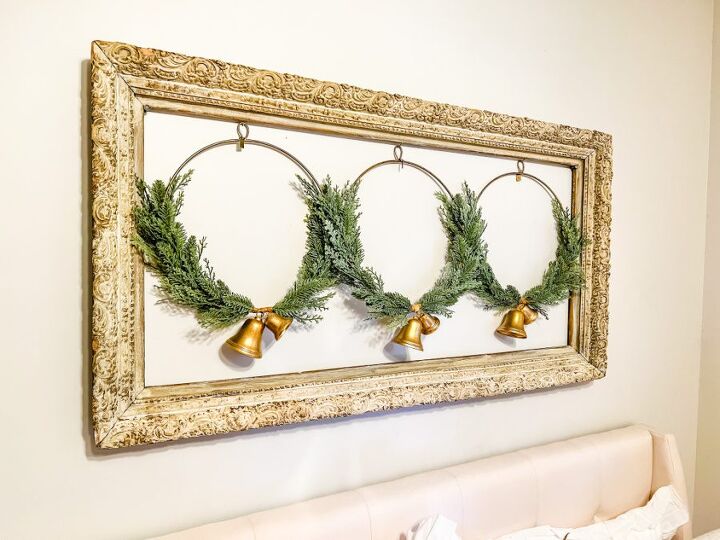
- faux succulents
- green paint (dollar store)
- small paint brush
Steps for Creating Your Pool Noodle Art
This is such a fun and easy art project but I will say, it does take some time to put together. If I had to estimate it took me about 3 hours total.
So make sure to set aside several hours or break it into a few days if you don’t have a large block of time.
1. Find Your Space and Gather Your Supplies
First things first, scout out a nice big and clean spot that you can use and get messy to create your art. My spot was our large wood outdoor dining table. My frame was huge so I needed a large spot. Plus, being outdoors was key (luckily the weather cooperated) because the moss gets everywhere!
Once you have your spot gather all of your materials to create your pool noodle art piece. My suggestions for finding a fun and unique frame is to search the flea markets, thrift stores and consignment shops. I found mine at a local consignment shop! The rest of the supplies can easily be gathered at the Dollar Store.
2. Prep Your Frame
Next you will begin by prepping your frame. If your frame already has art in it this is where you will decide if you should leave it, and just cover it with your pool noodles, or pop it out.
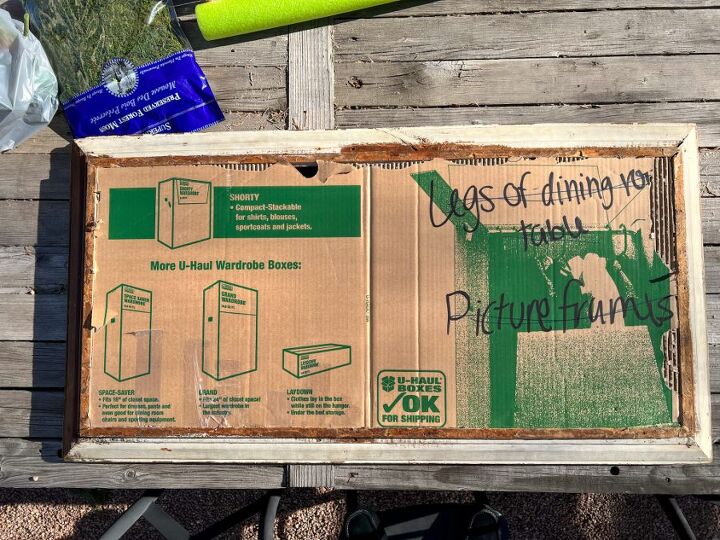
My frame was empty so I had to find a large cardboard box to create a backing. This backing created a place to attach my pool noodles and it popped right in to place. The best part about the cardboard is that I can pop it out of the frame down the road if I want to change up my art!
3. Prep and Attach Your Pool Noodles
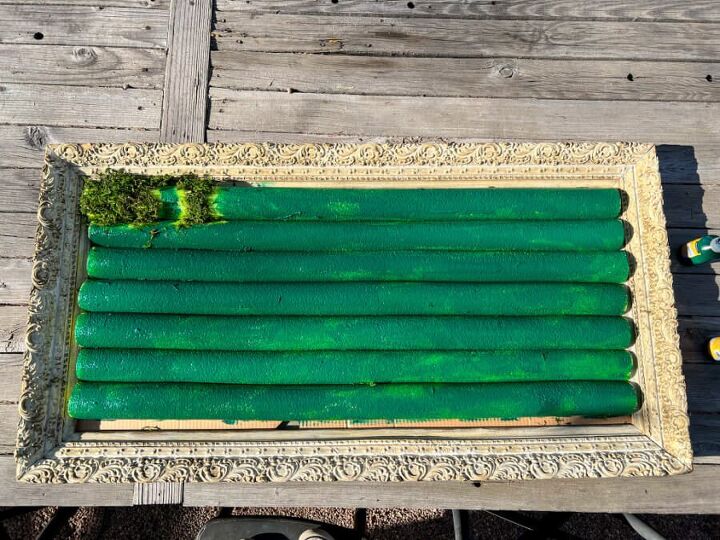
You will want to grab your pool noodles and measure them to see how many you will need to fit inside your frame. I decided to rip my noodles in half to create a flatter surface to attach them to the cardboard. This worked well because it allowed the noodles to be flush and not pop out too far.
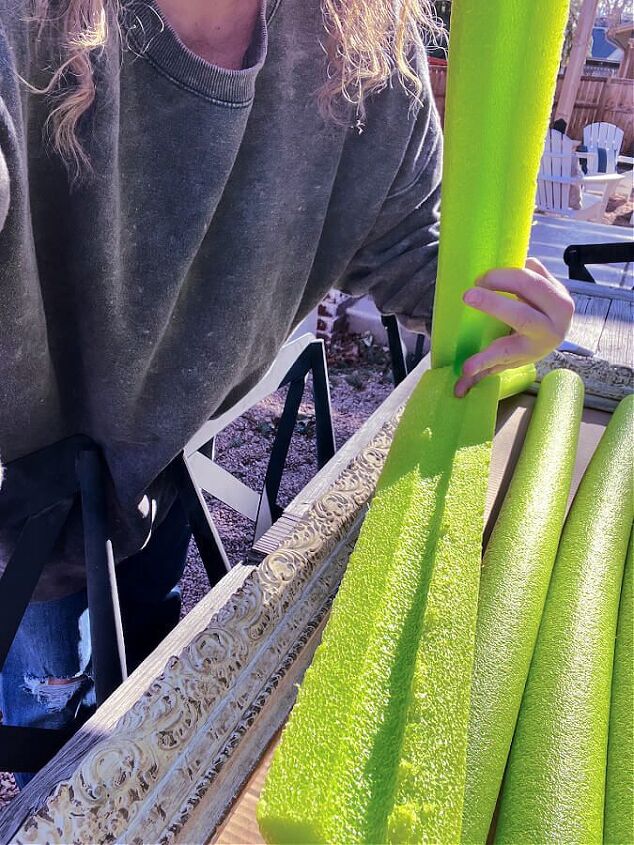
Pool noodles are easy to rip if you score them first with an xacto knife. After you score them rip them in half.
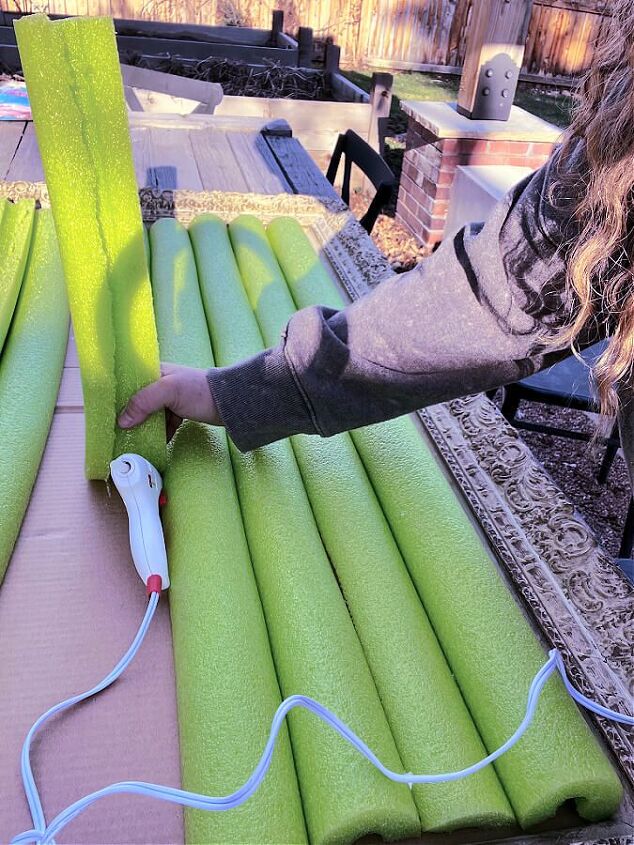
Once they were ripped in half I started gluing them down with my glue gun in small sections because the glue dries fast! I then smoothed and pushed them down on the cardboard positioning them as close together as possible making sure to continue until the pool noodles covered my cardboard backing..
4. Paint Your Pool Noodle Art
I chose green pool noodles in hopes that this color would work well with my moss. It ended up still being way too neon green and showing through parts of the moss but better than pink at least.
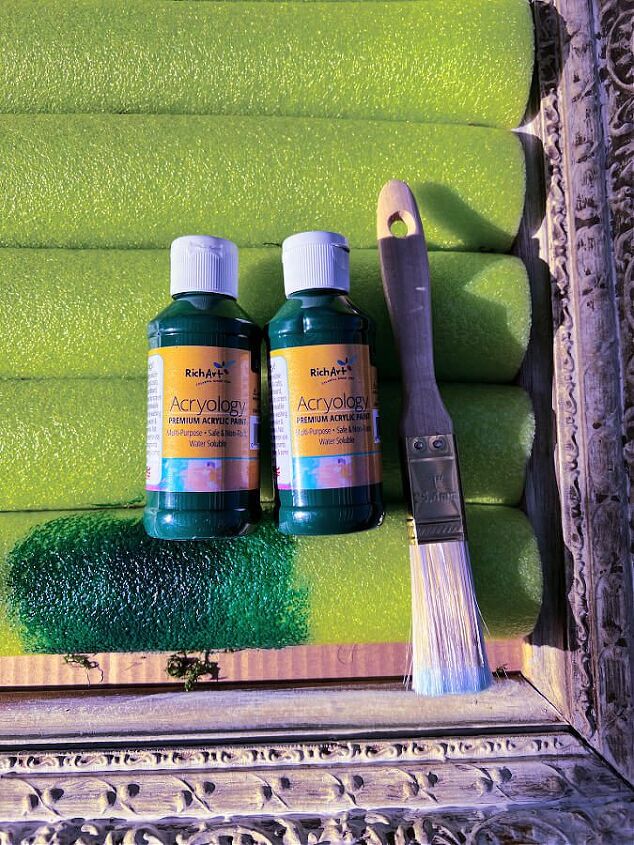
So I painted it a dark green with paint and a brush from the Dollar Store. It worked like a charm! This will be an important step for you especially if you can’t find green or darker pool noodles.
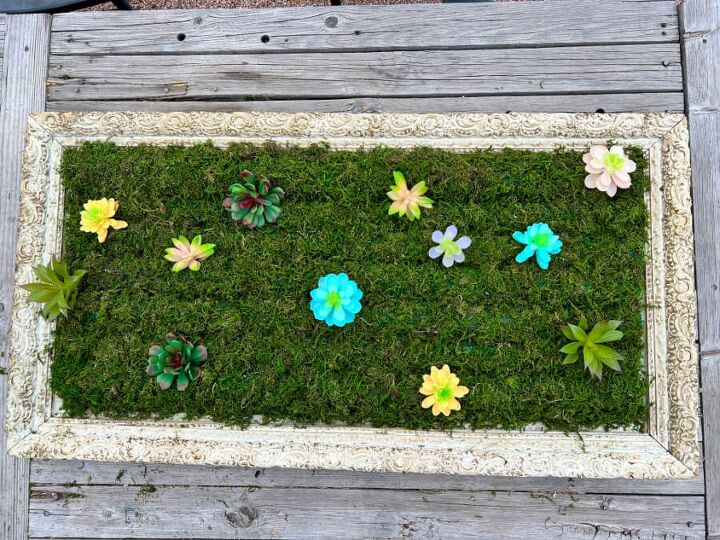
5. Attach Your Moss and Succulents
Finally, it’s time to have some fun. This part takes awhile but really makes your art come to life!
You will need a ton of glue sticks for your glue gun so you can hot glue the moss directly to the noodles. I used one and half bags of moss and tried to spread the moss out as best as I could. I did this in small sections as well.
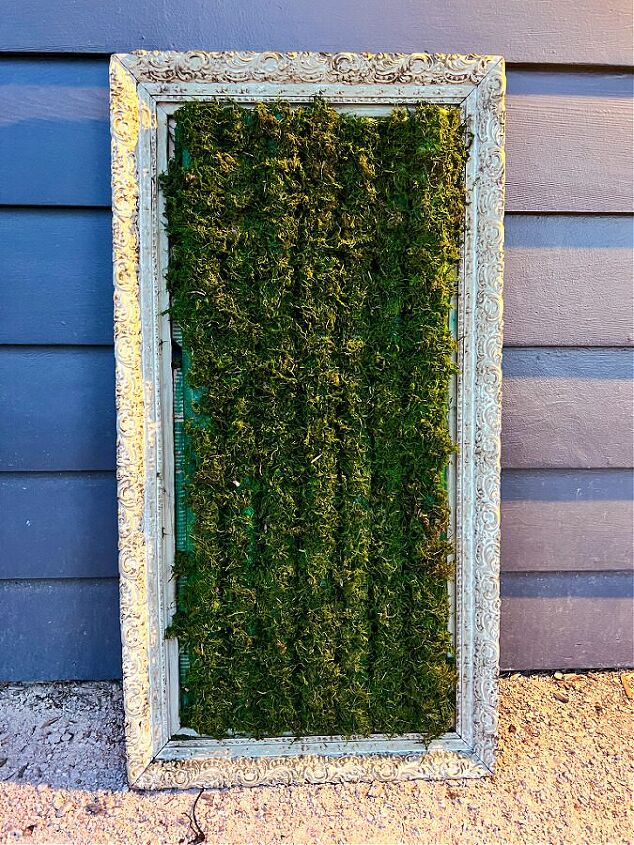
Once the noodles were mostly covered I held up the frame and did my best to fill in any gaps I noticed. At this point it looked so pretty and I could see my pool noodle décor coming to life!
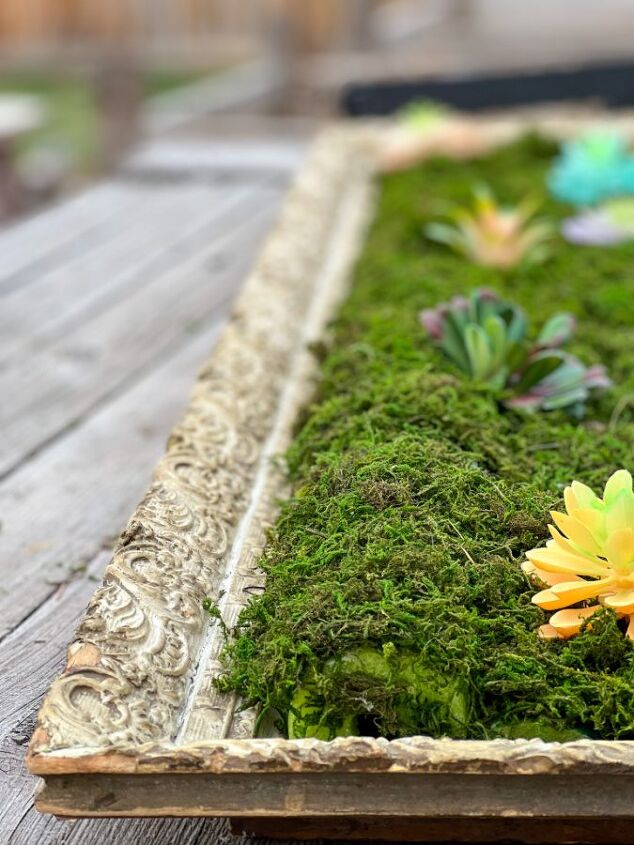
The final step was adding the faux succulents. I was apple to pop off the large stems on some and left a few on others depending on their size. They mostly wedged into the gaps between the pool noodles but I did have to hot glue a few down. I did my best to spread out the succulents and make them not look too uniform.
Decorating With Pool Noodles
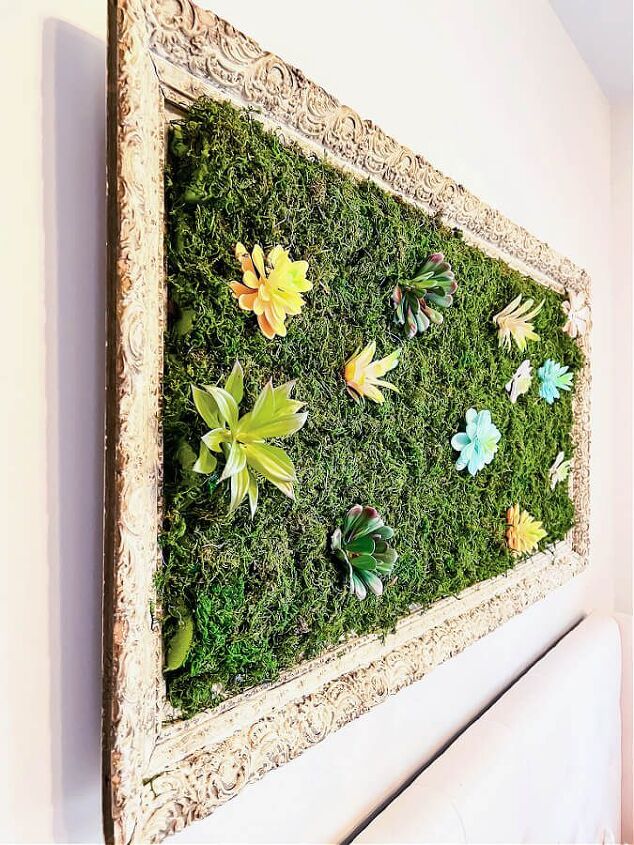
In all honestly I never really thought that I would be decorating with pool noodles in my home. But I have to say that I love how this turned out and so does my daughter.
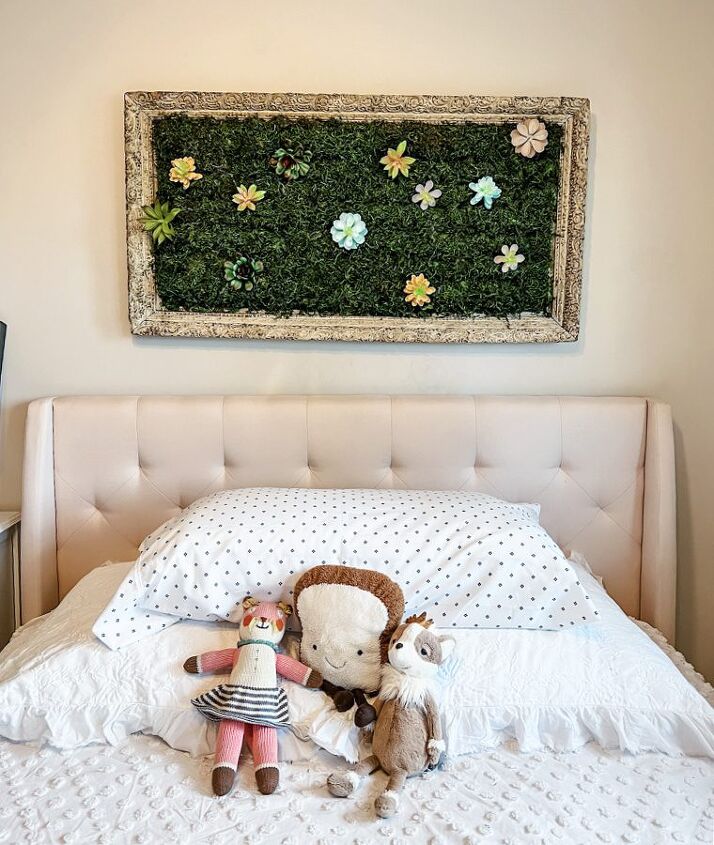
It looks perfect hanging over her bed and adds so much interest to her room. The frame gives it the perfect finishing touch!

I was a bit nervous hanging it up because I didn’t want the moss to fall all over her bed but luckily only a few pieces did. The pool noodle décor turned out just as I imagined and boy was it fun seeing my vision come to life!
Would you use pool noodles for art or décor in your home? Come see mor eof my DIY projects on my blog, The Tattered Pew.
xoxo,
Kelly
Did you like this post? PIN it for later!


Comments
Join the conversation
-
That looked fun! I could see me sticking more cute items in those noodles. Great project!
-
Another great use for pool noodles..


Frequently asked questions
Have a question about this project?
Could you use air plants?