


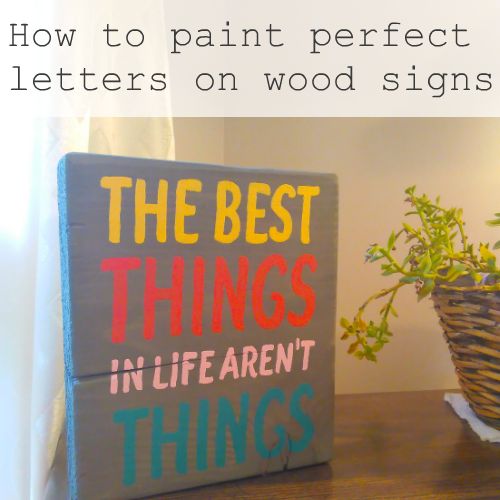
How to Paint Perfect Letters on Your Wooden Signs
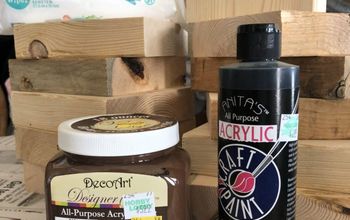
3 Materials
$5
1 Hour
Easy
You've seen those signs. The ones that cost a lot and the lettering looks absolutely perfect. Well now you can make any sign that you want and make it look professional too. And all you need is your computer, printer, some chalk and a pen.
Let's get started!
First you need to decide on your saying and "design" it. You can use an online editor or any software that you have on your computer to design your saying. It can be overwhelming and frustrating trying to measure out the sizes. If it is, no problem! I have all types of printables available on my blog, but you can find all 24 of my printables here.
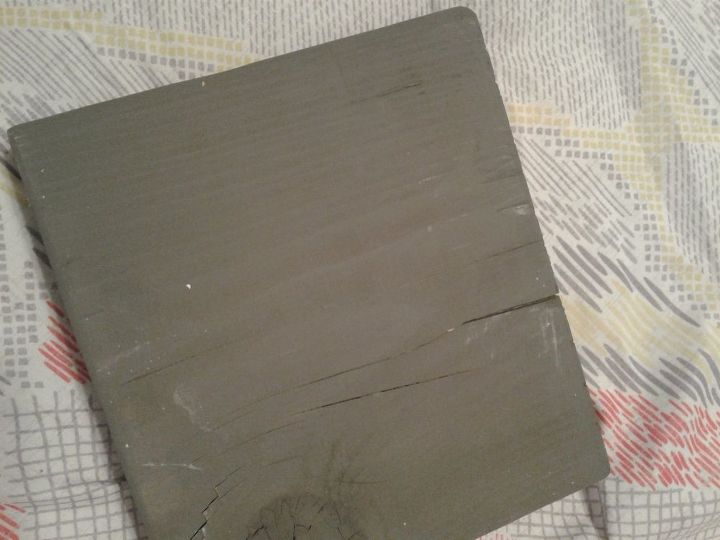
Paint or stain your wood first and let it dry.
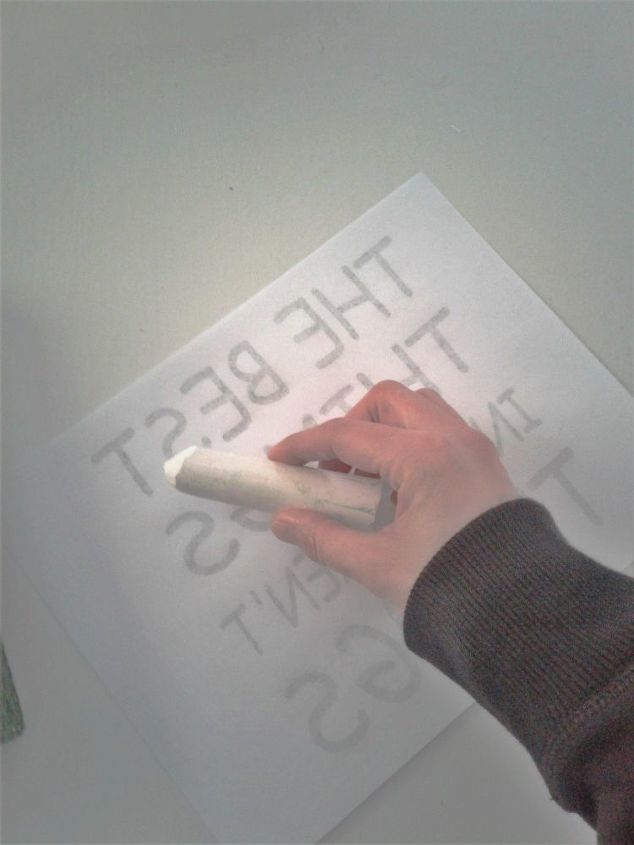
Print off your image to the size that you need it and lay it on your wood to make sure that it fits good. Then, rub the back of your image with a piece of chalk, making sure that all of your printed parts have chalk on the back of them.
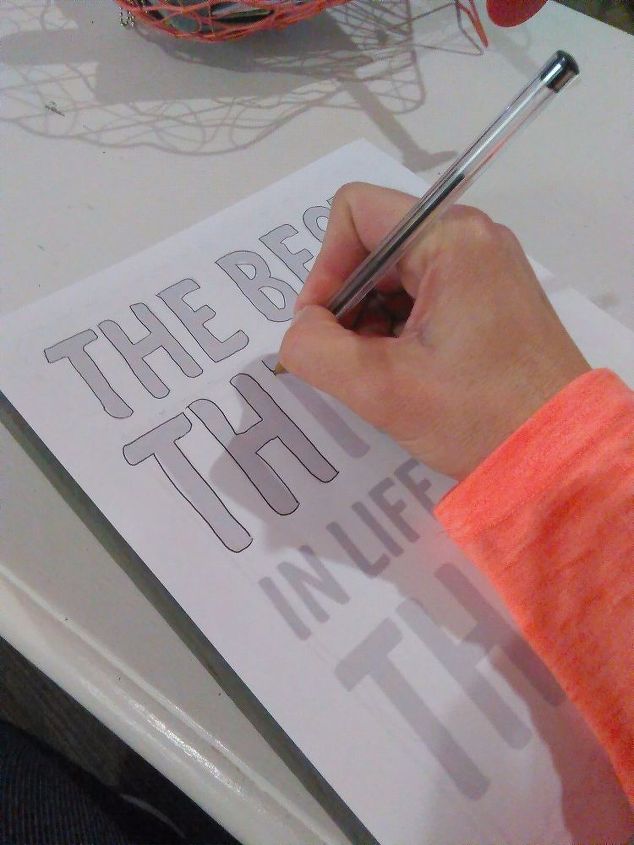
If you need to, you can tape your image in place. Then position your image on your wood and tape it in place. With a pen, trace over your letters. Use enough strength to leave a bit of an indent into the wood. Do not remove your paper until you are completely done tracing or it may be hard to line your letters back up.
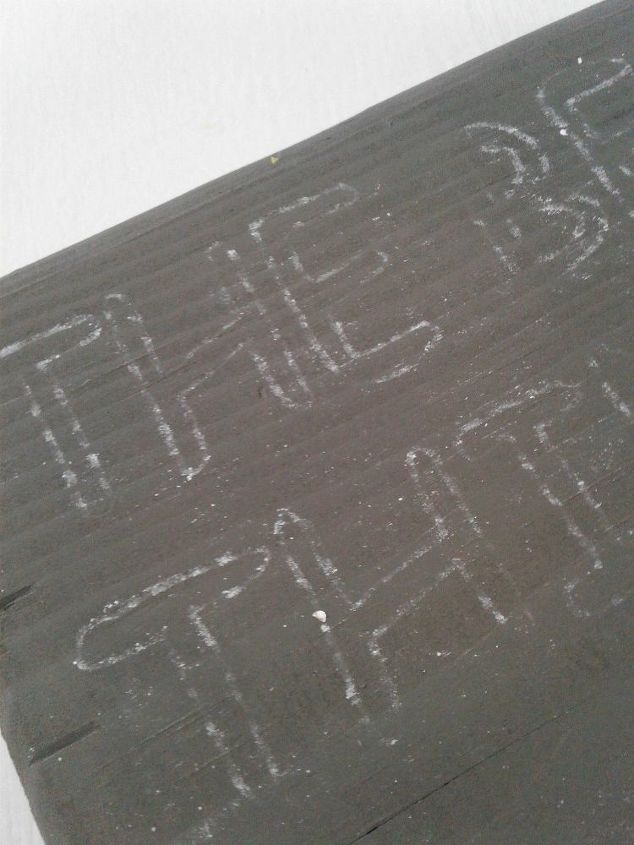
When you remove your paper, you should see a bit of an indent, with chalk lines helping to show the marks a little bit better. Then all you need to do is choose your paint colors and paint inside the lines.
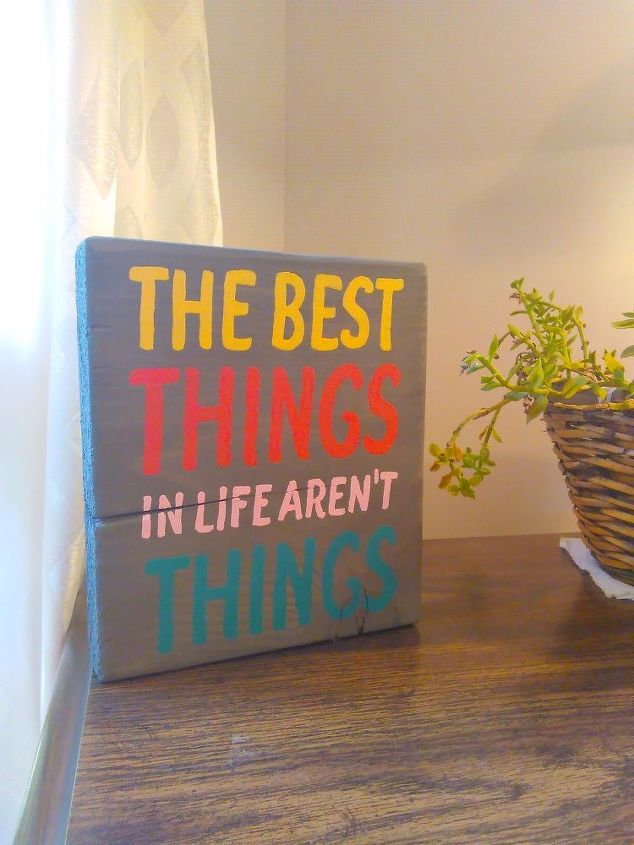
Now you can have perfect wood signs for your home too!
Ready to start making your own wood signs? Head on over here to grab our printables and get started on your signs today!

Want more details about this and other DIY projects? Check out my blog post!
Comments
Join the conversation
1 comment
-
Such a great quote :) This is awesome!


Frequently asked questions
Have a question about this project?