


Modern Farmhouse Sign

My hubby & I are new empty nesters. I've been looking for wall decor for the now guest room for awhile. I decided to try my hand at making something. I had most of the materials on hand and just needed to pick up the wooden round panel. It's a simple DIY project you can finish and enjoy within a day.
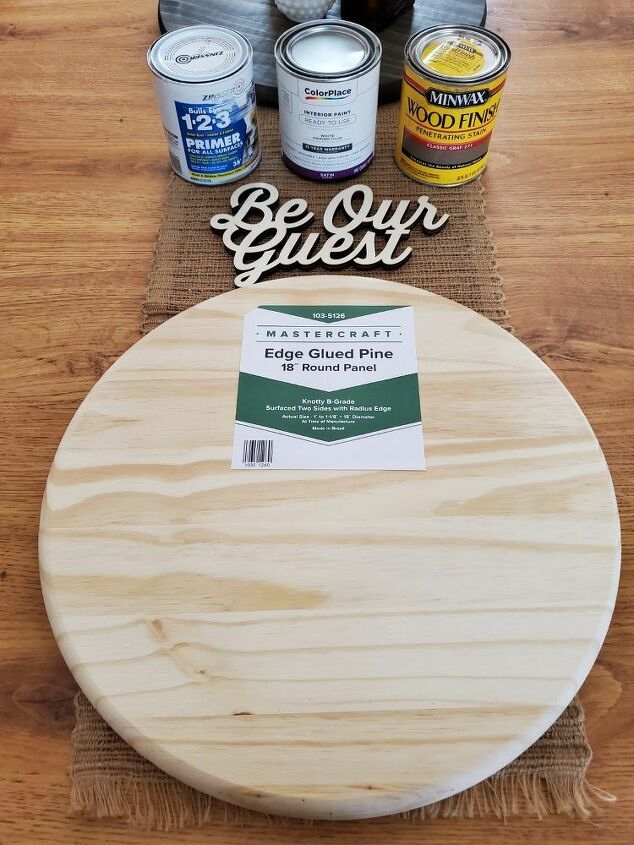
- 18" Round wood panel
- Primer (I like Zinsser)
- Paint (I used a white paint)
- Minwax Stain (I used the color Gray)
- "Be our Guest" wooden cutout (You could use any word or phrase you want)
- Painters tape
- Paint brush
- Wood glue
- Sand paper
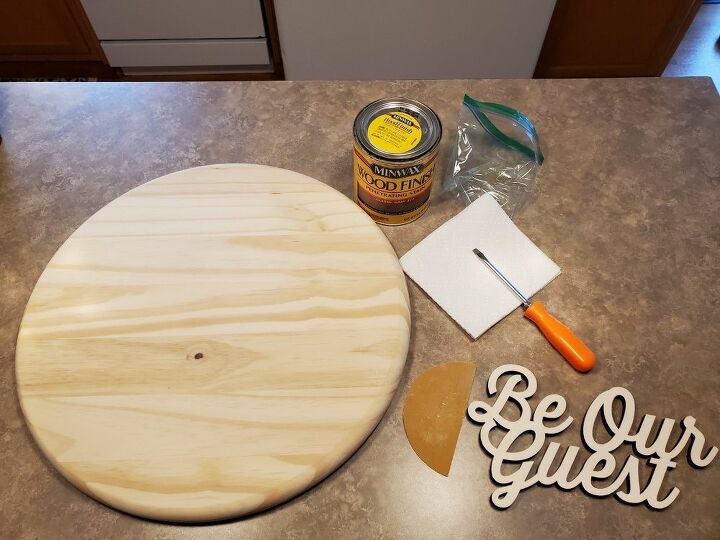
I started by giving my round panel a light sanding. Then I wiped it clean so it was free of debris.
I didn't have any gloves on hand to use when staining my board, so I used a sandwich bag and paper towel to apply the stain.
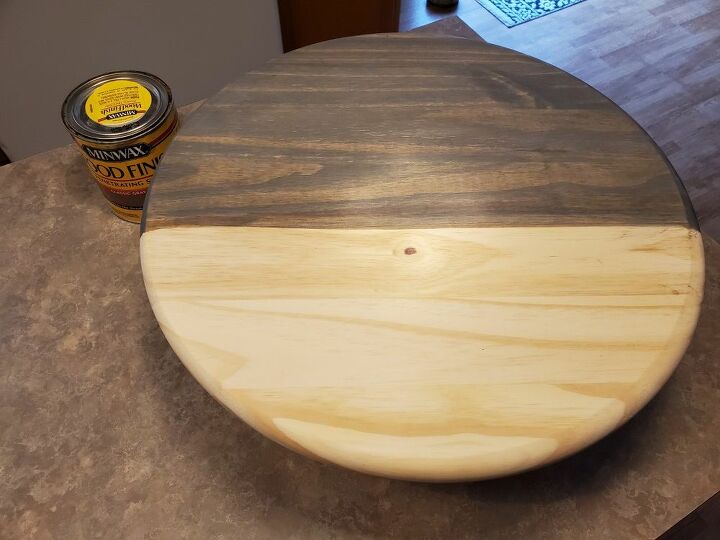
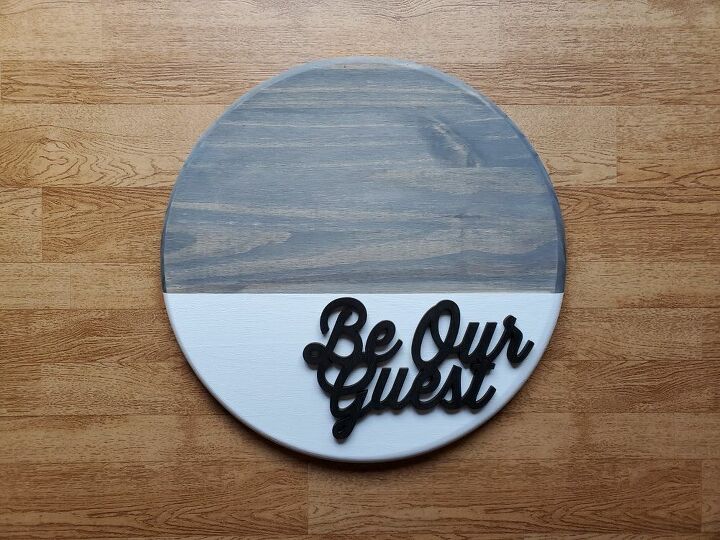
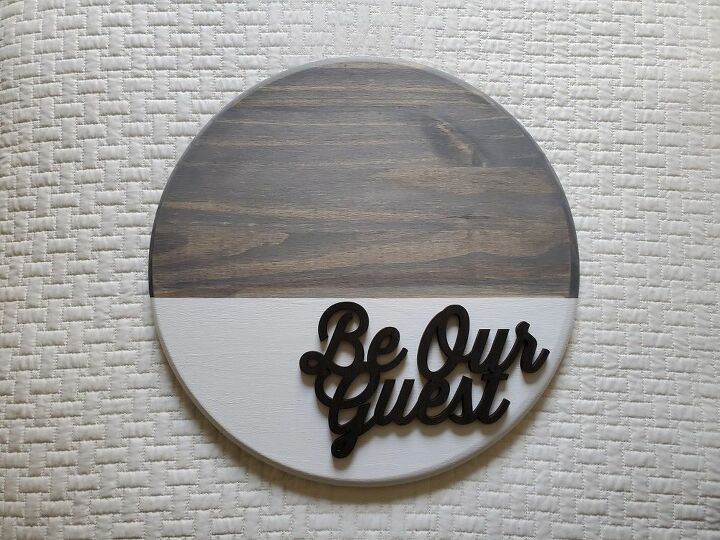
I stained a portion of the board. I did not tape off the portion I didn't want stain on. I just took my time and used the wood as a guide. Since this is a glued panel wooden round I followed a section of the wood.
To save on supplies, I only stained the front and sides of the round. The back will never be seen so there's no point in finishing that side. I also did NOT use a protective sealer on the stained portion. It will be used as wall decor so nothing will be touching it.
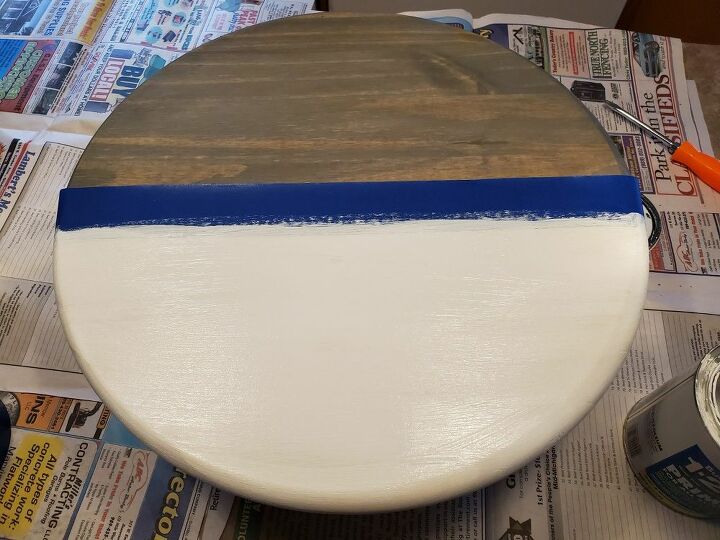
Once the stain was dry, I carefully used painters tape to tape off for the painted section. This will keep my white paint from bleeding through to the stained side. I do not have a steady hand, but if you do you could attempt to free hand it.
Once the tape was secure, I painted 2 coats of primer.
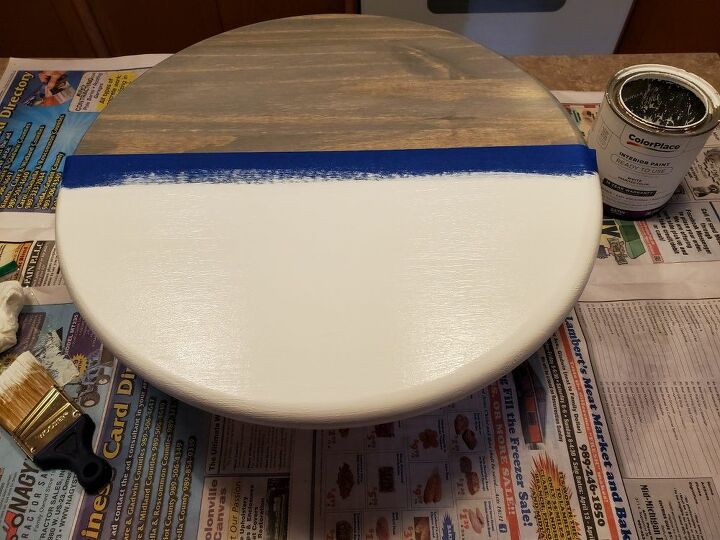
After the primer was dry, I painted 2 coats of white paint.
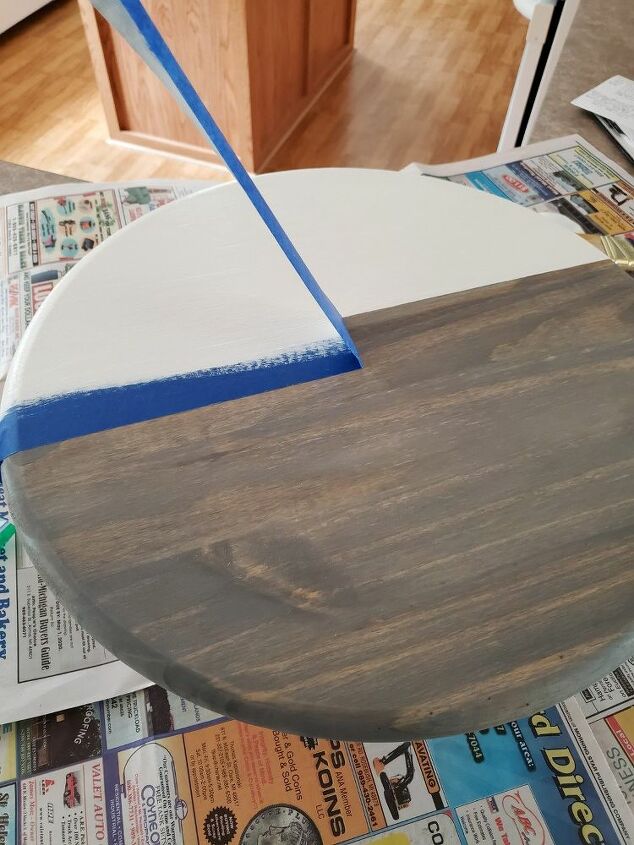
After I was happy with the second coat, I peeled off the painters while the paint was still wet. Take your time removing the tape so you don't fling wet paint onto the stained portion.
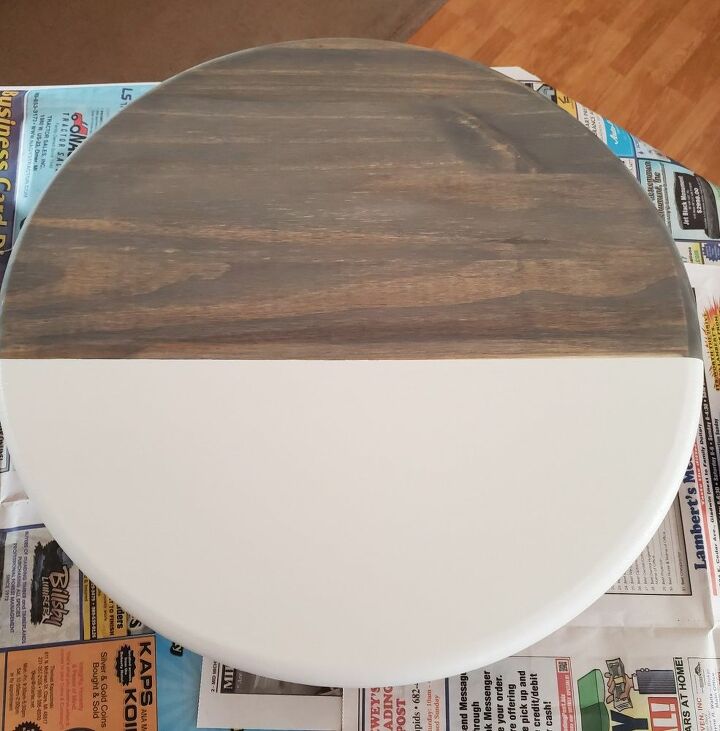
Now we wait for the paint to dry.
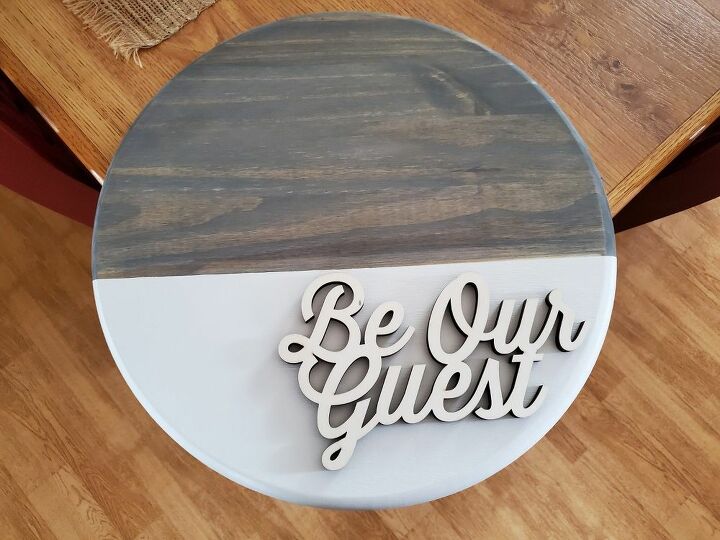
Once dry, I started to play with the wooden cutout. I knew right away I didn't like the cutout left in the raw wood state. I also decided I liked it off center.
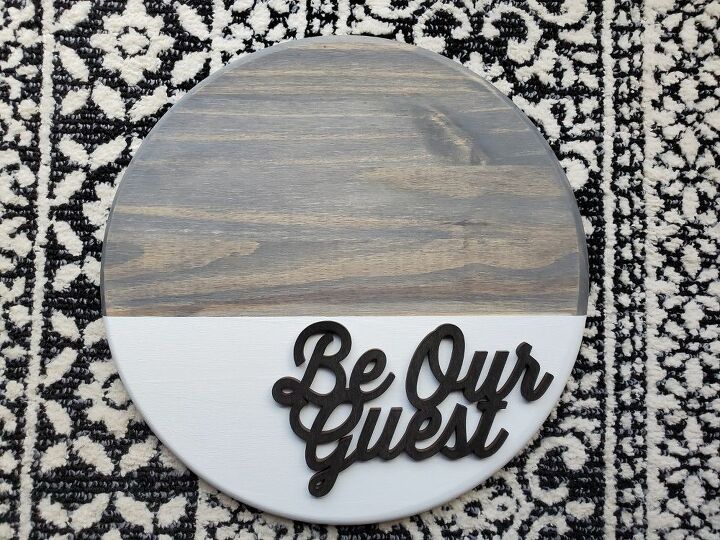
I decided to stain the top only of the wood cutout with my ebony Minwax stain. I let the stain dry and then glued it to the board using wood glue.
Take your time and be mindful of how much glue you use.
You could also use a pencil and lightly mark on your sign where you want the cutout positioned.
If you don't have a cutout (wooden or metal) you could use a paint pen and freehand a word or phrase on the sign.
The possibilities on this sign are endless. Create something that fits your style and try to use what supplies you have on hand.
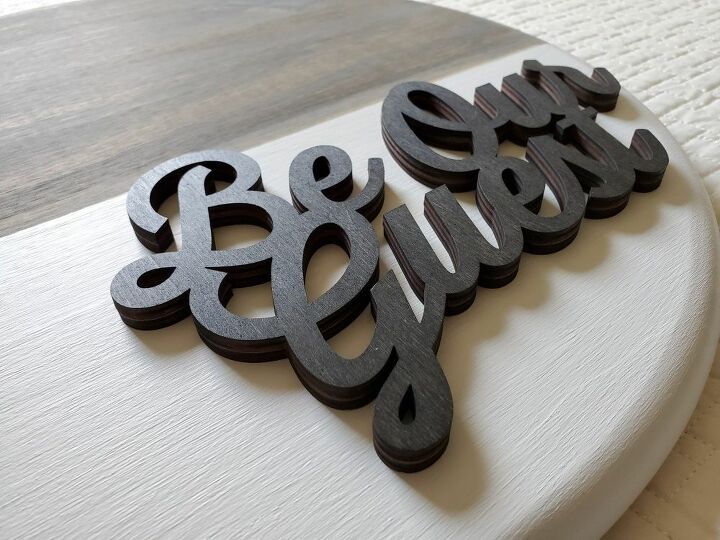
I used a paint brush to apply my primer and paint. I like the texture the brush strokes give the sign. I also loved the sides of the cutout and how the layeuse of wood look. That's why I did not stain them. If you want a more uniform or solid look you could also spray paint the cutout.
Resources for this project:
See all materials


Comments
Join the conversation
-
So pretty!
-
Love this! I am so going to try it! Thanks


Frequently asked questions
Have a question about this project?