


Ombre Painted Wood Sign
If you love this project, grab your quick start DIY guide & subscribe to our blog!
The ombre trend took the world by storm in the 2000’s and is still rockin’… ombre hair, ombre nails, ombre painted walls. Just about everything can be painted ombre. I remember when I saw the ombre effect on a painted sign years ago, I knew I needed to make my own ombre painted wood sign!
If you don’t know what ombre is…it is gradually changing from one color to another, typically from light to dark.
We revealed our farmhouse master bathroom makeover last week and I can’t wait to start showing you all of the fun DIYs for the bathroom! When I was planning our farmhouse master bathroom, I knew I needed to make something for this small wall next to the door. It just looked like something was missing. I love how easy this ombre effect was to create on this wood sign. Even if this is the first wood painted sign you’ve ever made, I promise that you can do it.
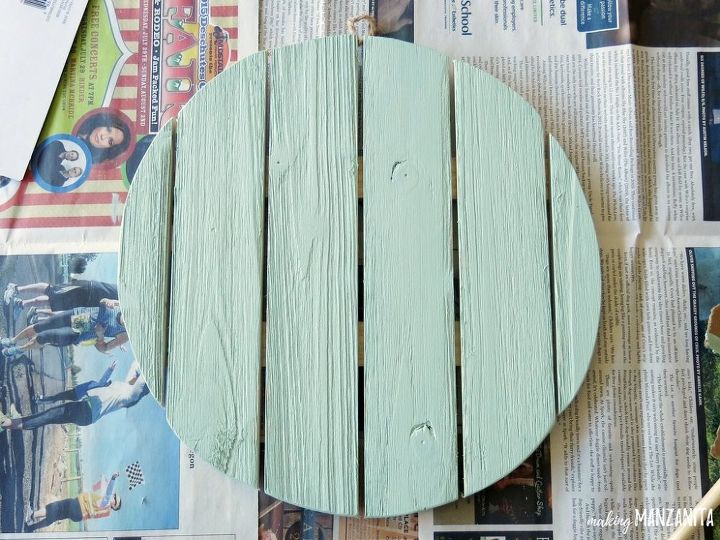
Step 1. Paint sign with main paint color.
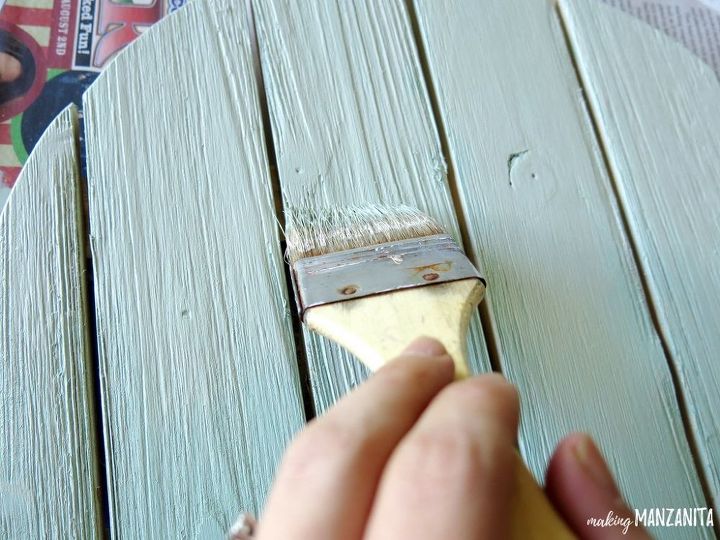
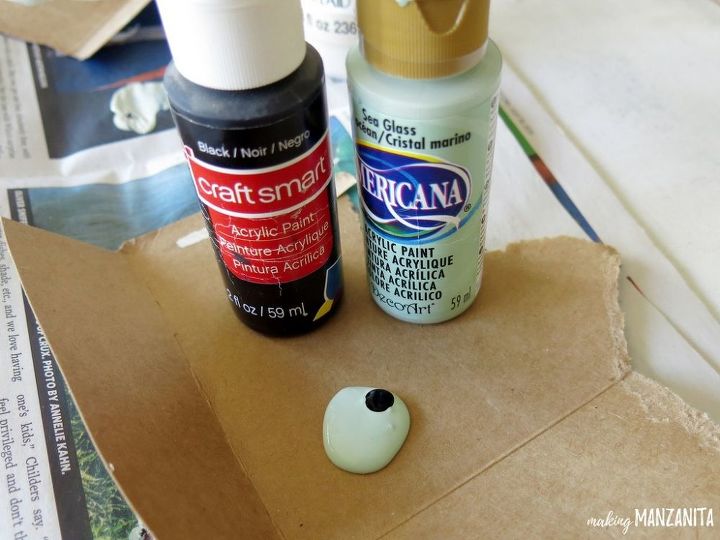
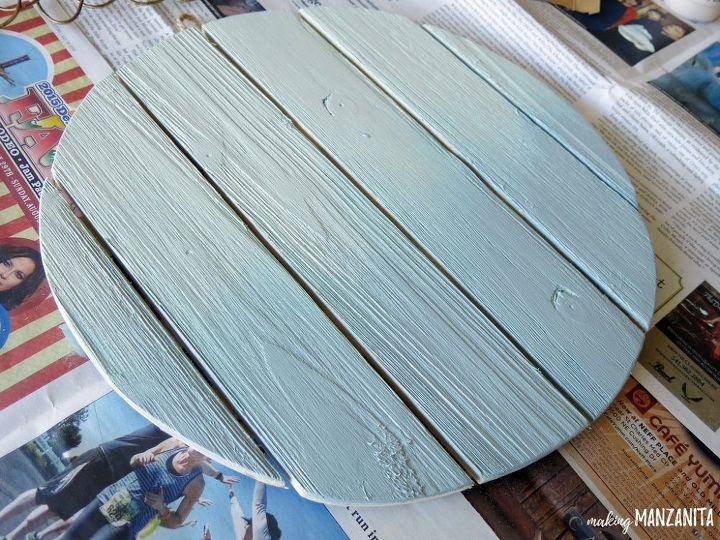
Start by using a foam brush to paint the entire sign with your main paint color. To get the ombre effect, you will layer the lighter and darker colors on top of the base color.
Step 2. Add in lighter color.
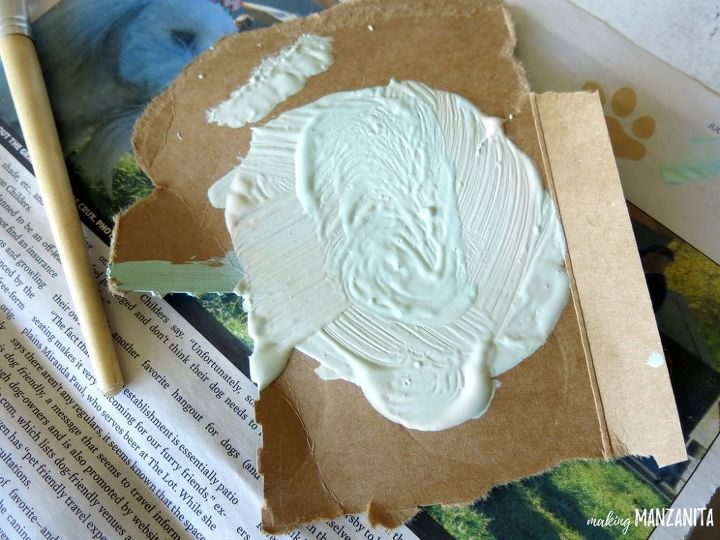
To make the lighter color, just add in a dab of white acrylic paint to your main color. Mix together the paint colors together on a piece of cardboard or paper plate. I used a bristle paint brush for the lighter and darker layers of the ombre sign. You can continue adding more white paint as you get to the top of the ombre painted wood sign.
Step 3. Layer on darker color.
Just like you made the lighter color by mixing in white acrylic paint, you make the darker color by adding in a dab of black paint. Remember a little goes a LONG way with the black paint. Continue adding layers of the darker color as you make your way to the bottom of the ombre painted wood sign.
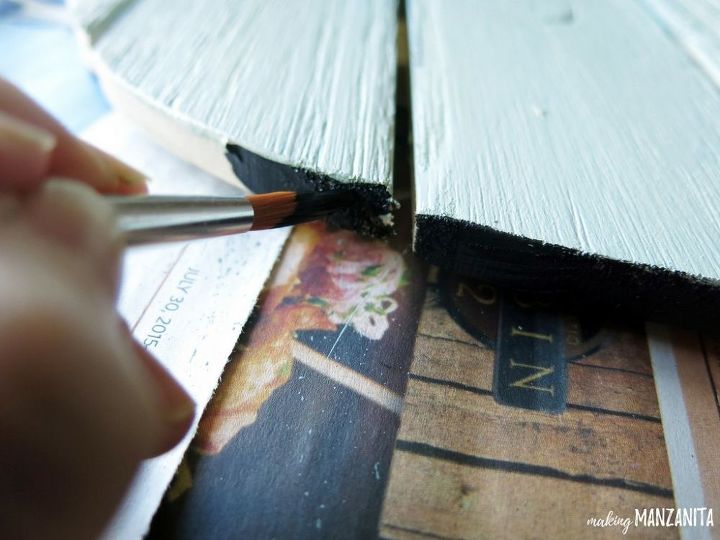
Step 4. Paint edge.
I decided to paint the edge the wood sign with black paint to make it look a little more “finished’.
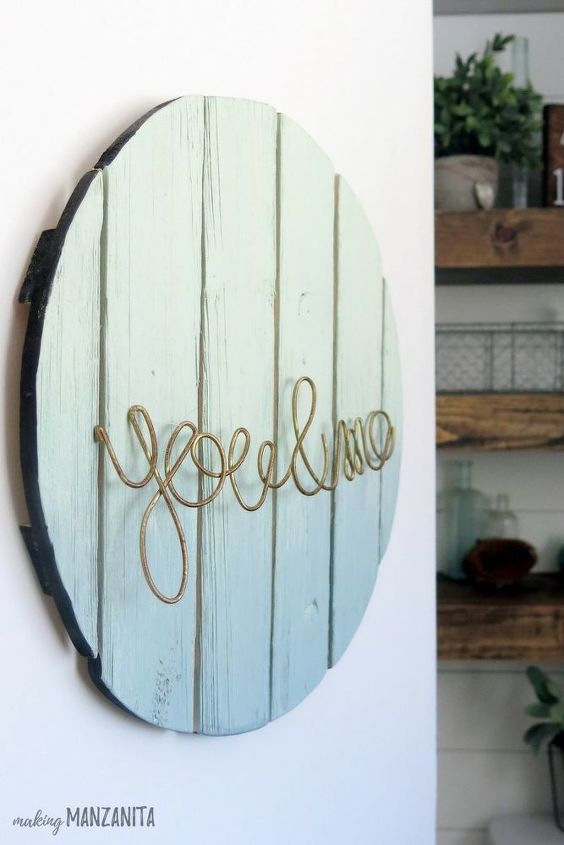
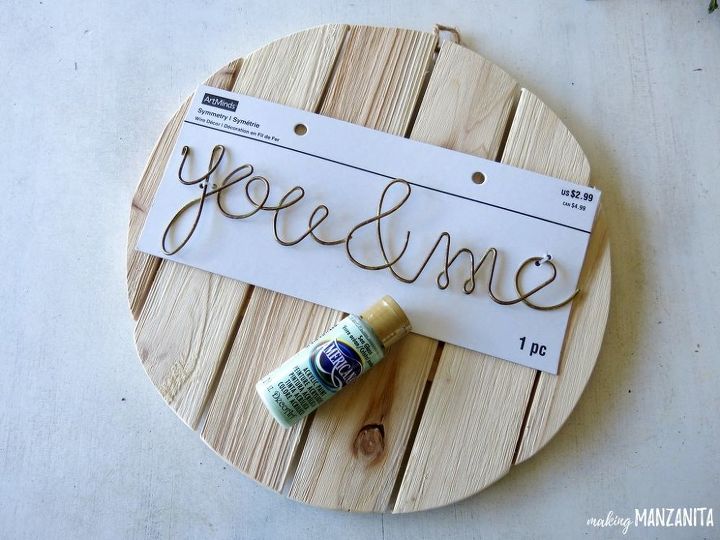
Step 5. Attach wire word.
Don’t you just love this wire word design with “You & Me”? I wasn’t too sure how I was going to attach it, but I knew I’d figure it out! I ended up using fishing line so it was almost invisible looking.
Hop on over to the full blog post (link below) to see how the Ombre Painted Sign turned out and how it looks in our farmhouse master bathroom!


Frequently asked questions
Have a question about this project?