


One Room Challenge Week 3 – Shell Art for Budget Bathroom Makeover
Welcome to Week 3 of the One Room Challenge! Today I’m sharing a DIY shell art project for our budget bathroom makeover! It’s been a week of decision-making about wall stencil and floor color plus this fun little DIY art project for the room!!
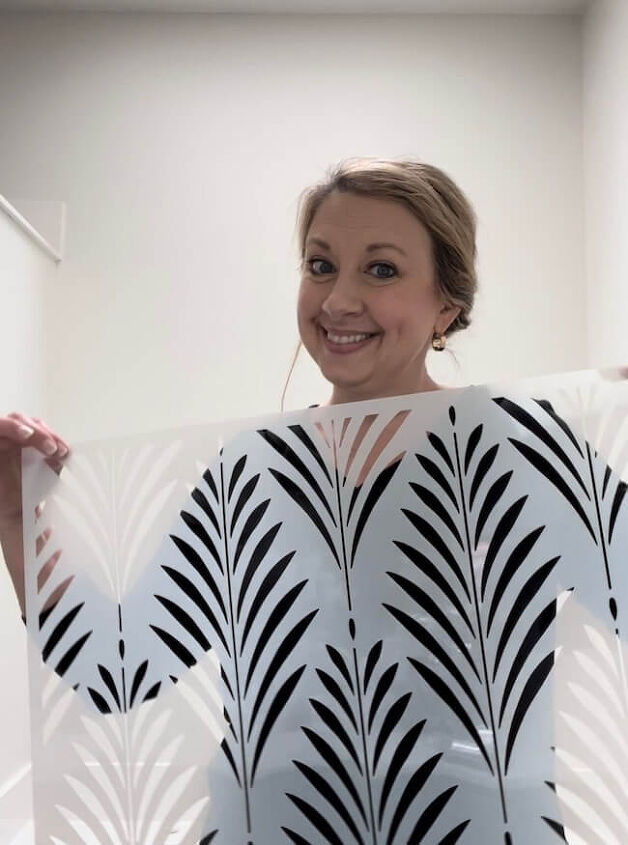
You all, the wall stencil arrived and it’s so beautiful!! I can’t wait to show you how pretty this stencil is!! I am so excited. I’ll get to that later in the post, but first want to show you a fun DIY shell art project I completed this week for our budget bathroom makeover.
(This post contains affiliate links, so I may earn a small commission when you make a purchase through links on my site at no additional cost to you. As an Amazon Associate I earn from qualifying purchases.)
My DIY Shell Art:
As you know, this project is all about keeping costs down, so this project cost next to nothing!!
I have been drawn to framed Intaglio art lately, and at some point, want to give the process a try. Intaglio, pronounced /in’-TAL-yo/ is a word that means engrave, and an intaglio is an object that has an image engraved into it. They’ve historically been used in printmaking, jewelry making, and sealing documents for hundreds of years.
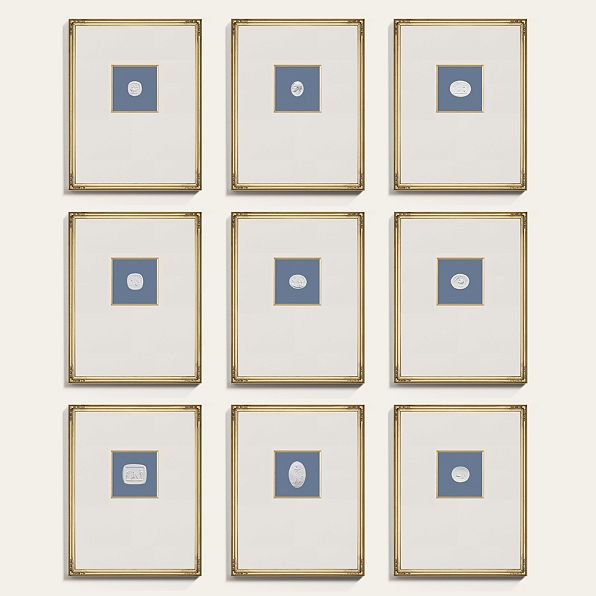
This framed Intaglio artwork from Ballard Designs is an example, and served as an inspiration piece for me.
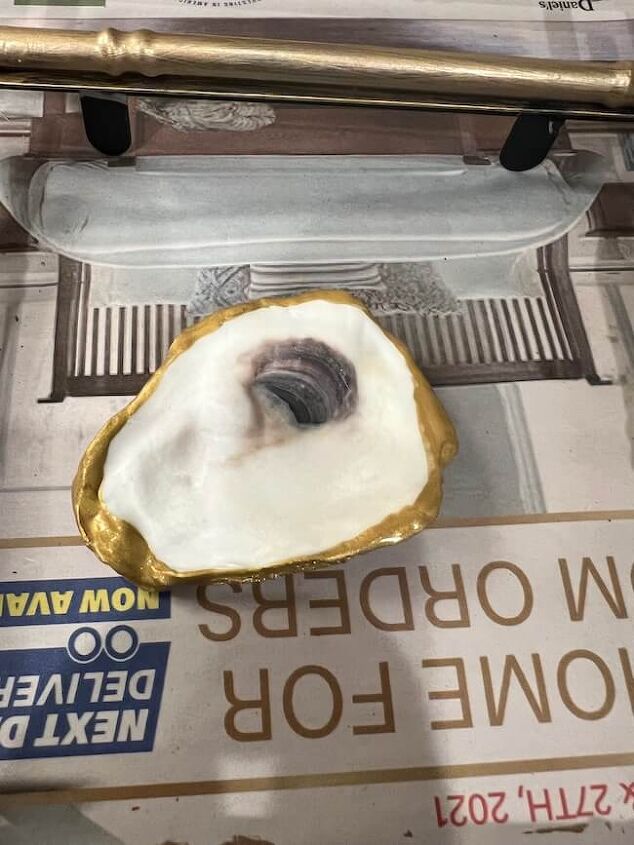
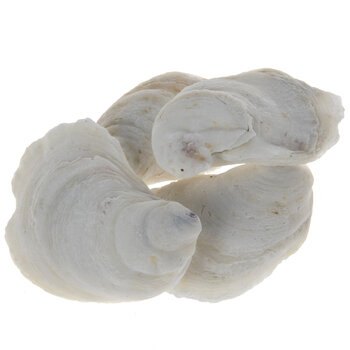
You can make your own plaster medallions for this project, but I chose to simply use some oyster shells that I had on hand to create this look.
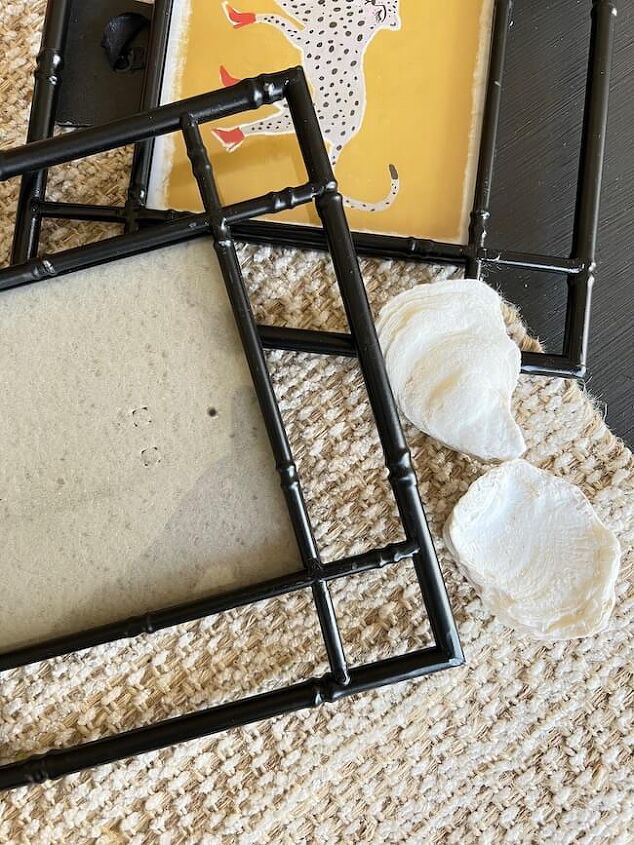
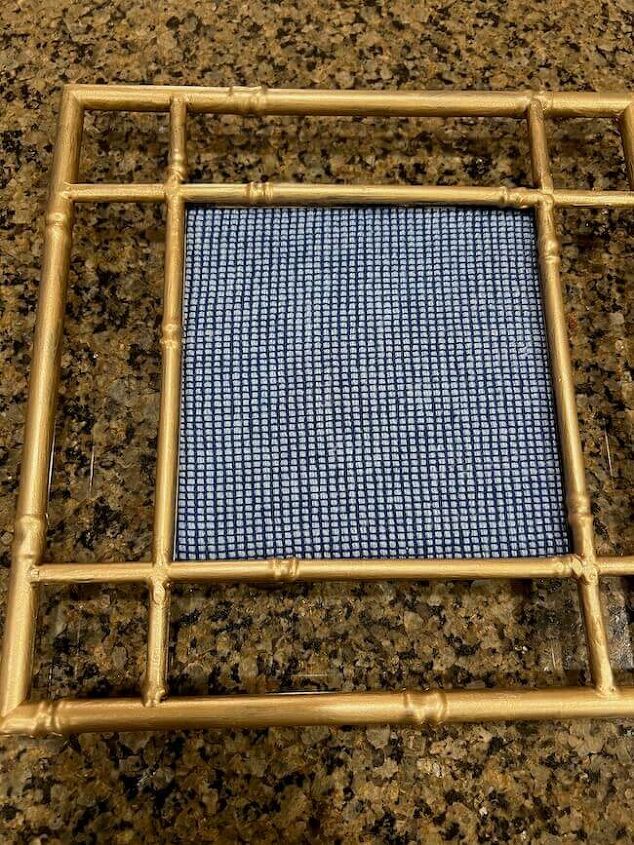
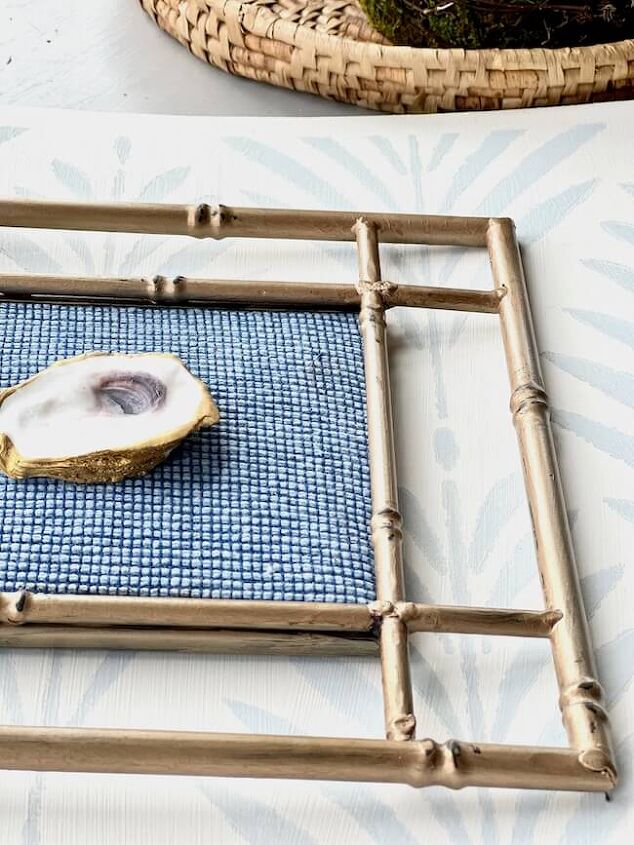
I purchased these “bamboo look” frames from the clearance section of Hobby Lobby a few months ago, but had not used them for anything yet. I decided to give them a makeover, painting them gold and antiquing them a little.
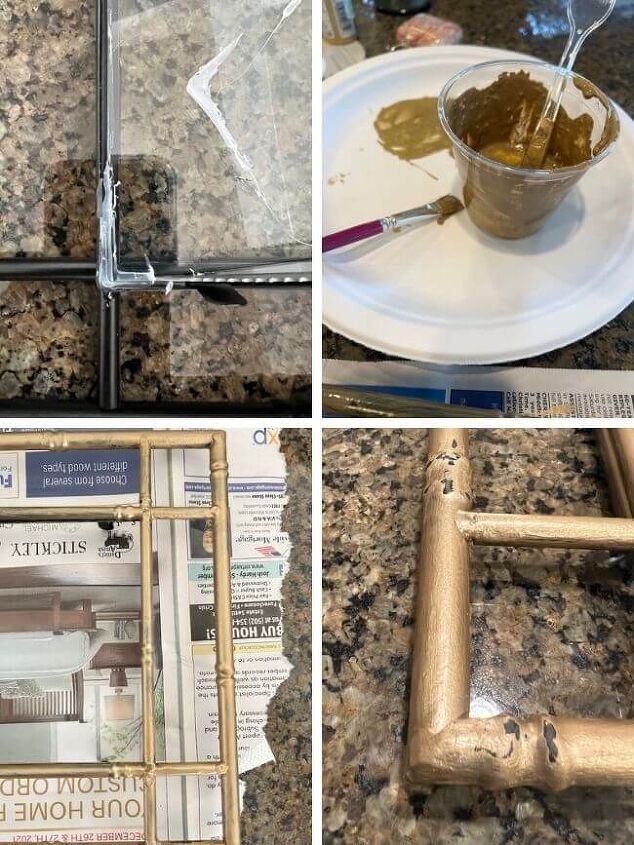
I removed the glass from the frames. The glass was glued into the frames, so I had to carefully peel away the glue to release the glass. Then I painted the frames with gold acrylic paint and, once dry, sanded the raised “bamboo” featured to add interest and age the frames a bit.
Next, I covered the backing of the frame with textured blue fabric.
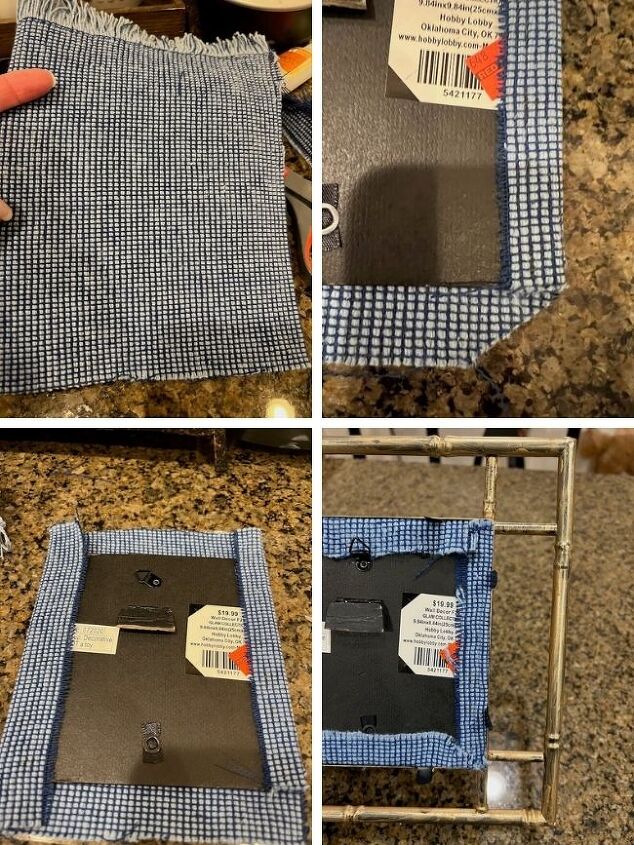
I created the blue textured backing from an old blue table runner and covered the back of the frames using Gorilla Glue.
Warning: Use gloves if you use Gorilla Glue for this process! The glue will stick to anything, including your fingers! Some of the black paper backing on the frame stuck to my finger for a couple of days! Also, be sure to cover the surface where you are working.
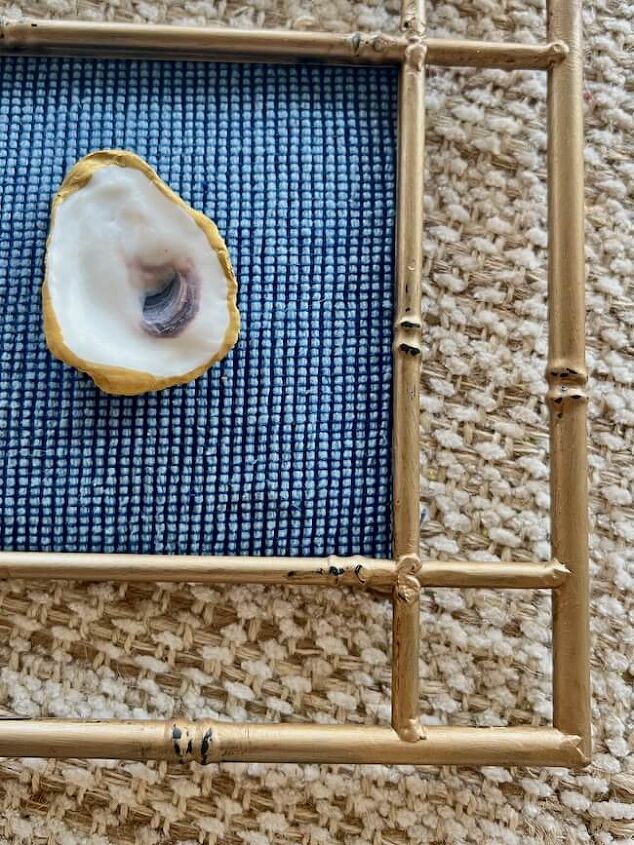
I wanted to add a touch of gold to the oyster shells, so I painted a little gold trim around the edges of the oysters before attaching them to the blue background.
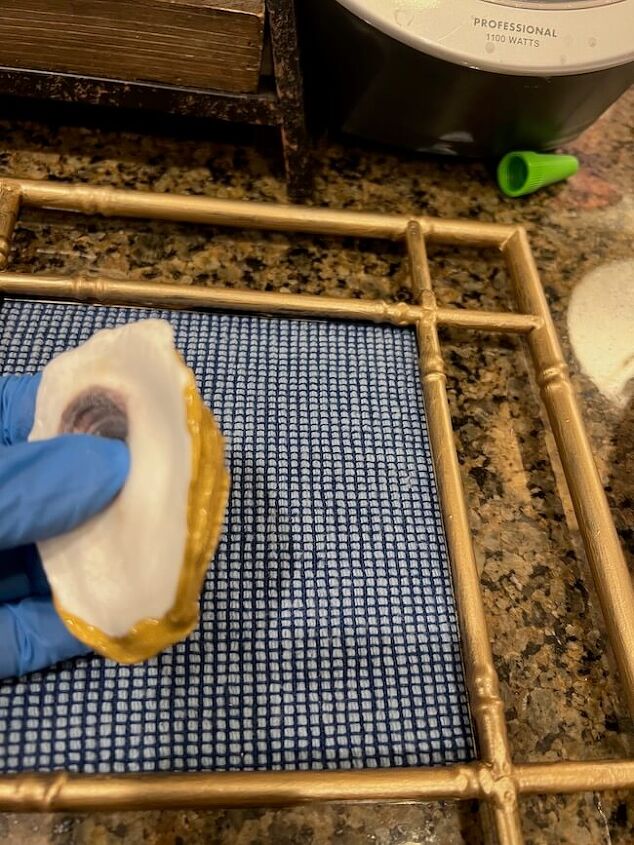
I used the Gorilla glue to attach the oysters. The glue will adhere well to the fabric which is why I chose to use it instead of hot glue. The oysters were a little heavy, and I didn’t want them to fall off the backing once hung.
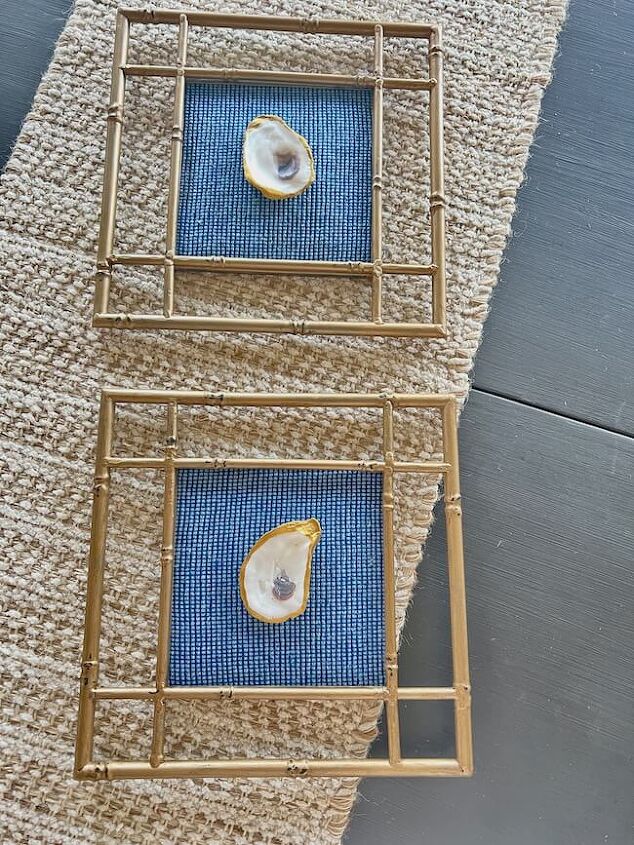
I’m really pleased with how the art turned out. It’s kind of a nod to the Intaglio art that I enjoy and the oyster shells tie in with the elegant palm frond design of the stencil.
Which leads me the wall stencil! I absolutely LOVE it!!
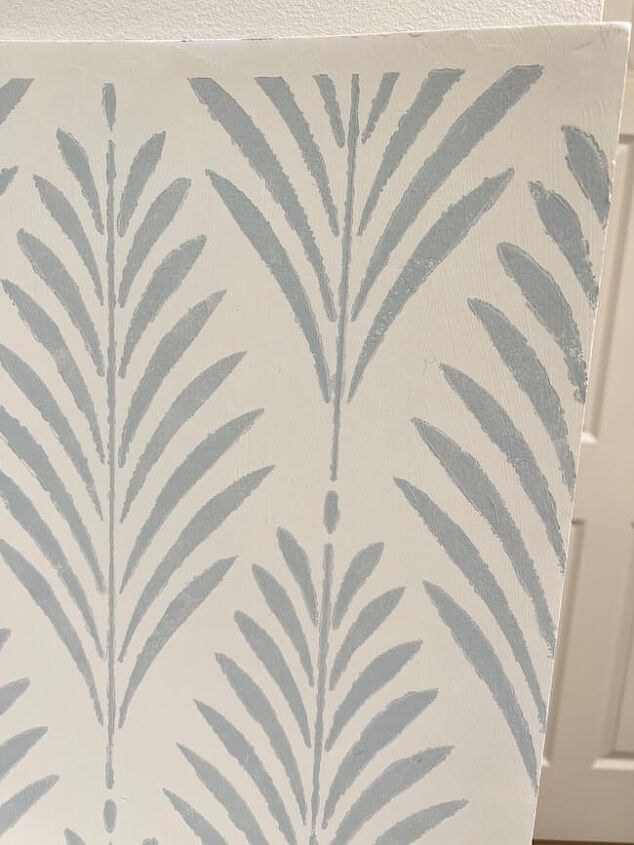
I did a test board to determine the level of color I wanted in the pattern. I was still a little undecided about whether I wanted to go with blue in the pattern, or keep it neutral. I was leaning toward blue, but didn’t want it to feel overwhelmingly blue in the room since the vanity is painted a rich blue.
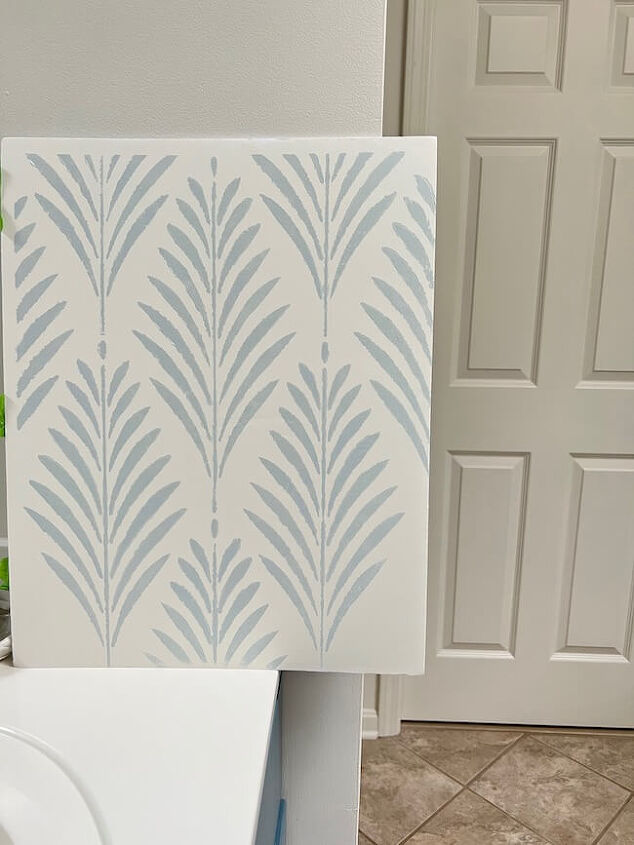
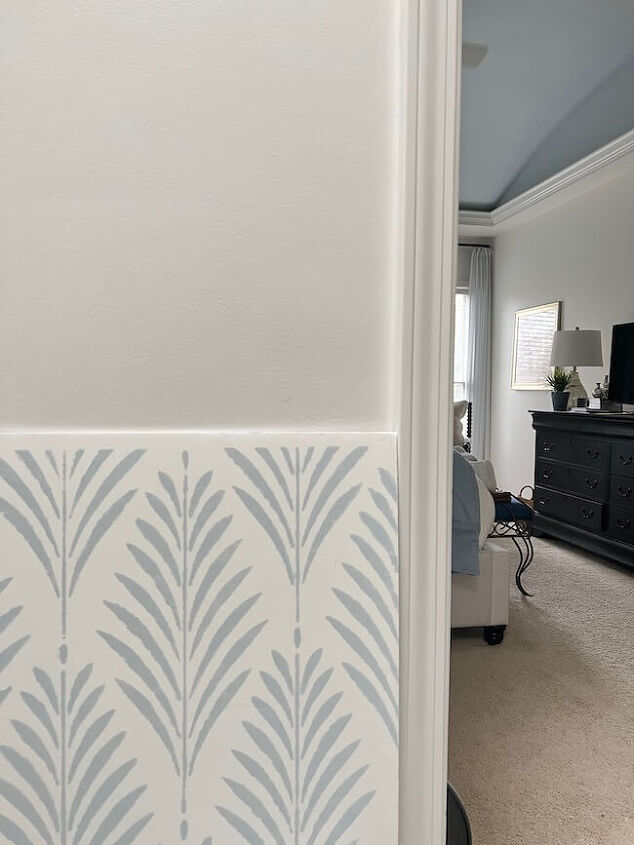
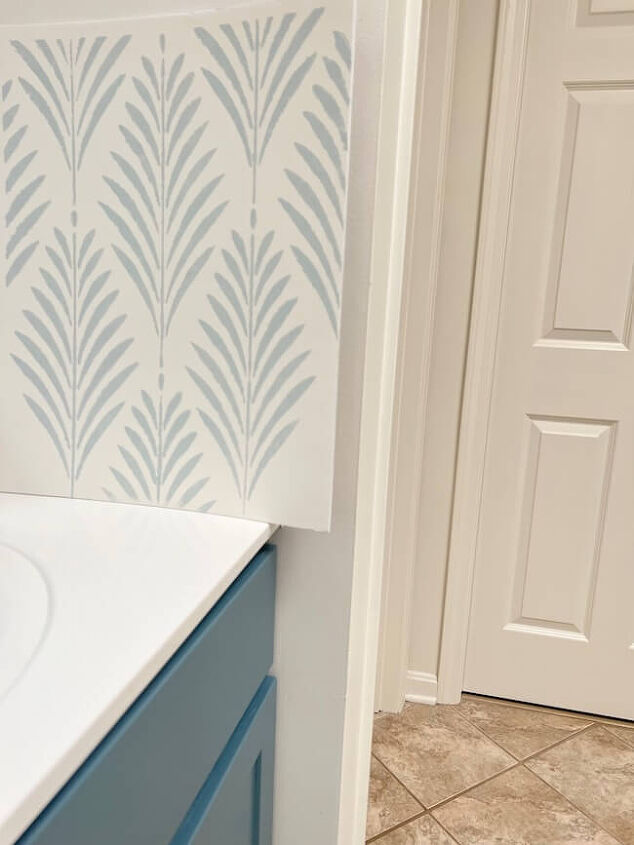
Once I started stenciling the pattern on the test board with Sherwin-Williams Lullaby, I knew that it was exactly what I wanted it to be. I absolutely love it!! I’m not going to lighten it at all. I think its the perfect amount of blue, and it looks so pretty with the vanity painted Sherwin-Williams Blustery Sky and the ceiling of the primary bedroom painted Sherwin-Williams Lullaby.
I tested the stencil using a stencil brush, and soon realized that I need to use a dense foam roller to apply the pattern to the walls, otherwise I’ll still be stenciling three months from now!!
This week ahead is going to be all about finishing the walls! I’ve decided to do an all-over stencil pattern on the walls instead of adding some painted millwork and stenciling above. These next few weeks are a little busy during our evenings and weekends, so I have to stick with things I can accomplish on my own without my husband’s help! Next week, I hope to report in that the stenciling is complete — I’ll keep you posted!!
That’s all for now!!
Thanks so much for stopping by to see my progress this week! Be sure to check out my Week 1 and Week 2 posts to see the vision and plan for our bathroom, and click the ORC link below to see all of the other One Room Challenge projects!

Resources for this project:
See all materials


Comments
Join the conversation
-
Very pretty way to display special shells💕


Frequently asked questions
Have a question about this project?
Can’t wait to see the finished room! I did not see a link for the stencil you used which is beautiful. Could you please provide a link? Thanks