


Vintage Truck Wood Sign

by
Brianna
4 Materials
$7
5 Minutes
Easy
Vintage Truck Decor has grown to be extremely popular over the past year or two. Whether it's for fall, Christmas, or all year round, this DIY tutorial will show you how to create a Vintage Truck Wood Sign all your own :)
Have you heard of Chalk Couture and what it can do to save you time and money with home decor projects? I have fallen in love with these AWESOME REUSABLE transfers that make it easy to make home decor including wood signs. I own a small business making custom decor including wood signs, and the process is time consuming and difficult if you don't learn all the ins and outs of using a die cutter machine along with all the other materials you need.
With Chalk Couture, it's fast and easy! No vinyl, no die cutter, no modge podge, no paint brushes. It's simple. I'm now able to make all kinds of decor (both for myself and my business) in a fraction of the time!
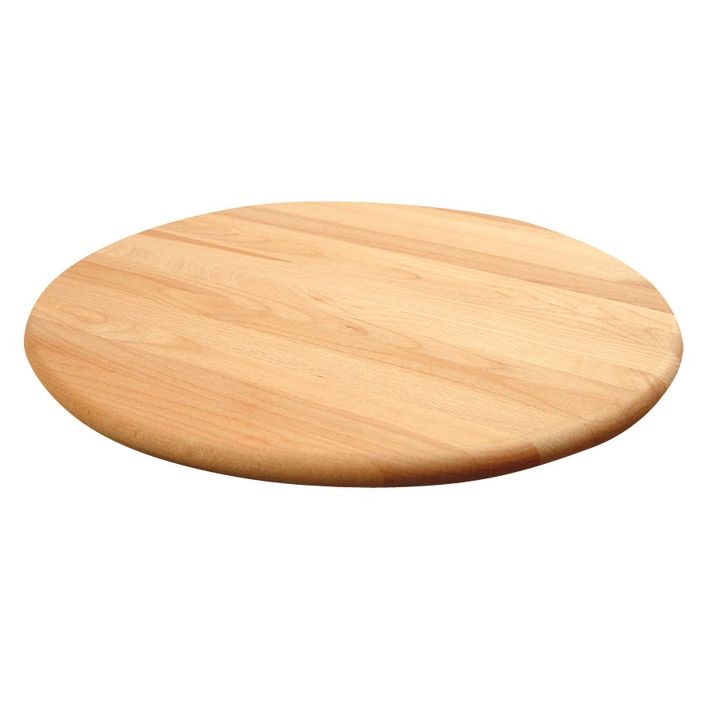
18" Wooden board
First, I purchased an 18" pre cut and sanded board from my local Menards store. You can find these at any home improvement store in the lumber section. I paid $3.15 for it.
I stained the wooden round with Miniwax Dark Walnut stain (found on Amazon). Once it was dry (let dry for 6-8 hours), it was time to create!
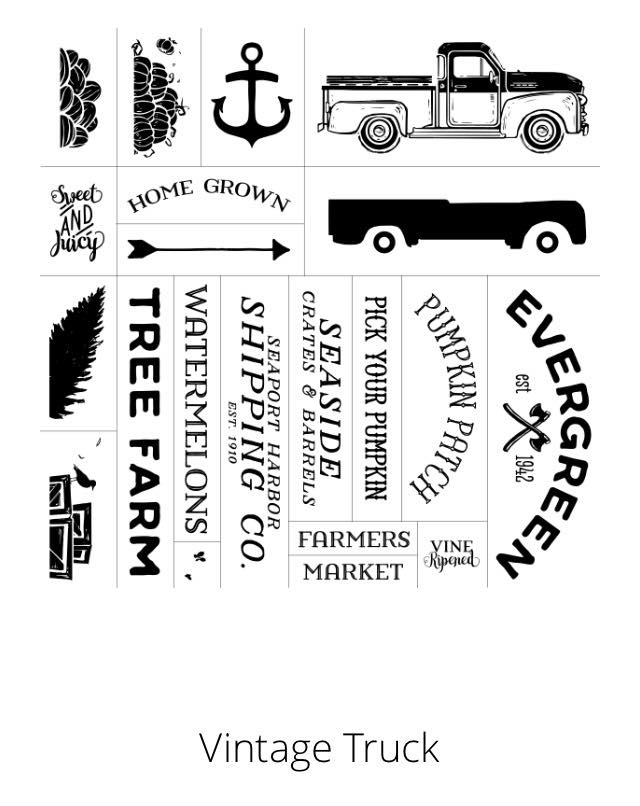
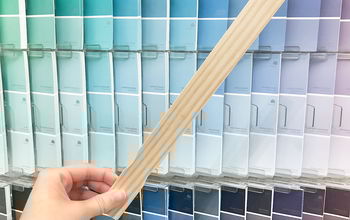
Truck Transfer from Charmingchalker.com
You can purchase the vintage truck transfer at charmingchalker.com. It comes in multiple pieces like shown above. This allows you to be creative and make your own custom designs with the many different transfers it comes with!
{
"id": "4380750",
"alt": "Time Lapse of the process!",
"title": "Time Lapse of the process!",
"video_link": "https://www.youtube.com/embed/fBmNDh5-mGc",
"youtube_video_id": "fBmNDh5-mGc"
}
{
"width": 634,
"height": 357,
"showRelated": true
}
With this particular transfer, layering is required to get the desired look. I laid the first layer down and used chalk paint (waverly brand found at Walmart) and a foam brush to apply paint. But, Chalk Couture offers their own chalk pastes and squeegee applicators which can be found at charmingchalker.com. I ran out of my chalk paste and was dying to try this transfer, so I used my Waverly chalk paint, which worked great! But, the Chalkology Chalk Paste is the recommend "paint" to use :)
To quicken the drying time, I used my heat gun to dry the bottom layer before applying the next stencil needed (watch time lapse video below for more details on this process).
I continued this process until the desired design was complete.
It took me a total of 3 minutes to make this custom sign!!!! (not including stain drying time) You can't beat that!
Once I was finished with the transfers, I washed them off with soap and water and a disinfected wipe and let dry with the sticky side up. Once they were done drying, I put them back on their paper backing, and they are ready to use for the next time I want to create something with them (they can be used up to 20-50 depending on the different media you apply them too!!)
Once your design is done and dry, you wax it with chalk paint finishing wax or spray it with a finishing spray such as polyurethane.
You do not need to be a Chalk Couture Designer to order these amazing products, but if you'd like to join my growing team "Charming Chalkers" please let me know! Otherwise you can purchase all the supplies needed at charmingchalker.com :)
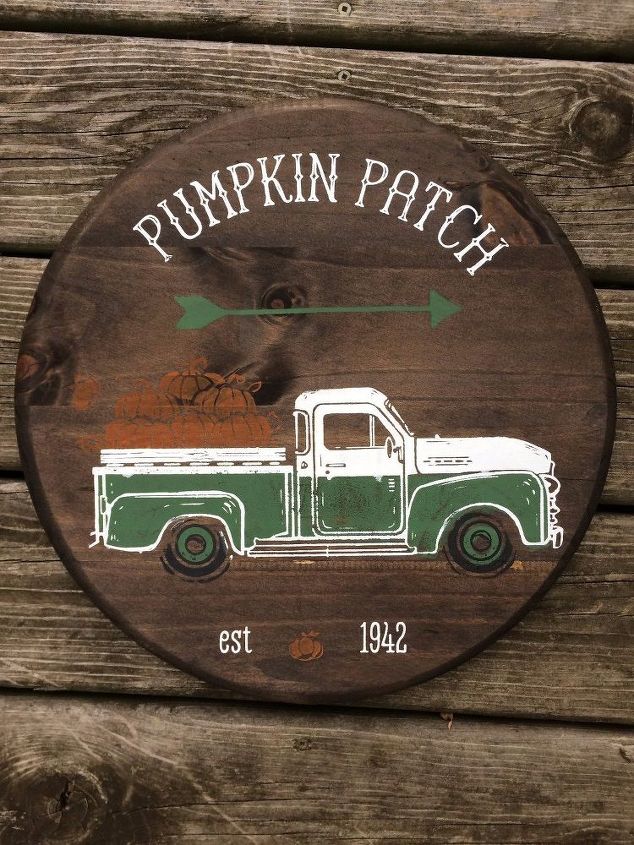
The Final Reveal!
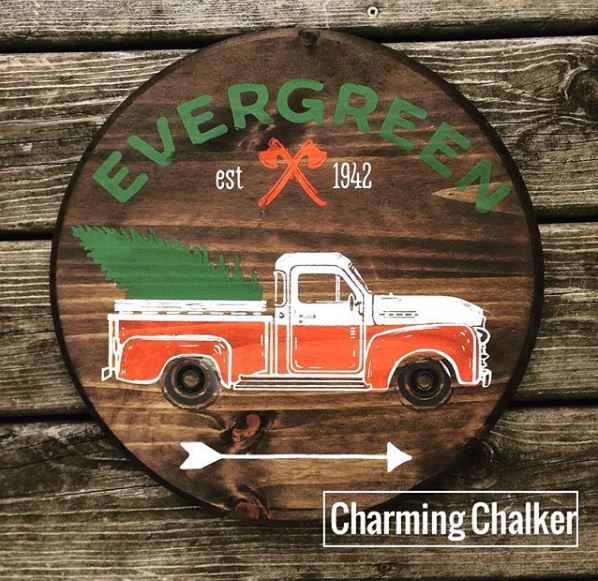
Here is another sign I create right after the Pumpkin Patch sign with the same transfer! All set for fall and Christmas decor ;)
Want more details about this and other DIY projects? Check out my blog post!
Comments
Join the conversation
2 comments
-
Awesome sign and project! I have never heard of these type of transfers but I cam certainly going to look them up. Thanks for sharing such a great project. I love anything with vintage trucks.


Frequently asked questions
Have a question about this project?