


How To Power Wash Siding Quickly And Easily
How To Power Wash Siding Quickly And Easily
Power wash vinyl siding quickly and easily with these simple steps
Adam said the easiest way to pressure wash vinyl siding is to just ask your husband to do it.
He’s not wrong, that’s basically what I did… But he does have a full proof method to make it quick & easy for the lucky man in your life 😉
We are currently in the process of a complete garage/workshop renovation & this is one of those things that are less fun but need to be done!
It’s always good to regularly pressure wash to keep your exteriors looking fresh & clean.
In our case we needed it to be extra clean for painting.
If you saw our design board for this soon to be workshop you know I have big plans involving an accent wall!
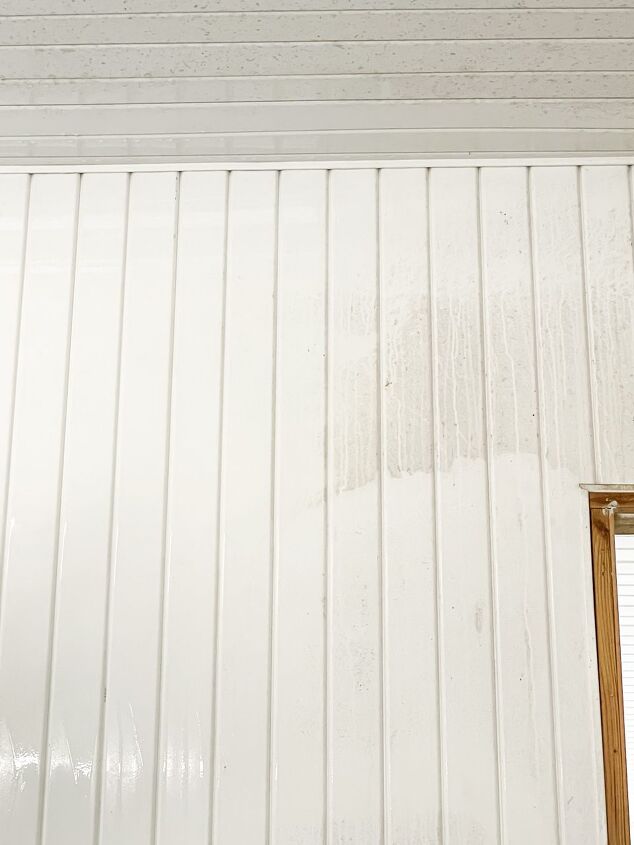
I have big dreams for this space but let’s take a look at this really awful garage before photo so we can get that out of the way…
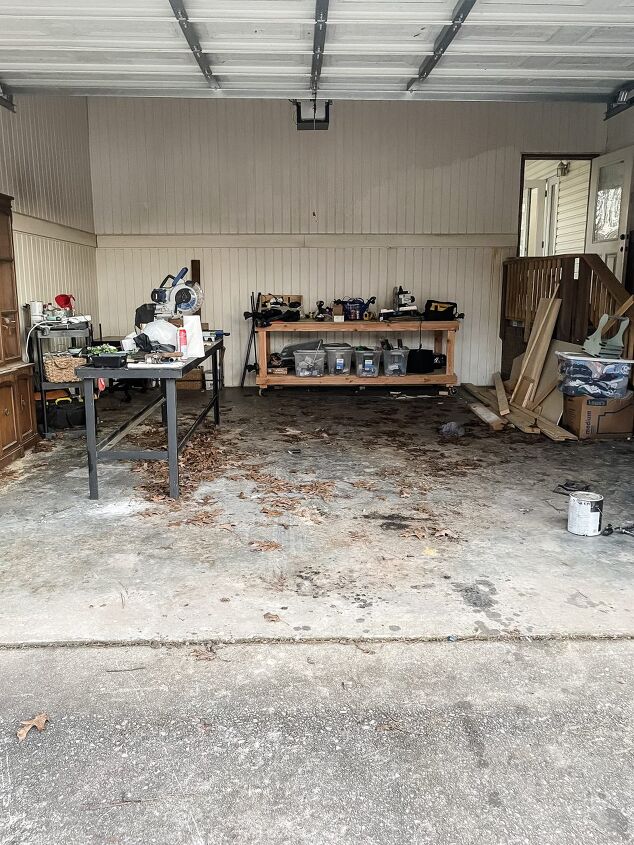
It’s not good, but there is always potential… right?
How To Power Wash Siding Quickly And Easily
Supplies:
- Pump Sprayer
- Pressure Washer
- Clorox
- Water
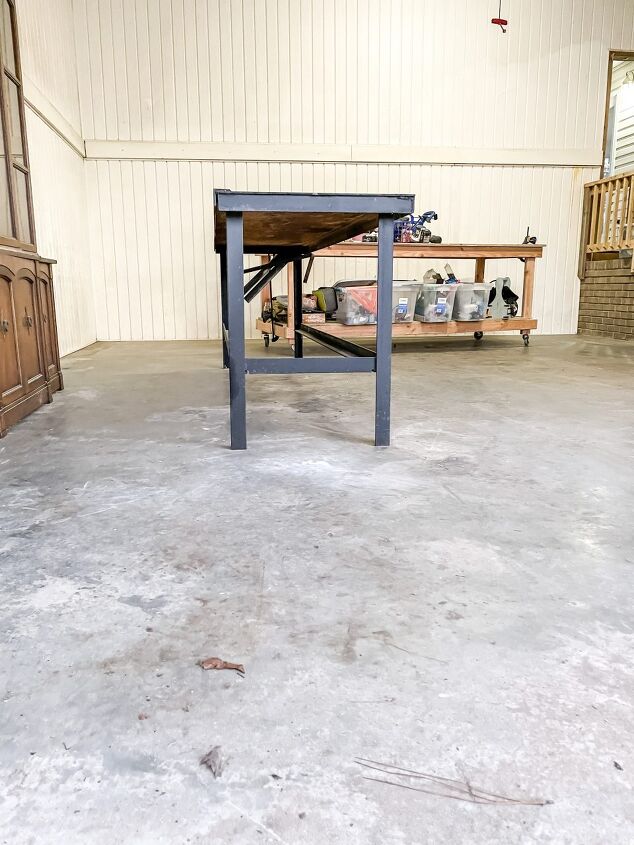
The first step to prepping your area for pressuring washing is obviously cleaning up the space a bit.
Remove everything you don’t want wet because trust me, it’s all getting wet!
Lucky for us the workbench we built has wheels & rolled out easily.
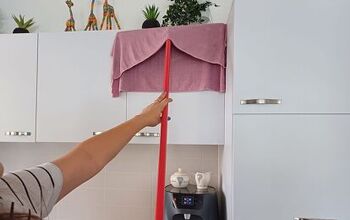
The china cabinet was another story, we ended up moving it off the wall & just covering it with a tarp.
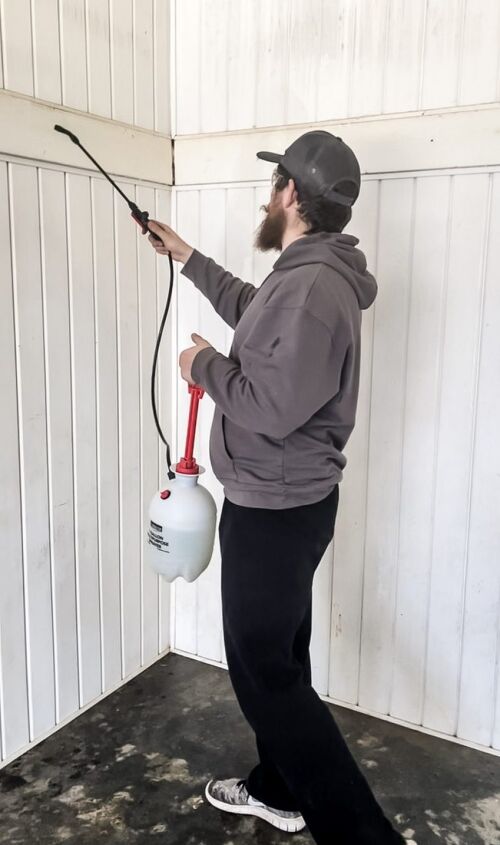
Next, Adam mixes up the secret sauce of pressure washing!
He combines Clorox & water (1:2) in this spray bucket & coats the walls with the mix.
You can literally see the dirt running off & it’s awesome & also gross.
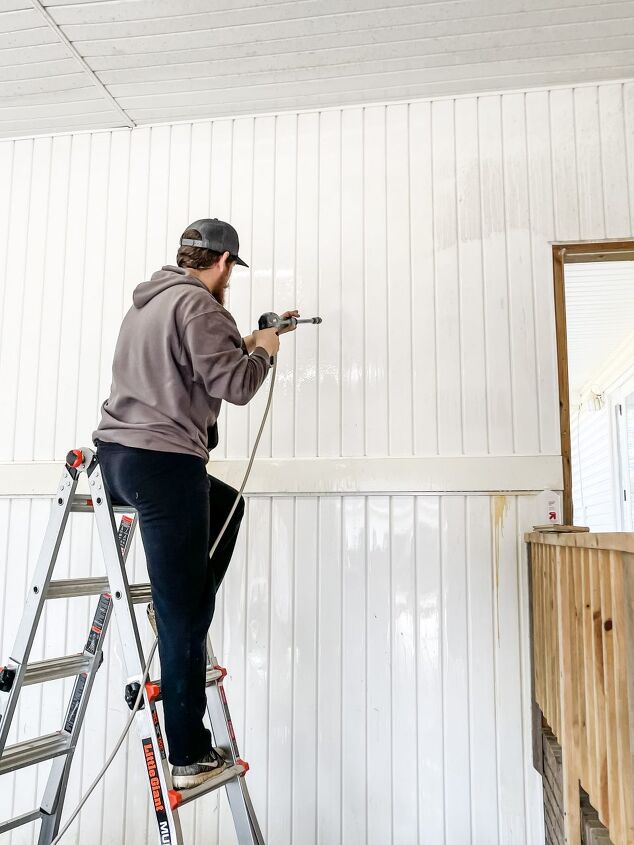
After everything is coated with the cleaning mix, he works from the top down with our pressure washer.
You can see very clearly the spots he has & has not gotten to yet!
If you have stubborn areas unwilling to cooperate with the pressure washer, spray again with the cleaning solution & let it set for a few minutes.
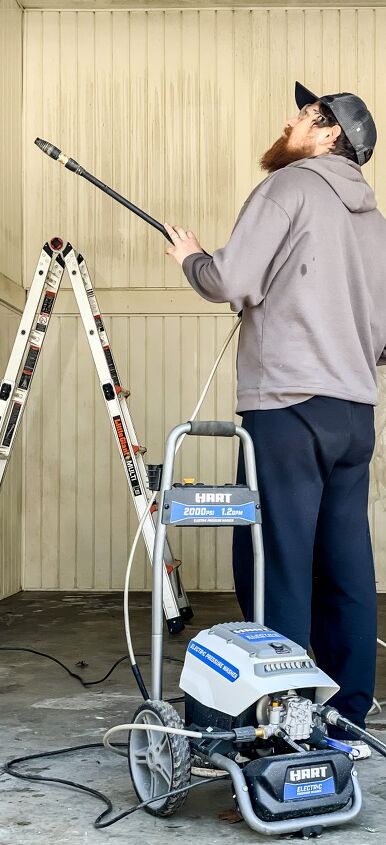
This pressure washer from HART Tools is by far the most powerful one we have ever owned!
Plus I really love that it is on wheels & so easily to move around your working area.
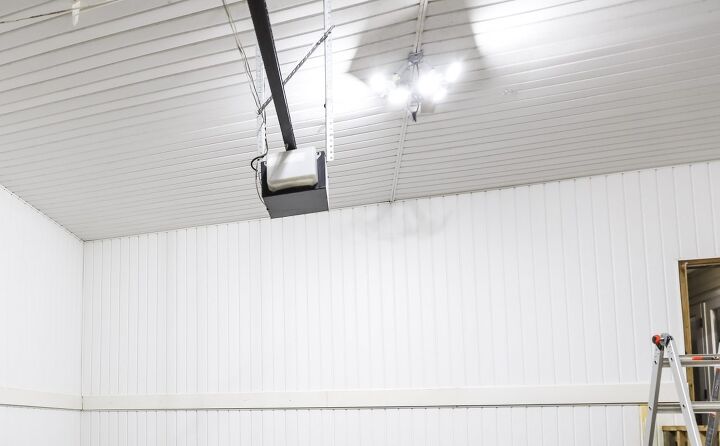
He got the entire garage done really quickly & it looks so much better!
The secret to making the process quick & painless is letting the cleaning mixture cover the walls & giving it time to penetrate the dirt & grime.
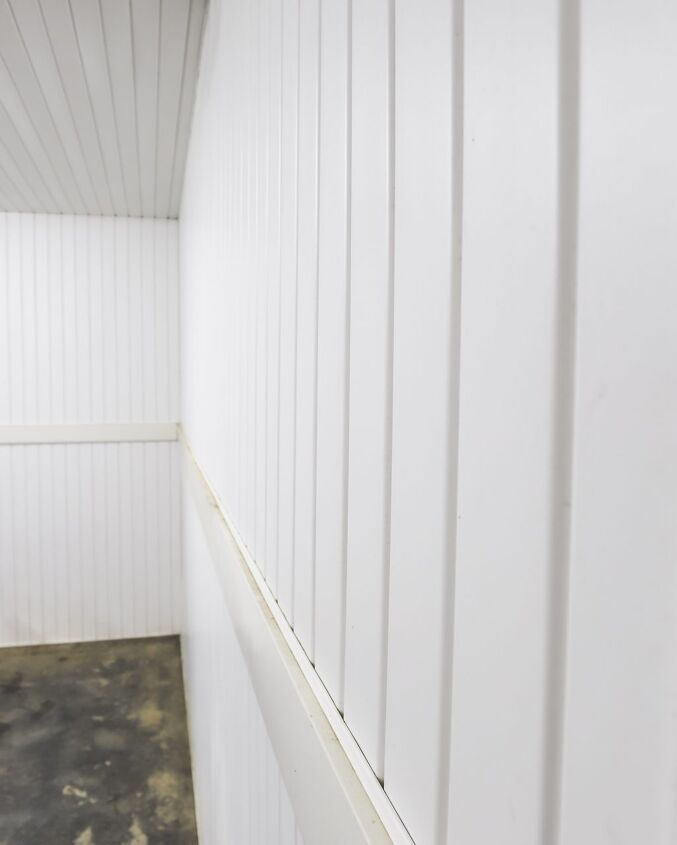
Now that the dirty work is over we can officially start phase 2 of this garage renovation: Painting!
You can follow along with the rest of our garage renovation here or on Instagram.
We can’t wait to turn this space into a functional, organized, & still cute workshop!
UPDATE: See Our Painted Garage Floors HERE!


Frequently asked questions
Have a question about this project?
Did I miss the most important part of the equation? Where is the ratio for the “secret sauce”?