


Storage Bench Makeover

10 Materials
$20
5 Hours
Easy
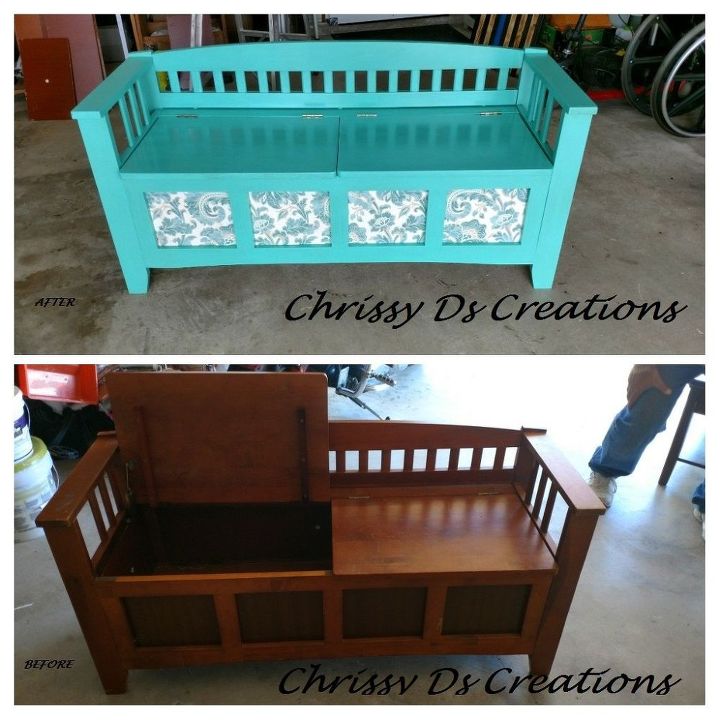
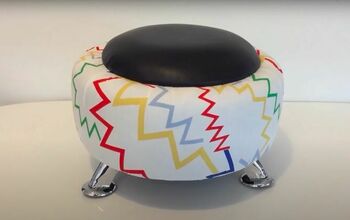
Restored life into a storage bench that was left at the curb using Fusion Mineral Paint - in the color Azure & Antiquing Glaze provided by HomeTalk! Yes, I trashed picked!
(Thank you HomeTalk!!!!!!!  )
)
)
I took the storage bench apart to sand down and inspect each piece of wood. (Trying to figure out why this awesome bench was thrown away) . By taking this bench apart, the only defects were the broken hinges ,missing wood plugs and the flimsy cardboard inlay.

Here is the Fusion Mineral Paint from the Penney & Co. Collection in the color called Azure along with the Fusion Mineral Paint - Antiquing Glaze that I received from HomeTalk to give a try.
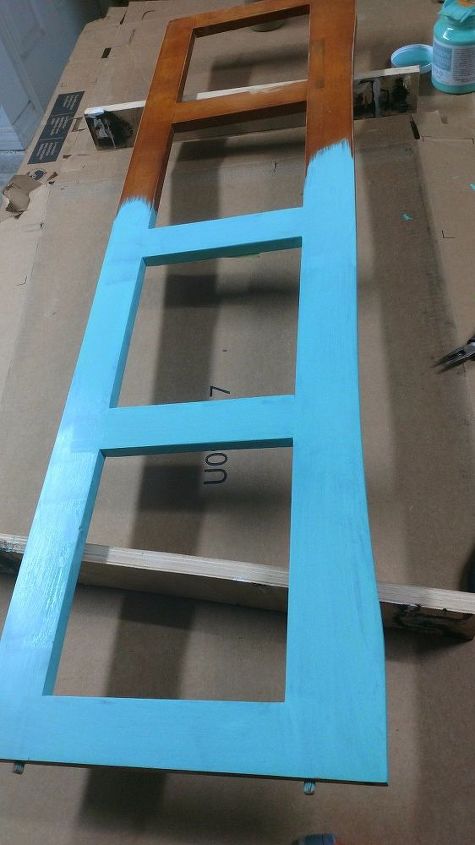
I applied the first coat of Fusion Mineral Paint in the color Azure using a Synthetic Bristle Brush. The mineral paint goes on so nicely. It's so easy to work with. (plus, easy clean up!!)
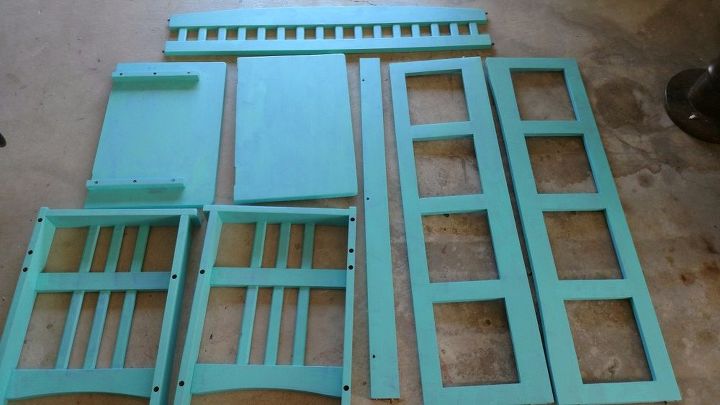
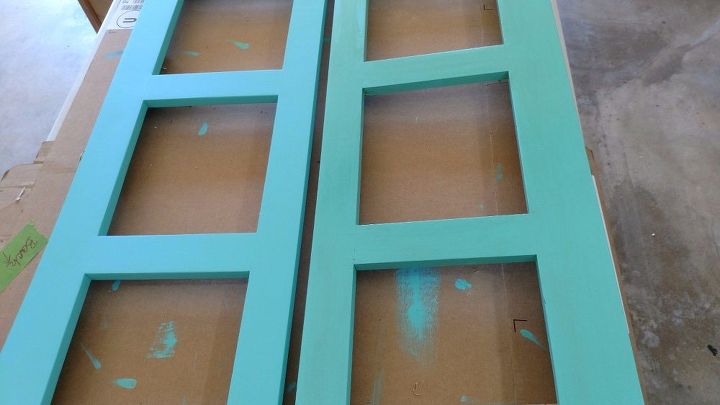
First coat of Fusion Mineral Paint in the color Azure has been applied to both the front and back sides of the bench. You can see some of the wood through this step. I did not prime. I then waited for it to dry and then applied a second coat of Fusion Mineral Paint in the color Azure to both the front and back sides of the bench. The second coat gave full coverage. I can not see any of the brown wood through the paint.  Also repeating the steps on the small round wood plugs that cover the screw holes.
Also repeating the steps on the small round wood plugs that cover the screw holes. 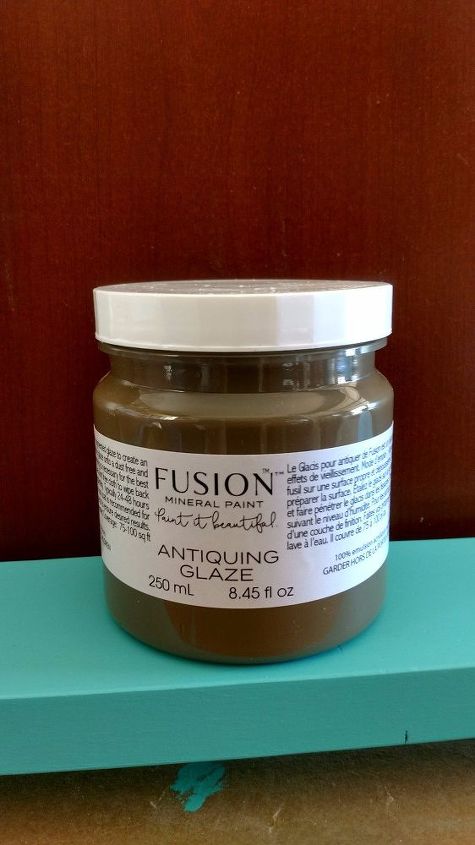
Now onto the Fusion Mineral Paint - Antiquing Glaze!! So excited!
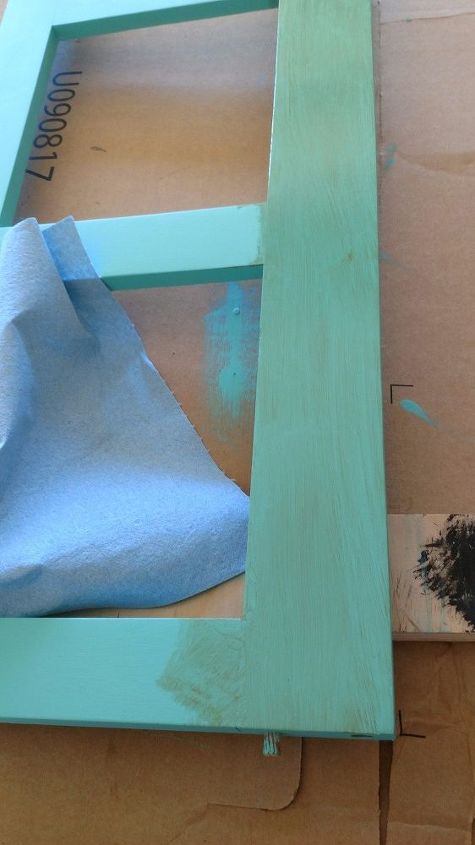
Here I am applying the antiquing glaze using the same synthetic brush (of course was rinsed and cleaned after painting). I used the antiquing glaze sparingly and then gently wiped off with my lint free rag.
Here I want to show you the difference. The antique glaze has been applied to the right and the left has not been glazed. You'll notice how the glaze has toned down the color. Loving the outcome! I repeated applying the antique glaze on the entire project, including the small round wood plugs. Let the glaze dry for 24 hours for extra durability before applying a protective coat. After 24 hours, I applied a coat of polycrylic using a synthectic bristle brush in one direction, making sure not to over brush. I allowed the first coat to dry for 3 hours. I lightly sanded using 220 grit sandpaper to ensure an even finish. Wiped it down and applied a second coat of polycrylic using the same steps as the first coat.
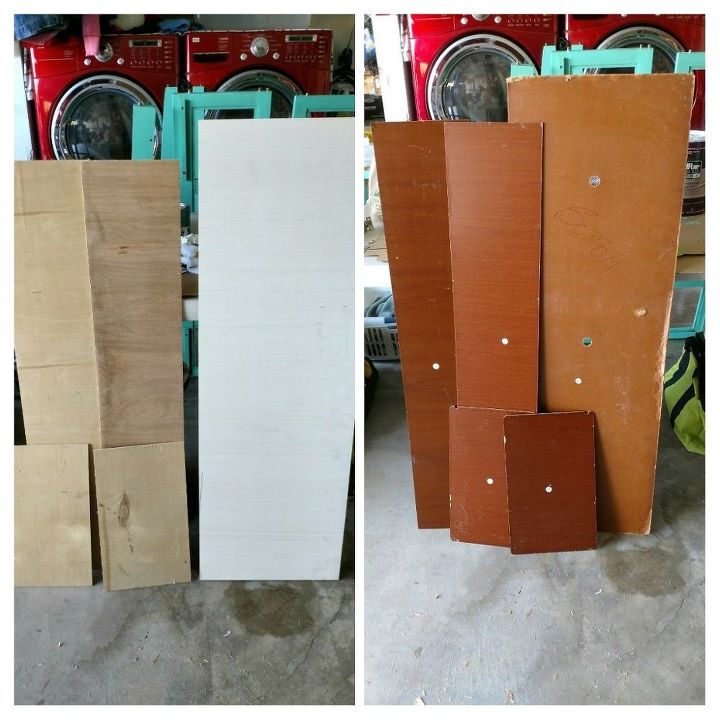
The right photo is the old cardboard inlay that was attached to the bench. I felt it was old and too flimsy. I had some scrap luan and sanded plywood in the garage so I cut it all down to the same size as the old cardboard. I painted all the new wood in a light beige and threw the old flimsy cardboard away. I used the luan for the sides and the sanded plywood as the new bottom.
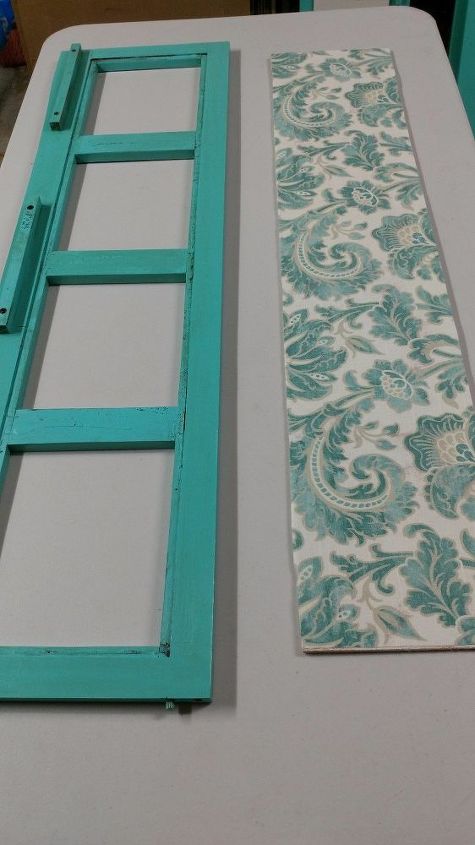
I cut the fabric that I purchased at Jo-Ann's fabric down to the same size as the luan. I applied a coat of Loctite spray adhesive to one side of the cut luan and applied the fabric. Making sure that there were no wrinkles and it was smooth. It repeated this step on all the luan for the 4 sides of the bench. (I purchased 2 yards of this fabric, it's better to have too much, then not have enough).
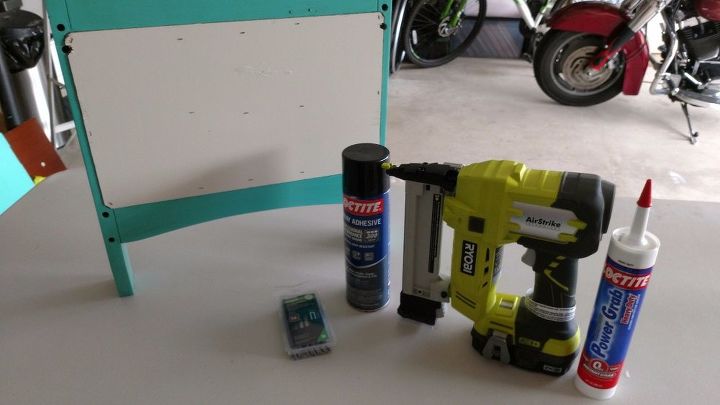
I attached the luan with the fabric side facing out using a small dab of Loctite power grab and my staple gun using 5/8 staples. I repeated this step for all 4 sides of the bench.
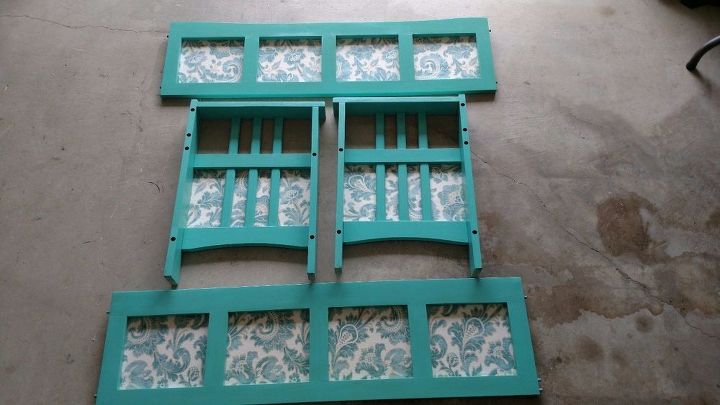
All four sides completed with the installation of the finished luan with fabric.
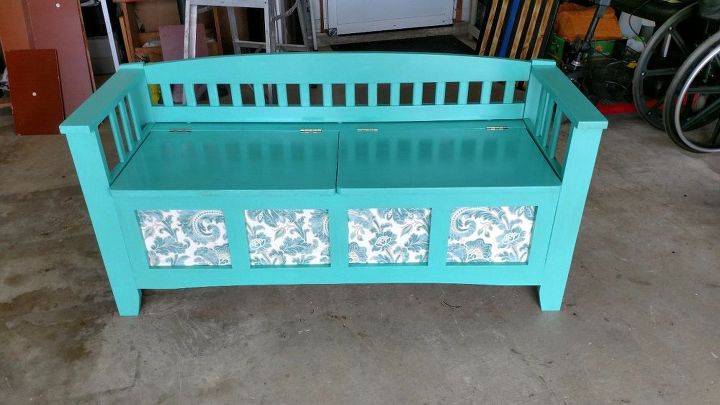
I assembled the bench. Installed new hinges! And this is my beautiful transformation. A perfect example of trash to treasure! Thank you HomeTalk and Fusion Mineral Paint for allowing me this opportunity. I am extremely pleased with the product and will use it again on any future projects that I may have.
Comments
Join the conversation
3 of 15 comments
-
so beautiful! Love the color you chose.
-
Beautiful work.


Frequently asked questions
Have a question about this project?