


Closet Makeover

Makeover a closet with floor storage luggage compartment, and a section for Vinyl Lps.
---------------------------------------------

The closets in our house are all small reach-in type closets, with bi-fold doors. For quite awhile I have wanted to do a closet overhaul, and this week I am going to start with the bottom shelf that I would divide. The left side of the closet floor for my LPs and the right side for my carryone suitcase compartment.
Last year we re-decorated our room and gave the closet doors a nice makeover.
The following post will show the steps to doing a closet installation. I hope it will help you with the your project and plans that lead you to my Blog Post! Thanks for viewing!
--
The first thing I did for this project was to take measurements. I measured the width of the back wall, and used this to determine the width of the shelf. It would need to be somewhat tight for my shelf to fit on top of the 1" support frame, and the compartment top and shelf would have to fit on the divider together.
On the first day of the build I started by emptying the closet of all the clothes and items that I had stored on the floor of my closet. The upper shelves were left in place as they were out of the way.
--
With the floor area cleaned out, I was ready to start building thet bottom shelf and storage area for some of my LP's and suitcase.
I cut from a half sheet of 5/8" MDF, and only needed a small portion of the sheet stock for this shelf. Below you can see the 2 pieces.
--
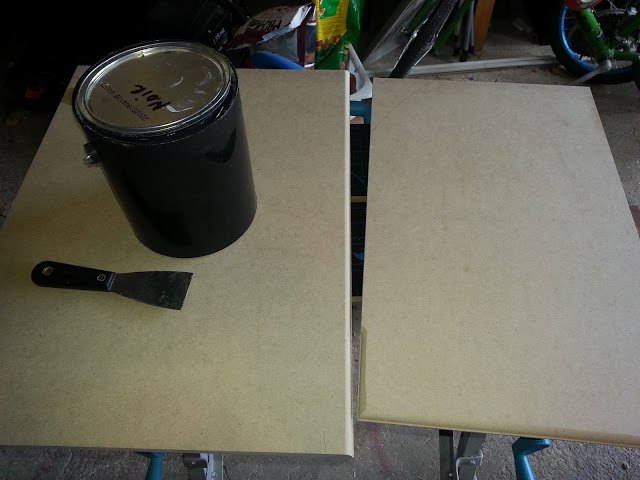
I cut two pieces of 5/8" MDF to fit the between the left and right wall that I would use for my bottom shelf. The piece on the left would be above my record collection, and measured 32" x 21". The one on the right was made to cover my carry-on suitcase and measured 17"x30". I rounded over the front of the shelves with a 3/8" roundover bit, and I was ready for paint.
--
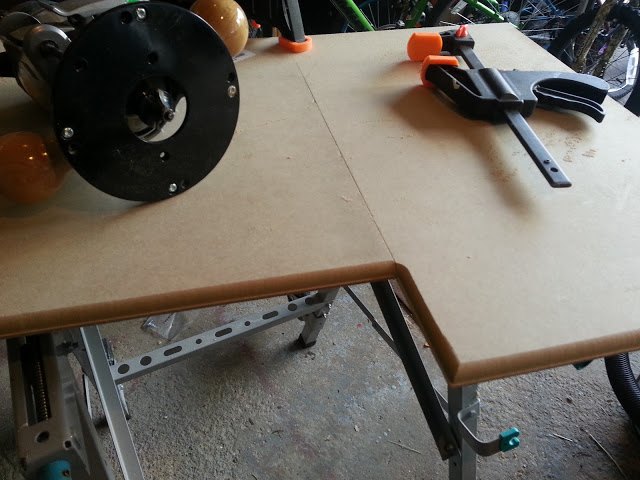
Before I routed the edge, I clamped the 2 pieces together and used a round over bit following the front of the shelf. This is the way the 2 pieces would sit on the frame against the back of the closet. I didn't round over the entire shelf so that the true edges would lat flat against each other, and against the walls of the closet.
--
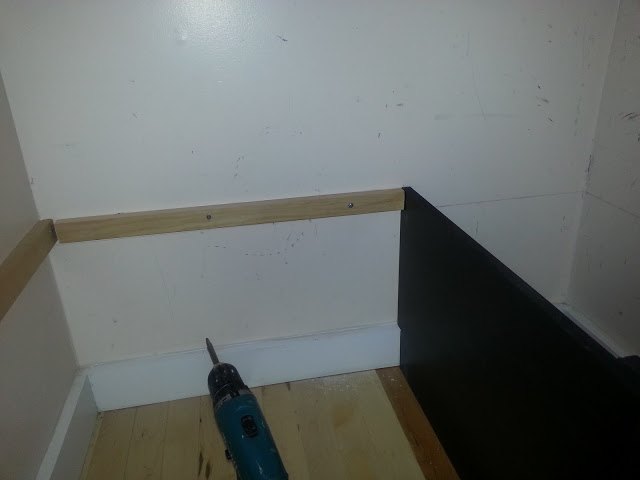
I would need to install the shelf support into the closet walls, as well as add a divider between the suitcase compartment and the floor storage for the LPs
I used 1" frame material screwed into the closet walls. I used a stud finder to determine where to screw the frame in for support. I could have used drywall anchors as well, but I was able to find the studs, and it saved a couple of steps, and drywall dust that you get when adding anchors.
--
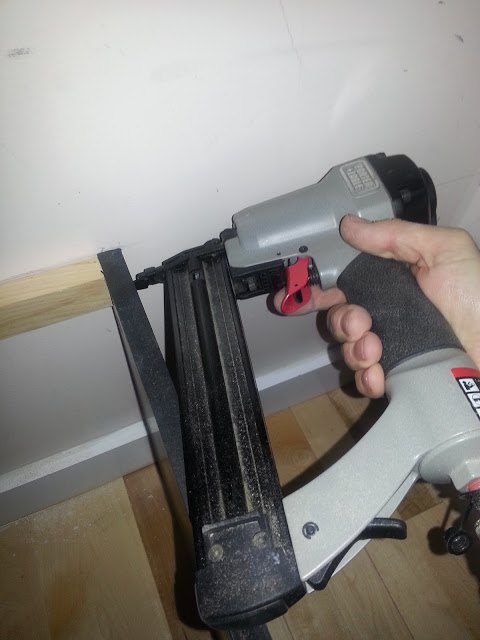
I put in a divider to separate the two compartments. To Install the divider between the LPs and the suitcase compartment, I tacked the rear of the divider against the left frame support with 1" brads, using a nail gun. Not shown he I also attached another piece of frame 1" frame material above the floor board and tacked the divider against it using the nail gun on the right side of the divider. The front of the divider would be secured to a 2"x2" (see below).
--
I tacked the divider to the 2"x2" in the front, and here you can see the installed brace in the back above the floor board for support along the bottom of the the divider.
--

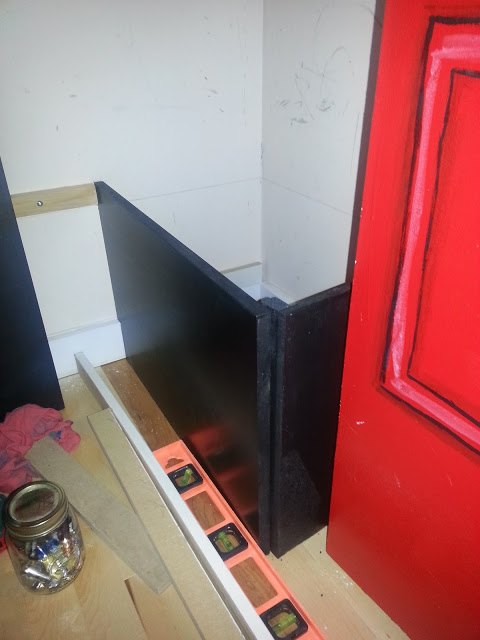
Here is a view of the front of the suitcase compartment. I added a strip of wood along the wall side of the front to attach both the front of the compartment to the strip, and then the strip to the wall for support.
--

My suitcase managed to fit into the compartment with a tight fit. Here you can see the rest of the shelf support frame along the back wall and right side of the closet that I painted the new interior color already. I chose blue for the inside of the closet.
The left shelf could be tacked into the support frame, and the suitcase compartment top was removable so I could stow my suitcase, or get it when I needed it.
--
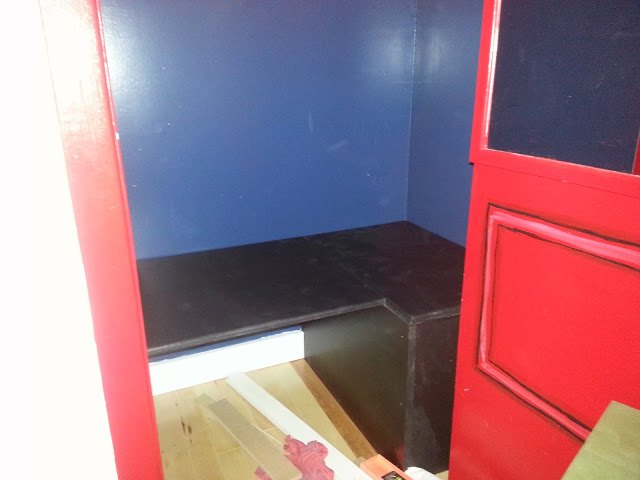
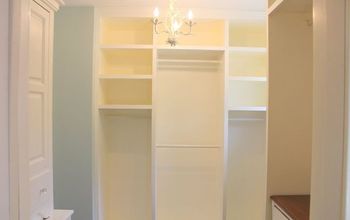
Here is the completed shelf and compartment in my closet! It has enough room for 2 rows of LPs, and my suitcase is hidden out of the way when I open my closet. For more information and photos of my closet makeover, go to my site:
https://dyipost.blogspot.com
Thank you for reading my post! I hope this may give you some ideas and may help with instructions for your own closet makeover! I didn't provide actual measurements because each closet has different widths, and you will need to modify this to fit into your own closet!
--
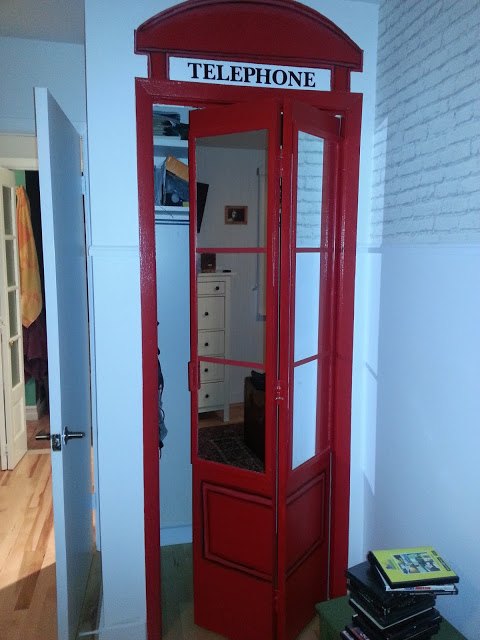
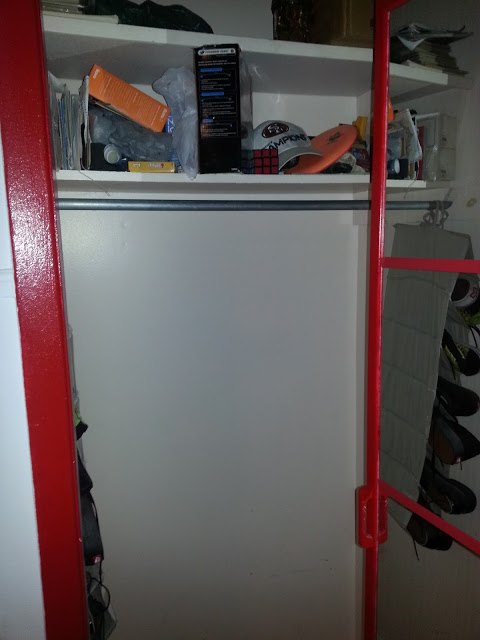
Before...

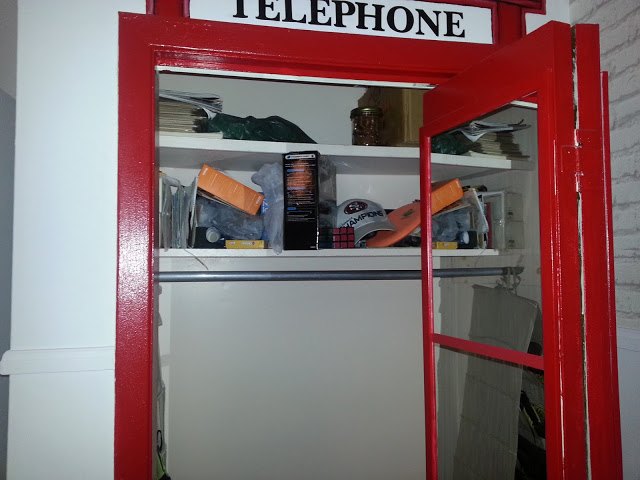
..And After!
Comments
Join the conversation
-
I will try and answer any questions when I receive them!


Frequently asked questions
Have a question about this project?