133K Views
Floors From Plywood to “hardwood Look”

by
Judymgibbs
(IC: homeowner)
4 Materials
$250
1 Week
Medium
Are you looking for an inexpensive way to redo your floors? I sure was and when I saw how to do it I gave it a try! Hope this will inspire you to give it a try too!
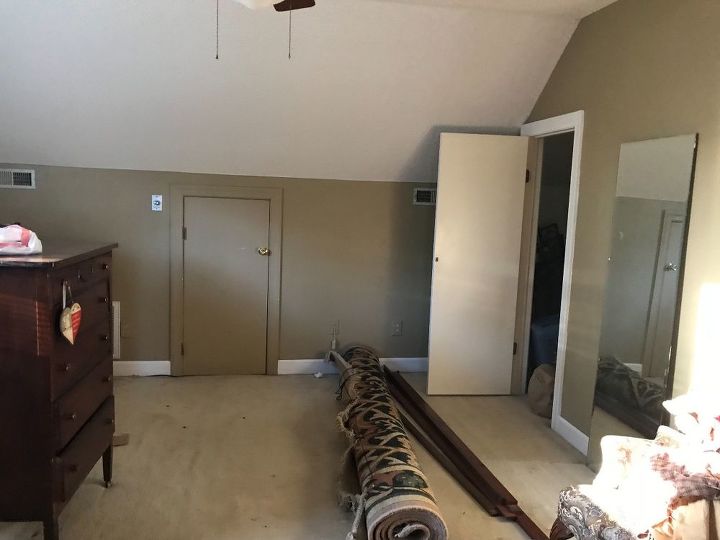
To start I emptied the room of all the furniture.
I wanted a lighter paint for the room. I used the Lowes Valspar one coat paint. It had the primer already in it so it saved me having to paint the room twice. Always take the face plates off before you paint. I fiound out the hard way that there are two sizes of switch plates and plug plates. I had to go back and buy the larger size but I do like it better! I painted a fresh coat of white on the trim too!
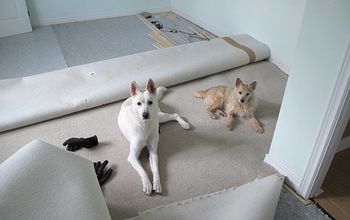
I used a razor knife and cut the old carpet in 3 foot strips. I rolled up each section and used packaging tape to wrap each piece. Repeat the same with the pad.
With gloves on... pull up the tack strip around the edges of each wall. The points are really sharp so don’t forget the gloves. Pick up any staples and hammer down any nail heads that are sticking up. Sweep the floor.
First I went to Home Depot and found a great 1/4” plywood that has a hardwood top layer. I had it cut into 5” wide strips. I also got 2 rolls of an underlayment. Before you put the planks down to nail you need to sand all edges. I brought a few planks in the room to get an idea of how it will look.
Unroll The underlayment and staple it down all sides. When you have the floor covered you are ready to start planking. I started with 3 different lengths, 5’, 4’ and 1’. You don’t want to have two of the same lengths beside each other. Staggered is more natural if you want it to look like a true hardwood floor. I used a brad nailer to attach each board.
When you start your placement keep in mind that wood will shrink and swell with temperature changes. With that in mind you need to leave a 3/8” gap between the plank and the wall. That will be covered when you put the quarter round down. The spacing between the planks is a credit card.
Once your planks are all attached you will be ready to start staining.
I tried several different ways to do this. I haven’t used stain before so I wanted to practice on a scrap piece of wood. The easiest for me was to use a 2 1/2” wide paint brush to put the stain on and a old rags to wipe it off. The stain creates its own color variation. I let that dry for 24 hours.
After you stain is dry you need to put 4-5 coats of polyurethane on your floor. That IS your protection! The more coats you use the more protected it is.
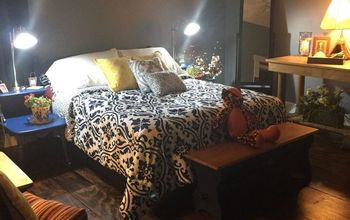
I was so excited to see how much it looks like real hardwoods! Can’t beat it for the price. My floor is holding up great! No scratches or wear marks. I do believe it is the number of coats of polyurethane that keeps it as durable as the real thing! Going to do the hall to match! Love it love it!
Enjoyed the project?
Any price and availability information displayed on [relevant Amazon Site(s), as applicable] at the time of purchase will apply to the purchase of this product.
Hometalk may collect a small share of sales from the links on this page.More info
Published March 23rd, 2018 9:44 PM
Comments
Join the conversation
3 of 169 comments
-
 Carol de la Fuente
on Jun 12, 2021
Your floor and the whole room look fantastic!!! Great job!!!
-
-
 Dawn Linsey
on Jun 19, 2021
I would LOVE to try this; unfortunately, my floors are concrete:-(
-
 Judymgibbs
on Jun 19, 2021
I thank you! I have seen a lot of people are doing the same thing on tile. I am going to see what paint they are using and do a tile bathroom floor! I think it comes from Lowe’s or Home Depot!
-
-












Frequently asked questions
Have a question about this project?
What was the difference in price? This is incredibly eye opening
Do you think it would go good on garage floor
This is absolutely beautiful! And it is big planks like everyone likes! I am floored!! LOL!