


Installing Peel & Stick Vinyl Plank Flooring
5 Materials
$300
1 Day
Medium
One of the things in my home I get asked about most frequently is our flooring - we have peel & stick vinyl plank flooring throughout our home - I installed it myself and it costs less than $1 per square foot...but it looks way more expensive!
You can see more information on the flooring at the link at the bottom of this post, but I also recently wrote about our experience having glue-down vinyl plank flooring installed, and you can read about that here.
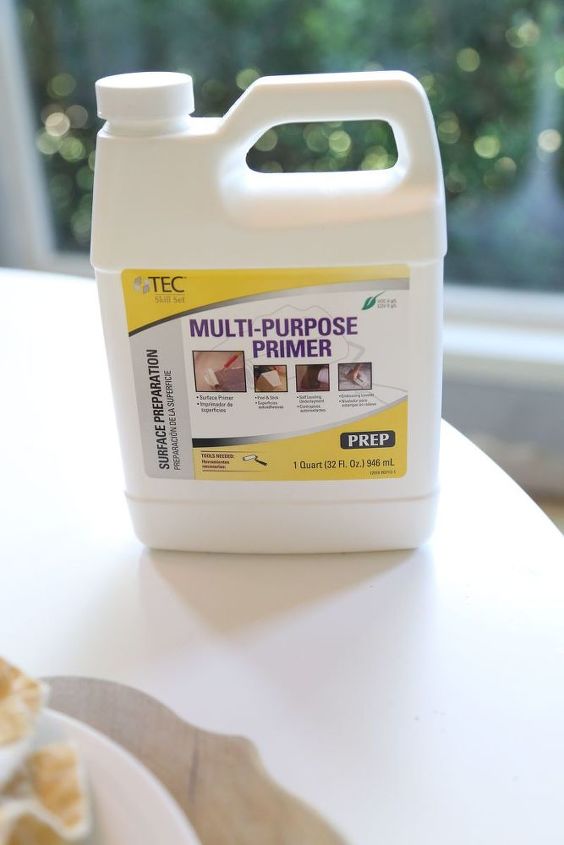
You'll start by removing your old flooring and preparing the subfloor. This is the most difficult and tedious part of the process! You'll want to be sure the subfloor is clean, free of any dirt or debris, and as level as possible (you may need to use concrete filler/patches if you have holes or large cracks in your concrete subfloor). Once you've got the floor clean and prepped, start by adding a flooring primer to the floor and allowing it to dry for an hour or so. I found this stuff next to the vinyl plank flooring at the hardware store.
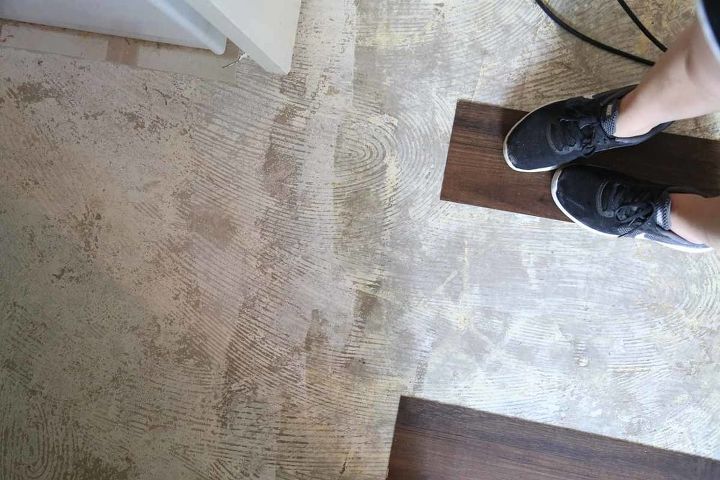
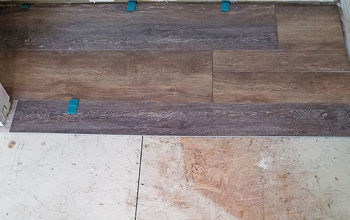
Once the primer is dry, you'll be able to see a difference between the floor with it and the floor without it (in the photo above, the flooring on the left side does not have primer, and the flooring on the right does). It will also feel noticeably smoother, and a bit sticky.
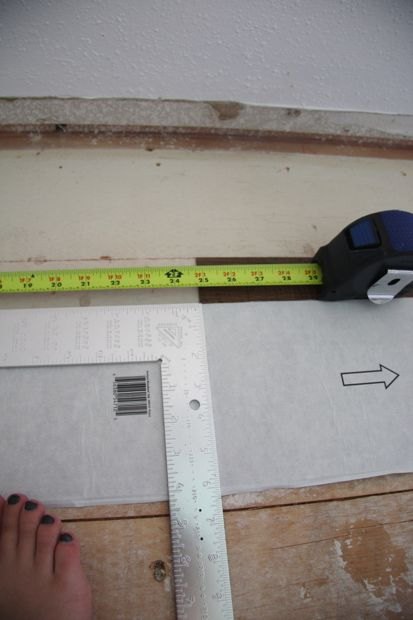
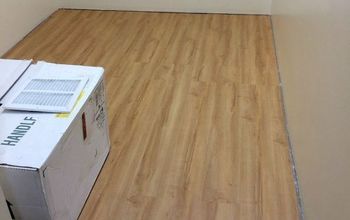
To lay the floor, start on one end of the room, peel the backing off of the first floor board, and lay it down against the wall, pressing firmly to ensure it sticks. When to get to the end of a row, use a tape measure to determine how large the last piece needs to be, then use a straight edge and a box cutter to score the board.
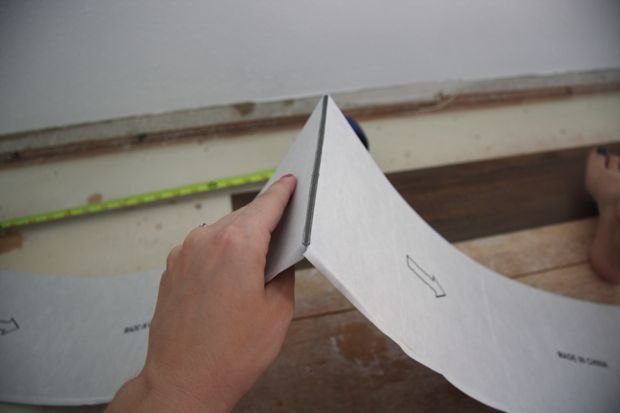
Once the board is scored, you can break it by bending it in half. Be sure to place the cut edge against the wall where it will be covered by baseboards.
Continue throughout the room, staggering the starting boards as you go (I like to do a full board, then a half board, then a 3/4 length board, and repeat that pattern throughout the room). You can see more details about the process, potential pitfalls, and things to look out for on the full blog post!
Resources for this project:
See all materials


Any price and availability information displayed on [relevant Amazon Site(s), as applicable] at the time of purchase will apply to the purchase of this product.
Hometalk may collect a small share of sales from the links on this page.More info

Want more details about this and other DIY projects? Check out my blog post!


Frequently asked questions
Have a question about this project?