


How to Repot a Monstera Plant

In February, I had a hip replacement. A few days before my surgery, I saw a Facebook ad for my favorite nursery and it was selling a very large Monstera plant for $19.99. I tried to make before the surgery but couldn’t. I was sure they would be gone or the sale would be over before I could make it there to get one. I swear I pushed through my recovery process in record time to get one and I did! I have cut several nodes off and they have been pushing out new roots but the main plant seemed to need repotting. I was worried because I didn’t want to kill it. So I’ve been doing lots of research before jumping into this task.
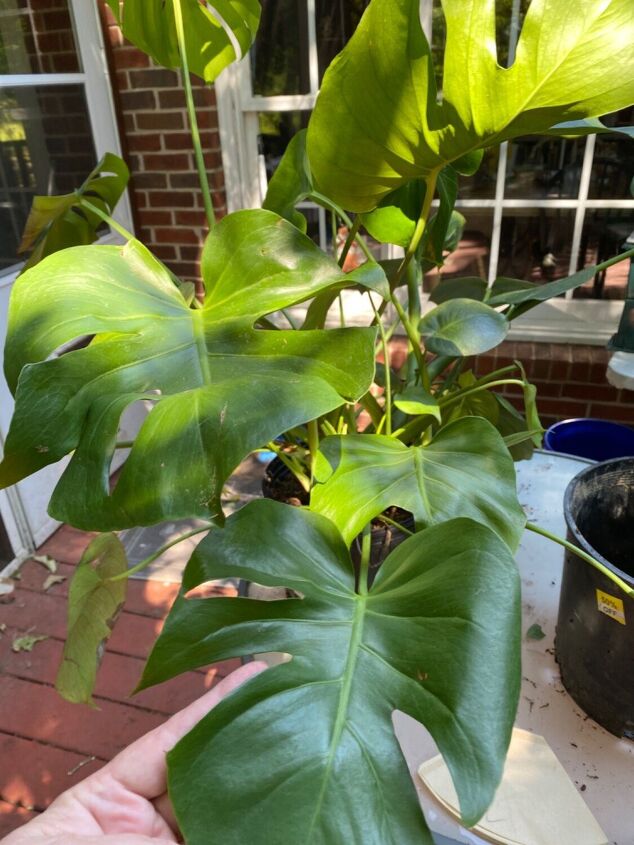
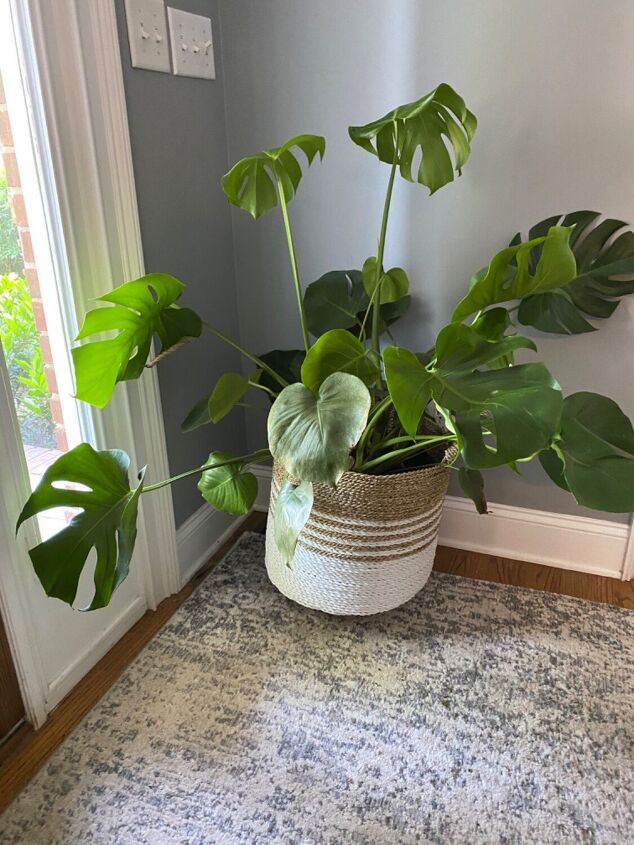
Here she is. Some leaves look great.
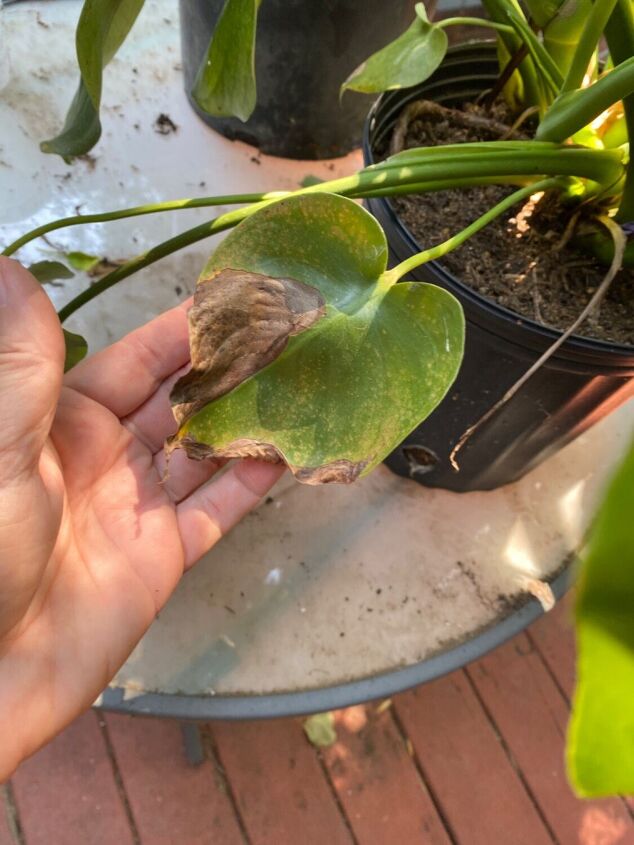
Some, not so much. I think, I wasn’t sure about watering it and the soil might be hydrophobic. Where it doesn’t absorb water properly.

My Monstera seems to prefer the black nursery pots so I put coffee filters down to cover the holes.
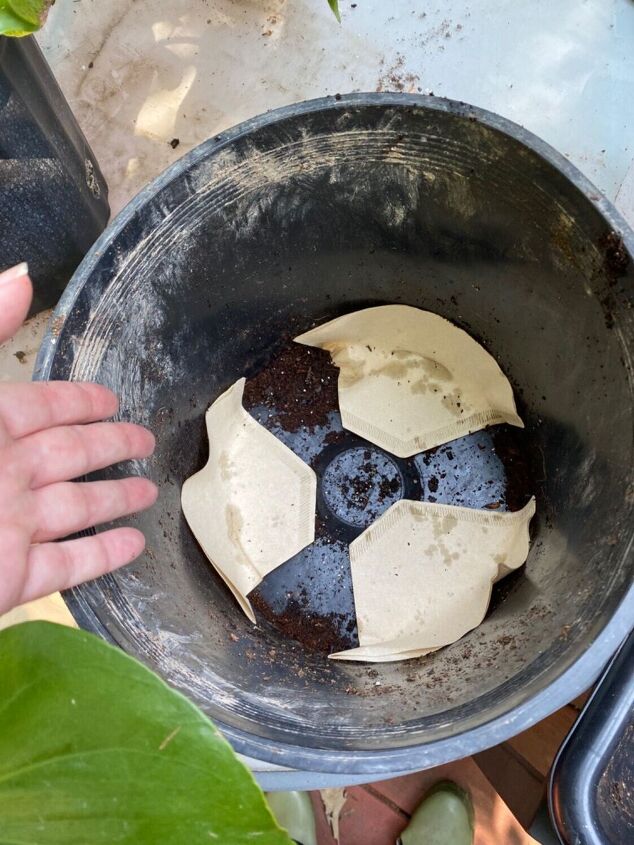
These cone shaped ones work really well.
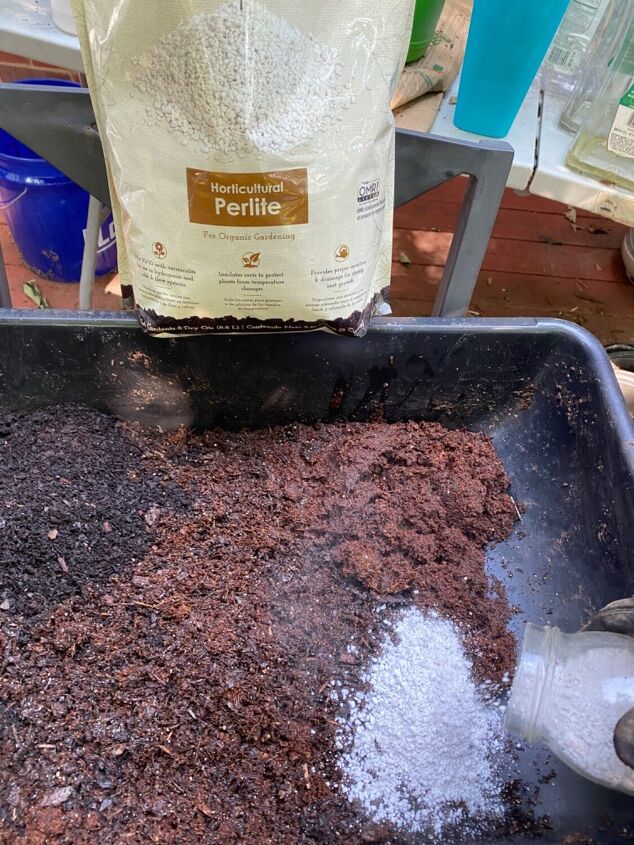
I like to make my own potting mixture. Monstera plants like aery soil. This mixture has some potting mix, perlite, orchid bark, worm castings and some activated charcoal.
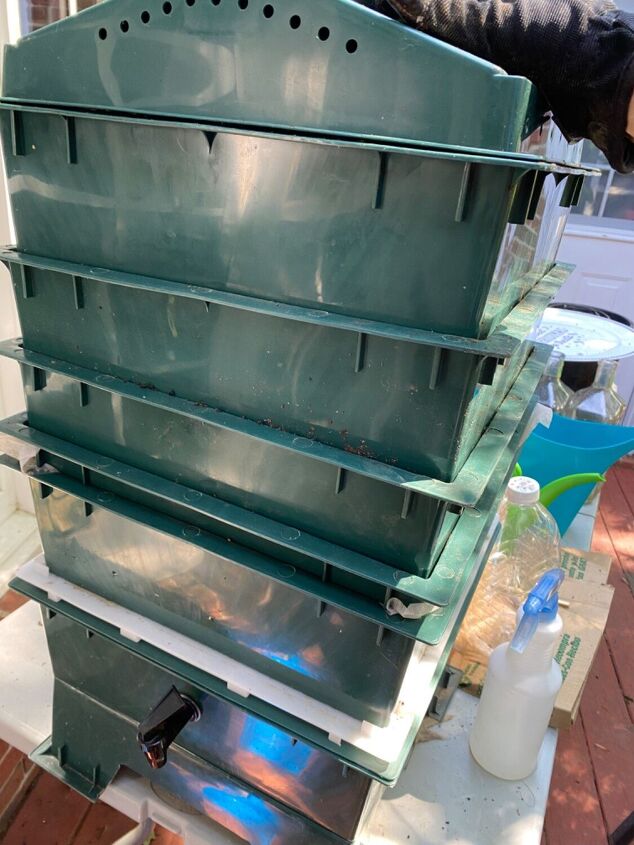
I grabbed the worm castings from the worm tower.
Here is my post on starting a worm tower.
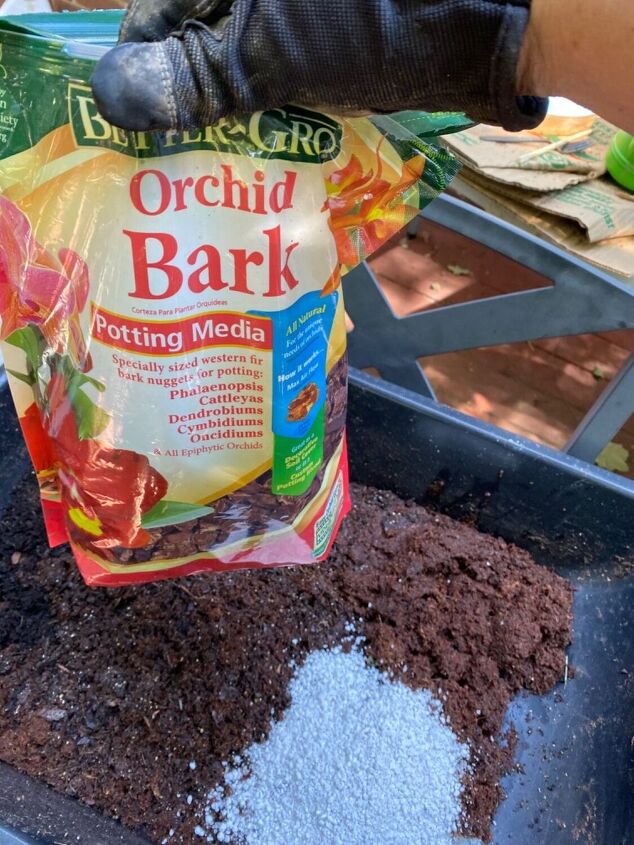
This is the orchid bark that I used.
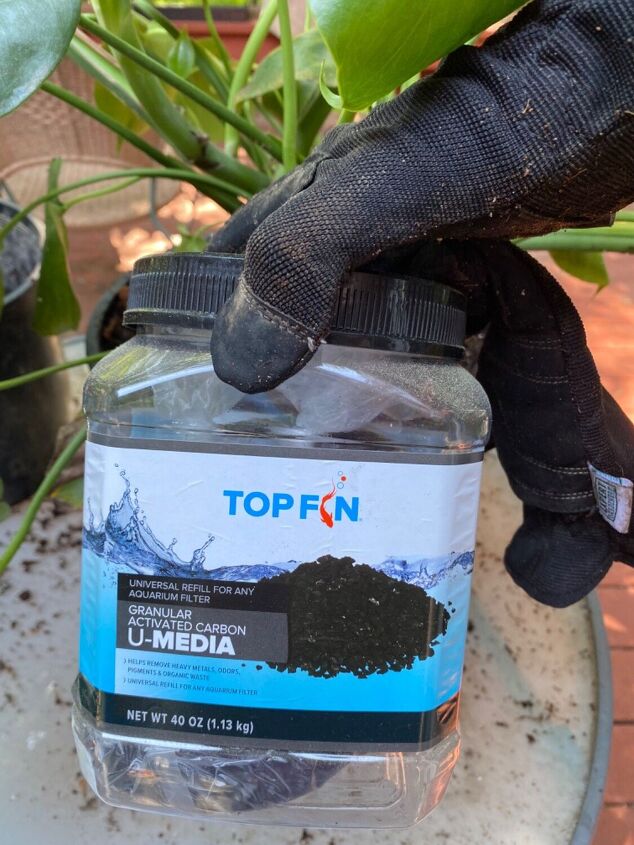
This is what the activated charcoal looks like. It is supposed to absorb impurities from the soil and water to keep your plant healthy.

I love how pretty it looks all separated.
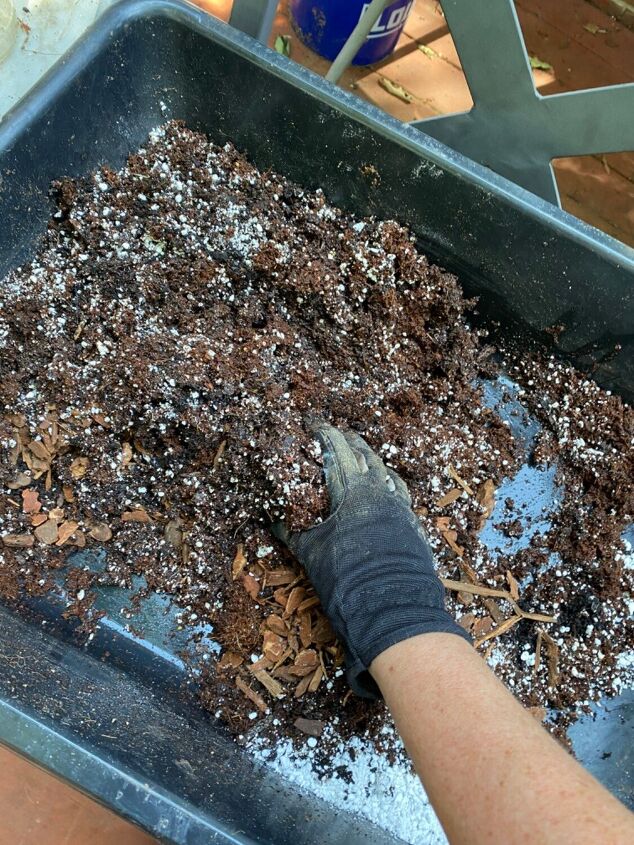
Time to mix it up.
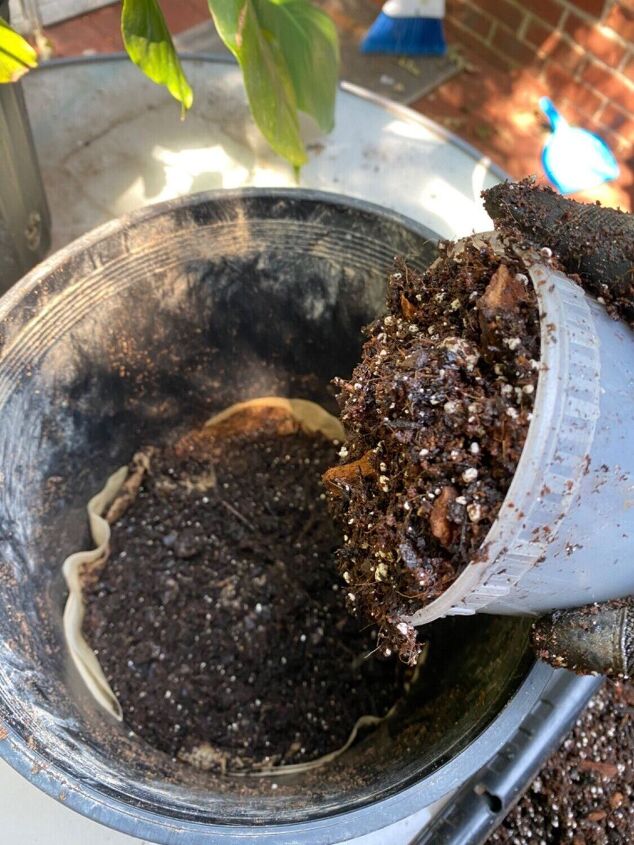
I put some in the bottom of the pot.
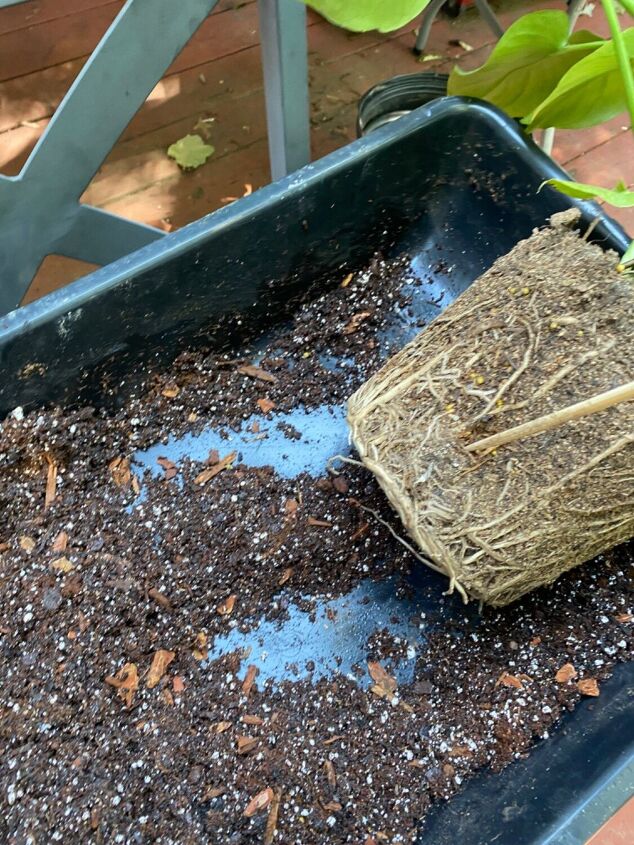
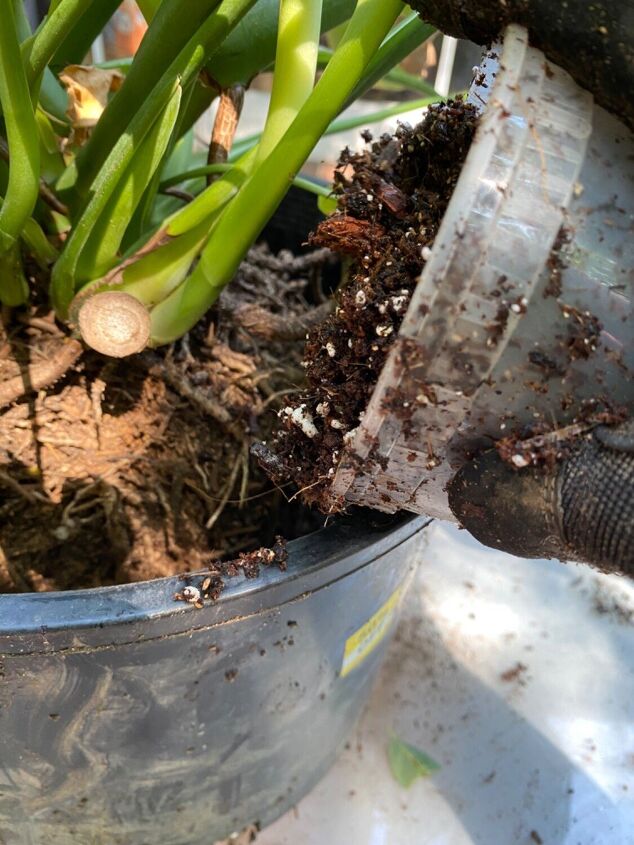
It was very root bound.
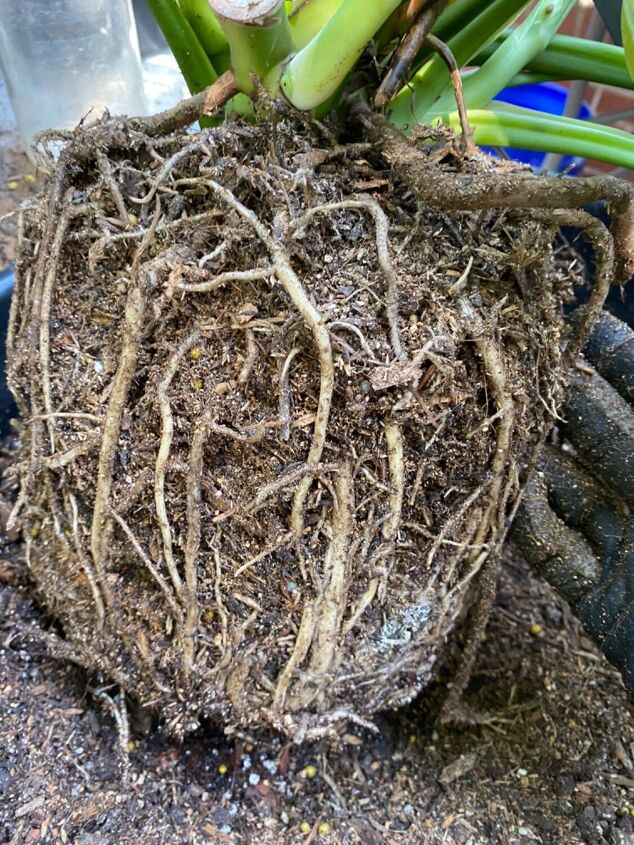
I used a chopstick to try to gently remove the old soil.
I added the Monstera and then will fill in the soil around the sides.
I like to use my hand to gently move the soil down and around.
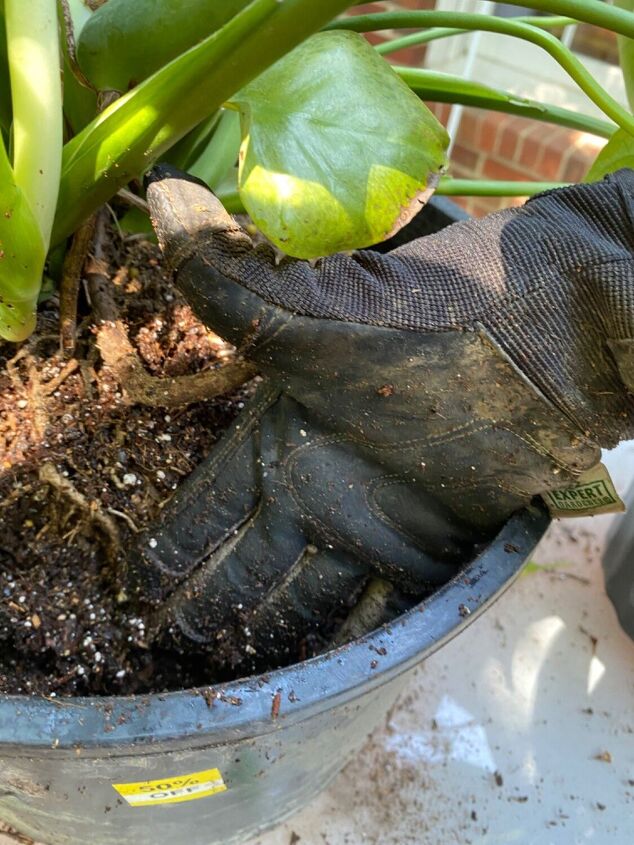
You don’t want large pockets of empty space or the roots won’t get the nutrients that the need. You can also gently shake and tape the pot to lightly work down the soil.
If you like, you can add a top dressing of Sphagnum moss. This will help it retain the moisture if your climate/house is dry.
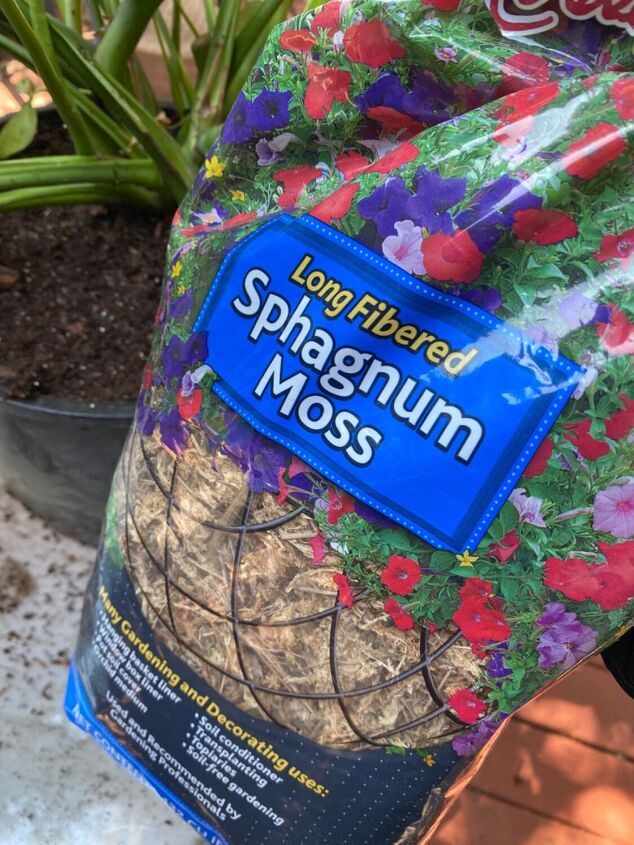
Sphagnum moss is not the same as Spanish moss. Sphagnum moss will eventually decompose and become soil.
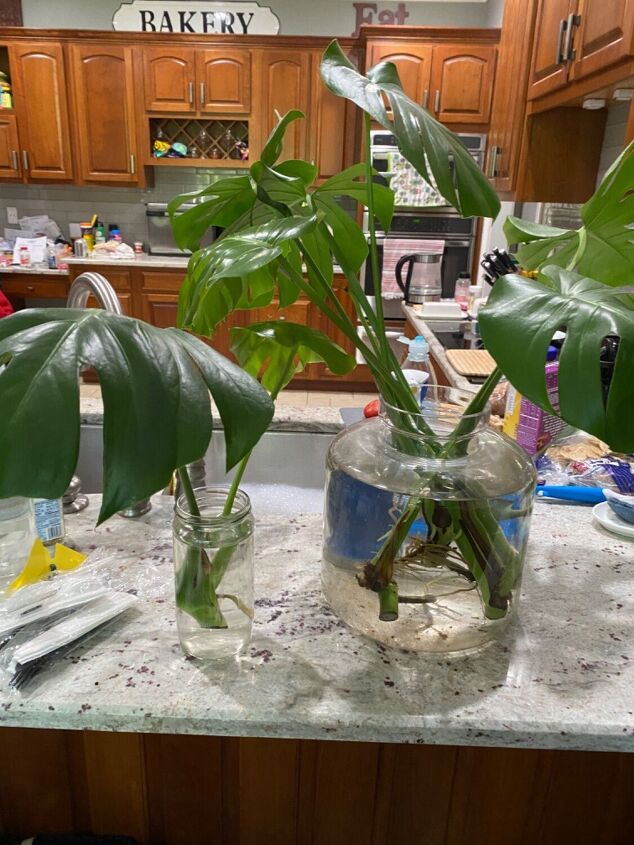
Here are some of the nodes that are already growing roots and are ready to be replanted.
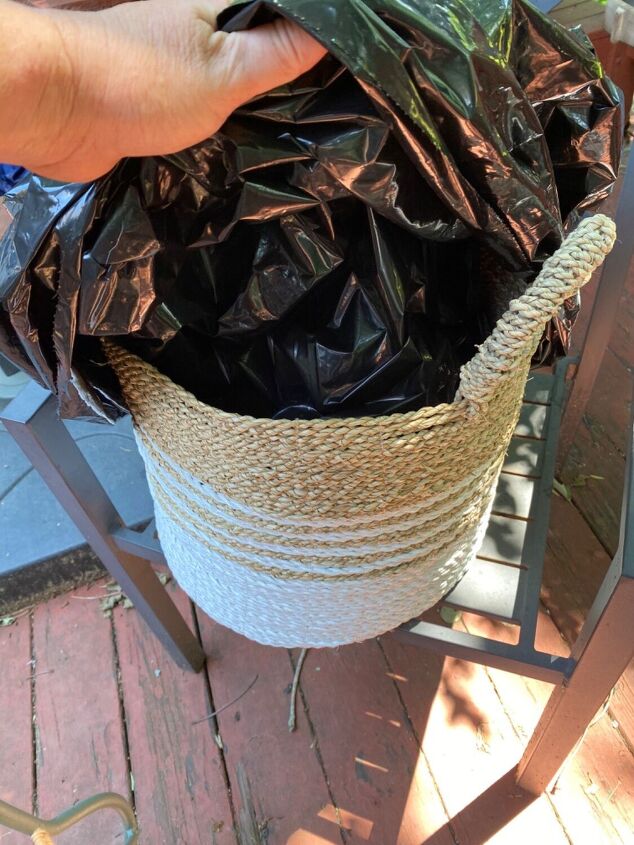
I wanted to use a basket to hide the nursery pot.
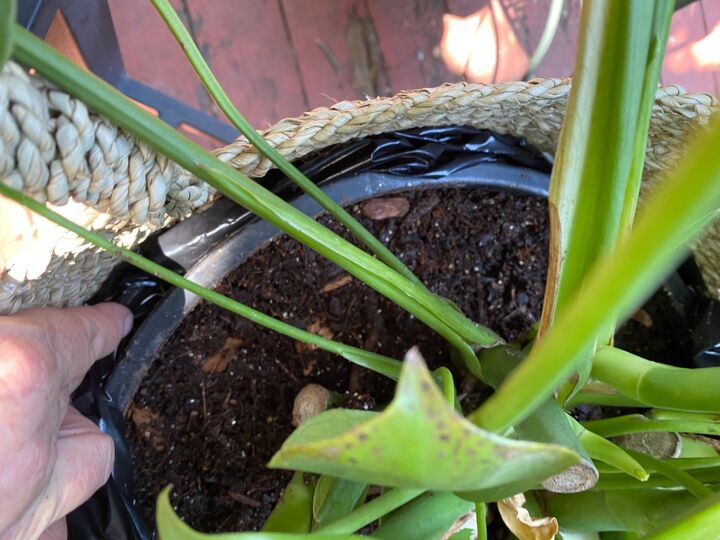
I just tucked the extra plastic between the pot and the basket.
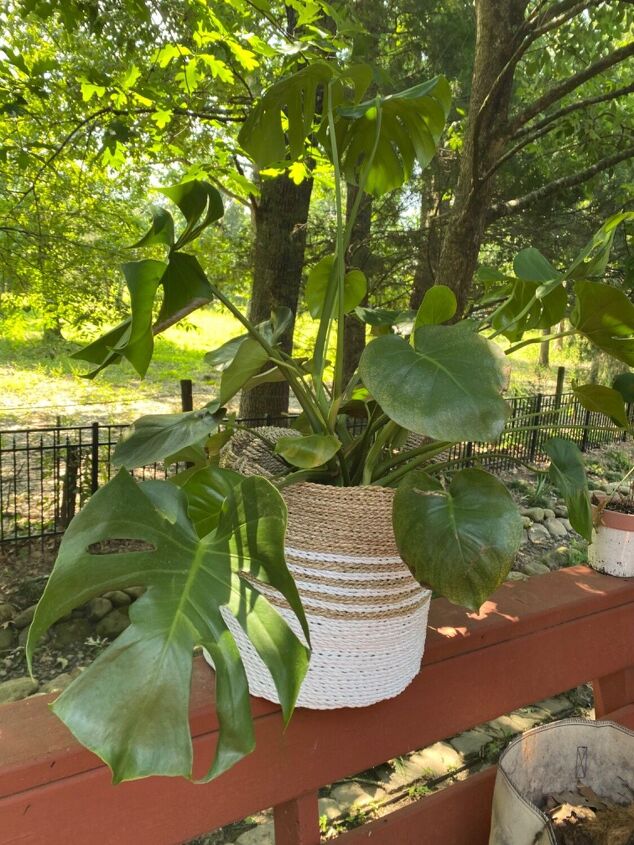
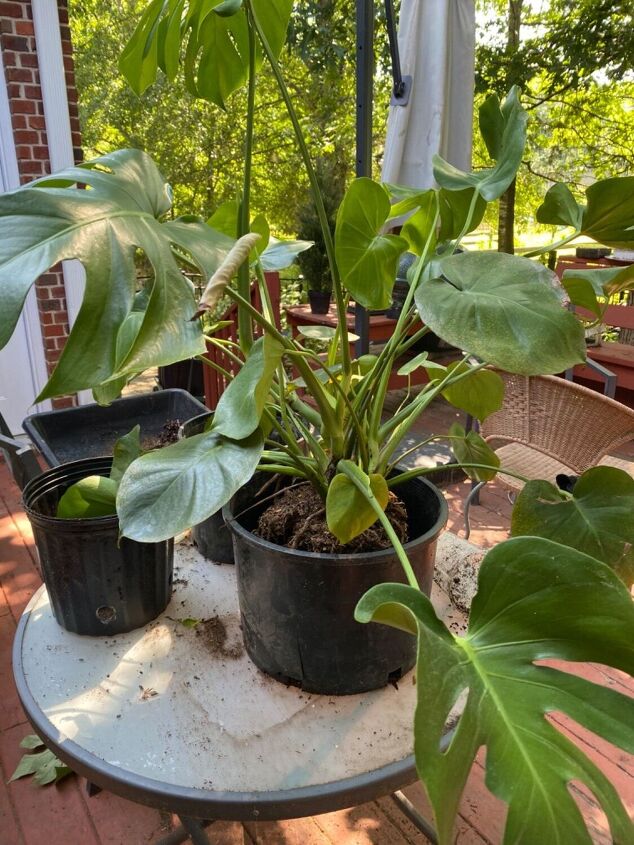
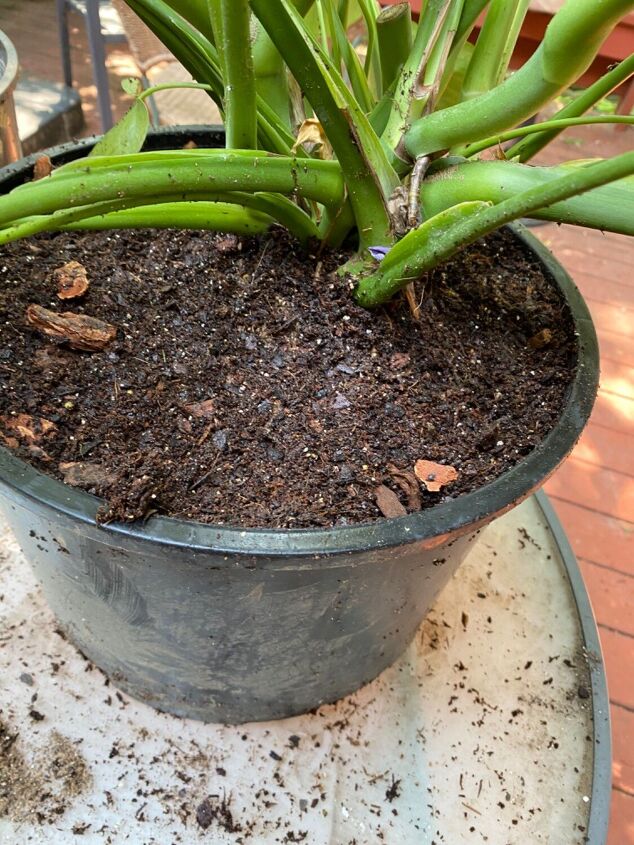
I think she looks a lot happier with the fresh soil and room to grow.
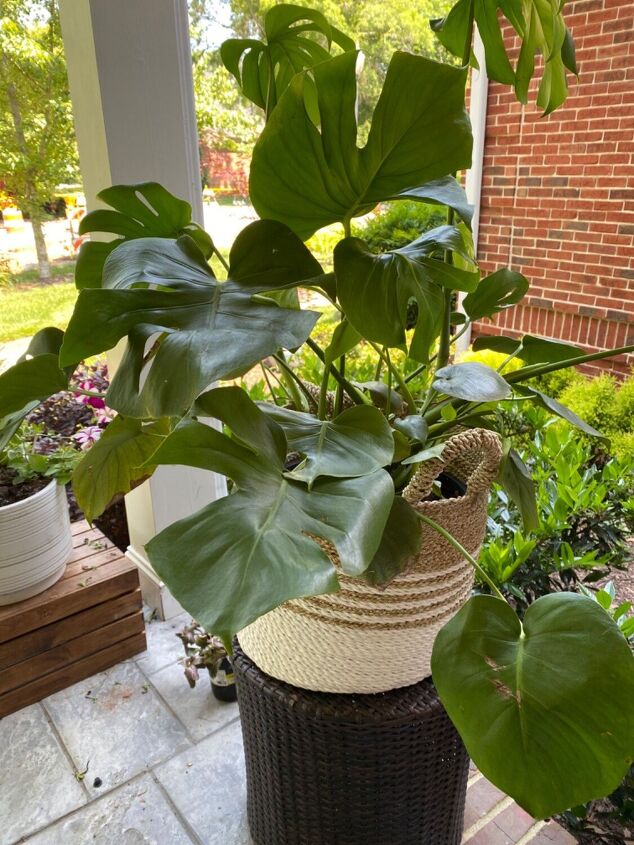
The basket isn’t going to work. I feel like the structure is too loosely shaped for the sprawling leaves.
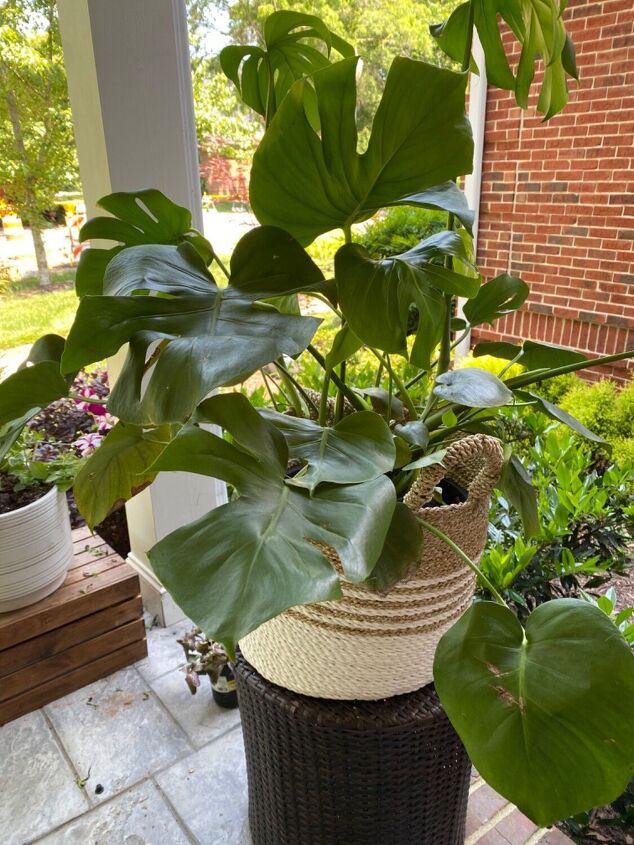
She is so big. I wish I could let her be outside for the summer but occasionally we get wind storms without much notice.
Next assignment to keep Monstera happy will be to make Amos’s pole for her to climb on. Any Monstera tips out there?
Resources for this project:
See all materials


Comments
Join the conversation
-
P.S. I use a circle of weed barrier from the garden supplies to line pot bottom holes to keep soil inside and it won't rot away.
-
Newspaper and cardboard works as well for lining the bottom of the pot. But if you have coffee filters aplenty, you use what you have.


Frequently asked questions
Have a question about this project?
Where do you get worm casting if you don’t raise worms?