Seed Starting Using Mini-Greenhouses

by
Julie @ Southern Wild Design
(IC: professional)
Don't you hate it when a certain rodent whose name begins with "P" is right? Parts of South Carolina are preparing for winter to arrive tomorrow afternoon in the form of snow, freezing rain and cold, cold temps. Score one for the groundhog! But according to my planting guide, it's time to start some seeds indoors, and I did just that!
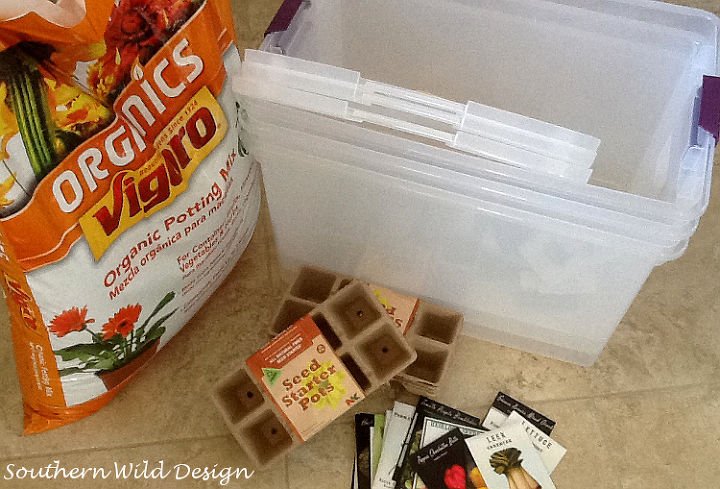
I am trying something new this time around. I don’t have the space indoors near a window for seed starting, nor do I have a greenhouse because a certain fat, jolly elf failed to leave one this December. I saw this idea a while back and decided to give it a try. I am using clear, plastic boxes to use as mini-greenhouses.
I found the clear plastic boxes at Big Lots! for $4 less than at Home Depot, Lowes, or Target. While I was perusing the aisles at Big Lots! I found the Seed Starter Pots. These pots cost $2.50 for a package of 32 organic, natural fiber pots. You can start your seeds in them and then just plant the whole thing instead of trying to remove your seedlings from the pot.
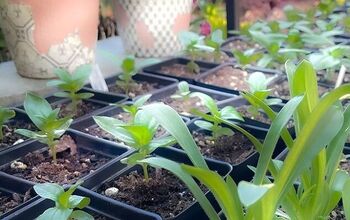
I placed 4-5 seeds in each pot and carefully covered each seed with the smallest amount of soil. I used a wooden skewer as a dibble.
I marked each tray according to what was planted in each.
It is important to keep the soil moist when starting seeds. The tricky part is to water each pot without drowning it and washing the soil (and seeds) right over the edge. So I poked some holes in the lid of a water bottle and used it for watering. By shaking the water bottle, it more or less “rains” just the right amount of water.
Finally I placed the trays in the boxes and set them out in the sun.
Even on a day when the temps were in the 30’s, the box collected the heat and created moisture much like a greenhouse. I will move the boxes in at night if it gets too cold, but as it starts warming up, I will leave them outside.
I’m not sure at this point how well this will work, but with space too tight I thought it was worth a try. I’ll keep you posted on the results! However, I did hear from a reader that he uses leftover food containers such as the clamshell containers that lettuce and berries come in to start his seeds...sucessfully! Great idea!
Enjoyed the project?
Published February 18th, 2015 9:29 AM
Comments
Join the conversation
3 of 8 comments
-
I did a little follow up if anyone is interested...it's working! Wahoo! http://southernwilddesign.com/seedlings/
 Julie @ Southern Wild Design
on Mar 10, 2015
-
-
I have done this with plastic shoe boxes and lids and an empty 18 count natural fiber egg cartons. I put the egg carton with top removed in the shoe box, added good quality potting mix and then planted my seeds in each of the 18 little 'cups'. Water gently as you described and put the shoebox lid on. I started these in our enclosed sun porch initially and then moved to a sunny location outside. I had 1/2 inch sprouts in less than 4 days! to prevent too much humidity, I removed the lids during the day and brought all 6 of my shoe boxes in at dusk, replacing the lids. When ready for planting, I can plant the entire egg carton or carefully cut apart each of the cells as I choose. I have Cosmos, Forget-me-nots, Summer stock, sweet peas and 8 other flowering plants that I have started this way. My morning glories are up about 6 inches now and ready to be planted in our front yard as they can be poisonous to our dogs. This method to sprout seeds also prevents pests and our neighborhood birdies from munching on our seeds! It also prevents over watering should it rain as the rain bounces off the tops of the plastic shoe box. The plastic shoe boxes with lids were 99 cents at the store by the same name.
 Barbara
on May 14, 2016
-








Frequently asked questions
Have a question about this project?
This is an awesome idea! Do you have to provide any air holes for air circulation?