


HOW TO SAVE TOMATO SEEDS for Next Year for Beginners!

Have you searched for the perfect heirloom tomato seeds and had to pay a hefty price for a seedling because you could not find seeds anywhere? Sadly, that was me last year. It is so important to save tomato seeds for next year, don’t finish the year without them. It is such an easy process! For more Cozy ideas and Gardening Tips, visit my blog here!
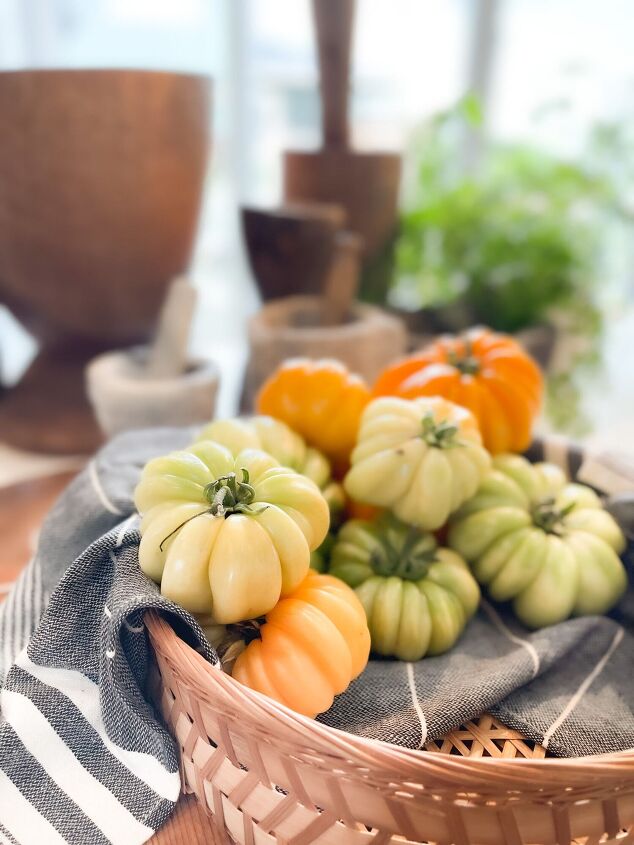
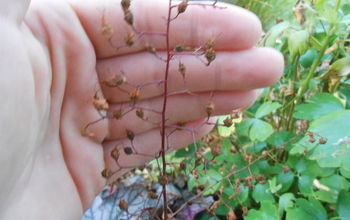
How to Slice your Tomato to get the Most for Tomato Seed Saving
When you are working with tomato seeds, each tomato is different. On a simple round tomato you can cut them in quarters, the cherry tomatoes cut in half, but on an Accordion Tomato, I slice them to get the most pulp and seeds from it.
The accordion tomatoes are very meaty, so they tend to not have as many seeds and also have many little crevices that hold those precious tomato seeds and pulp. I have harvested tomatoes with a handful of seeds and others with many seeds. This is why they ares the most precious tomato, for me, to get seeds from.
What is the role of the Tomato Pulp playing on Saving Seeds for Next Year?
That pulp is an inhibitor, it protects the seed until it is ready to germinate. When you see volunteer growing, it is a fruit that might have fallen to the ground and when the gel that encloses the seed is washed away eventually with the rain, it gives way to a volunteer. You will be imitating the process indoors and getting your own tomato seed saving method for next year.
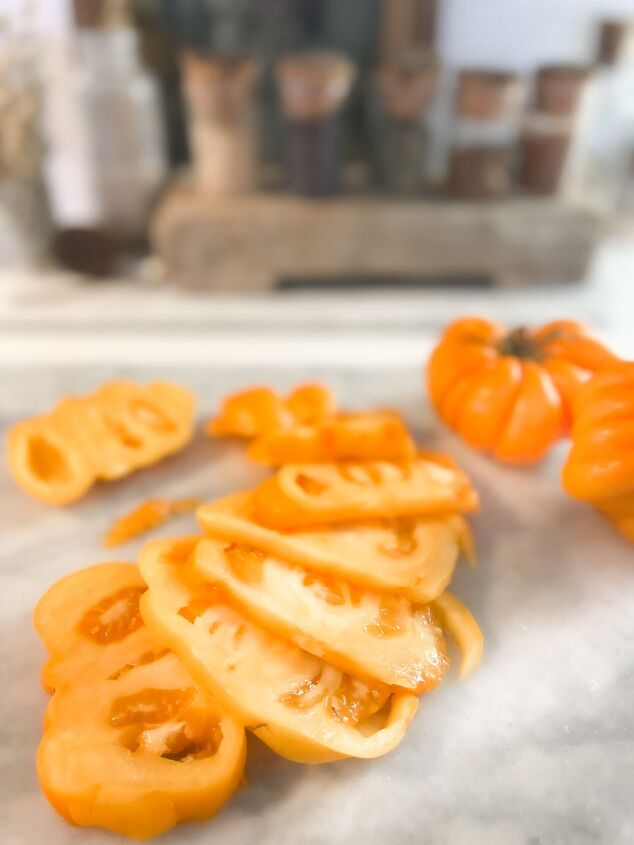
How to Remove the Tomato Pulp from the Seed.
After you slice your tomato:
- Scoop out the pulp from the tomato. Don’t worry about getting all the pulp mixed with the seeds, it is better to get plenty than miss that precious seed. Scoop away, but be gentle so you don’t damage the seed.
- In a bowl or jar, anything with a wide mouth that you can comfortably insert a large spoon later to scoop, place all the pulp and seeds.
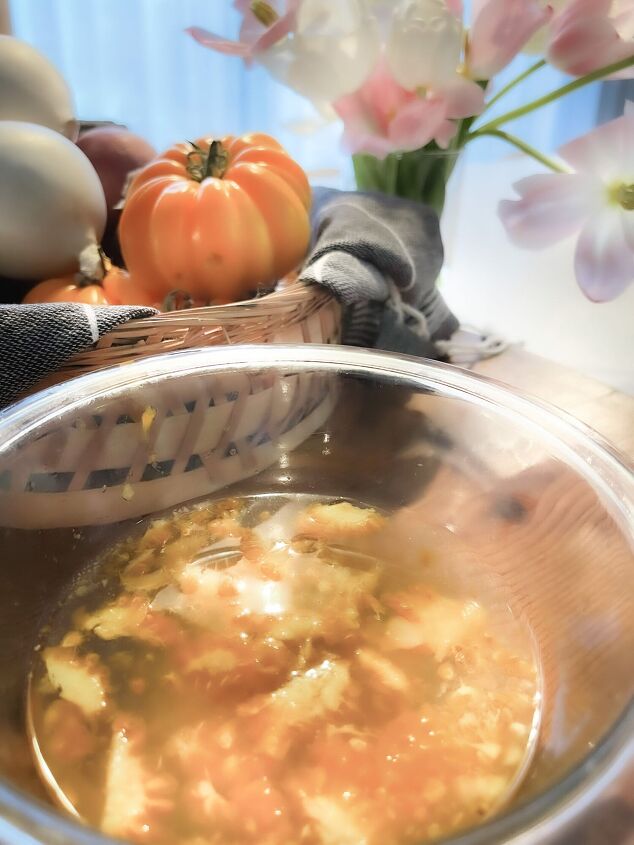
How to Begin Fermentation for Tomato Saving Seeds
- Add water to the jar with the pulp and tomato seeds. You can add the same amount as the pulp. I tend to add more, but it is suggested to add the same amount.
- Place cheesecloth to cover and prevent gnats from getting in the water.
- Allow the mixture to sit in a room between 75 to 80 degrees.
- You will begin to see scum forming on the pulp, on the surface.
- After 2 to 5 days it should be ready for the next step.
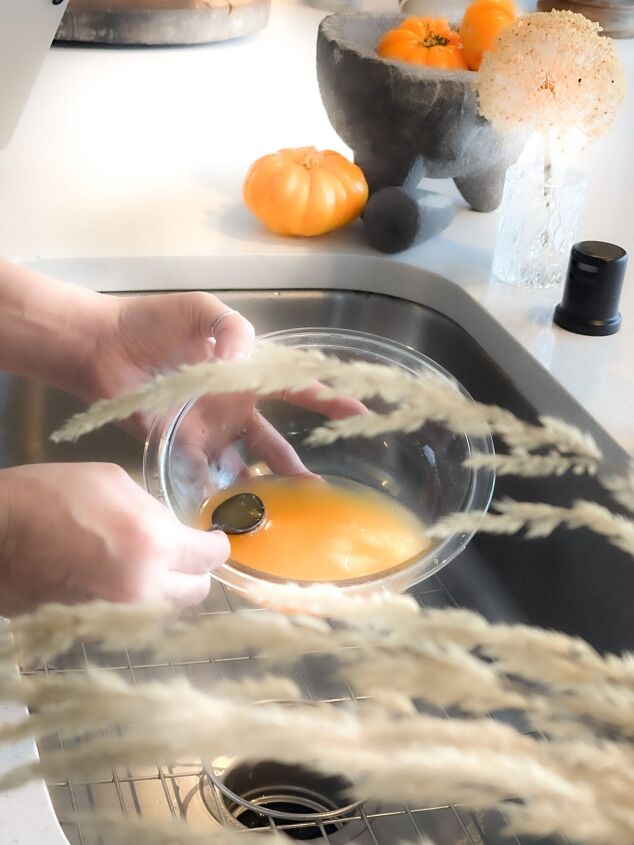
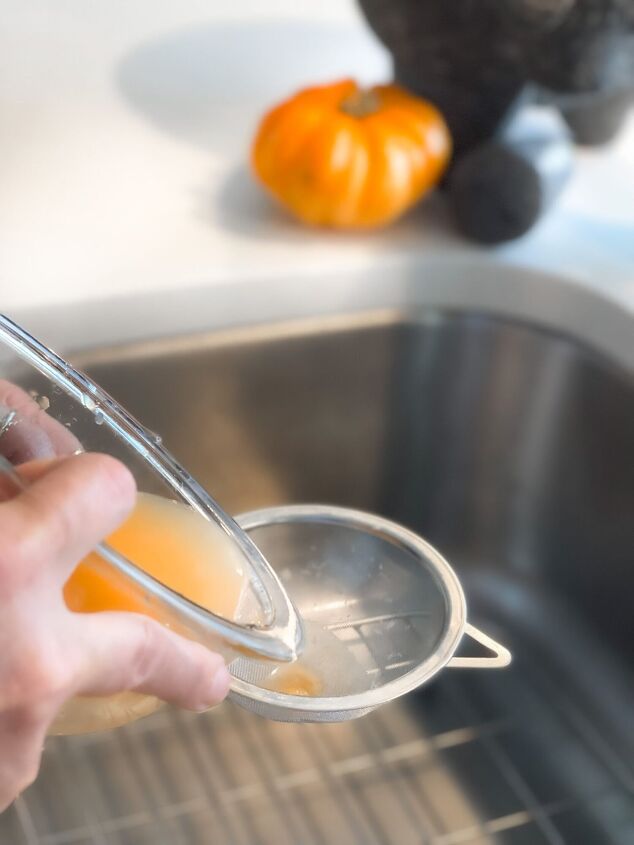
- Take a look at the mixture, you will notice the healthy seeds will sink to the bottom.
- On the surface you will see the pulp and unhealthy seeds. Add more water if you need to in order to begin scooping out the pulp and bad seeds.
- After discarding the bad seeds, you will be left with the healthy seeds on the bottom.
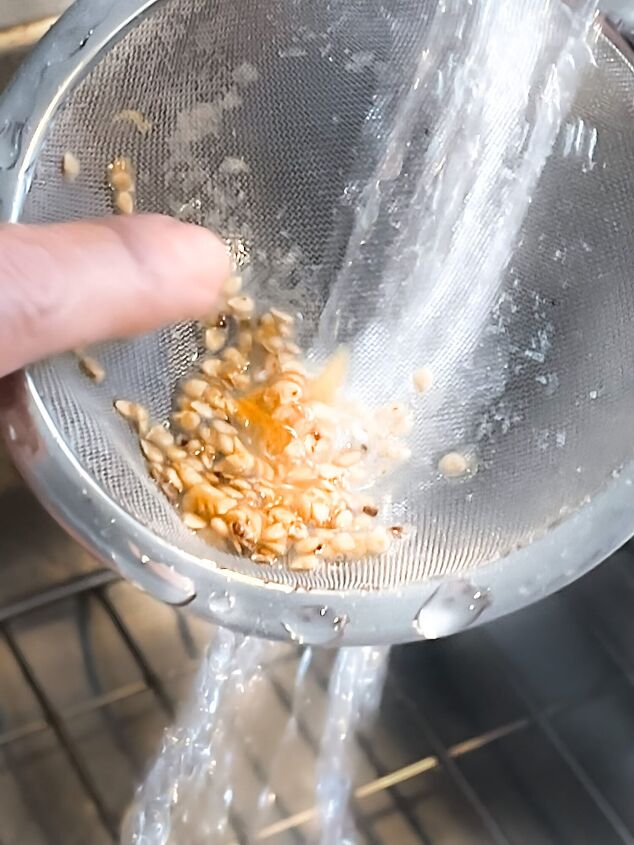
- Pour seeds into a hand colander and rinse over and over again.
- With your finger or a spoon, gently rub them to finish removing all the pulp as it rinses away.
How to separate tomato seeds from pulp is not a one method process. It is important to remove all of the gel, but you want to skip all the steps and go directly to removing the gel by hand? You can rub it under running water until you get it removed.
With this method, it will take a while to separate the tomato seeds from the pulp, but it will still work.
I tend to be more of a fermenting the seeds type of gardener, easier and less tedious.
Saving tomato Seeds without Fermentation
Can you be successful at getting seeds to grow from non fermented seeds? Yes, you can. But keep in mind that heirloom tomatoes will have that gel and it will be more difficult and your success rate will be lower. I don’t take that risk since the process is so simple and doesn’t require any tools that you don’t already have in your own kitchen.
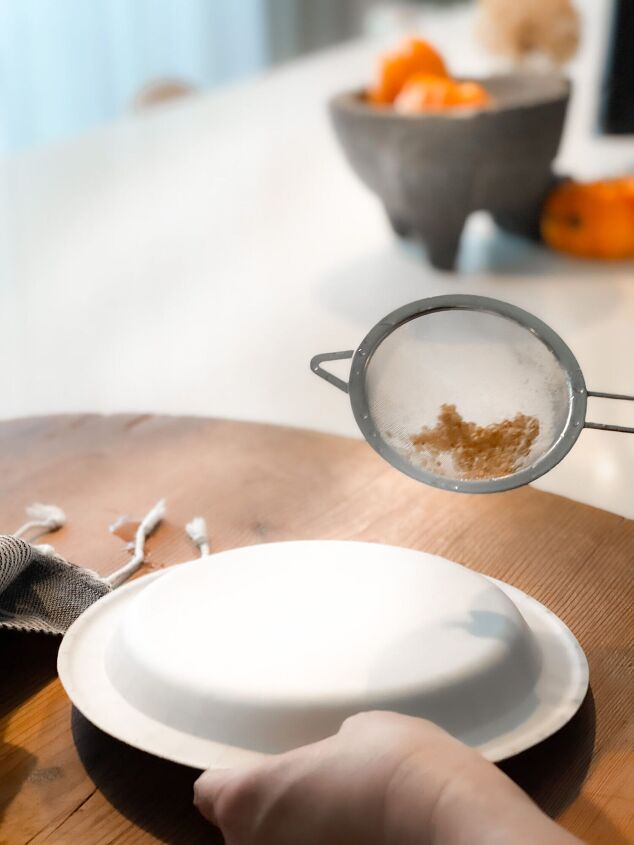
How to Dry Seeds when Saving Tomato Seeds for Next Year
Once you have gotten rid of all the pulp and gel like substance, place your seeds on a paper plate. If your paper plate has a smooth finish, turn it around and use the back, just like I did on mine.
I prefer using a paper plate instead of a paper towel. The seeds will not stick to the surface and will be easier to remove when dried.
Let the seeds dry up completely before storing away. You do not want to put away damp seeds. Dry them in an area that is 75 to 80 degrees and don’t rush the process. I remove any dark seeds that are ready to germinate and keep the beige one. I also make sure to spread them as much as possible to allow them to dry better and so they won’t stick to each other.
The seeds will have a texture to them, almost like tiny hair. If they are smooth, then the gel was not removed properly. This may lower the chances of having them germinate next year, but give them a try. Gardening is not about perfection, it is about the experience and experimenting. I love this part far more than any other.

How to Store Tomato Seeds
You did it! I am so excited when I get my tomato seeds all ready and know I have seeds to grow next year. Nothing like growing your own seedlings! The best ever!
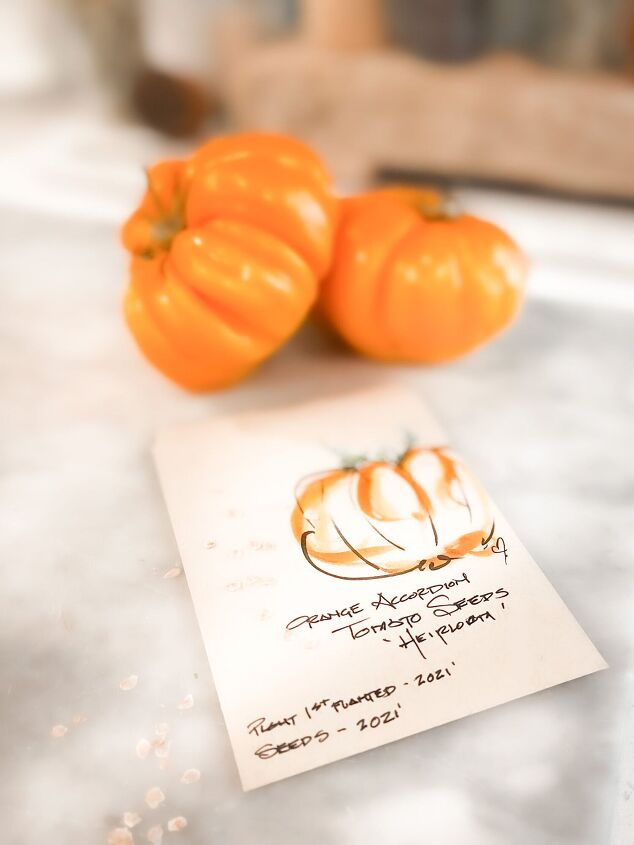
Now that you have your seeds, get your seeds envelop and label it carefully;
- Add Type of Tomato
- Year
- Color
- Heirloom or Hybrid
- I like to add the year I first grew the plant.
Links in this article are affiliate links and if you click on them, we will receive a small commission at no additional cost to you! Clicking and purchasing help to support this blog and all of the home and garden posts we bring to you
Seed envelopes; https://amzn.to/34t4mLy
I can’t wait to hear how your seeds do!
Gardening is such an interesting process. If you follow me, you know that I have grown flowers and plants for many decades, but food is something that I started after and it has been life changing.
Don’t be intimidated, you don’t need fancy words, or a chemistry major to try new things. Enjoy every step of the process, you will be amazed how much you grow in a season, as a gardener and as a person.
Gardening has change not only who I am, but what I am doing with my life today. It all starts with one seed.
You can do this! Tell me all about it!
Your Cocoon Awaits you!

I invite you to Visit my You Tube. Subscribe for me cozy days and inspiration. See you there!


Frequently asked questions
Have a question about this project?
Hi...
Thank you for the post. I have tried doing a garden off and on for a few years with limited success. This year, I have a new purpose for the garden...I want to really 'dig-in' and learn more about caring for the garden as well as wanting to learn how to preserve as much of it as I can via freezing, canning. and dehydrating because fresh veggies are getting extremely expensive and are not worth the money when it comes to taste. I did not know about the fermentation process to separate the good seeds from the bad.
Is this only for tomato seeds or should other veggies be handled the same way..?
Also, where did you get the GORGEOUS Orange Accordion Tomato Seeds from..?