


How to Do a Maximalist Home Office Makeover on a Budget

Today, we’re going to laugh, cry, and DIY our way through a maximalist home office makeover. This home office makeover on a budget is for one of my best friends, Maggie. We have $500 to spend to turn an all-gray office into a glamorous witch’s forest workspace.
Table of contents
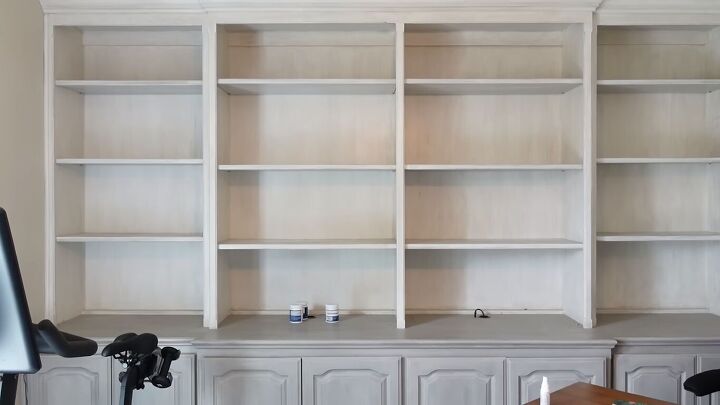
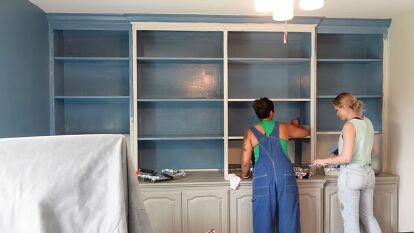
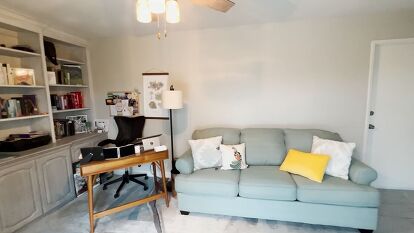
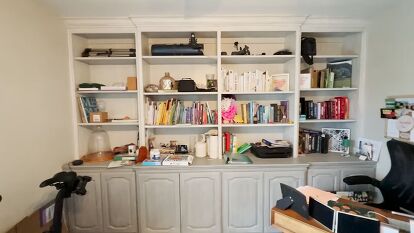
Maggie’s home office has a great setup with built-in bookcases, but there’s one problem. Everything is gray. On this channel, friends do not let friends live in gray spaces. So, today, we’re going to be doing a DIY home office makeover with my two favorite Spice Girls: Color and Pattern.
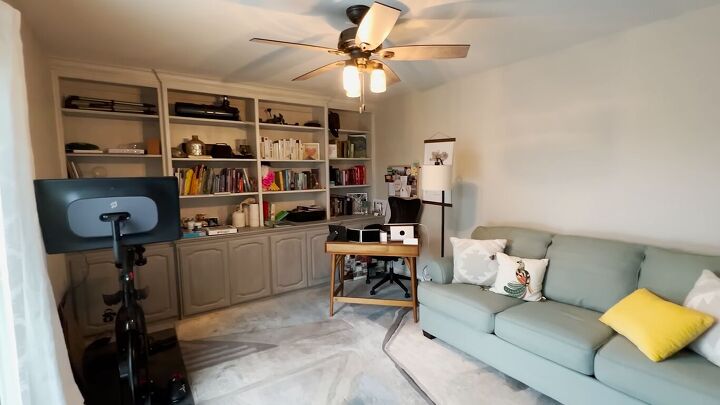
This is a home office makeover on a budget, so we want to make the most impact with the existing items in the room. We’re going to take direction from the existing colors in the sofa (sage green) and rug (blues).
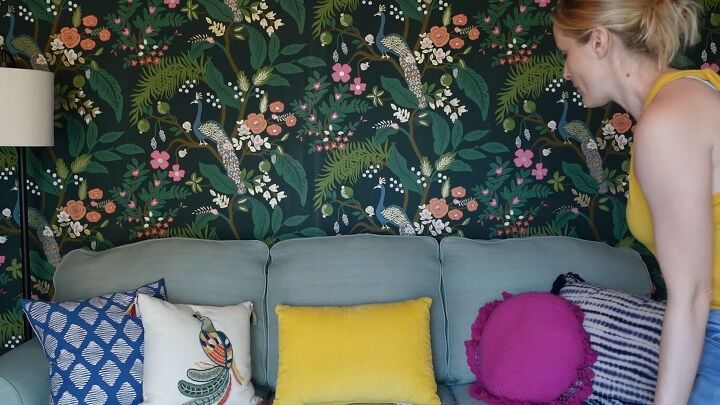
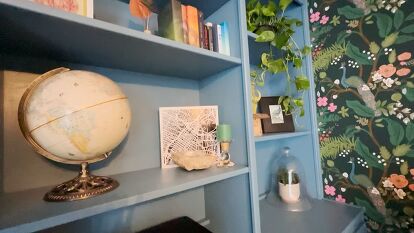
Maggie also loves peacocks and there's an existing peacock cushion cover in the room. We’re going to play with that motif in the wallpaper of our accent wall, as well as paint color (the color is literally called Peacock Blues).
Tools and materials:
- Paint
- Edger
- Painting tools
- Scraper
- Level
- Pencil
- Wallpaper
- Liquid adhesive
- Smoothing tool
- Knife
- New rug
- Silicone caulking
1. Prep for painting
First, clear the room and remove any fixtures, such as curtain rods, ready for painting. Then, give all non-removable furniture a wipe-down.
Tip
When restyling a space like this, remove everything and then group the items by category. That way, you have groups to pull from while putting stuff back.
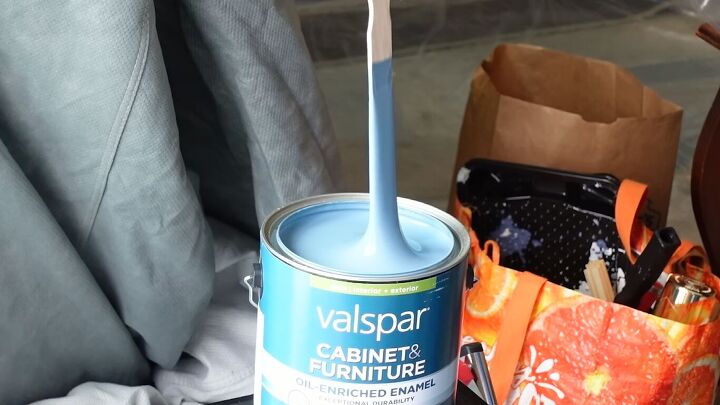
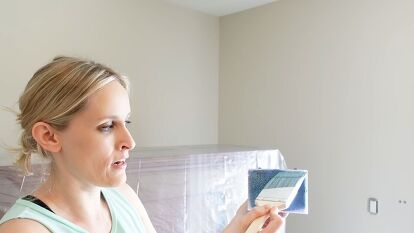
Maggie pre-swatched colors (don’t even talk to me if you’re not pre-swatching your colors), so we’re ready to go with our chosen paint.
This Cabinet & Furniture paint by Valspar is great because it requires no priming or sanding and it dries with an enamel finish. We’re going to use it on the built-in bookcases, as well as the walls.
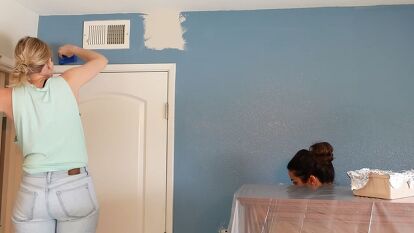
2. Paint the bookcases & walls

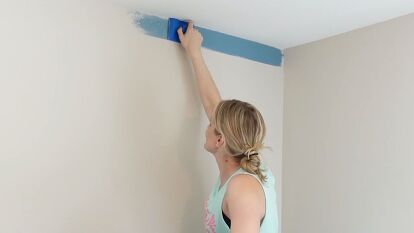
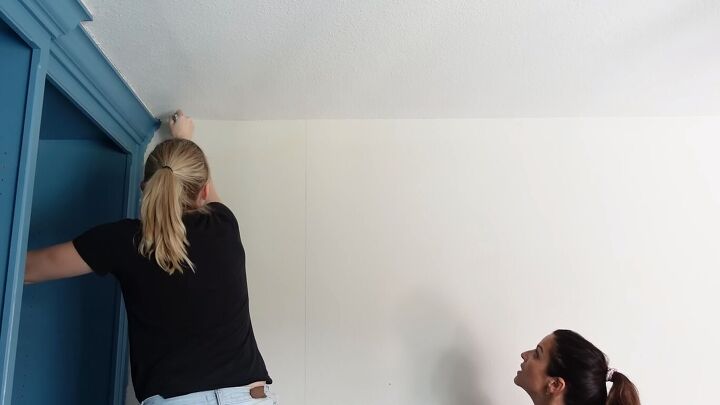
I’m not taping off the ceiling because I’m using an edger. This helps get clean lines at the edges and corners. The best way to use this isn’t to dip the tool in the paint, but to load it with paint, using a paintbrush.
Paint the edges first with the edger (this is called cutting in), then paint the rest with a roller. We used mini-rollers for the bookcase.
We let the paint dry overnight, then came back, removed the shelves, and painted the gaps behind them.
Tip
If there are any drips or texture left on the wall, you can use a scraper or blame the person who painted the walls before you.
3. Wallpaper the accent wall
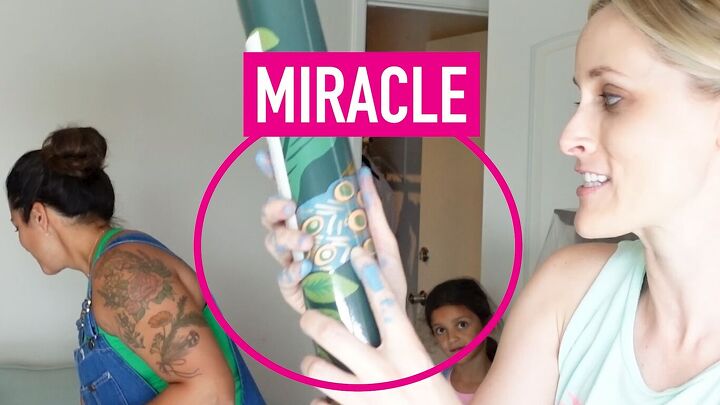
We ordered the peacock wallpaper without seeing the color of the peacock (the sample came without it). Yet, by some miracle, the peacock is the exact same color that we just painted on the walls. Amazing.
This is unpasted wallpaper by York Wall Coverings. For unpasted, you simply roll the adhesive on the wall and stick it on.
a) Draw a line
Draw a straight line all down the wall. Make sure you start your line a little bit closer to the end of the wall, rather than flush against it, so you don’t cut off your pattern on the other side.

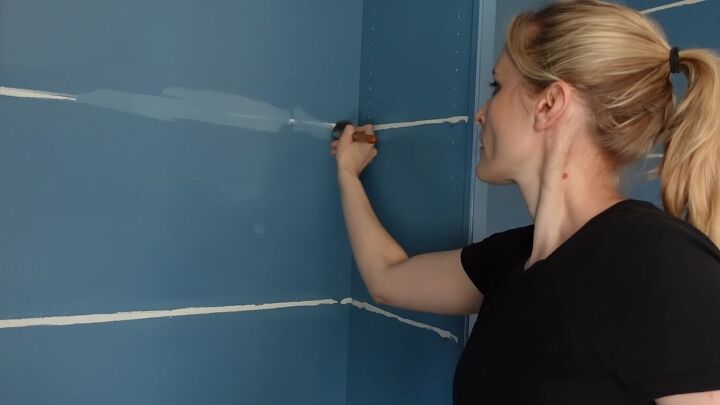
b) Cut in the edges
We have a tricky end to the wall with the molding, so we’re going to cut in the adhesive, just like we would if we were painting. Then, roller the rest of the wall. The manufacturer says to use “a thin amount” of adhesive but we found it was better to use more wall paste.
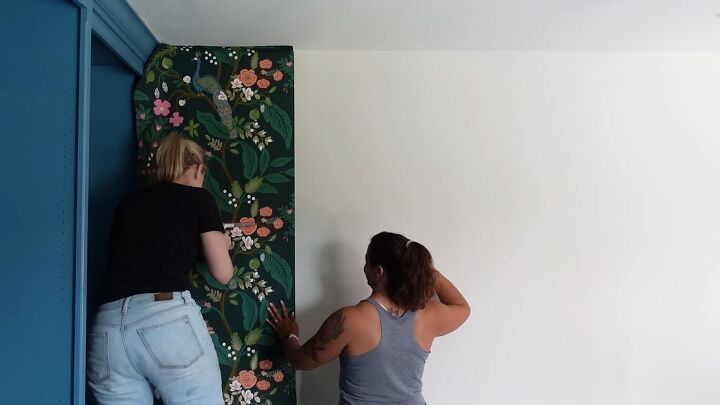
c) Stick the wallpaper
Stick the wallpaper along the line that you drew.

d) Smooth
Smooth out any bubbles with a seam roller or smoothing tool.
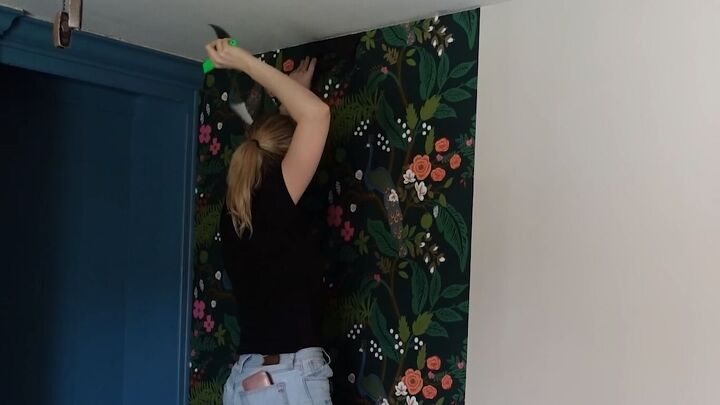
e) Trim
Trim any excess paper with a knife and cut around any outlets (be careful - I electrocuted myself doing this).
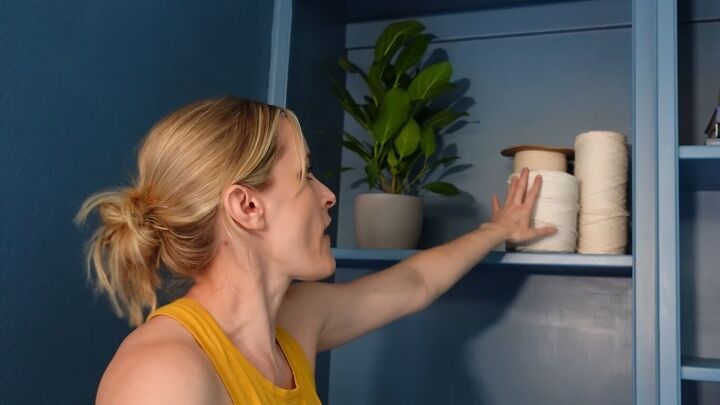
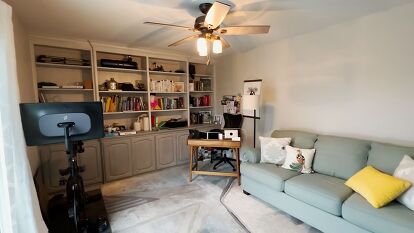
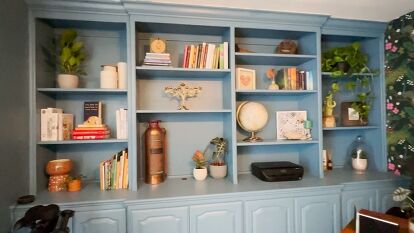
4. Style the shelves
First, we staggered the shelves, so they were no longer uniform. Then, we added more greenery and breathing room with plants.
Of course, the shelves are also functional. The best thing to do is group similar items together, such as these macrame cord spools. These are great because they provide scale and variation in height, which makes the shelf more visually interesting.
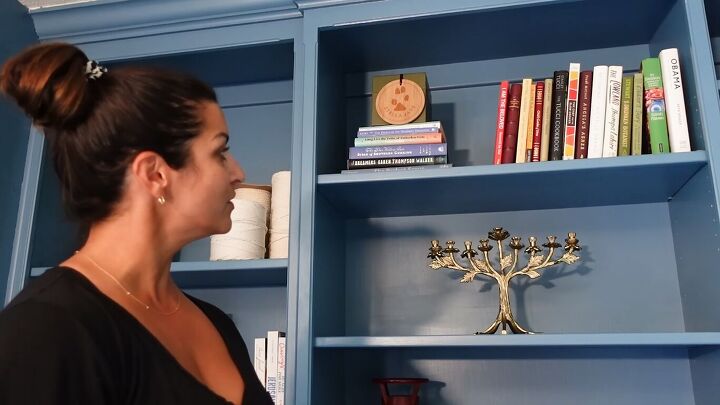
For a “lived-in” look, not every shelf needs to be aesthetically pleasing. For example, you can toss books where you like. Make sure that pieces that mean a lot to you are prominent, such as the pet urn on the top shelf.
Reflective decor works well in a dark room, so this gold menorah takes center stage on her own shelf. Other items we styled included a vintage fire extinguisher and a helmet (Maggie’s husband is a firefighter), as well as wooden cake plates Maggie’s dad made and a vintage globe.
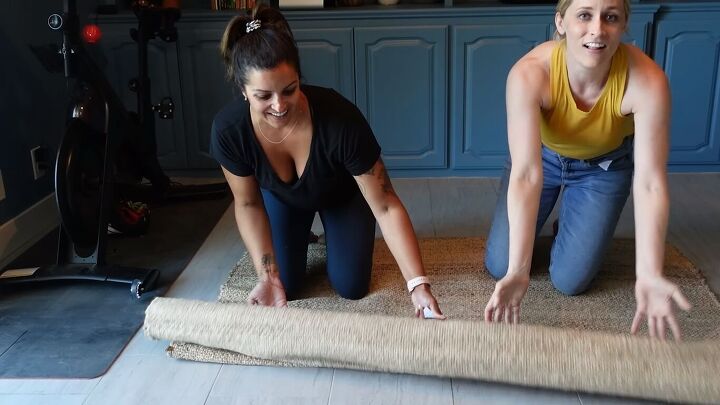
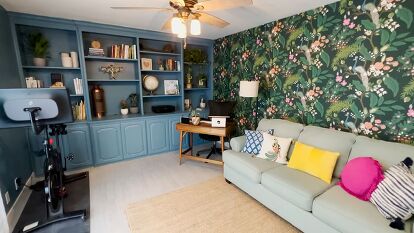
5. Replace the rug
Originally, we were going to keep the existing rug, but the space was really missing texture. So, we grabbed this 5x8 jute rug for less than $100, which complements the brown in the wallpaper and fits the earthy, witchy, moody vibe of the room now.
To keep the rug from slipping, we applied silicone caulking underneath.
6. Throw cushions
Finally, we injected some more color and texture with throw cushions, including our beloved peacock. Colors don’t need to match perfectly in this maximalist home office, and the covers can always be changed at a later date if you want a specific color scheme.
Before and after home office makeover

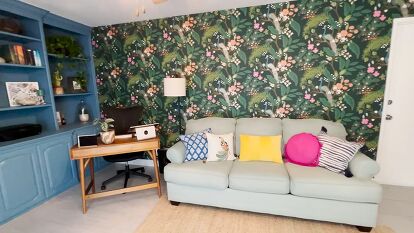
Maximalist home office makeover on a budget
We have painted, we have wallpapered, we have styled, and we have pillow-ed. So here is the big reveal!
Maggie loves the new space, describing it as grown-up and put-together, and she’s excited to actually spend more time in her new maximalist home office.
What do you think of this DIY home office makeover on a budget? Let us know in the comments below.
Comments
Join the conversation
-
What a lovely project! Also, loved your vid! Can I share this office design and the process with this tg channel?


Frequently asked questions
Have a question about this project?