


Transform Your Guest Room Into an Office: Before and After
Do you have a barely used guest room but desperately need a dedicated home office? I definitely did. I think it’s a pretty common problem actually. For a long time we basically had a mattress propped up against one wall, and a makeshift desk along the other.
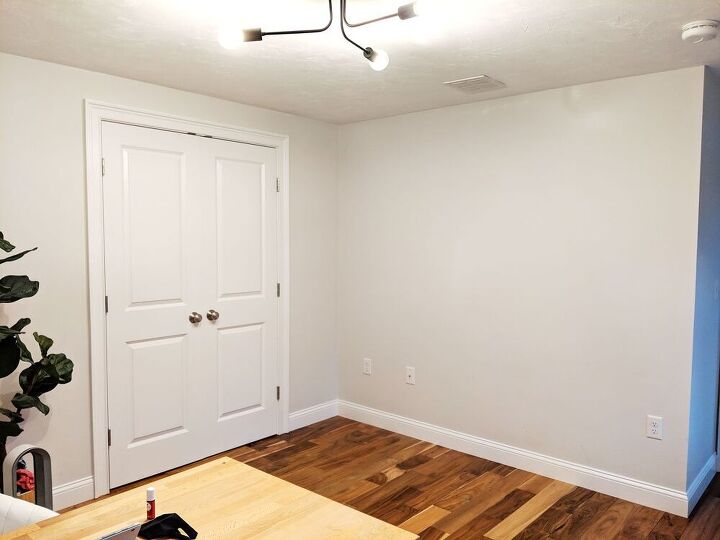
The Before
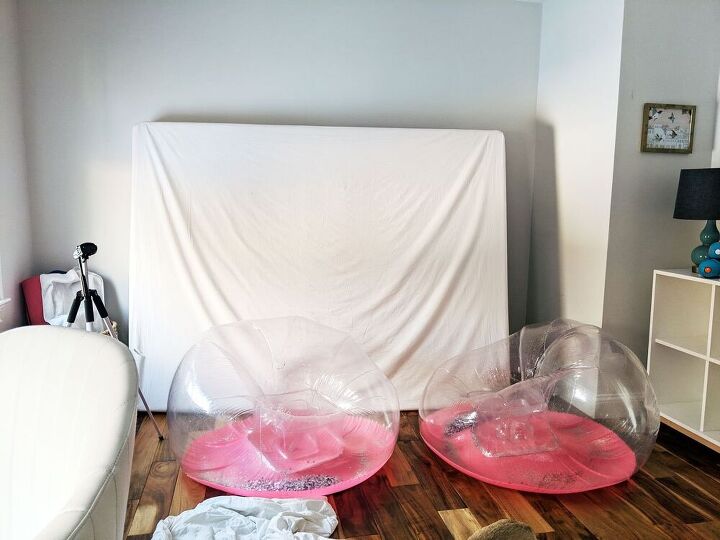
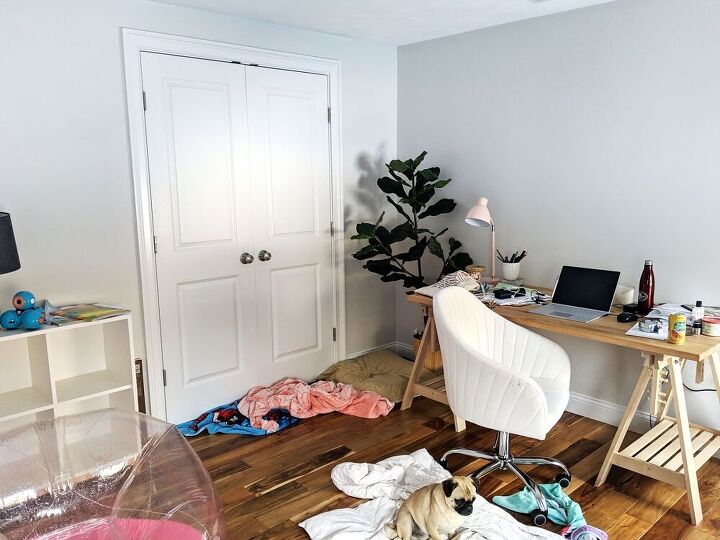
I wish I could say these were staged but sadly, this is what it ALWAYS looked like. When guests came? The mattress was laid on the floor. THAT’S IT. This was basically a flop house.
The Must-Haves
Here’s the deal: a lot of us are working or learning from home. There are A LOT of video calls. Messy, depressing, and not super functional has no place in this work from home world.
For this office makeover, here were the must haves:
- Someplace visually inspiring.
- Someplace functional.
- Someplace task-oriented.
These are the steps I took to achieve those goals:
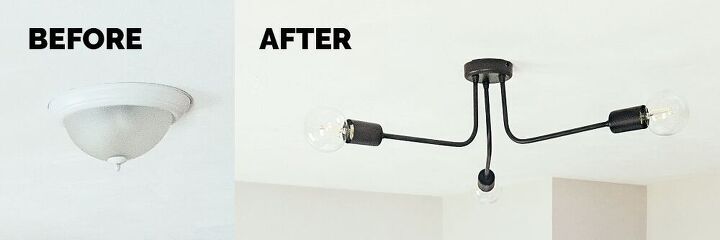
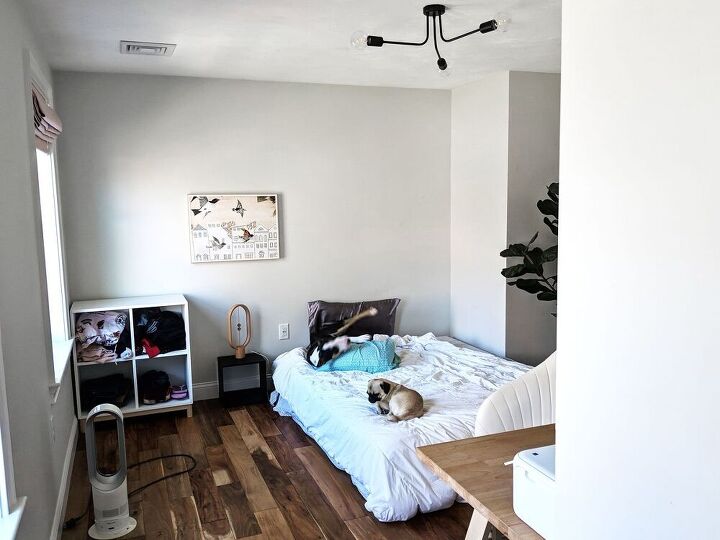
I tell anyone who asks — swapping out those awful boob lights is the number one thing you can do to upgrade the look of your home. I opted for a flushmount chandelier to cast a good amount of light and add some graphic interest to the ceiling.
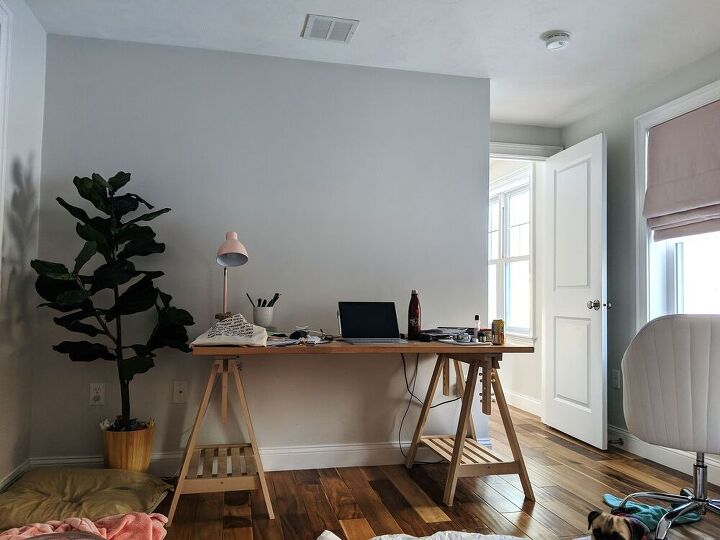
One of the biggest issues to tackle was the layout. Staring at a wall when there’s a beautiful yard to look at was just plain silly. And if, like us, you're on Zoom all day, having a natural light source shining directly on your face is a must. You won't believe how much better you look on-screen!
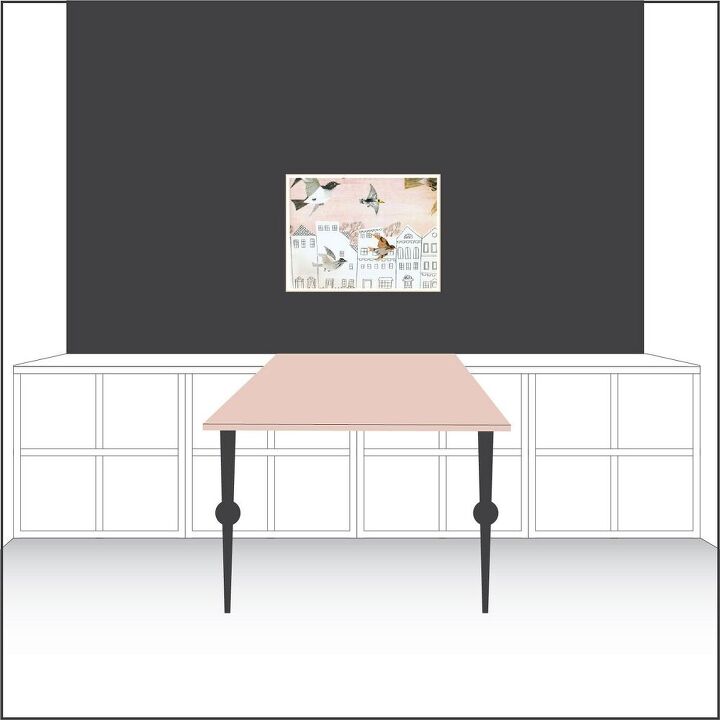
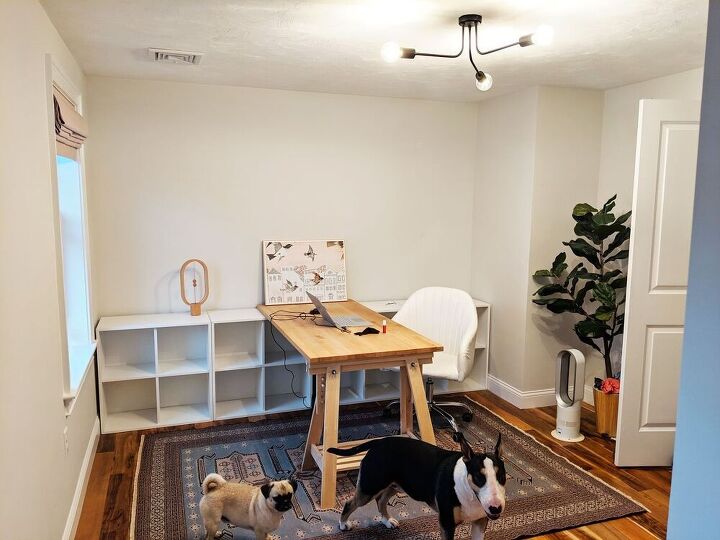
In order to achieve the best light and layout, we went with this desk configuration. I lined four IKEA shelf units along the main wall and placed the desktop perpendicular to everything facing a window rather than a sad sad wall.
Now, we have access to three sides of the desk and we have the flattering natural light from the window directly in front of us.
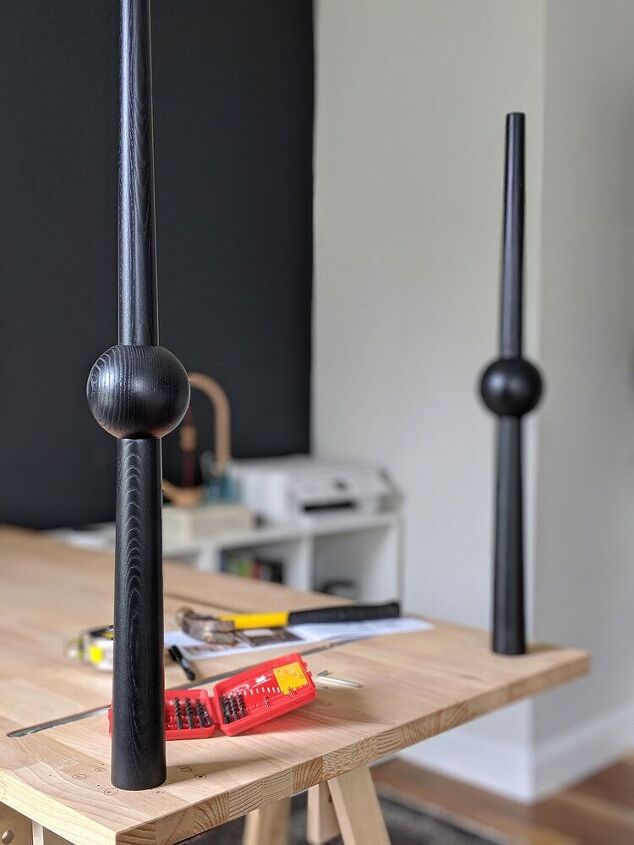
I used an inexpensive butcher block desk top and screwed some chic table legs to it. Easy peasy!
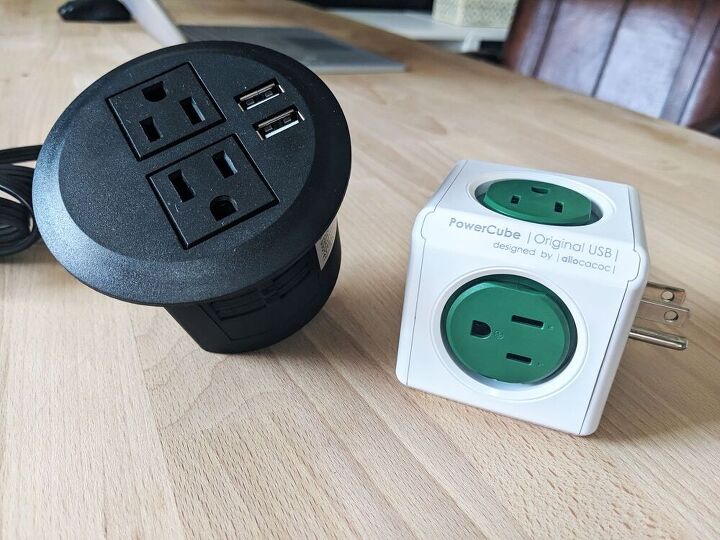
I also drilled a 3″ hole into the desktop and popped in a power dock in order to have access to the outlet behind the wall of bookcases.
Getting there! The desk and bookcases were set up, the power was situated, the only thing left on this wall was to make it look nice.
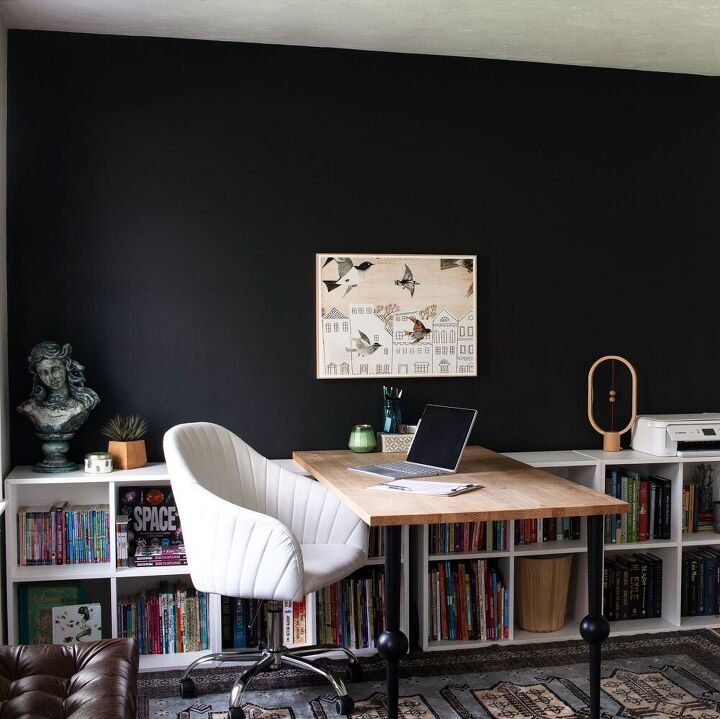
I decided to go with my signature coat of black paint for an accent wall along with a focal piece of artwork with some cool vintage pieces to offset the functional aspect (I’m looking at you printer…)
OK, now the desk wall was situated and in order to add even more functionality, I decided to create a giant whiteboard along the former desk wall.
My grand vision was to create not only a full wall whiteboard, but a full wall whiteboard MURAL. Awesome, right??
Rather than paint an actual mural, I decided to take a little help by hanging a wallpaper mural to start. Since my profession is literally design and illustration I designed a custom mural.
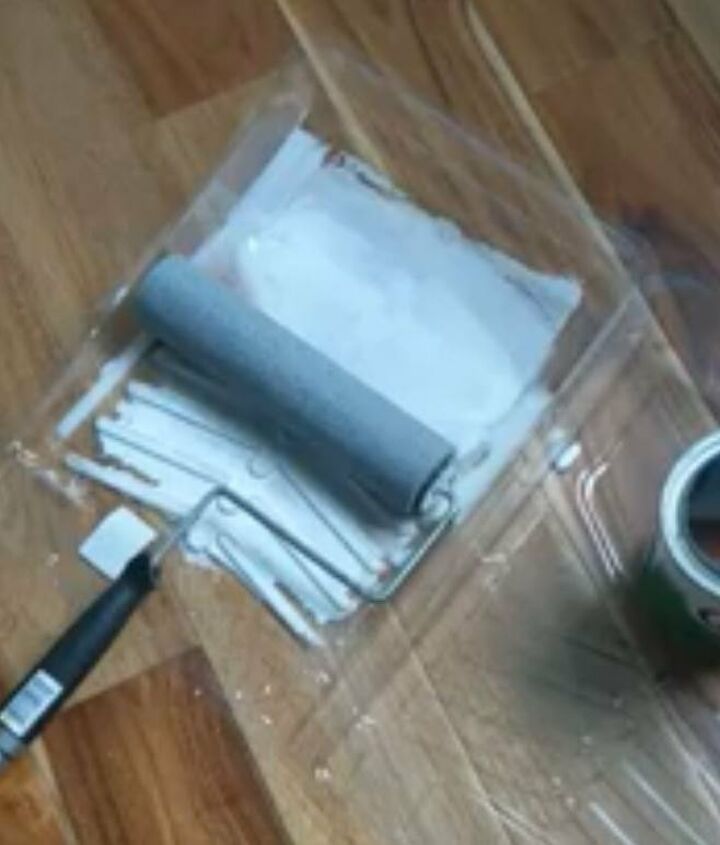
If you’re interested in DIYing your own whiteboard mural, check out my detailed how-to post.
The broad strokes are: hang the mural, paints LOTS of coats of clear dry-erase paint, let dry for 5 days.
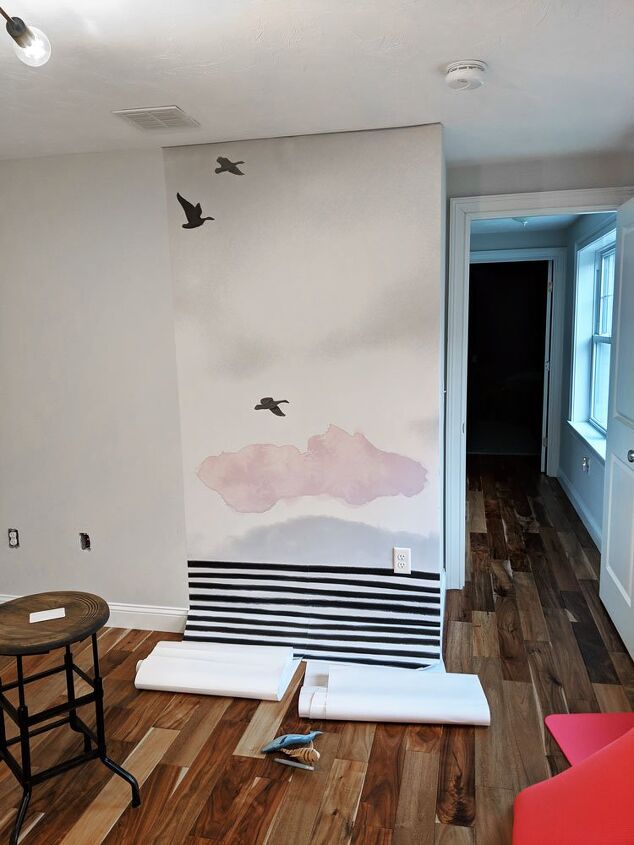
In progress...
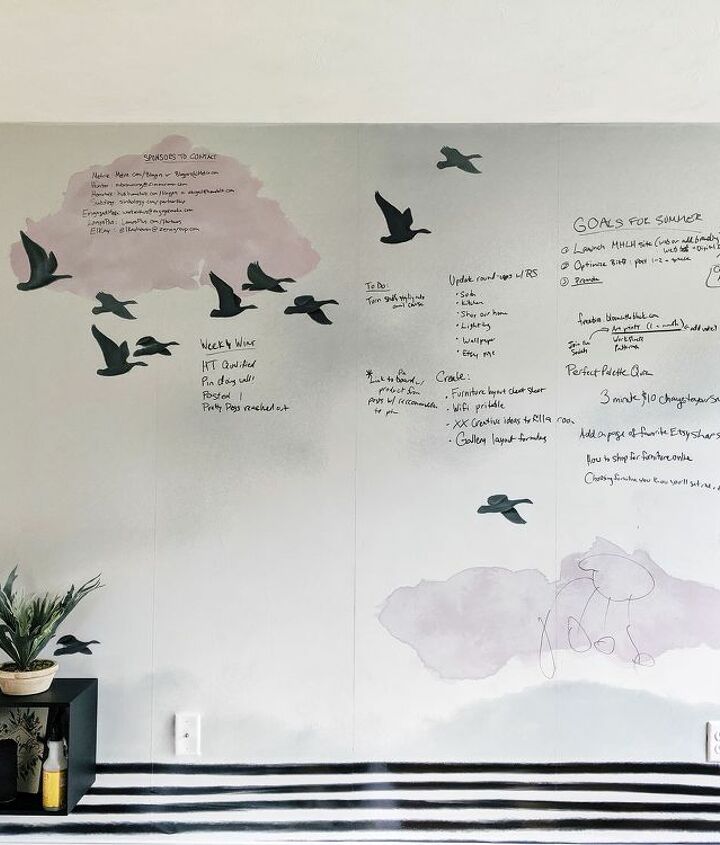
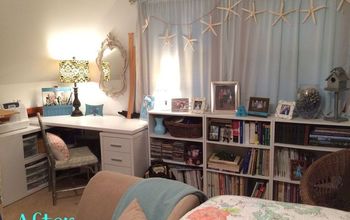
And here’s the after! Let me tell you, this dry erase wall is a gamechanger. I love it for jotting down notes on calls and brainstorming blog posts, my kids love it for drawing and practicing "number bonds." This new math kills me...
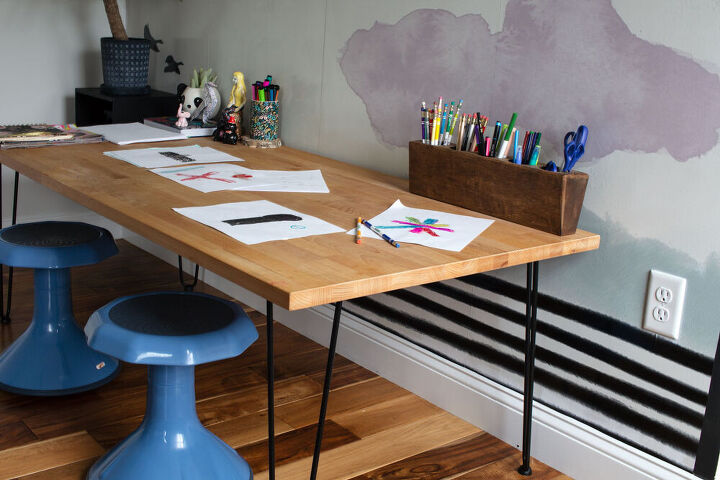
Since we're doing remote learning this year, we needed even more desk space. I whipped up this DIY homeschool desk for my kids in just 15 minutes!
It's sized perfectly for the elementary school set (i.e. short) and when paired with wobble stools and that big whiteboard? It's the perfect spot for some serious learning.
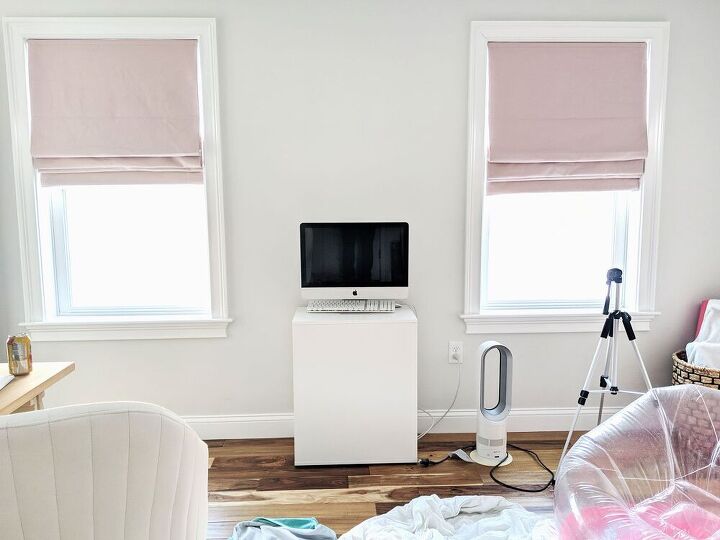
I had one last wall to deal with and was at a bit of a loss.
Before, I just parked my filing cabinet and a computer I never use between the two windows. The reason it’s so tricky is that it’s the main pathway from the door, so nothing can jut out more than a foot.
I didn’t want to do more art since I already had an accent wall AND custom art AND a giant mural. Adding more art in 10 x 12 room felt a little extra. However, I did need some organization…
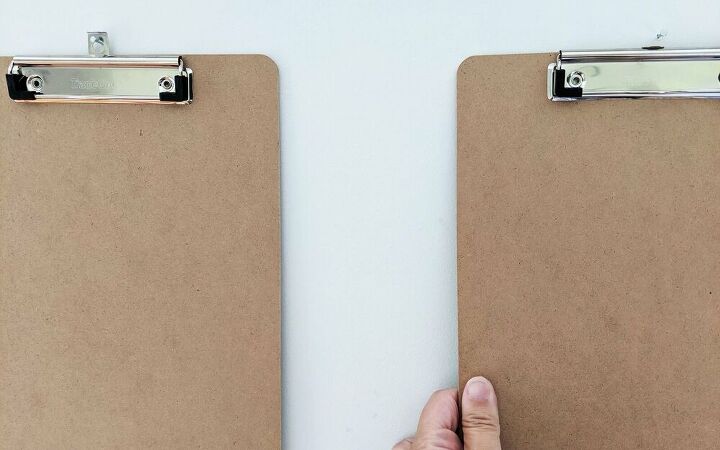
Enter the humble clipboard. I created a vertical paper clutter corralling marvel that has made me feel like a semi-together lady ever since.

This home office makeover has been everything and more. It’s a creative respite, a fun place for the kids, and a practical workhorse of a room. I can honestly say I don’t think there's a thing I would have done differently. Except maybe add some closet organization…
Resources for this project:
See all materials


Comments
Join the conversation
-
Brilliant redo. I absolutely love the desk😻😻😻
-
This was so helpful. I have a former playroom (grown children) that I am in the process of turning into a craft room/guest bedroom. Your room is definitely a great inspiration and has solved many of the problems I have. I now feel confident that this is a doable task. Thank you, thank you, thank you!


Frequently asked questions
Have a question about this project?
I love the whole room , but where do guests sleep now if there is no mattress and since this was a guest room? Could it be placed on a piece of wood and, drawn up to the ceiling Over the desk?
Hi Brianna, your work room turned out beautifully and thank you so much for sharing your ideas and process. I do have a question please. Did you make your saw horses for the desk and if so will I be able to find the instructions on your blog? I can see them as not just a desk but a work table a bit higher than in your picture. Thank you for taking the time to answer :)