


Kitchen Makeover: Faux Marble Tile Backsplash

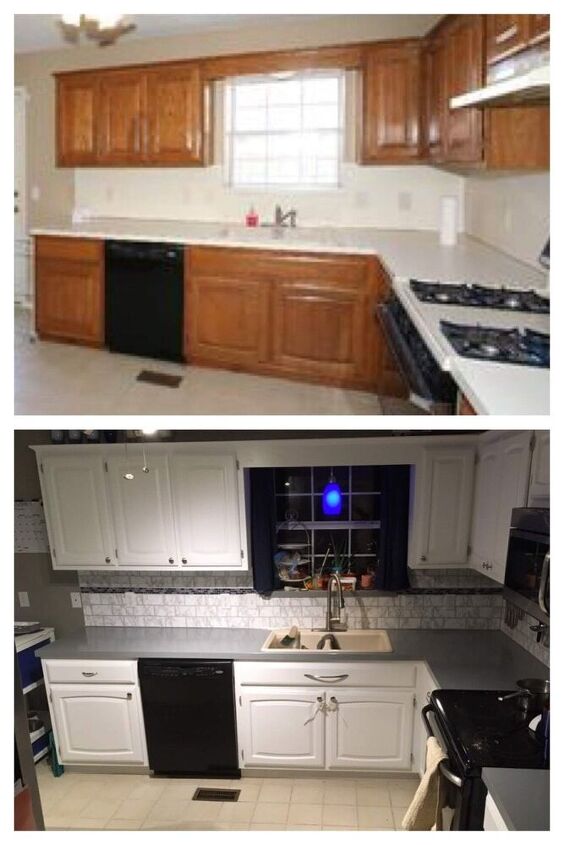
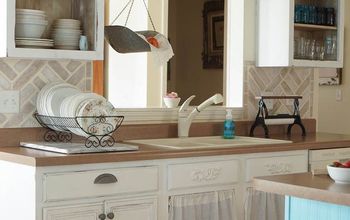
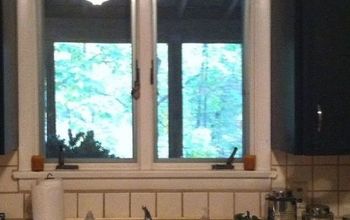
When we bought our house, the kitchen was all beige. The walls, the backsplash, the counters, the sink...
The overall structure and layout were fine, but man, talk about blah!
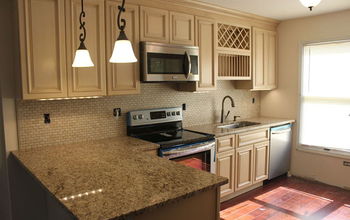
Having just purchased a house, there were many other projects to tackle, so kitchen budget was limited. Rather than rip out and replace everything, which would cost a fortune, I opted for resurfacing instead.
Here’s how I tackled the backsplash:
For the backsplash portion of my project, I used:
-bonding primer (on hand)
-1/4” painting tape ($2) (and some 1” painters tape)
-drywall mud (compound) (on hand)
-(2) rolls of laminated contact paper in a marble pattern ($10 each)
-(1) package of 10 sheets - 3D peel and stick mosaic tiles ($10)
Tools and other materials:
-10” and 2” putty knives
-screwdriver to remove outlet covers
-sandpaper (I think I used 120)
-TSP substitute cleaner
-straightedge cutter and exacto knife
-carpenter square and yard stick
Prep
Our existing backsplash is a laminate sheet glued to the wall and trimmed out with metal strips, so this is the process I used.
To prep, remove the outlet covers, clean the backsplash well, lightly sand it, then use a TSP substitute for a final cleaning. Tape off the metal strips, outlets, and anything else you don’t want painted. Apply a bonding primer, and remove the tape before the primer dries.
When the primer dries, start taping out your tiles.
*If you have normal drywall instead of a glossy laminate sheet, you most likely won’t need to use bonding primer.
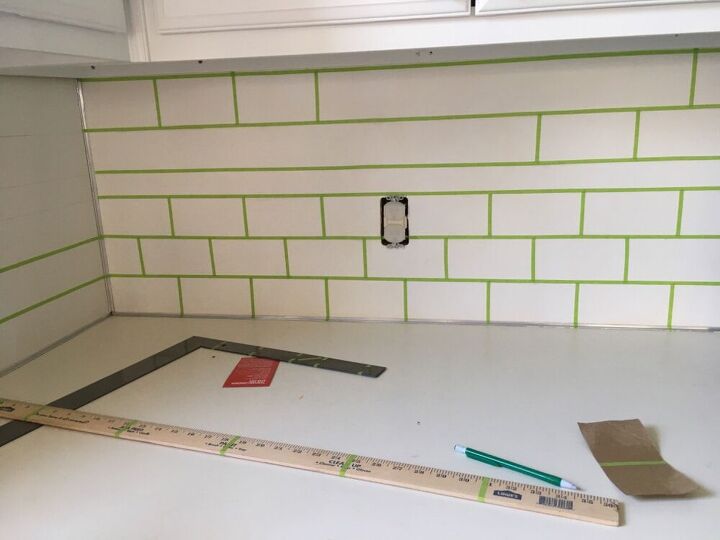
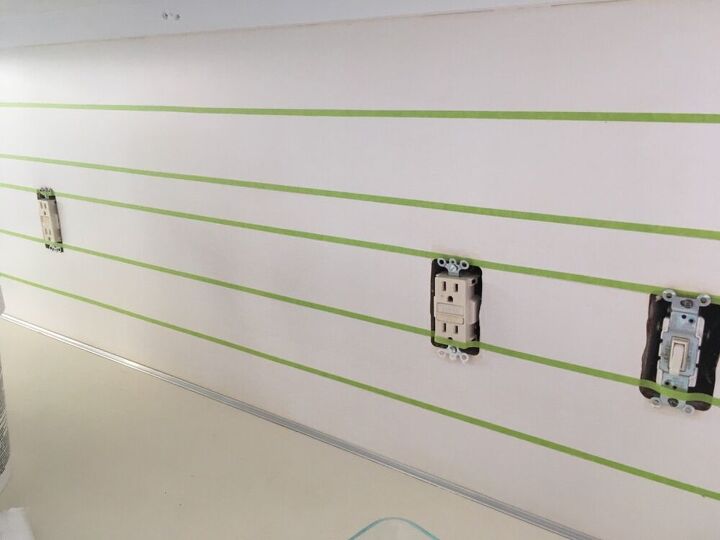
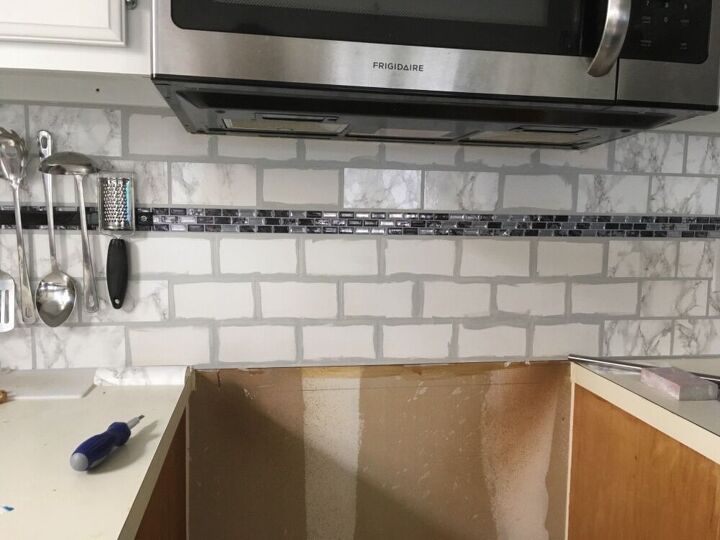
Decide the size of the faux tiles you want, and accounting for the “grout” lines, tape them out.
Using 1/4” painters tape, start with the horizontal lines, then alternating verticals. A carpenters square and yard stick work well for this.
I had an 18” gap between the countertop and cabinets, so I made my tiles 3” tall x 6” wide, and left a strip for my accent tiles.
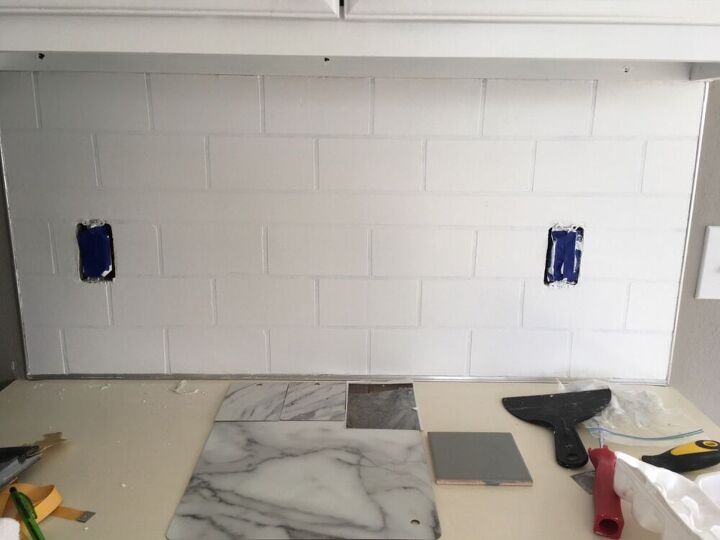
Use putty knives to apply drywall compound across the backsplash. I used a large one for most of it, and a small one to get in the more awkward areas.
I recommend applying one fairly thin coat, then a second, thicker coat after the first is dry. Lightly sand after the second coat if desired, the. Carefully remove the tapes tile lines.
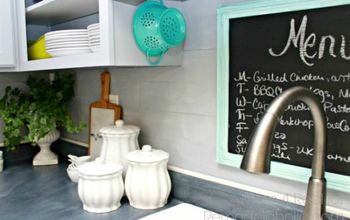
Use a craft brush to paint the grout lines. I used leftover wall paint in a medium grey. Make sure you paint over the edge of the tiles slightly. Using a straight edge cutter, cut out your “tiles” from your contact paper and begin peeling the backs and applying them to your wall.
For my accent tiles, I cut peel and stick mosaic tiles into sections of three rows each and applied them to the wall.
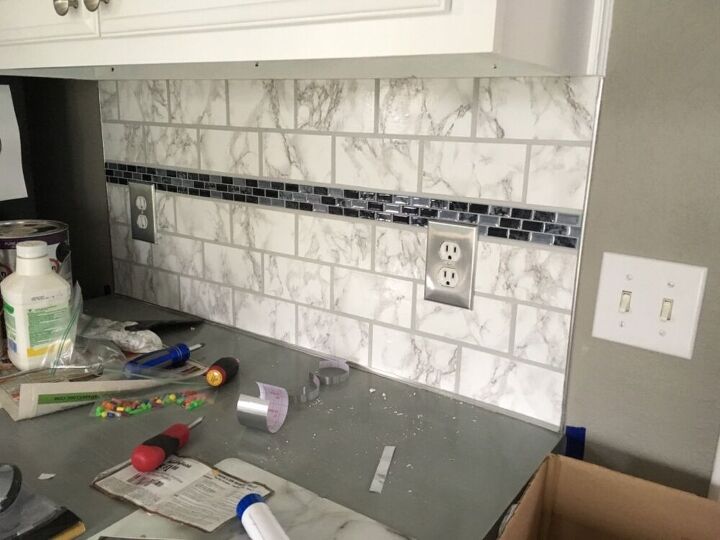
By using laminated contact paper, it wipes clean easily, and looks more like the gloss of real tiles.
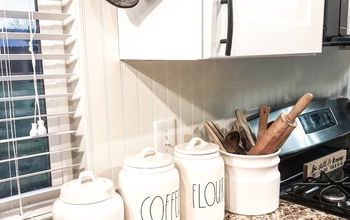
*It has been almost 4 years since doing the backsplash and it still looks the same as the day I finished it!
It is not a particularly hard project, but it is time consuming.
Be sure to check out the rest of my kitchen facelift here: http://www.hometalk.com/diy/kitchen-dining/co...>


Frequently asked questions
Have a question about this project?