


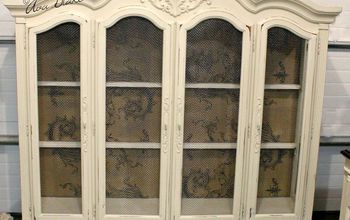
China Hutch Repurposed Into a Flat Screen TV Stand

by
Ouina
What to do with a 1960's era china hutch? My daughter needs a flat screen tv stand. So now I have a purpose, just needed a plan. Decided I didn't want to fool with the top half and gave that away to a friend. The base was perfect for a tv stand. It only took me a year to decide what colors and how I wanted it to look like. Still needs a top and knobs. Haven't quite decided on both but see what you think.
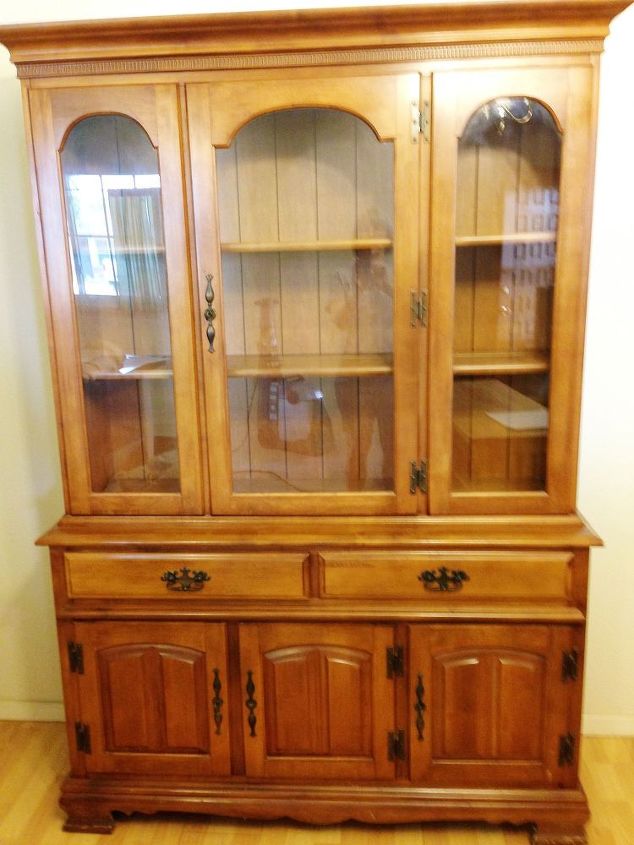
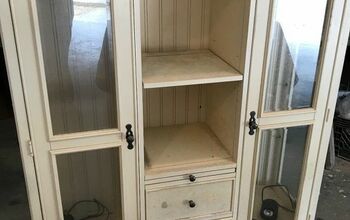
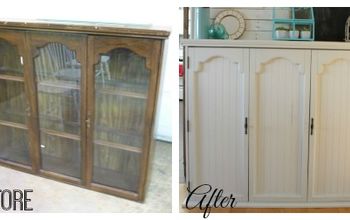
Before picture of china hutch
This is the piece - how it looked at my in-laws house. They have passed on and we do not have room for all their furniture. It was too good of a piece to give away so I decided to repurpose for my daughter and son-in-law. There were some issues - doors with separation issues, hardware knobs broken, etc. But overall- in really good shape. They are post-docs just starting out.
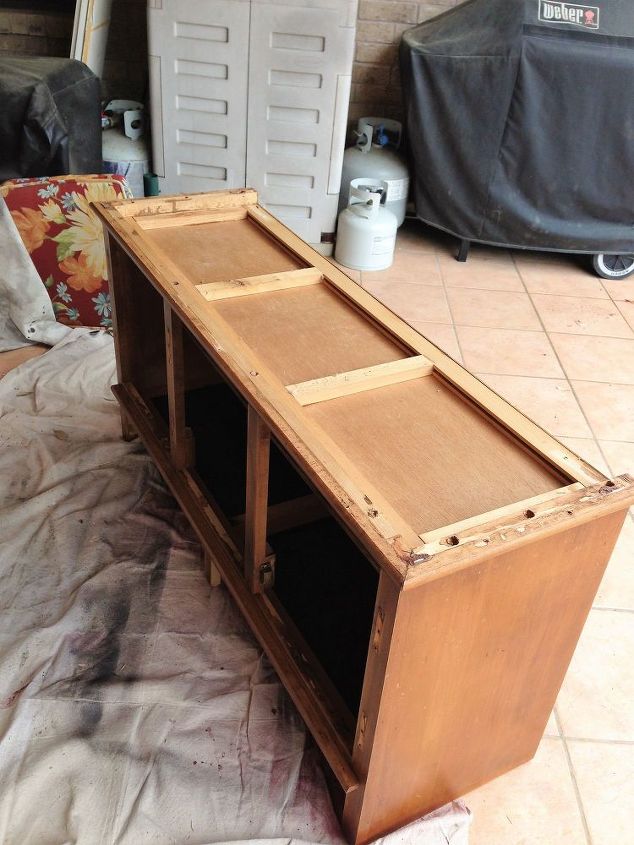
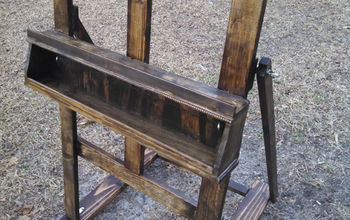
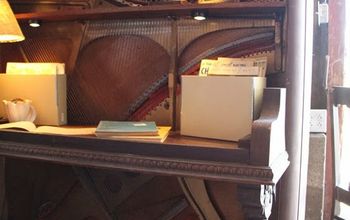
Upside down - legs need to be added
Removed the top hutch. Then flipped the base over and removed the skirting. I then selected legs at Lowe's and had to figure out how to mount them.

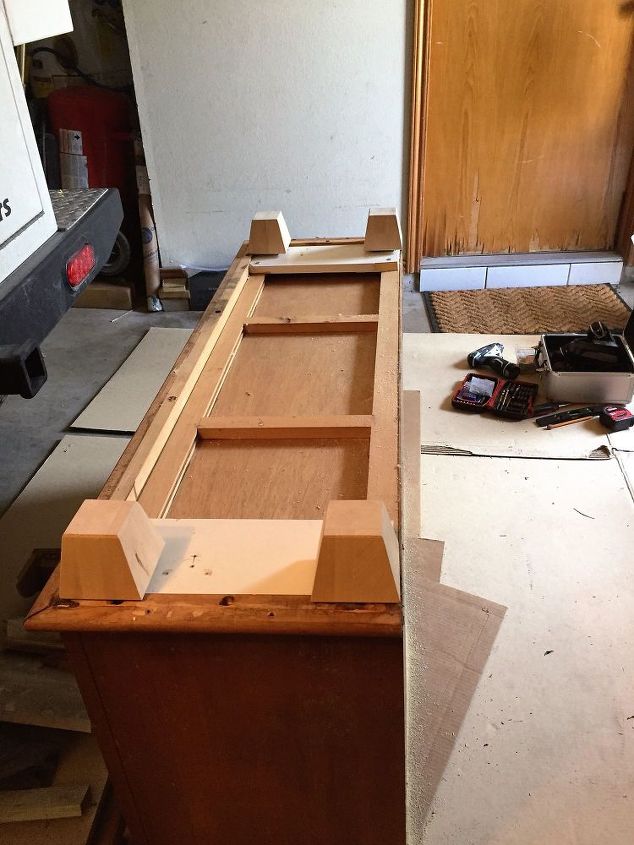
Leg mounts
Found some scrapped pieces of wood and used it to fill in so that I could then mount the legs to the underside.
Legs mounted on base
As you can see, the legs are now mounted.
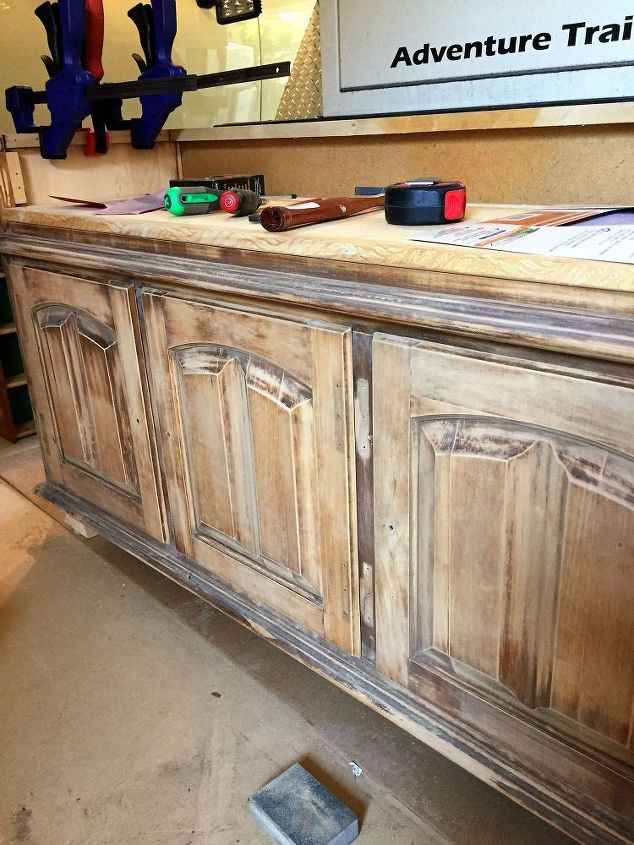
Sanding.
I sanded the entire piece to remove the shiny finish. I started with 180 and finished up with 220.
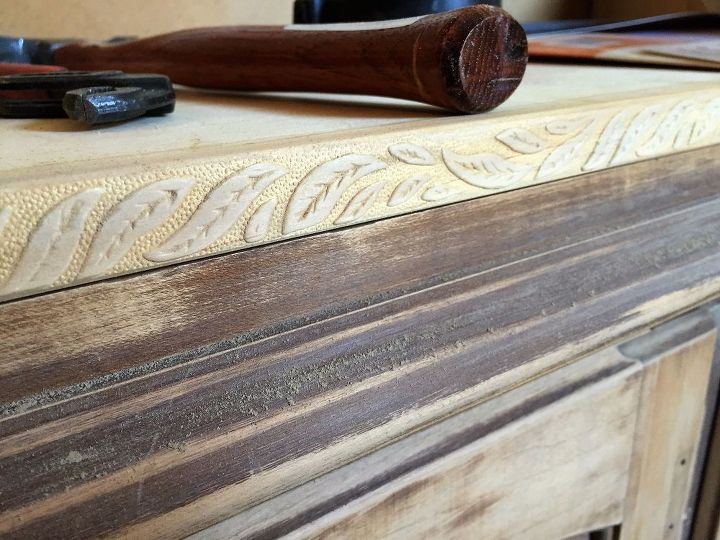
Added a shelf.
When the hutch top was removed the base went with it so I had to place a shelf. I had a leftover edge piece from another project that was perfect in hiding the shelf edge. The wood for the shelf came from Lowe's found a length that I didn't have to cut much off in order for it to fit. I then glued and used finishing nails to attach the decorative strip to the edge of the wood shelf.
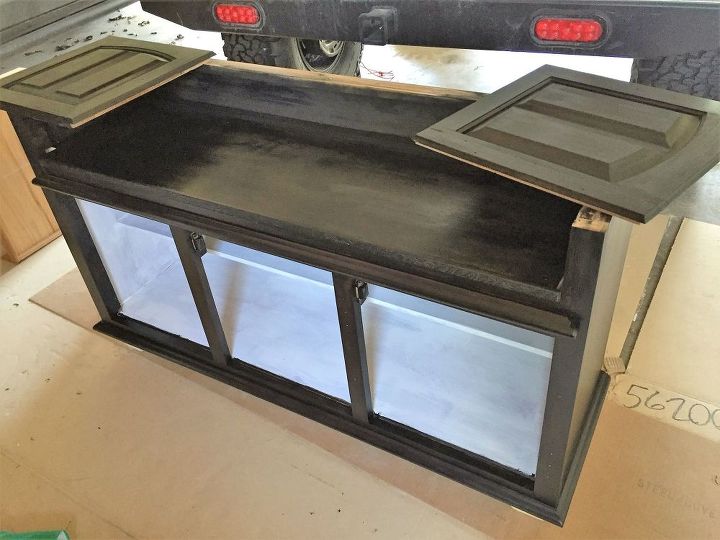
Stained and priming
I stained the entire outside and shelf with a very dark stain - Minwax Antique Black. I primed the interior - two coats.
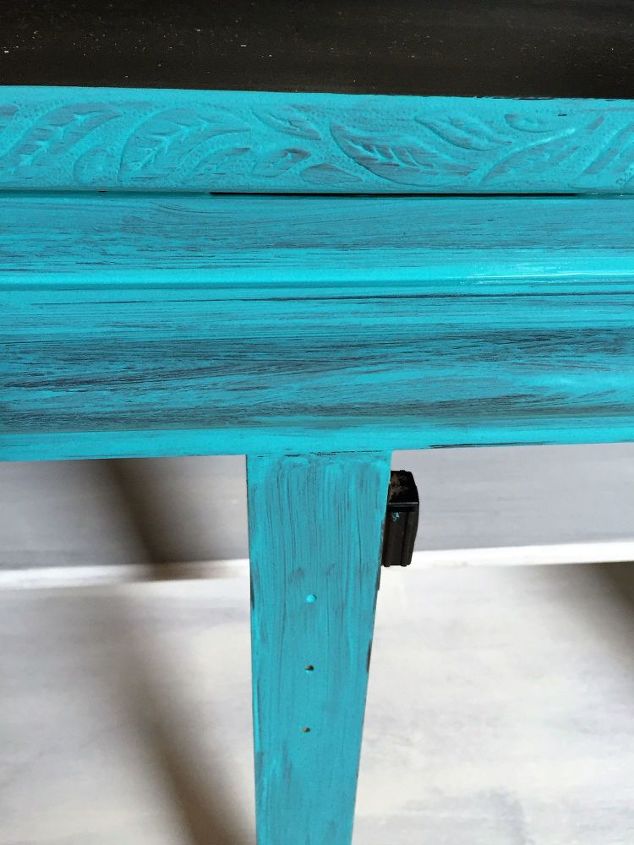
Chalk paint
I then painted two coats of Debi's Design Diary DIY Paint - Mermaid Tail. Love, love, love the color. That's why it took a year for painting - I wanted the right shade of turquoise!

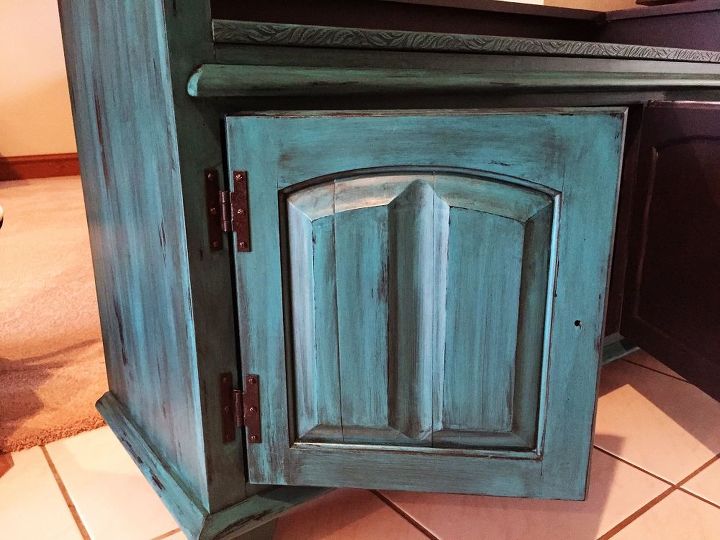
Wet distress.
This chalk paint was easy to work with and to distress all I needed was a damp cloth.

Sprayed the hardware
I also repainted the hinges - oil rubbed bronze. Two coats and a thorough drying period.
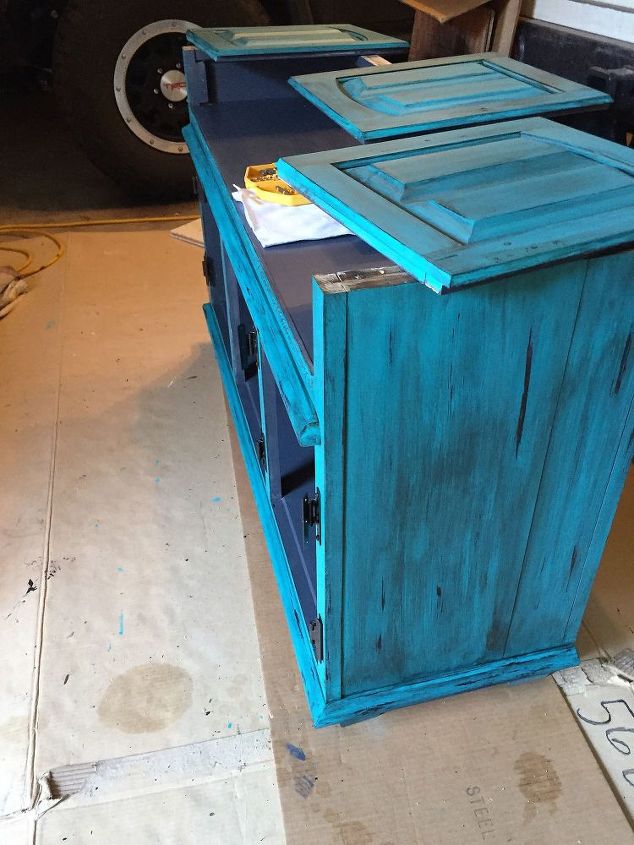
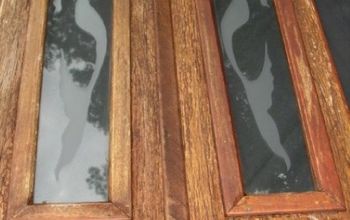
Another look at the distressing
Another look at the distressing.

Painted interior.
I painted several coats of the interior with Valspar eggshell interior paint - Volcanic Ash. Appropriate as my son-in-law is a vulcanologist!
Final colorwash and polycrylic coats
Finally, I applied a colorwash a shade darker than the interior paint color - I was able to get a Valspar sample in Lincoln Cottage Black. I followed up with a couple of coats of polycrylic to protect the finish. I still have to decide on a top and hope to find some unusual antique knobs to complete this project. Right now the base is "curing" inside my house and nearly ready for its' permanent home!
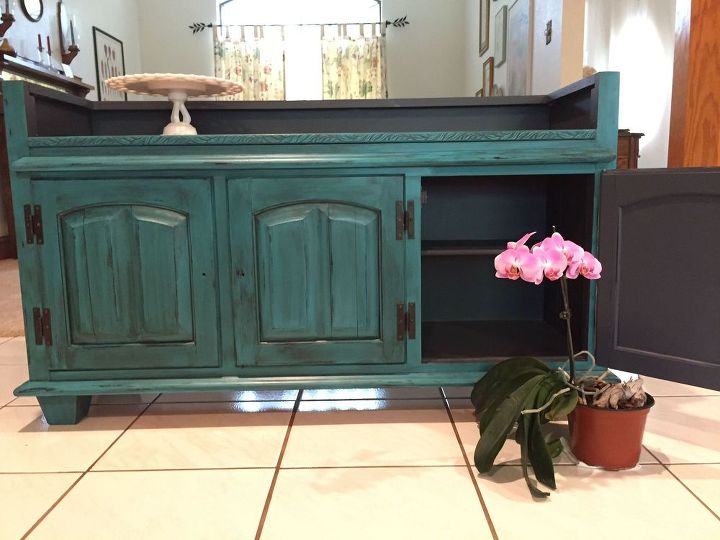
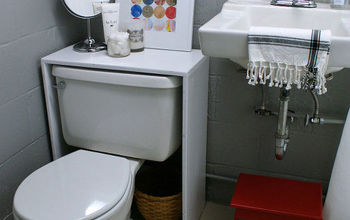
Almost done!
Thought I would add a picture of the piece - still have to decide on knobs and a stone top. My daughter and son-in-law are geologists so it has to be special!
Comments
Join the conversation
2 of 3 comments
-
Hard to believe it is even the same piece! Love your color choices, very fun and sheikh all at the same time!
-
Love the color combinations. Turned out amazing. Great job.


Frequently asked questions
Have a question about this project?