


How to Cover Glass Cabinet Doors With Window Film

Are glass cabinet doors making your home look messy? Learn how to easily cover glass cabinet doors for a cleaner look!
For more simple and budget-friendly DIY project ideas, be sure to follow us on HomeTalk and visit our blog!
Have you ever noticed there are things in your home that kind of drive you crazy every. time. you. see. them?
But since they’re there all the time, you kinda stop noticing them?
It’s like they fade into the background.
Until one day, they don’t.
And then for a little while, that’s all you see!
But.
Life’s busy.
And you don’t have the time or money to really change the problem.
So eventually they fade away again.
Until the next time you notice.
Yeah.
Me too.
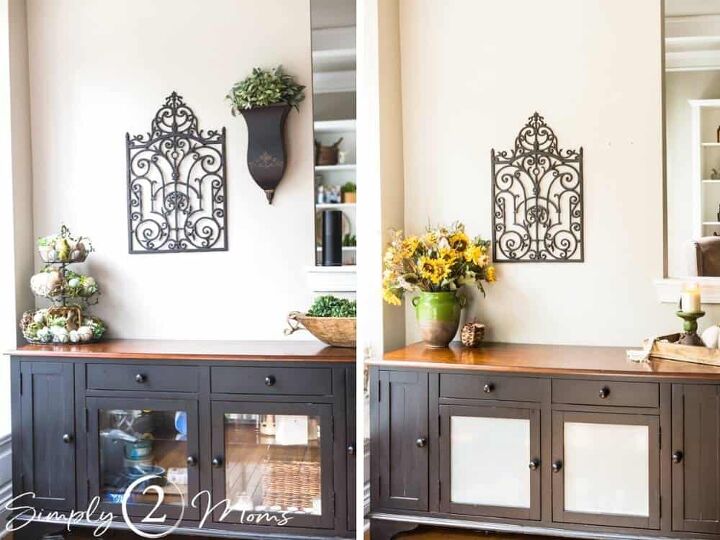
This cabinet was one of those things for me.
I mean, it’s a nice piece of furniture.
And for about eleven years it sat in our family room with our TV sitting on top of it.
Those glass doors held the VCR (remember those?!).
And the DVD player (remember them?!?).
I’m starting to feel a little old.
Thank goodness I didn’t say cassette player, right?!
The DirectTV box sat in there too.
And we needed those glass front cabinet doors!
That’s how the remotes were able to work.
Because thank goodness we didn’t have to get up off our bottoms and physically change the channel by turning a knob!
The horror!
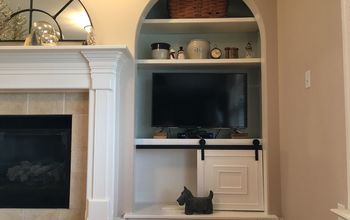
Then, a few years ago my husband built a gorgeous built-in entertainment center in the family room and we moved this cabinet into the kitchen.
Suddenly, those shelves started holding things like cat food.
And candle jars.
Pool chemicals.
And other random stuff.
At one point I planned to buy baskets to hold (and hide!) everything.
But I never found any that fit.
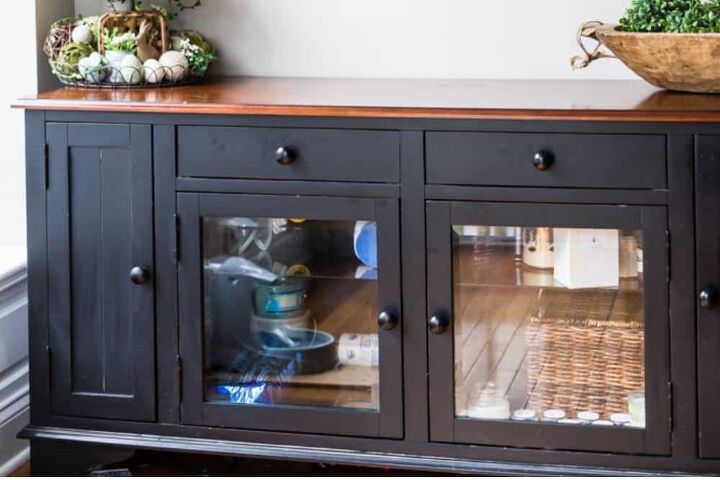
While the messy look behind the cabinet doors drove me nuts when I noticed, usually the mess just faded into the background of life.
Until the day I took this picture.
That was the day I knew it was time to cover these glass cabinet doors once and for all.
But how?
How to Cover Glass Cabinet Doors
I knew I wanted to cover the glass doors in a way that was budget-friendly and also pretty neutral.
I’ve seen crafty people sew cute little curtains to hang inside the glass doors.
But I don’t have a sewing machine.
Another option to cover glass cabinet doors is using paper.
But that wasn’t exactly the look I wanted.
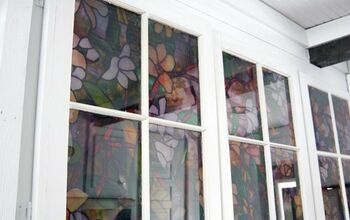
Then, one day, while walking through our home improvement store, I saw window film.
And I thought to myself, this might just work!
There were all sorts of options to choose from.
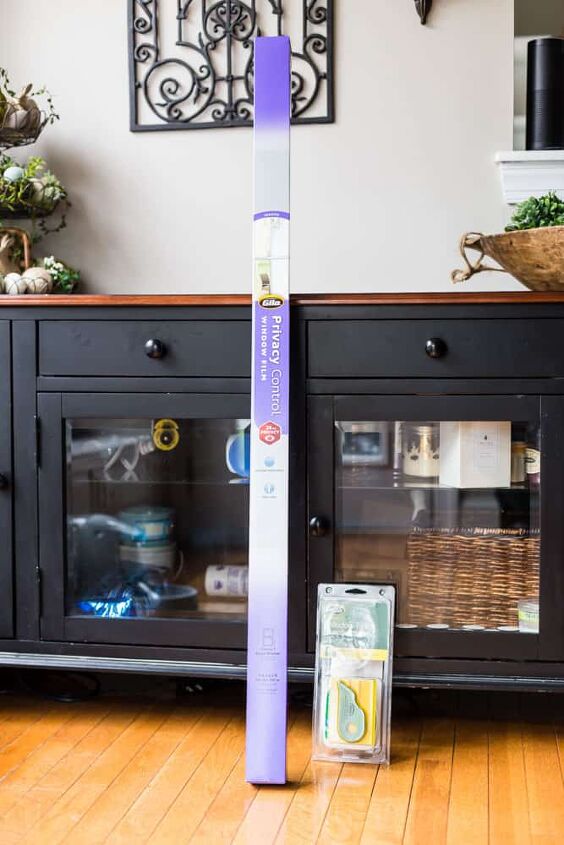
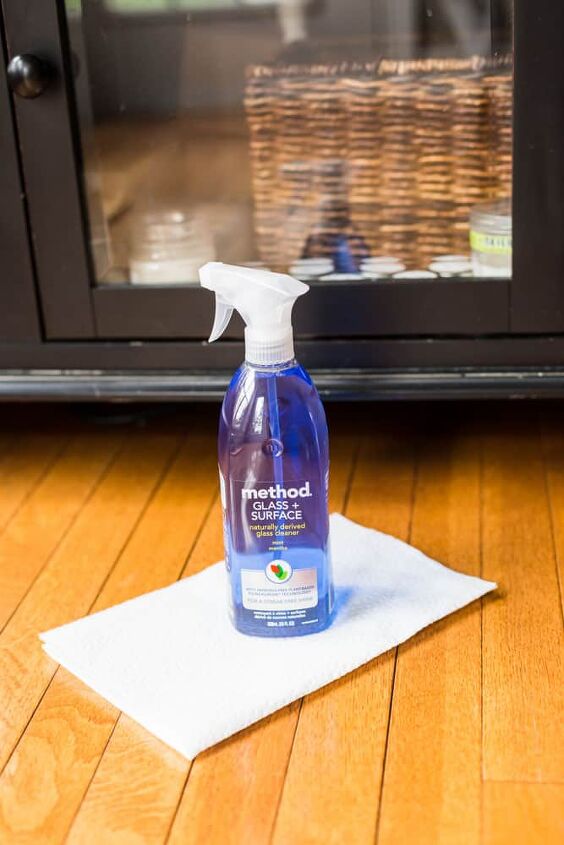
I decided a simple frosted glass window film was exactly the solution I was looking for to cover the glass panes in my cabinet!
I also got the window film application kit.
It includes a special solution that adheres the film to the glass, plus a cutting tool and an applicator.
How to Cover Glass Cabinet Doors with Window Film
Have you heard the adage: measure once, cuss twice?
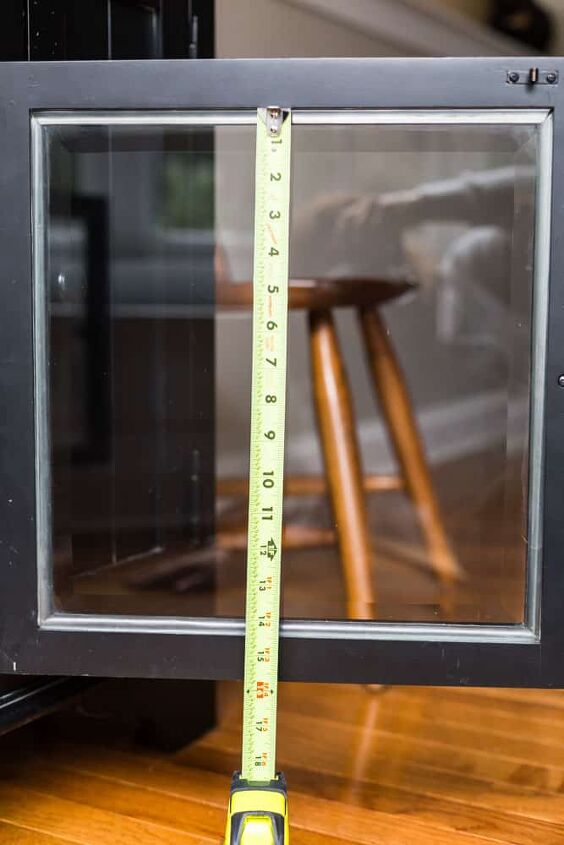
Well, the good news is you don’t have to be quite so careful about the measuring with this simple DIY project!
In fact, when you measure the size of the glass you want to cover, you actually need to add about an inch or so to both the height and width.
Why?
Because you do the final trimming once you’ve attached the film to the glass.
Once you have your measurements, cut out a piece of film.
Before you try to adhere it to the glass, be sure to give the glass a good cleaning.
You don’t wanna trap fingerprints, smudges, dust, and drips inside your new window film!
Or maybe you do?
If so, you be you!
But I knew it would drive me nuts.
So I gave the glass a much needed cleaning.
Do you see the spots and splotches on that door?
Yikes.
I’m never gonna win the title of Housekeeper of the Year.
Also, remember, you’re attaching the window film to the inside of the glass cabinet door.
So be sure to clean both sides of the glass!
Once the glass is clean and free from any lint, spray the solution from the application kit on the inside panel of glass.
Then place the piece of film that you cut on top.
It moves around real easily, so wiggle it into place, approximately in the center of the pane.
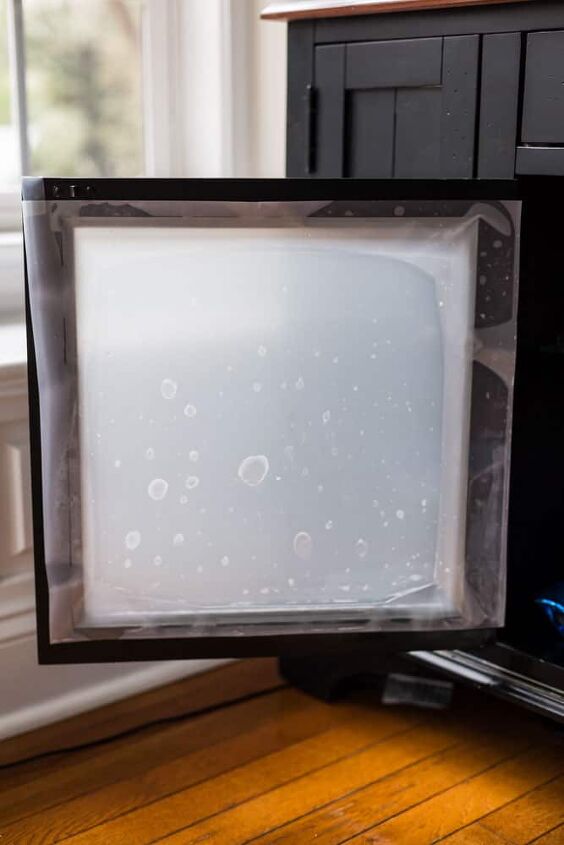
Don’t worry about those bubbles!
You’ll be using the applicator tool to smooth them out.
Before you get started with the smoothing, put a dish towel or paper towels on the floor (or counter) under the glass door.
Start at the top, in the center and smooth the bubbles down and to the edges.
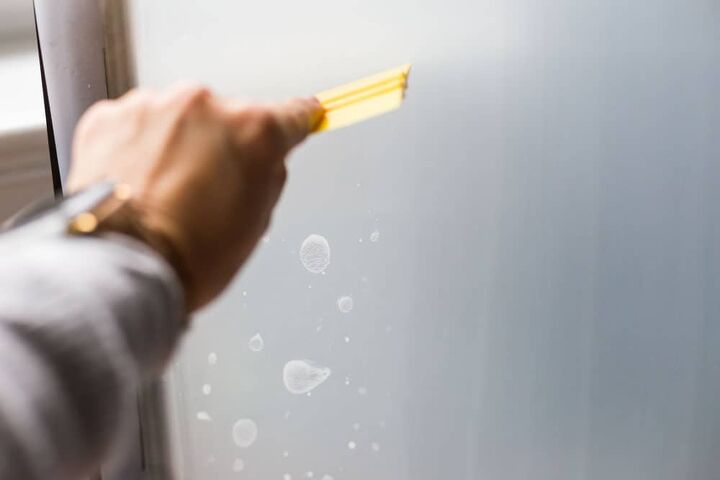
It’s pretty satisfying!

And this is why you want to have something to catch the drips!
As you smooth out the bubbles, you’ll also be squishing some of the application spray out the bottom!
I couldn’t get pictures of the next step because it was a two-handed process.
I’ll try to describe it for you!
With one hand, hold the smoothing tool at the top edge of the glass.
In your other hand, use the cutting tool in the application kit to trim the excess window film from the edges.
Then smooth the film again out to the sides and repeat the trimming process.
Finally, trim the bottom edge.
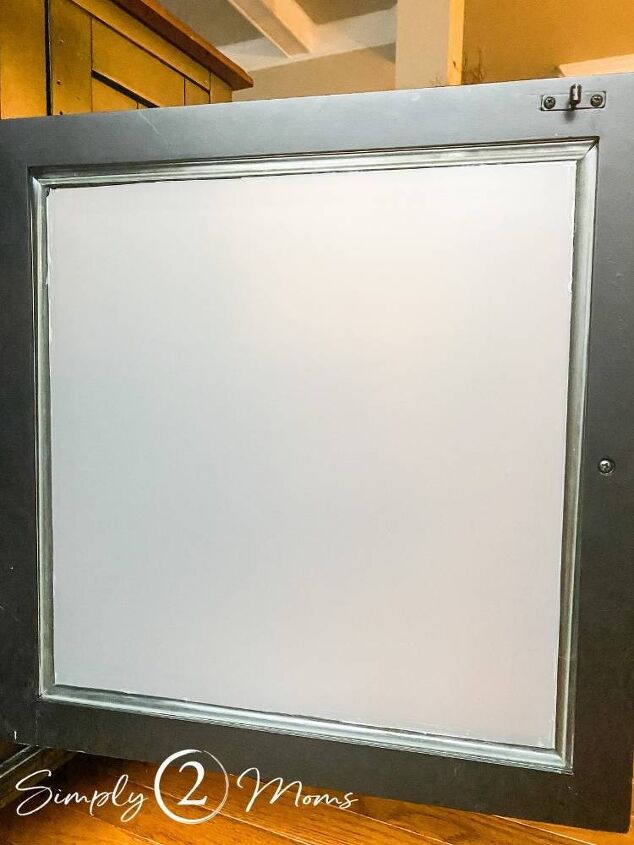
I wish I was a super precise and neat DIYer, but as you can see, my cuts aren’t completely straight.
In fact, they’re a tiny bit ragged in the top left corner!
However, the glass is sitting inside a frame, so when the doors are closed you don’t see those imperfections.

And you also don’t see all the stuff siting inside the cabinet!
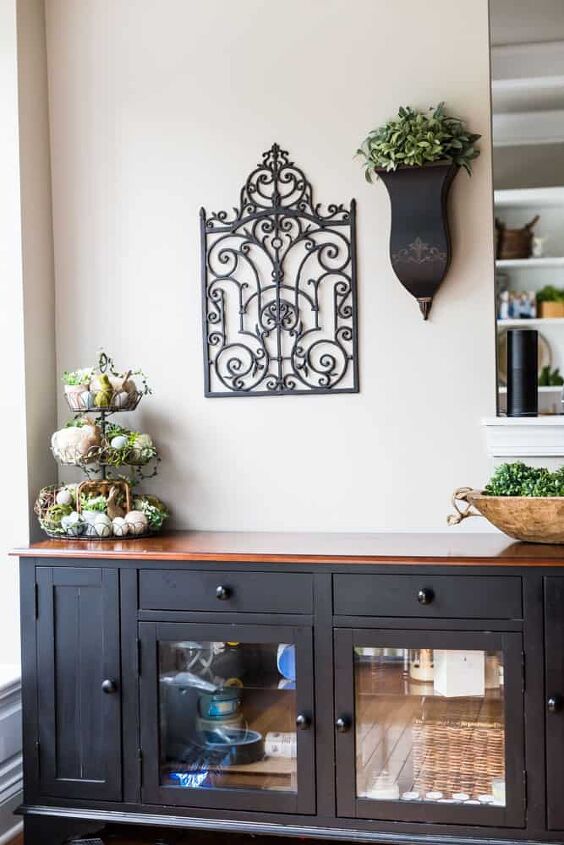
The frosted glass window film is exactly what this cabinet needed.
Everyone loves a good before and after, so here you go!
Do you have anything in your home that could benefit from this easy DIY project?


Comments
Join the conversation
-
Just an idea for those that don't like the white....DON'T DO IT!!!
I put bamboo strips on windows on an old buffet and loved it. But if I had put white film....if anyone had told me they didn't like it, I would have told them they could go home. But the thing is, most of you would never tell anyone to their face the things you say on here. Be kind and try to have an imagination and get inspired.
-
I think it’s a great idea. Thank you for the inspiration.


Frequently asked questions
Have a question about this project?
Does anyone know if this could be used on the outside of my oven window?
How easily can this be removed - in future years?
Why do people feel the need to say they don't like it or to tell the blogger what they should have done?
This is for inspiration....do what you like and let those that like the idea enjoy it. This was a great inspiration post. I imagine many people will use this go in their own direction with it.
Being kind is becoming a thing of the past.