


Upcycling Dressing Table Stool With a Pillowcase

The purple/grey velvet I had on my dressing table stool didn’t match my new bed or bedding. I didn’t want to get rid of my stool because it was actually handed down from my gran after she passed away. So when I realised that my new bedspread came with 2 pillow cases I decided to use one to cover my stool so it would match!

This was the finished product and I’m really pleased with it. And even happier that it didn’t cost me anything really as I already had everything I needed in the house. And since we can’t get to any stores just now, I thought... why not try it!
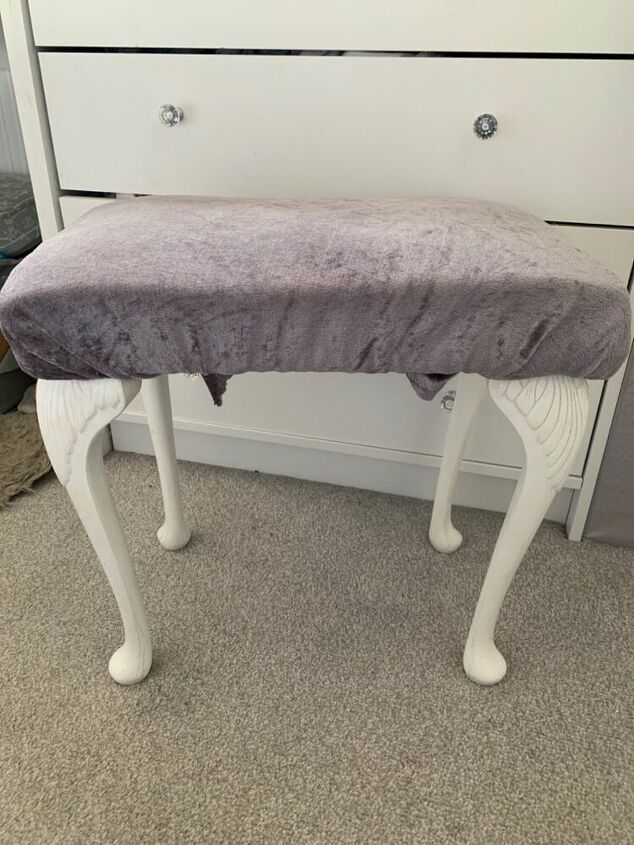
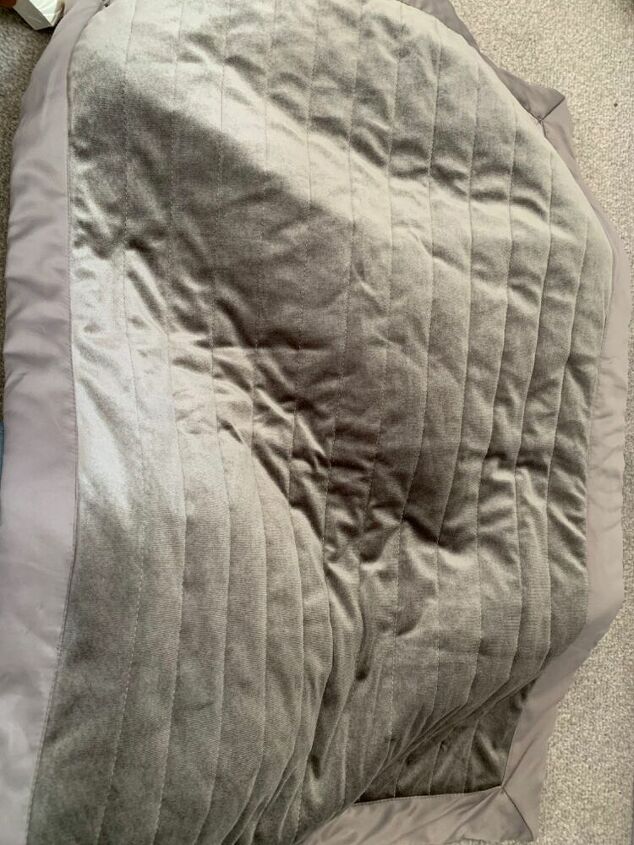
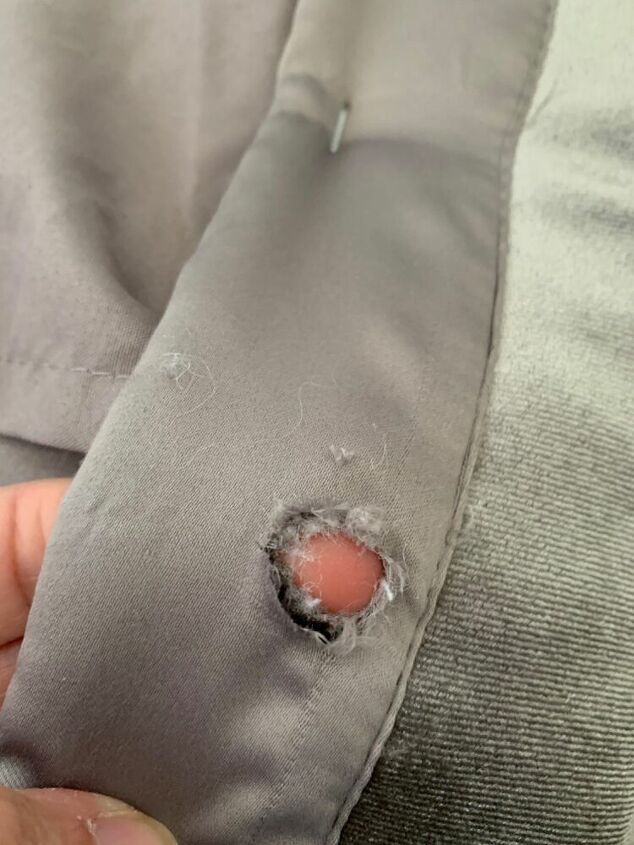
This was the before. I had previously covered this with grey crushed velvet fabric. Before I covered it the last time it had a button top and was a beige velvet colour with fringing. I sadly can’t find the photo of this) I cut All the fringe off from around the trim and I wanted a flush effect on the top to make it more modern in style. I bought 2inch thick foam sheet from amazon to give it the flat effect. I place that on top of the stool and covered with a base layer of plain material and staples in place. Then I covered it with the velvet. This gave it the flat square top rather than the button top. I hope that makes sense?
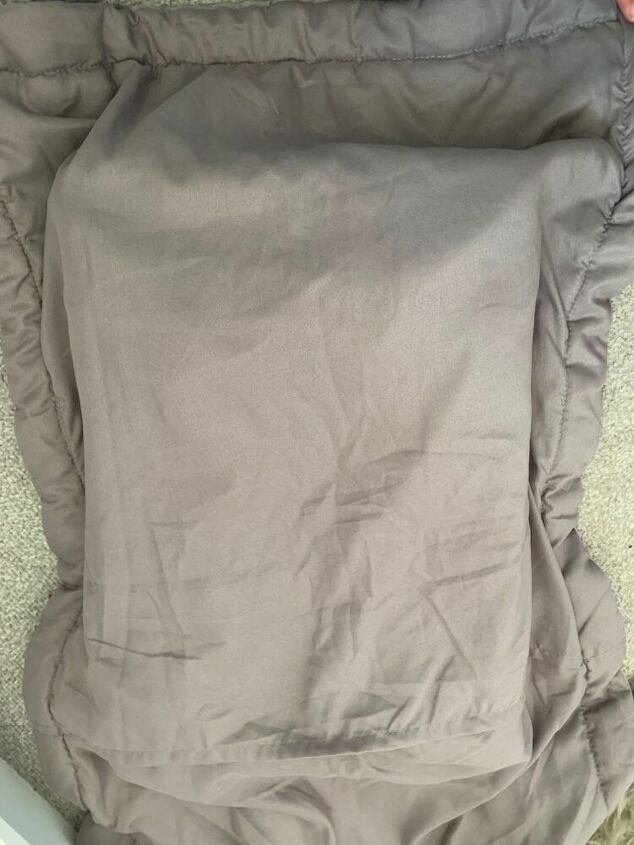
This was the pillowcases. It’s a large oxford style pillowcase but any pillowcase would work as long as the material is thick enough. This one is rather thick and has a lining which does mean that it’s good quality and you can’t see through it and would also be comfortable. Some pillowcases could be a little thin, so just make sure you get a thick one.
See the best silk pillowcases on the market right now.
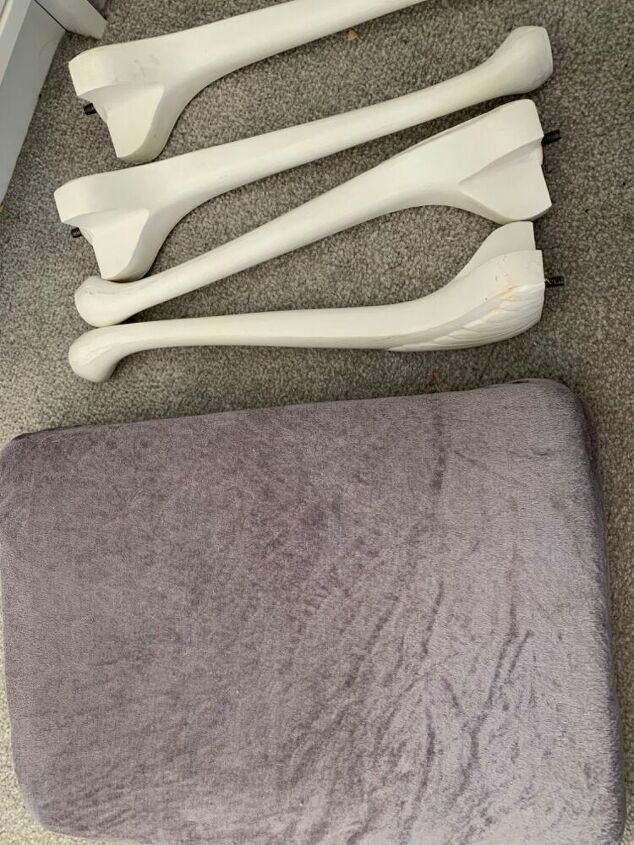
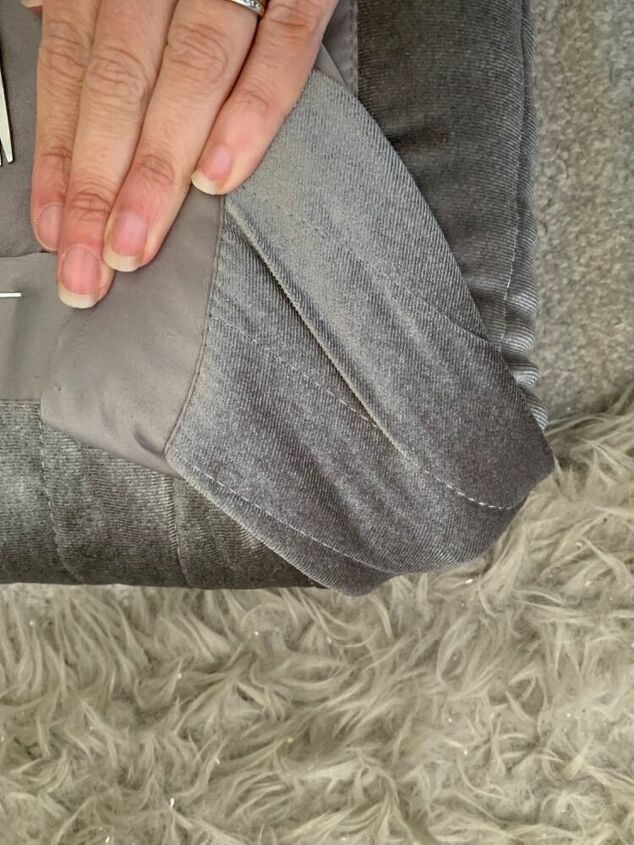
I unscrewed all the legs And took them off and sat them to the side. This will make it easier to cover rather than trying to go around the legs which would be tricky. If you can’t get your legs off, you could still do it, but you may need to trim some fabric to get it placed around each leg, but it would still work. You may just need more staples
I then placed the top Of the stool inside the pillowcase and lined it up where I would want it to sit as my design of pillowcase has a stripe, so I wanted to make sure the lines were straight. You also want to make sure you have an even amount of fabric on each side for when you are folding the sides in to staple in place
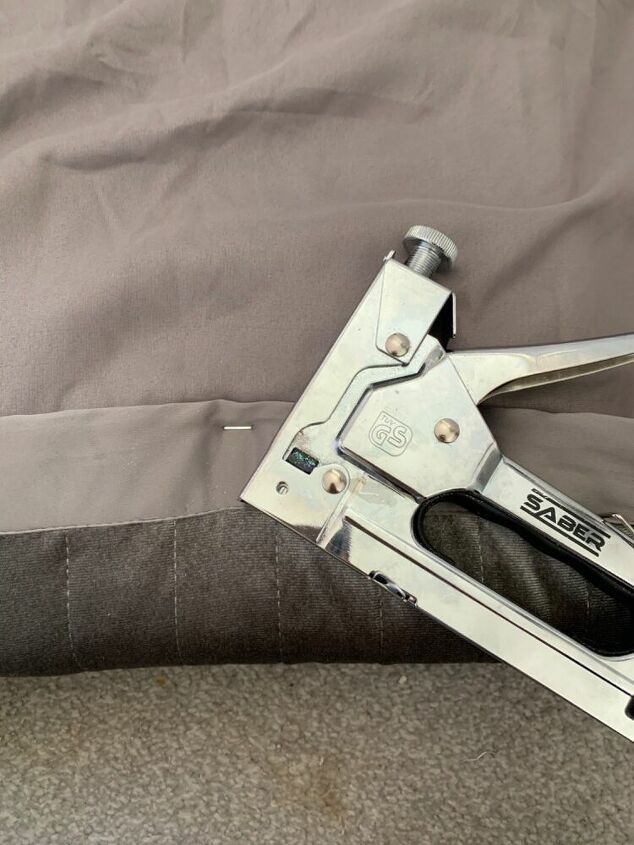
Using a standard staple gun I folded up the top of the stool like I would a parcel with the pillowcase. Once it was folded over across the middle I stapled these pieces in place (like you would with cello tape on a parcel) I stapled the top and bottom and then worked my way into the middle. There is no exact number of staples, just whatever you need to secure it in place
The staple gun holds it perfectly in place. And gives you a nice beat line. I did place the legs loosely back on at this point to get a rough idea where the fabric needed to placed and so I didn’t staple over where the legs would need to go back in
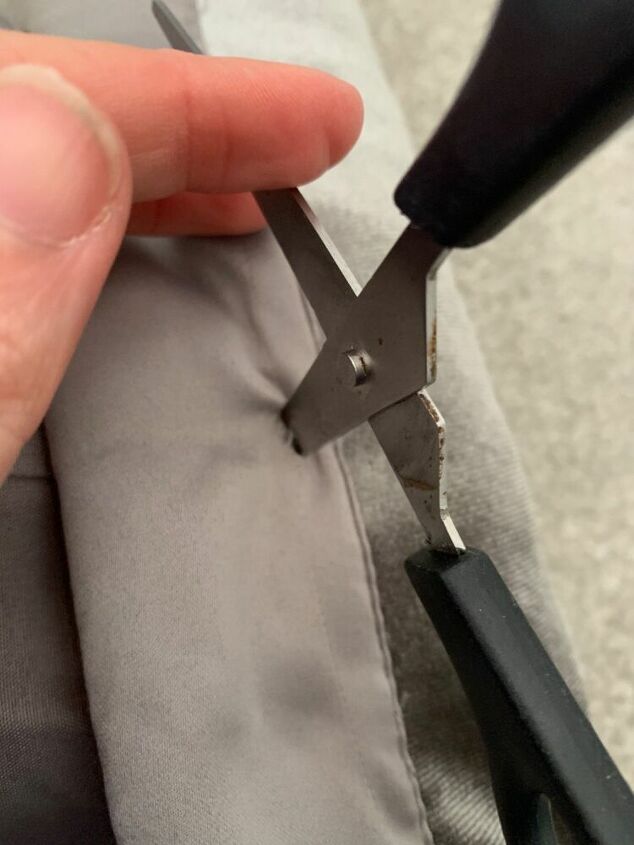
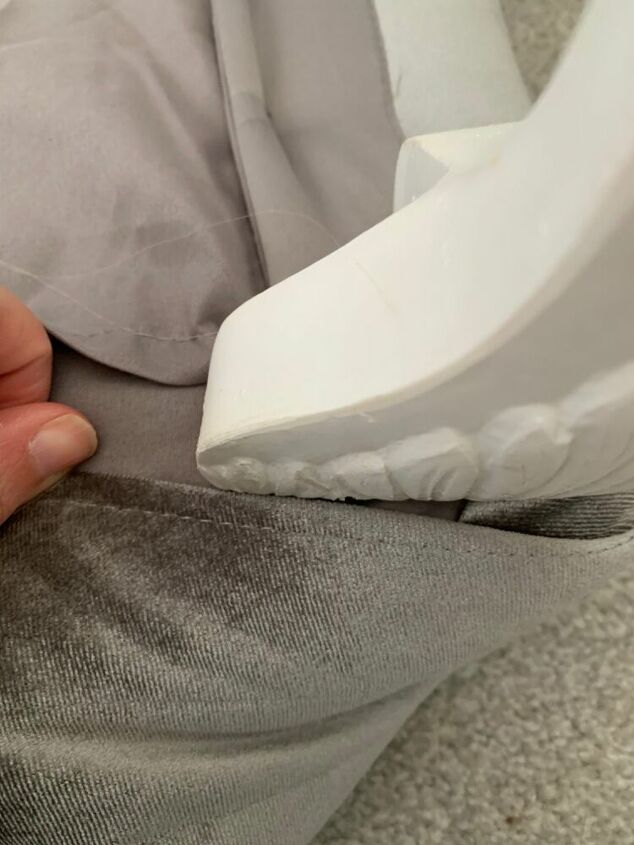
Once the fabric was in place I felt With my fingers for where the holeS for the legs were and then pierced through the fabric with scissors
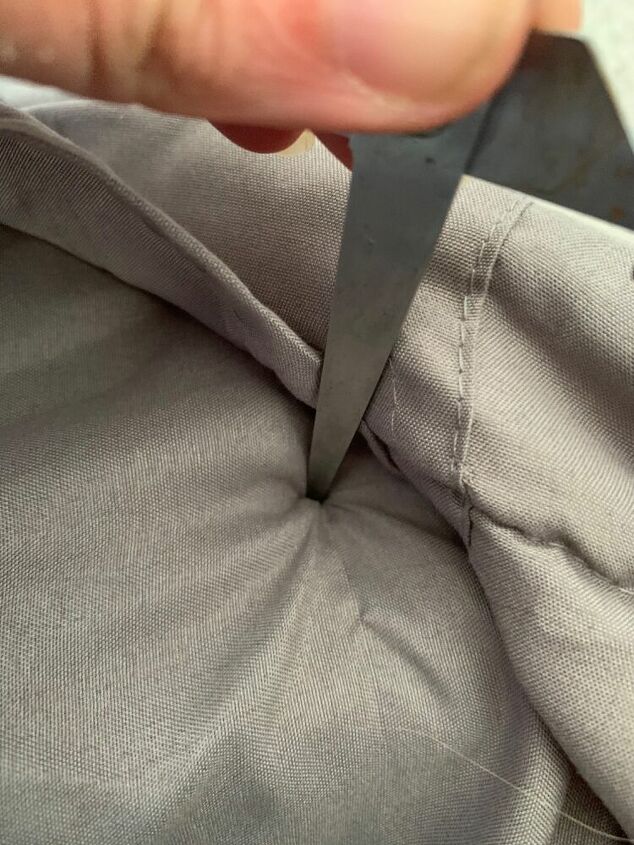
Just a small piercing is fine at this point so you can find your place. You could have multiple layers of fabric to go through, so piercing one bit at a time helps.
Once I had pierced through the layers and had my markers, I cut around and made a large enough hole for the legs to go through. If you don’t make your hole big enough then when you spin your legs back on it chews up the fabric and you won’t get the legs back on tight enough. You can make your hole as big as you like. Nobody is going to see underneath
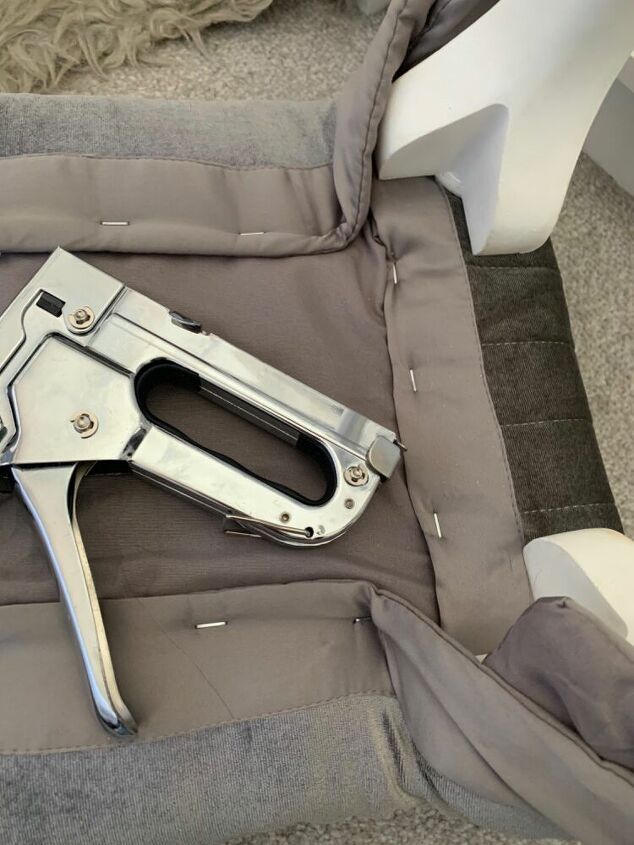
At the corners, again, I wrapped it like I would a present By crossing the material into the centre and making a triangle shape. This makes the sides neater and a smoother fold of the fabric
It also helps to keep the fabric flush at the sides. Because if u fold it straight up then the fabric stars to layer on top of each other and becomes to thick to staple. When you staple underneath, it doesn’t really matter how neat it is, as you’re not going to see it. So just use as many staples as you need to to keep it firmly in place
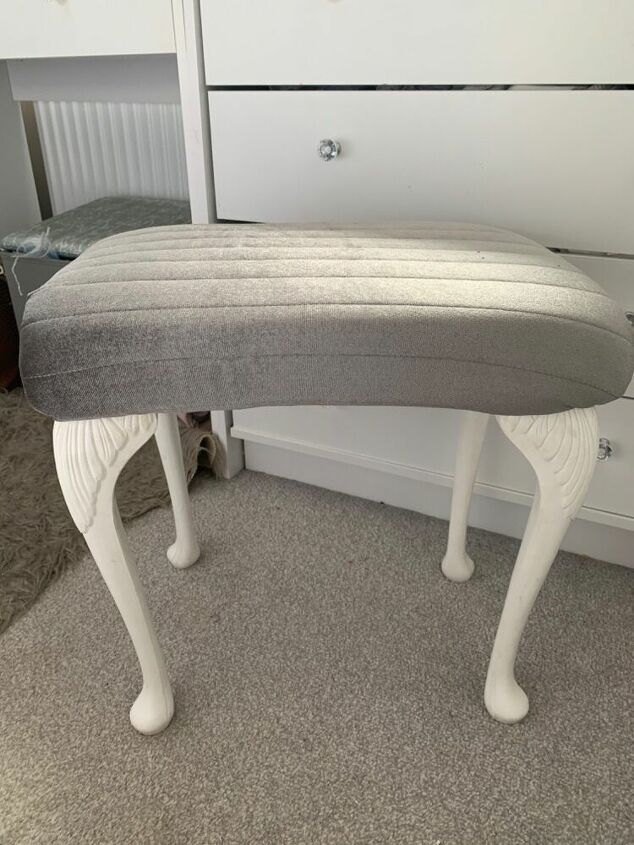
Finished product. Yeah, it’s not perfect, but I’m happy with the result As it’s just for me. And it now matches really well with my bedroom decor. Quick fix without a big cost


Comments
Join the conversation
-
This turned out great!
-
Very creative idea. It looks great.


Frequently asked questions
Have a question about this project?