


Ceiling Light Update DIY Every Renter Will Be Glad To Know
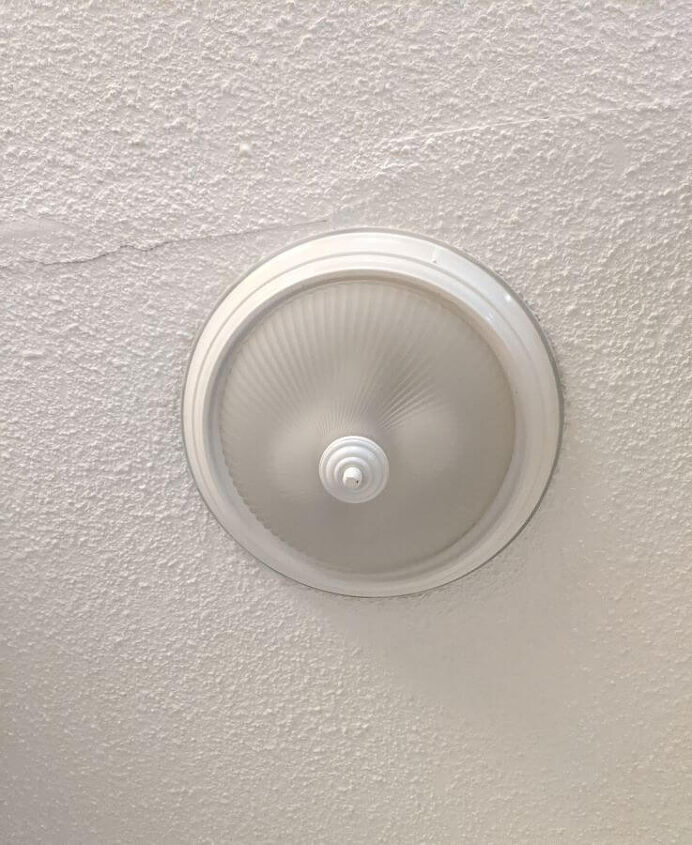
Have you been plagued by this flush mount ceiling light that serves a purpose but is screaming for an update? The type most builders use because it is cost efficient but not pretty at all.
Yes, that one others have lovingly labeled as the boob light. It is a fair observation. You may have one or a few of this kind of ceiling light and not be bothered by it and that is great. If you belong to the other side of the spectrum and you just want to get rid of it and if you are a renter, there is a solution.
Renting your house or unit does not mean you are stuck with fixtures that are an eye sore. Rejoice renters! Here is what I did and you can do it, too.
I hunted for lampshades on my favorite online classified ads site and I found a person selling 3 lampshades for a price you cannot resist. I love finding great deals!
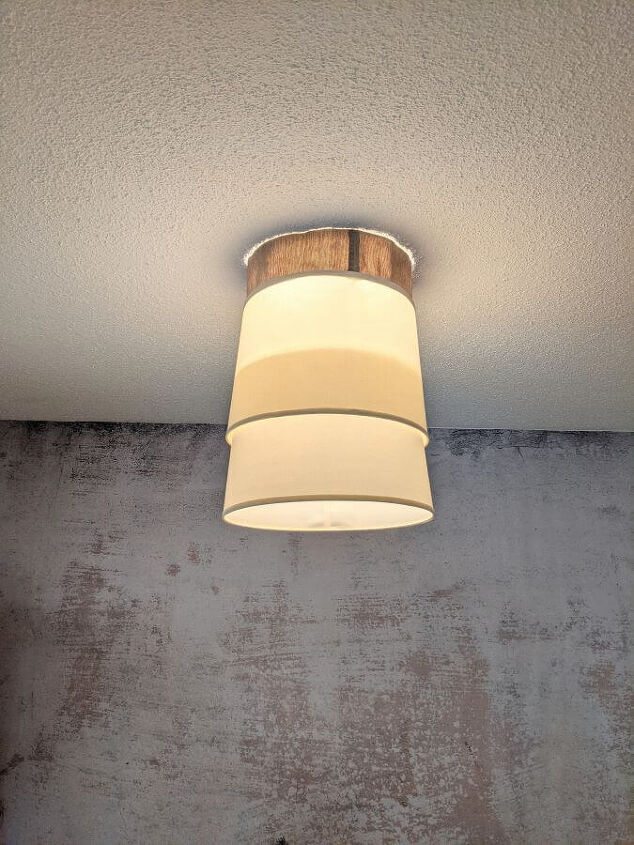
One was a drum shape lampshade and the other 2 were a barrel style. Since these were second hand items, there were a few dents here and there on the plastic lining. It’s negligible though.
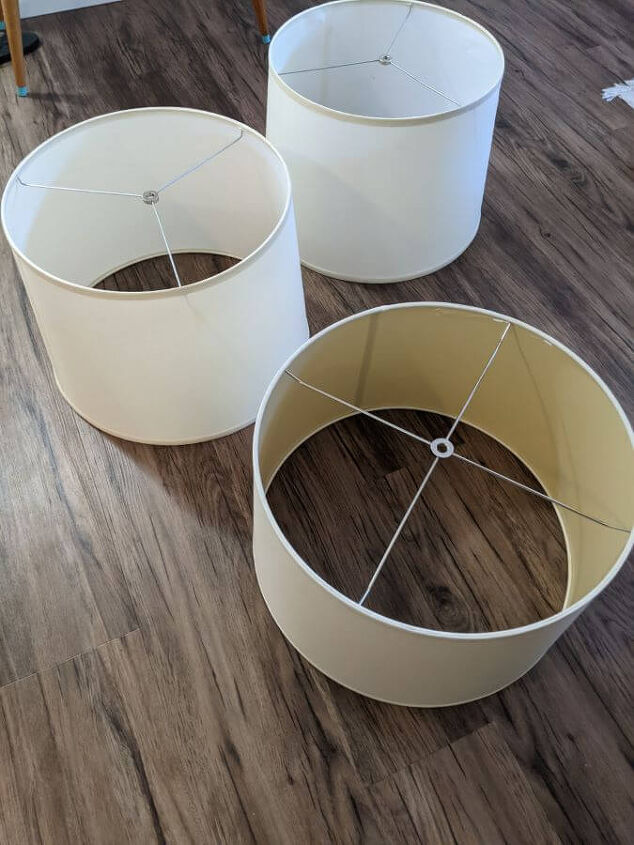
I was planning to use one lampshade. But as I was staring at the shades relishing in my successful bargain hunt, I had an idea.
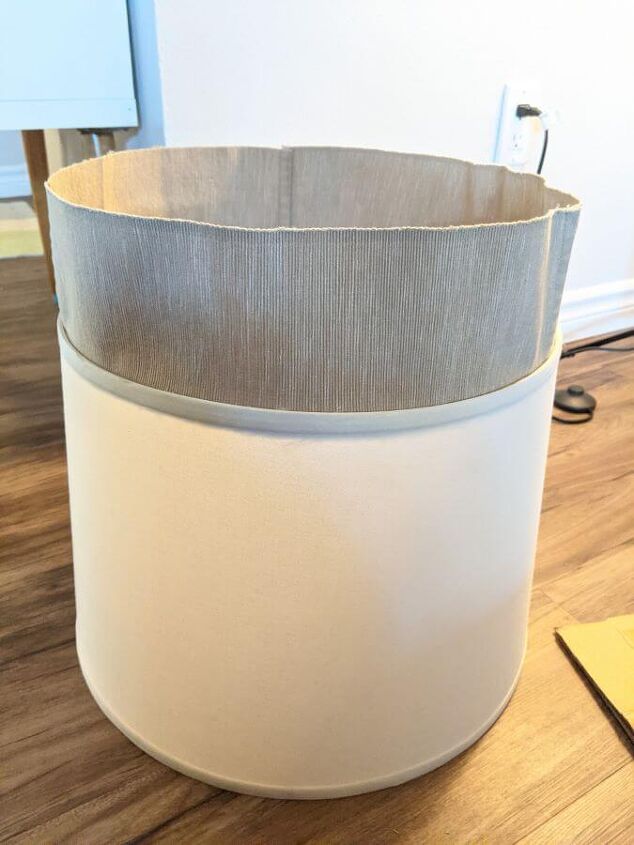
So the big idea was to place the 2 barrels loosely on top of each other.
The Ceiling Light Update
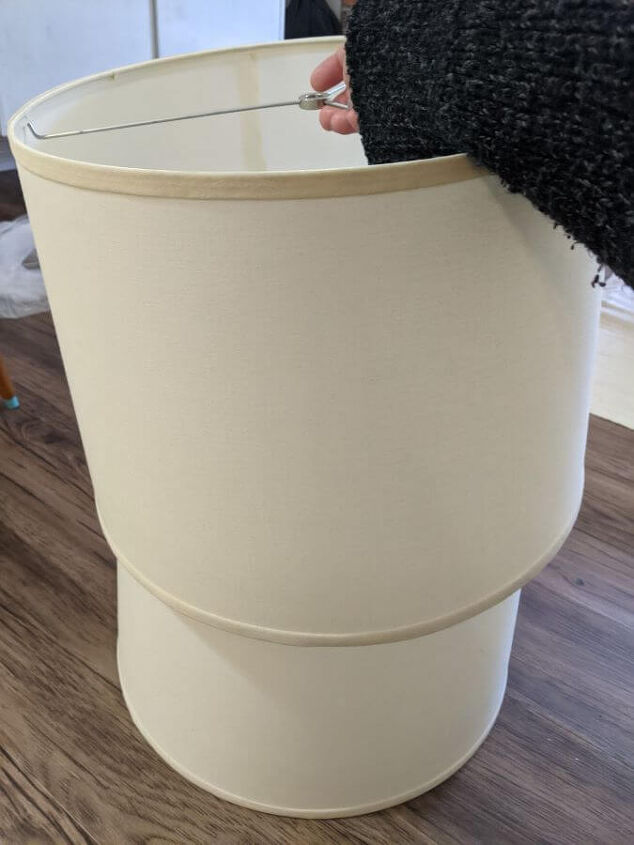
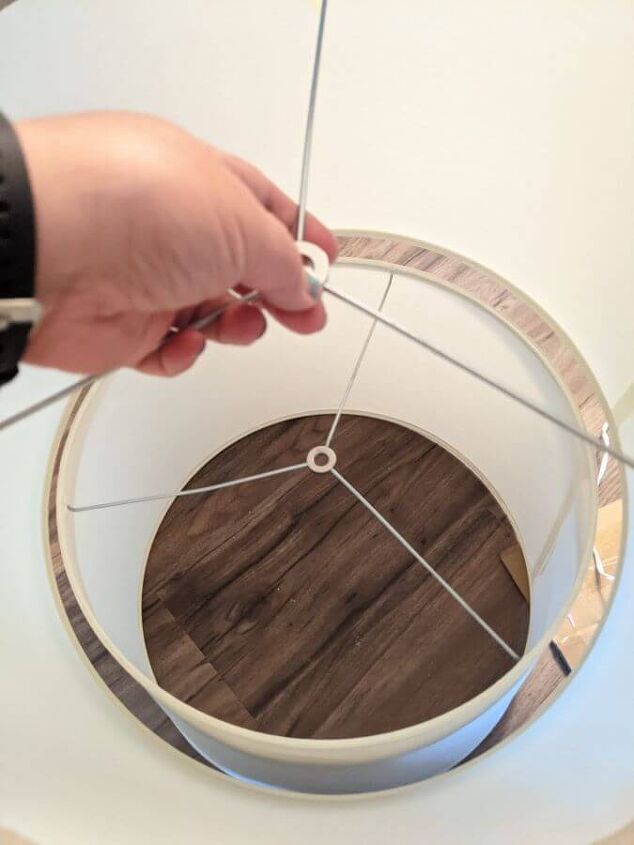
Here is what I did. I first removed the existing glass dome diffuser and tried to lock the lampshade fitting to that pipe at the center. The bulbs were hitting the fitting so it obviously needed to be extended.
I didn’t know what that pipe is called so I brought that pipe to Canadian Tire. And I asked one of the staff to help me out. I just explained what I needed to happen. So now I know their names and I will tell you just in case you are like me and have no name for the parts.
A pipe nipple is that pipe with the grooves. Yes, not a typo. A coupling is the piece that connects the 2 nipples.
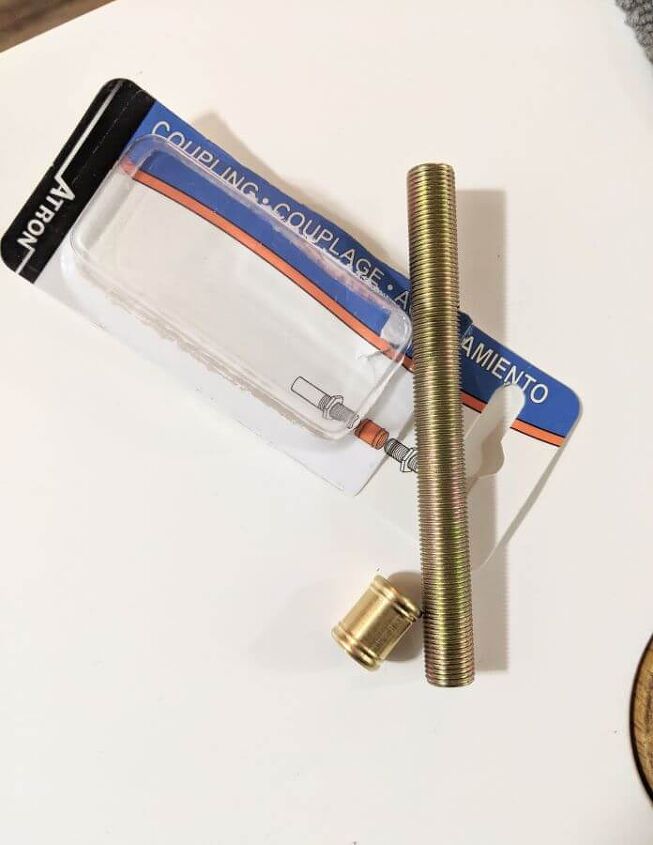
I used only one pipe nipple to extend it enough so that the lamp fitting doesn’t hit the bulbs. The two pipes were connected with the use of a coupling.
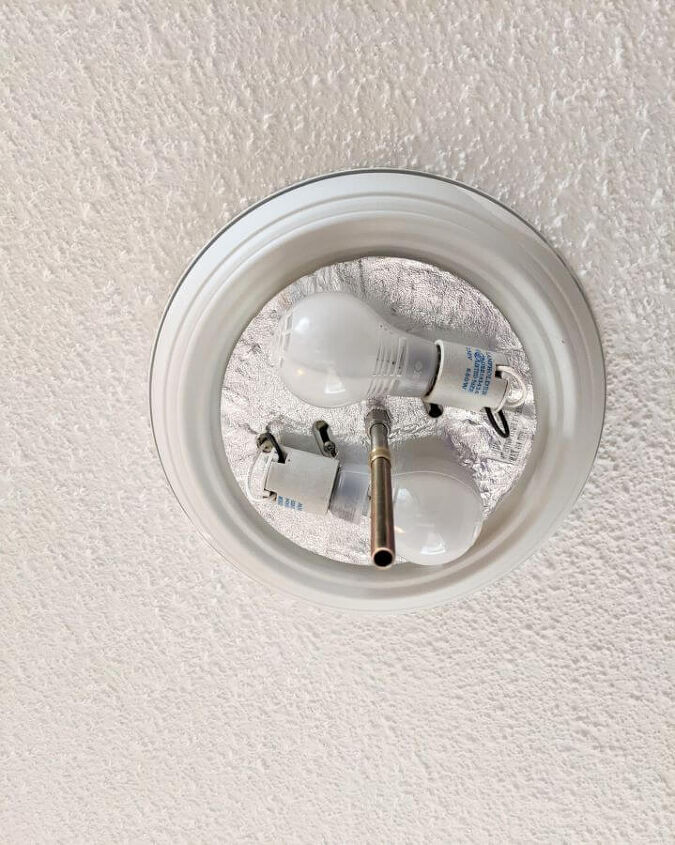
Because I could not attach the lampshade very close to the ceiling, now the problem was that the bulbs were showing from the top.
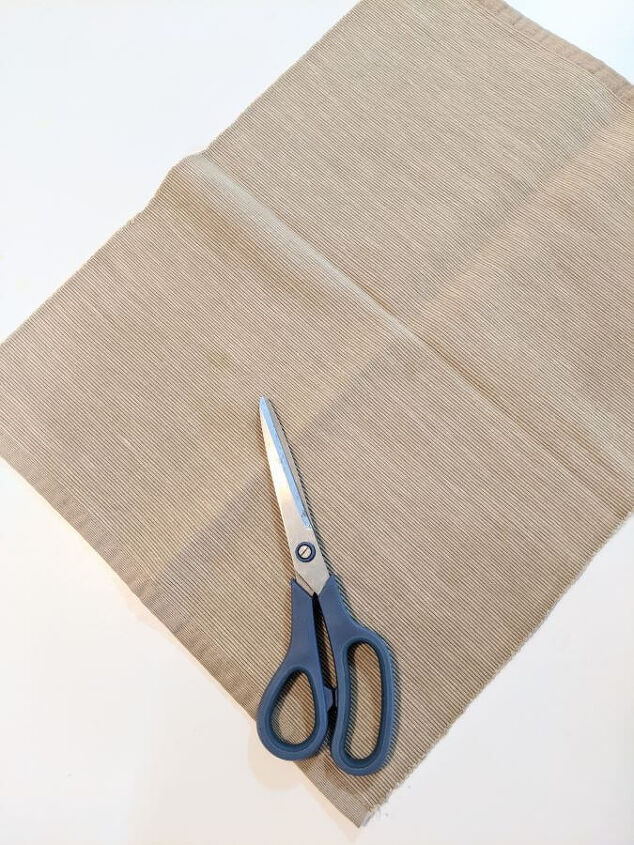
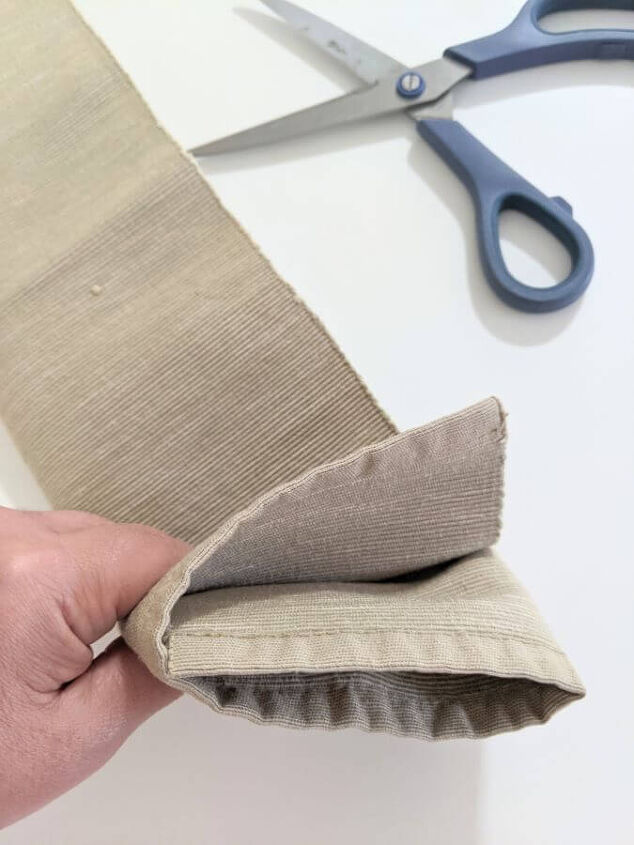
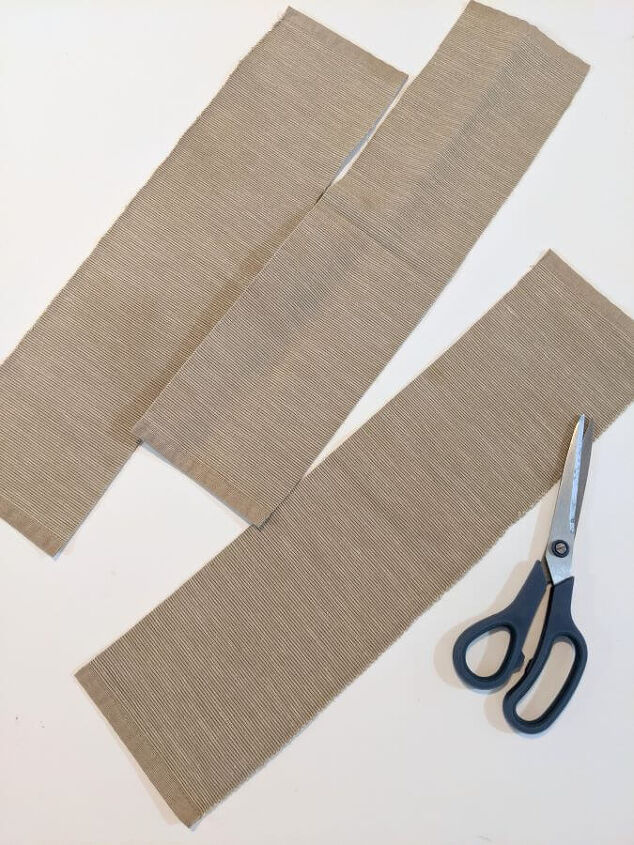
So I figured I have to place some extension all around the top of the lampshade. I got some old fabric placemat and folded it in three, lengthwise. Then I cut it.
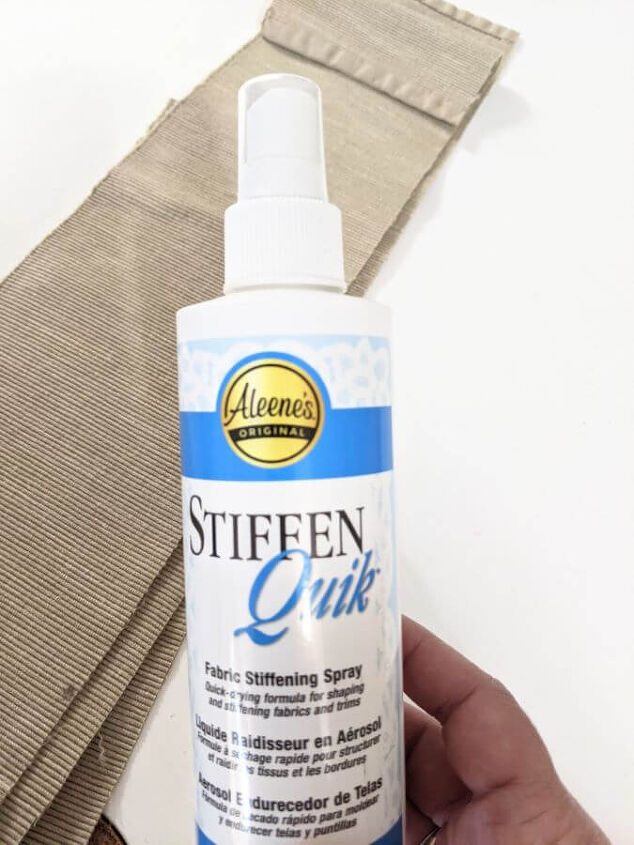
I used Aleene’s Stiffen Quik fabric stiffener to make the pieces firmer and stand more upright. I applied about 3 coats, allowing it dry completely before spraying the next coat.
Then, I used hot glue to attach the ends of the fabric to the ends of the top shade.
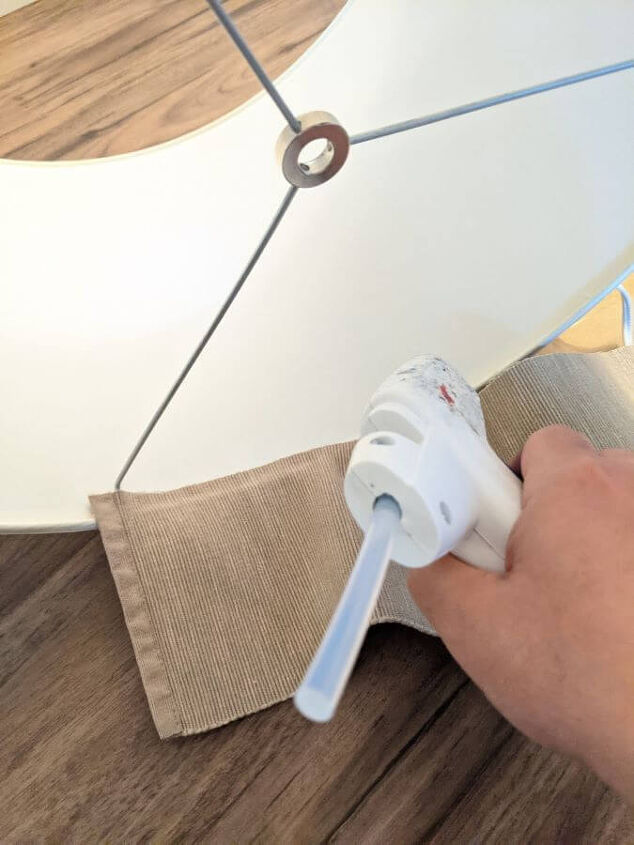
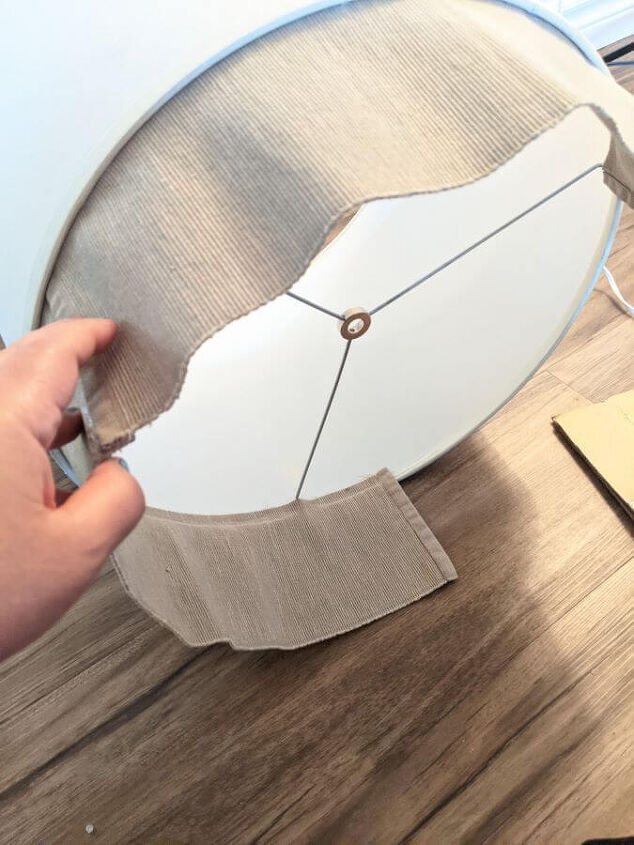
I overlapped the fabric strips as I connected the lengths all around the top frame.
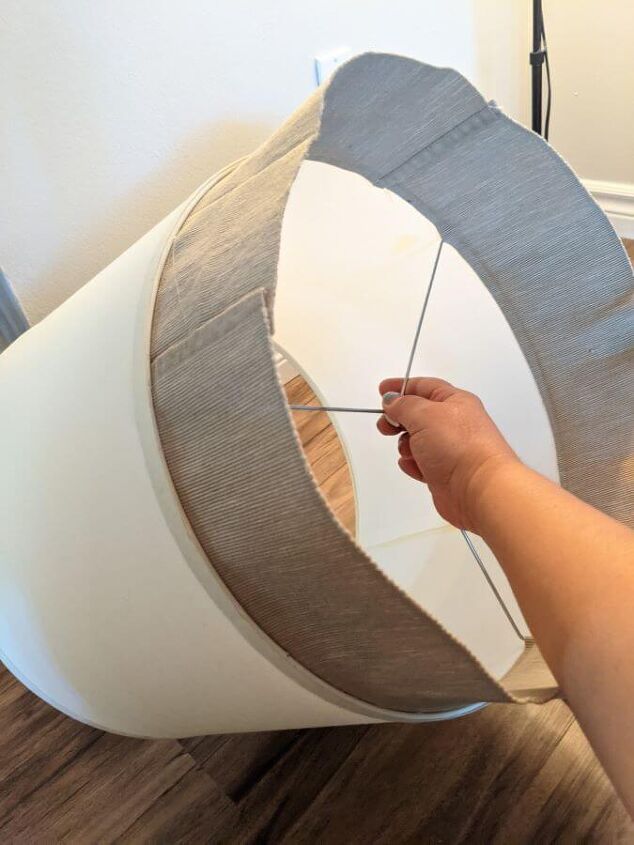
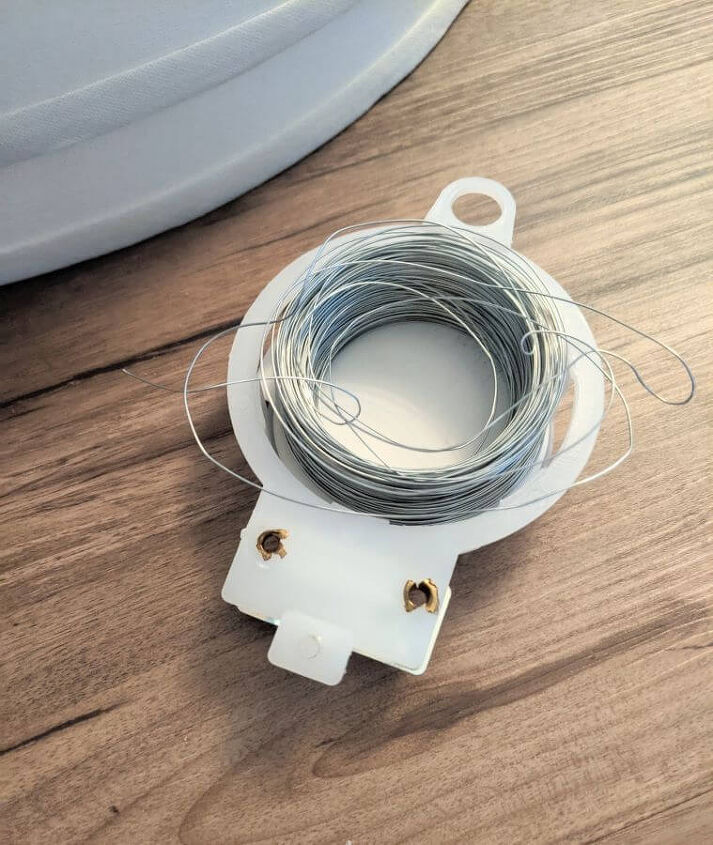
I used a craft wire to attach the bottom lamp fitting to the top lampshade’s fitting.
Attaching The Lampshade
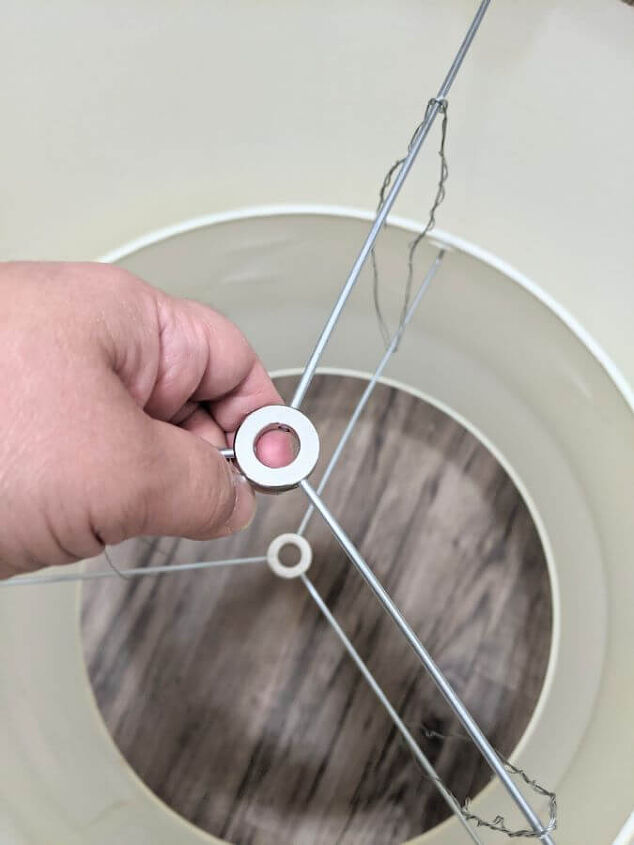
As I was getting ready to attach the lampshade to the pipe nipple, my hubby said he had a brighter idea. He had scrap wire which was thicker and stiffer. He bent both sides and hooked the ends to the the lamp fittings. I thought it was a way better idea, too! So, I cut off the previous wire.
Now, you have 2 options. If you don’t have a thick wire gauge then you could do the first method.
I only needed a couple of inches extension from the second pipe nipple. It served it’s purpose because I was able to hang the lampshade where the bulbs at the top were not showing and the fitting isn’t hitting the bulbs. Another coupling was used under the first lamp fitting to secure and lock it as shown in the photo.

And that is it, pretty quick and easy to do. I must say, I love how it turned out!
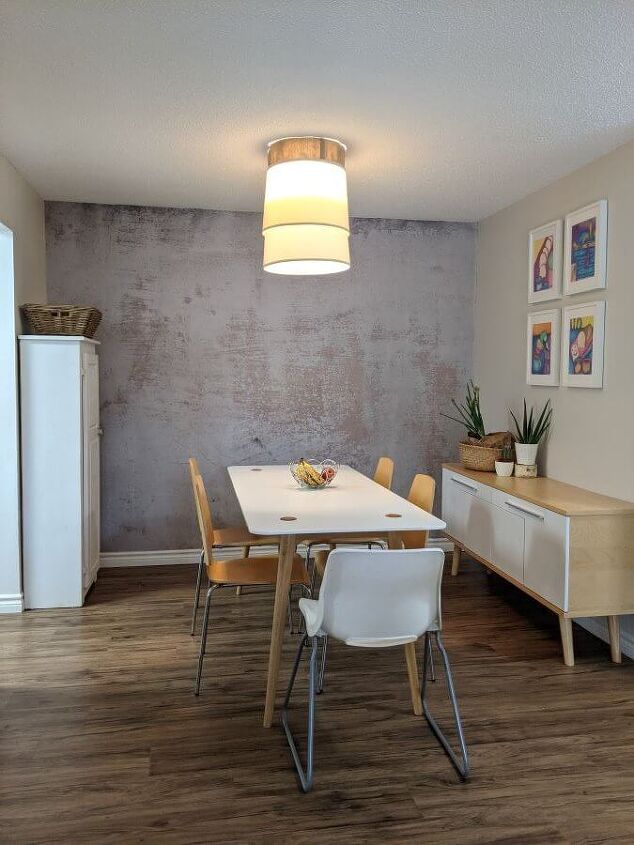
Don’t you think you should give this ceiling update diy a shot? I think so.


Comments
Join the conversation
-
I think it looks very home made. Just my opinion.
-
I dont like it.


Frequently asked questions
Have a question about this project?
How about fire proof?
I love color so I think I’d decoupage the lampshades or buy colorful lampshades and add fringe on the ends.
Love this but what did you do with the original light cover? I took mine down years ago and made bowls with them! 😁