


Behind the Scenes of an Easy $12 DIY Mantel

Beautiful things don't always have to cost money. DIY to the rescue!
Best wood glue!
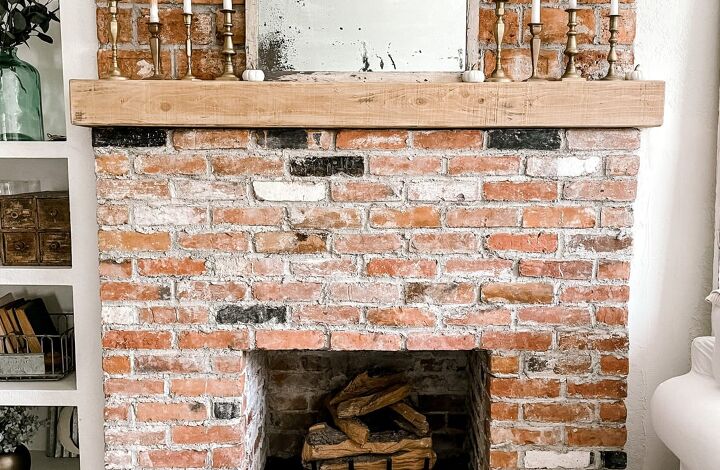
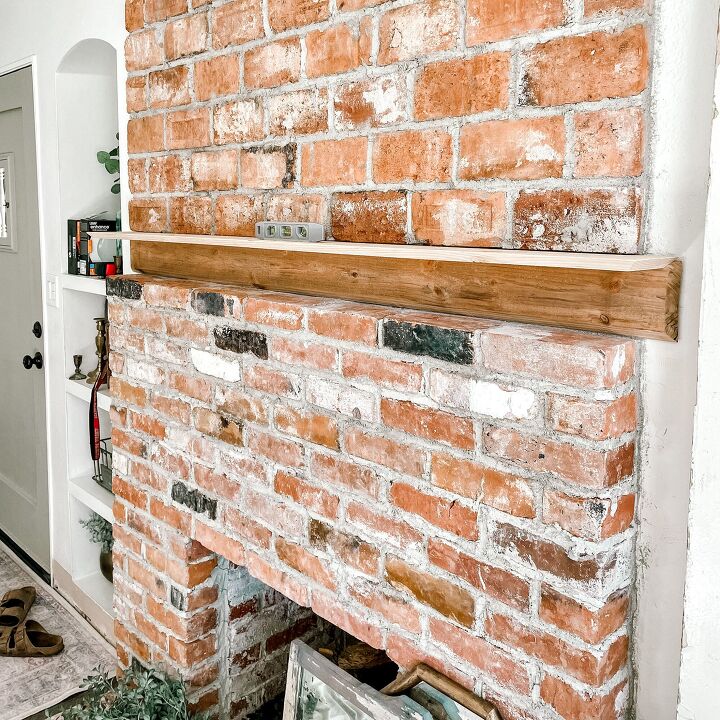
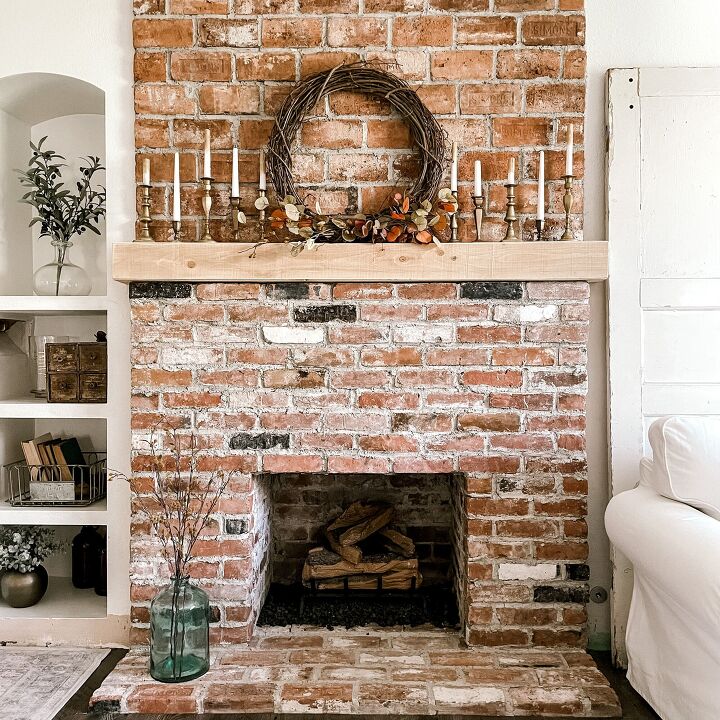
Earlier this month, our fireplace was completed! We’ve been dreaming of this since the day we moved in. See more about that here.
We spent a little more than we originally planned…surprise, surprise…so we wanted to get creative with the mantel. And we did! Because we had all the other supplies, the only thing we needed was the wood.
I was really wanting an old beat up piece of wood that would pair well with the old bricks and messy grout we did, so our plan was to make our own mantel using basic pine or whitewood. Then my husband, the genius that he is, suggested using fence boards since they already have a rough texture. We were able to get 4 pieces of 6′ cedar fence boards for $12. TWELVE DOLLARS!!! That would have been less than the amount we would pay for 1 piece of pine or whitewood.
https://www.thesimplydistressed.com/behind-the-scenes-of-an-easy-diy-12-mantel/
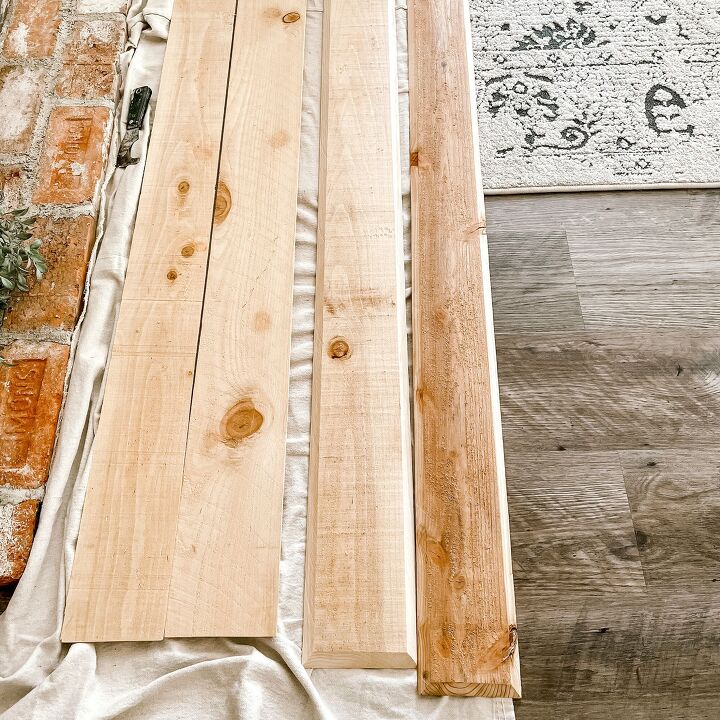
Like I said, we only needed to purchase the wood, but even if other supplies were needed, this would still be our cheapest option.
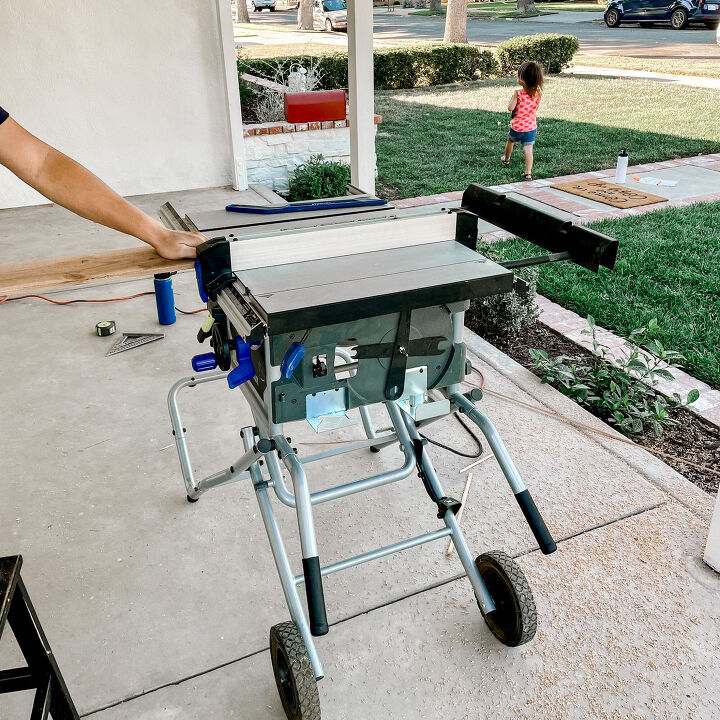
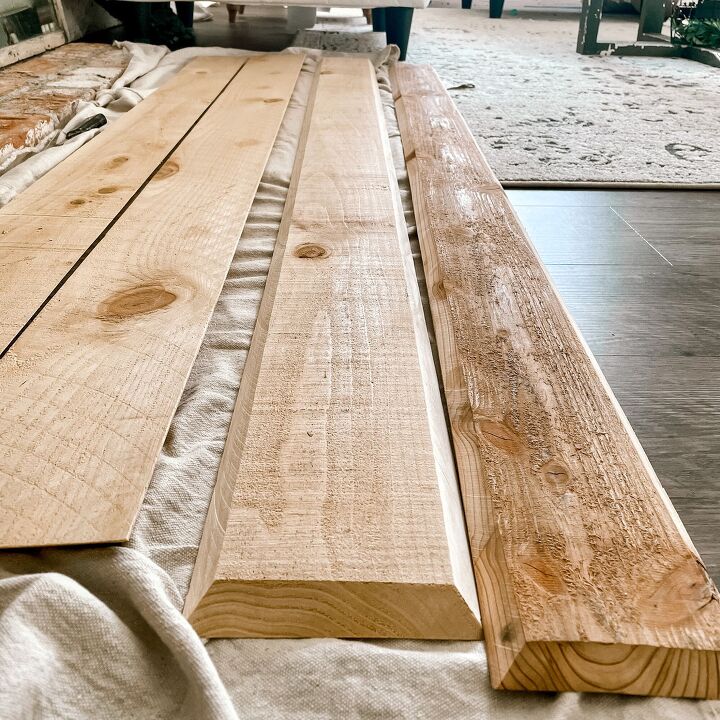
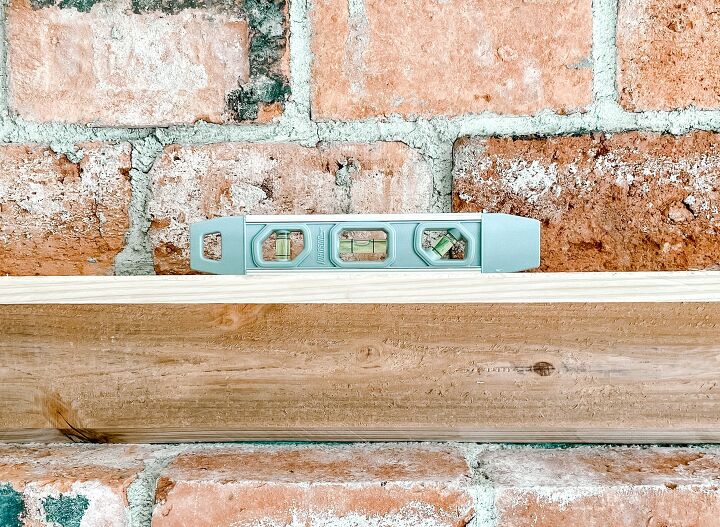
We started cutting the boards to the length we wanted, 65″. We saved the leftover pieces because we were able to use 2 of them for the sides (more on that later). Then we mitered each side of every board to 45 degrees.

We had to construct ours slightly differently only because the brick was all completed prior to doing the mantel. A few adjustments had to be made to make sure it would all fit, otherwise this project would have gone much quicker (and it was already pretty quick). Once we got the back and front boards to the correct size so that it would fit, it was smooth sailing.
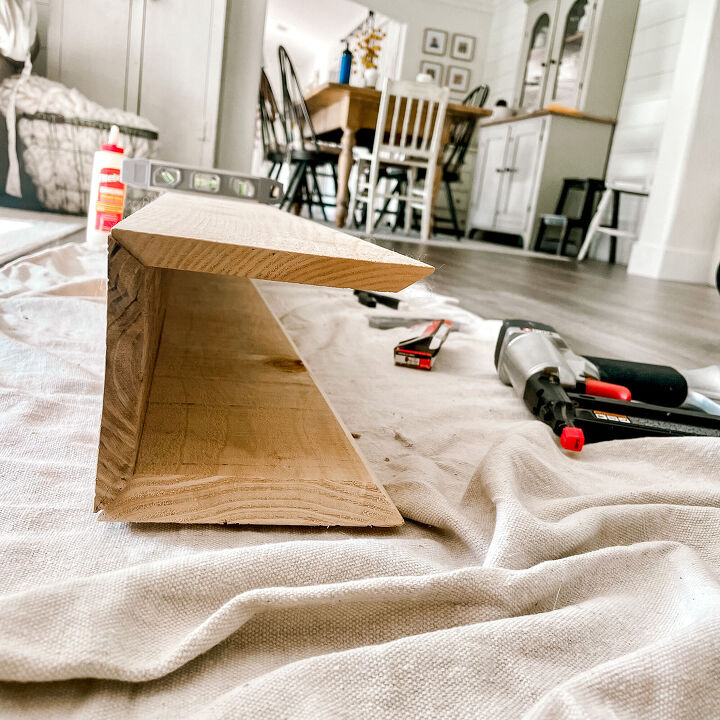
Using wood glue and 1 1/4″ finishing nails, we constructed the back, top and bottom. The front piece will come later!
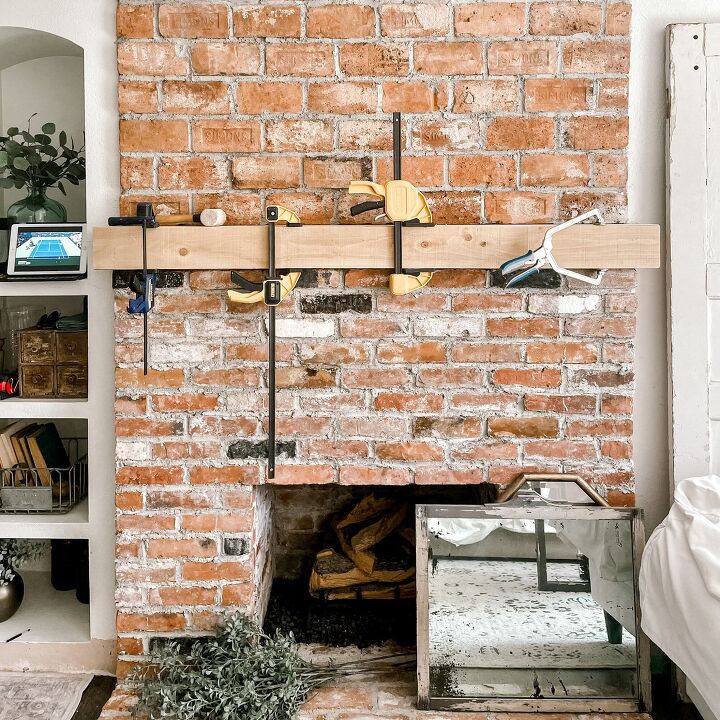
Before we attached it to the wall, we cut 4 small studs using scrap 2×4’s, wood glue and finishing nails. Then to attach it to the wall, we used liquid nails and screws.

All that was left was the front piece and the 2 side pieces. We did the same process as we did with the other 3 sides, using wood glue and 1 1/4″ finishing nails. We used clamps to make sure it was extra tight. We double measured the side lengths and trimmed those down with all sides being mitered at 45 degrees. Then we just attached the two side pieces and bam, done-zo!
Not quite :P, we still needed to do the finishing touches of beating it up more and staining it. We did pretty good with all the edges going seamlessly together, but we did still have a few gaps, so I filled that with wood filler and sanded it down. To age the wood, I used a screwdriver, chain, hammer…whatever I could get my hands on to beat it up a little more. Remember we used fence boards so it already had this rough texture.
All that was left was to stain and seal. And that is where our problem arose…
Because we were using the fence boards, it just soaked up the stain like crazy. No matter what stain I used, it would come up 20 times darker because the fence boards drank it like water. I hated it so much that I thought we would have to rip it all out and go get pine.
But then once again, my genius husband suggested sealing it first and then trying the stain on top of that 🤯.
It worked! I ended up doing 2 coats of general finishes sealer because I wanted a really light stain look. It worked like magic. On top of the sealer, I did 1 coat of a custom mixed stain and then 2 coats of the same sealer on top of that.

I love it so much…and I am still shooketh that it cost us $12 when we almost broke down and paid $300 to purchase one. Christmas can come now so those stockings can be hung!
https://www.thesimplydistressed.com/
If you made it to the end, thank you for being here and coming along this journey with me. Mean it!
💛 Andi
Resources for this project:
See all materials


Comments
Join the conversation
-
Gorgeous! Absolutely Gorgeous!
-
What a great job you guys did. It looks authentic and I love those old bricks you used. Nothing looks cutesy or phony. It looks like it's out of an old New England home. Great job!


Frequently asked questions
Have a question about this project?
Are the bricks above the mantel 'PAVERS' ?? I notice they are larger than the ones that make up the fireplace. Another idea would be to use old railroad ties or landscaping ties for a mantel.
Good job! It does look great. I have a question though. On that back board that's mounted full-length to the wall, did you have to remove a row of bricks or was there already a gap there? If you had to remove a row, that would be a huge endeavor as well! Thanks for sharing.