DIY Shiplap Fireplace

Add some character and charm to your living space with a shiplap fireplace! I share some step by step instructions on how we added shiplap boards from our local home improvement store to totally transform our entire living space.
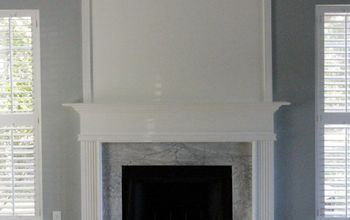
The finished project truly added much needed character to this entire space!
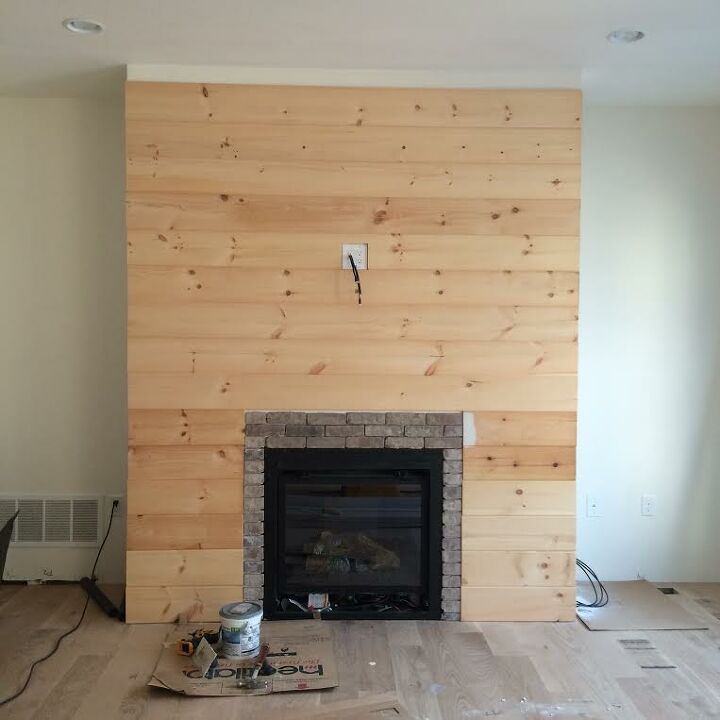
Using shiplap pine boards from our local Home Depot, they were cut to fit the width of the fireplace wall. We did not need to add any backing since it was finished drywall. We simply nailed the boards in place. We used boards that had tongue and groove which were easy to place on the wall.
The pine boards just soak up the paint so it took a few coats of primer to cover the wall.
To give the wall a completed look, we add crown moulding we picked up from Home Depot to the top of the fireplace wall.
To finish up the project, the shiplap was painted with two coats of paint to match the trimwork throughout the rest of the house.
The After!
Enjoyed the project?
Resources for this project:
See all materials
















Frequently asked questions
Have a question about this project?
how did you deal with corners/wrap-around? Did you cut the pieces so they were flush or did you hid you hide with a small strip of molding?
Can you tell me how you did the edges? Is the edge strip simply nailed on top of the shiplap boards? Or is it flush with them? Thanks. Nice job.
Why the electrical cords run to the center but not utilized? Future project?