


How I Brightened Up My Living Room With an Easy Fireplace Schmear!

I started working on this post waaaay back before we actually moved, but life has this habit of getting crazy sometimes. So, before I completely forget how I did this update, let's take a look at how I brightened up my dark living room with a pretty simple (but messy) fireplace update.
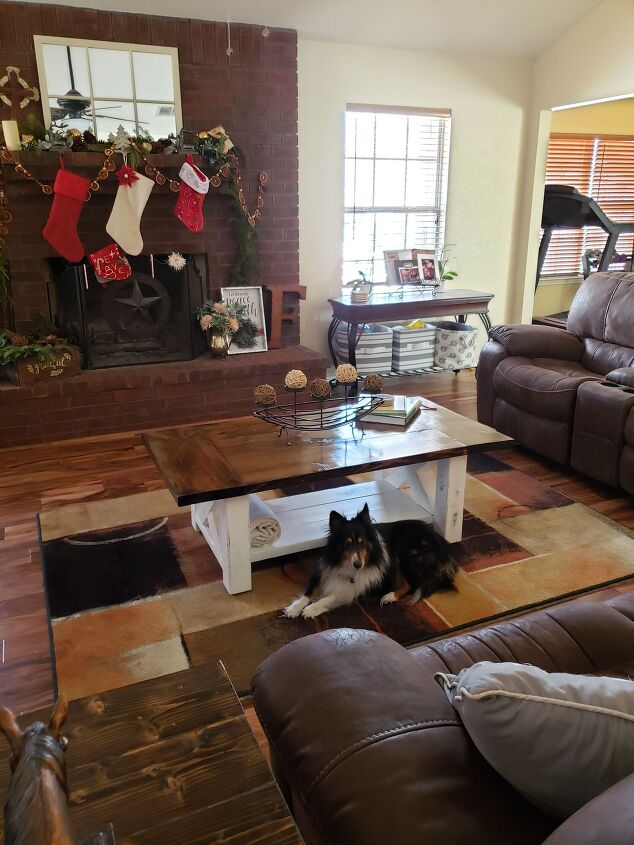
The Before
We've always felt like our living room was dark and confined. Despite its cathedral ceilings and open room transitions, it was dimmer than we had liked.
For some reason, it took me until we were moving to actually do this particular project. I had wanted to do it for at least two years, but never got around to it. To be honest, I was a little intimidated at such a seemingly permanent change!
After I finished, though, I kicked myself for waiting so long. It ended up being a main selling point for our house!
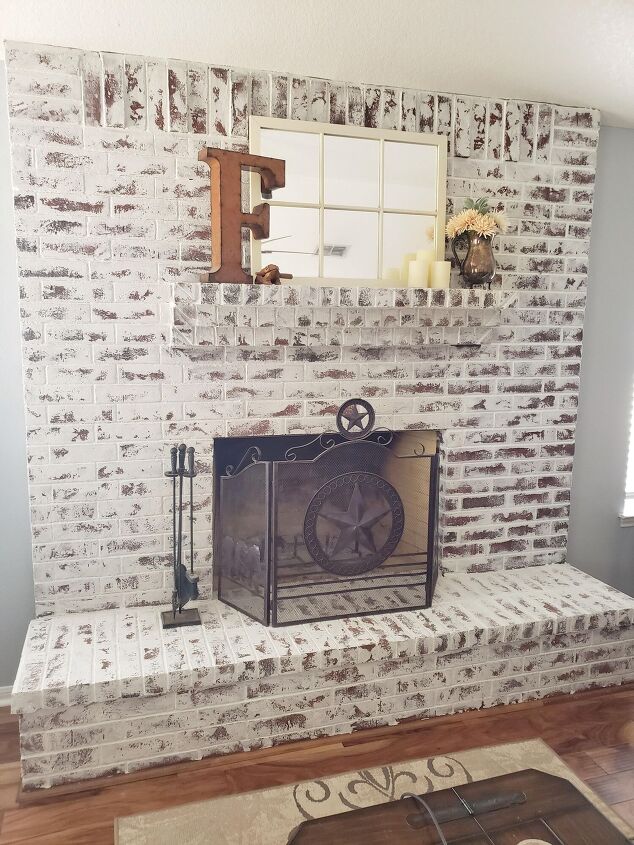
This technique mimics the appearance of irregular bricks and thick mortar joints - something you might see on an old cottage in northern Germany. Using a wet mortar, the finish is rough and creates a rustic appearance. You can go as light or as heavy as you prefer!
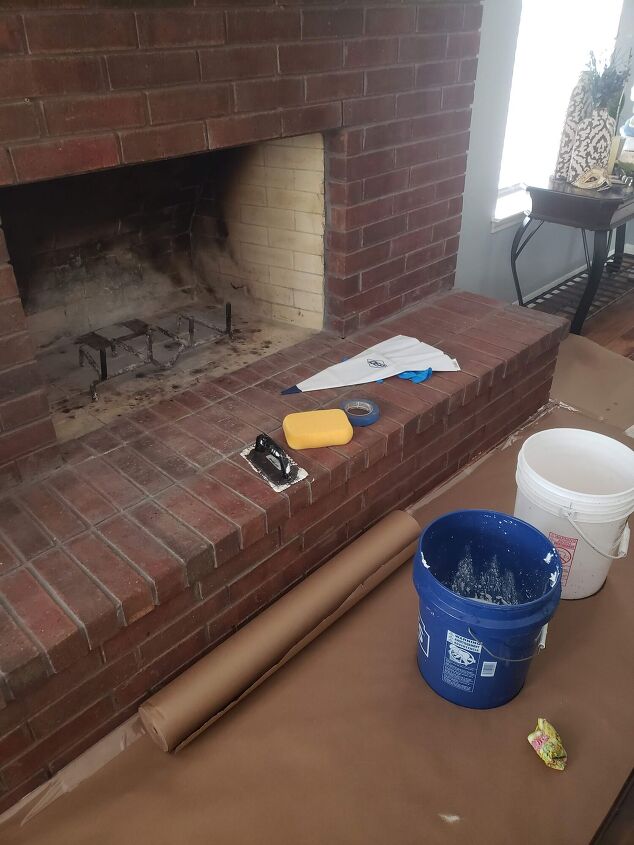
Clean It Up
You will want your fireplace to be as clean as you can get it for this project. Mixing equal parts vinegar and warm water will get you a perfect solution - I vacuumed all of the grit and cobwebs up first. Then, I followed it up with a sponge and the vinegar solution. That alone brightened the brick up!
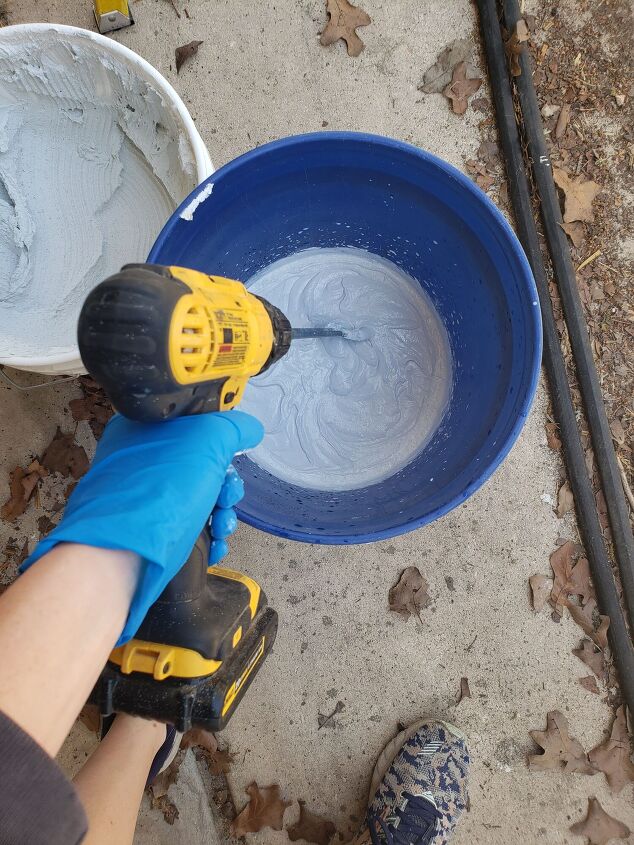
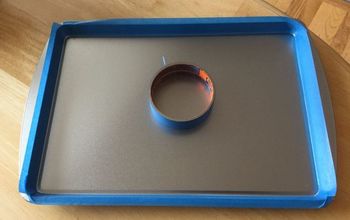
Mix Your Mortar
I used a premixed mortar and added a small amount of water to it. Using a drill fitted with a concrete paddle, I blended it together to create a medium-thick consistency. You can test out your preferred consistency on spare bricks or stones if you have any laying around - more water for a thinner consistency and less for a thicker consistency.
I would say my consistency was close to mayonnaise.
Dampen the Bricks to Delay Drying
Before you start laying your mortar, dampen your bricks with a sponge and water. This will help keep your mortar from drying on you too quickly!
Then, suit up with some heavy duty gloves and old clothes because you are about to get messy!
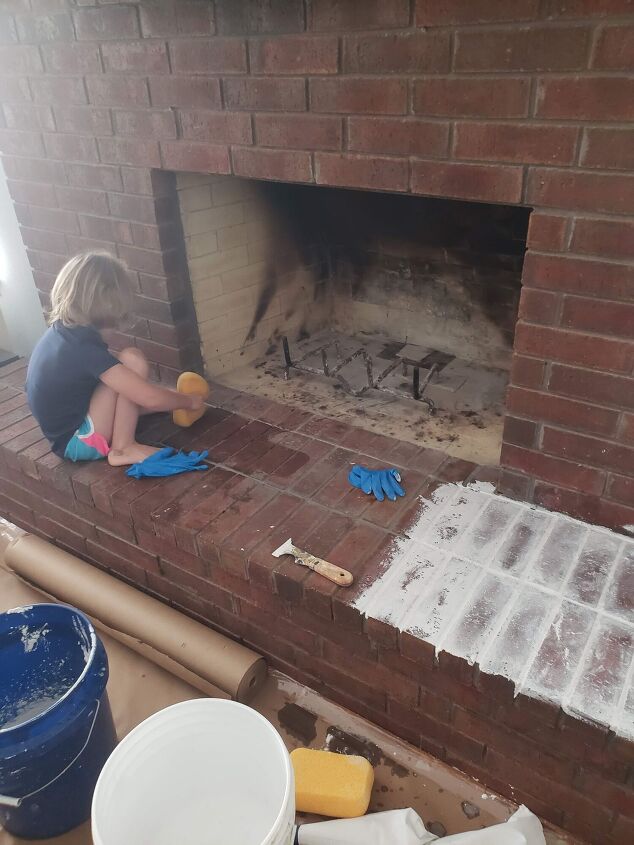
Apply the Mortar
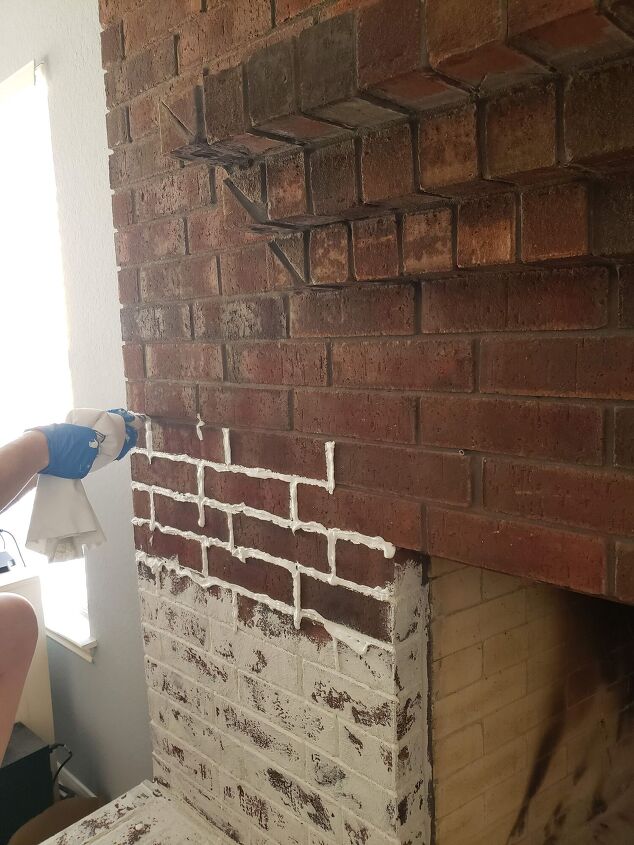
I used a mortar bag (similar to an icing bag) and basically iced between the bricks along the mortar lines pretty thickly.
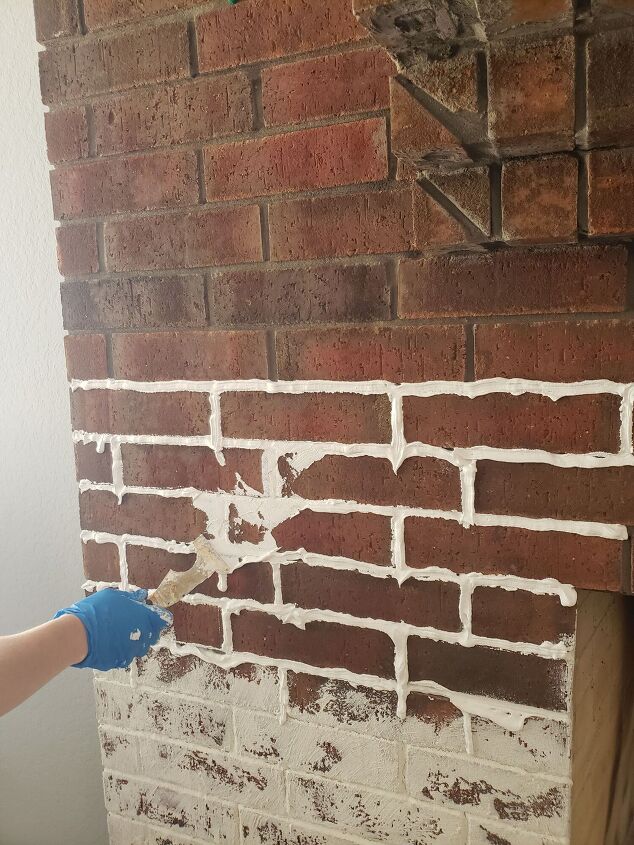
I used a putty knife, but you can use a trowel or even a sponge to scrape and smear the mortar lines across the face of the bricks. I found that to get the appearance I was going for (more mortar, less brick), it took some creative exploration! It almost was like an adventure in artwork.
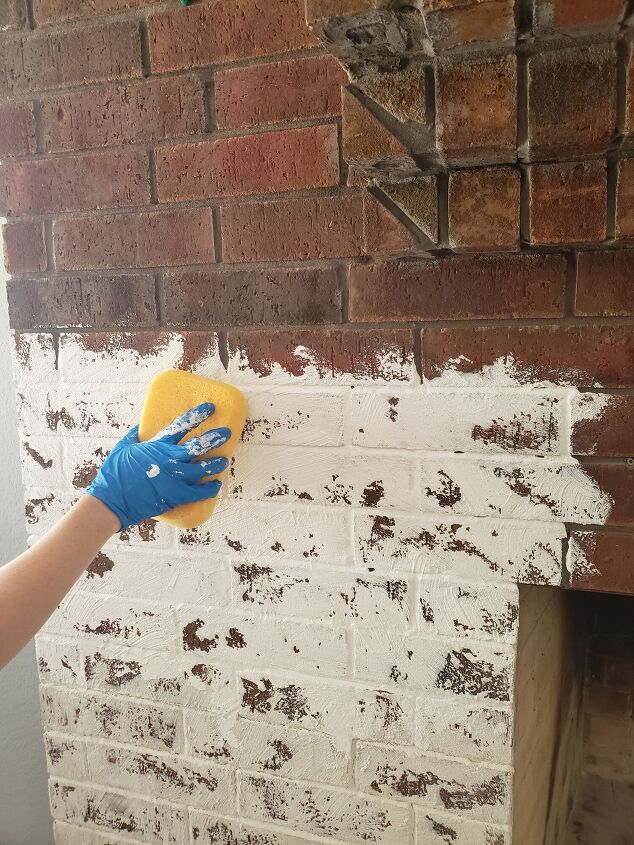
My particular approach ended up being to use a putty knife first and then follow it up with a sponge swipe or two to help blend the mortar a little bit more.
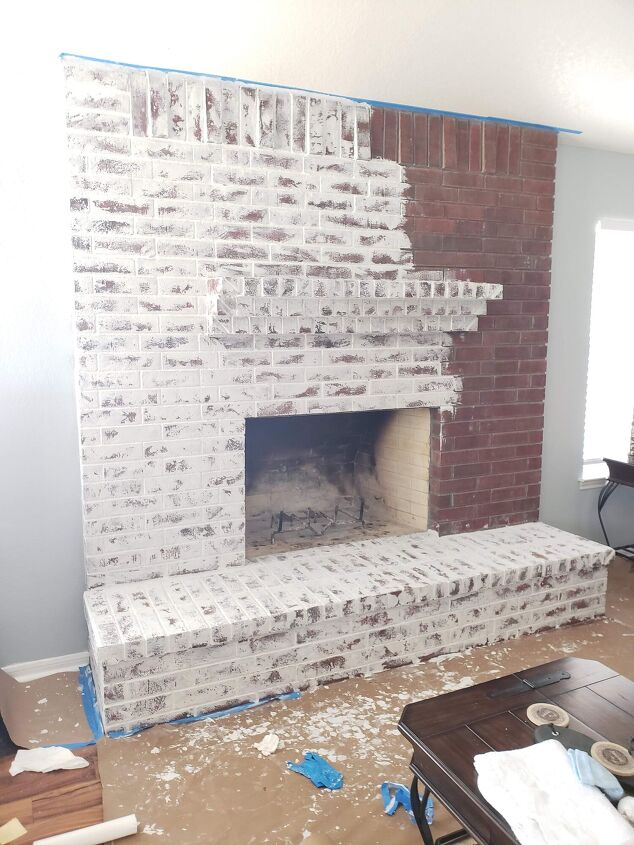
As I continued on, I found my rhythm! The most challenging parts were the undersides of any pieces that hung over - the mantle, the top portion of the actual fireplace opening, etc.
Since my baby boys were still preemies and only a few weeks old, I only had a few hours each day to work on this. So, it ended up taking me three days, working in about 4-5 hour stretches. I would expect without those extra demands, you could finish this in a day or two!
In the end, this technique really brightened up our entire living room. It might not be for everyone, but I absolutely loved it! In our new home, I have plans to completely reface our fireplace, so that will be a much more in depth project. But for a quick and dirty fireplace update, the German Schmear is one of my favorites!
Once mortar adheres to brick, it is pretty permanent! To keep it dust-free, that vinegar/water mixture and sponge is a great approach. I'm just now getting back into my projects with our new home, so I hope you will join me over on Instagram to keep up with what I've got going on - including lots of twin baby spam! 
Resources for this project:
See all materials


Comments
Join the conversation
-
I absolutely love this makeover. If I may be so bold as to make a suggestion, I might add a wood mantle for contrast- I think it would make the smear technique pop even more. Whether or not you do this, your fireplace is beautiful!
-
Much brighter


Frequently asked questions
Have a question about this project?
What if your fire place is Rock?? How would you do Rock that way?
Using the materials you used, could this be done on exterior? I have a brick porch and planter that is in need of a serious facelift.