


Handmade Chaise Lounge From Recycled Materials
This is not the usual step by step instructions because I did not record this project because it was a test run. By like all test runs things can go wrong, and for me it was, there were not enough support straps under the cushion. I have had to take it apart to fix this and took new photos along the way. So this will be a reverse tutorial.
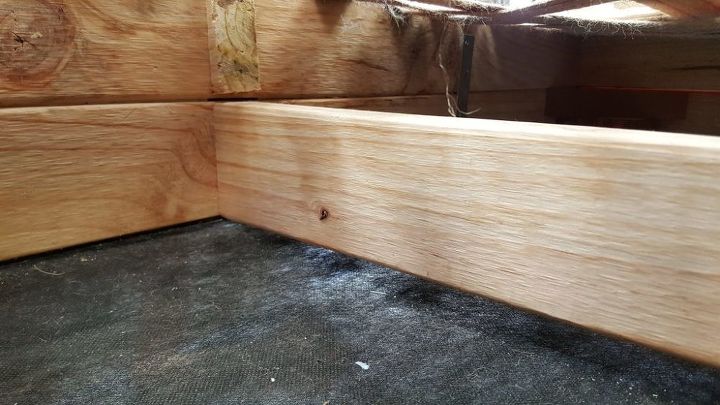
The base box was made from recycled wood that was glued together and supported with cross beams and corner supports. I also added support hinges to hold the 2 pieces of wood together as an extra precaution. The legs were off an old table I repurposed, I just cut them shorter with a handsaw and sanded them down and stained and varnished them.
It did not matter about all the damage to the legs because it would not be visible when put together. The legs were glued as well as screwed into the base.
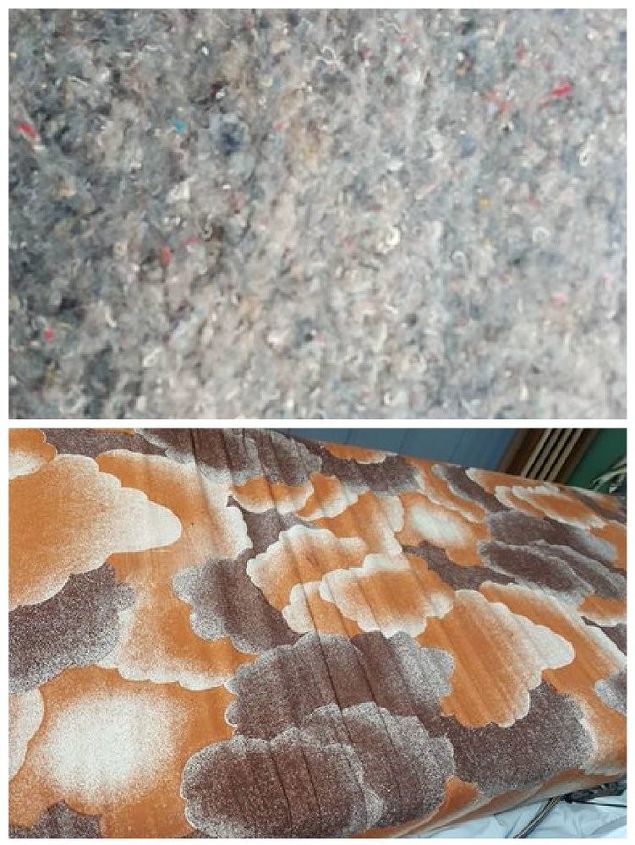
I built my arch next, I used this image as a guide. It is not my image just one found on Google. But that is what my arch looks like under the fabric. I just drew the arch on paper and transfer it over to the wood and cut around with a jigsaw. My supports between the arches were 20mm thick, cut from scrap wood. These are not visible so no need to waste good wood. I attached the supports to the arch using pocket hole screws.

I built my arch next, I used this image as a guide. It is not my image just one found on Google. But that is what my arch looks like under the fabric. I just drew the arch on paper and transfer it over to the wood and cut around with a jigsaw. My supports between the arches were 20mm thick, cut from scrap wood. These are not visible so no need to waste good wood. I attached the supports to the arch using pocket hole screws.
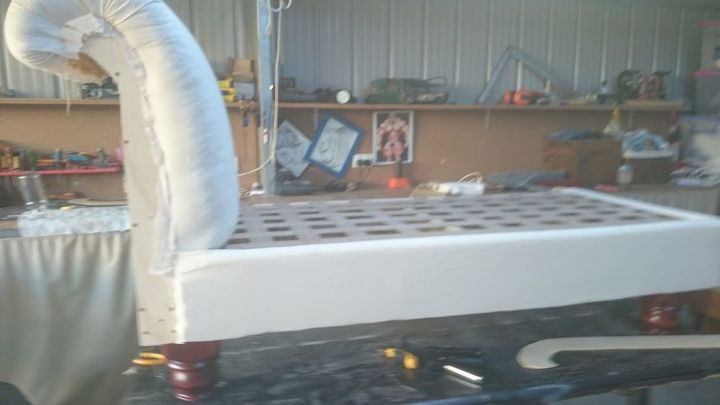
To attach my arch to the base. My arch was made out of 10mm plywood so I used my router to remove a 10mm section from the top outside of the base so that the arch could be screwed into the base. In the image above the arch support is level with the base now. This image already has the thin layer of foam under then white sheet. I cover it with a white sheet just to keep all the foam in place for when I cover it with the final fabric.

I used a recycled foam mattress to cover the arch (minus the cat) and added a layer of wadding to smooth it out. And again used a piece of sheet to hold it all in place.

I used strapping and weaved the base to support the mattress. This is where I made my mistake which led to me having to strip it down and add more support. It has been 2 years since I made this and I noticed that the underneath of the cushion was starting to push through the holes in the strapping, making the couch uncomfortable. I added lots more strapping to the base, and had no holes between the strapping this time. Before I added my final fabric I added a foam roll to the top front edges of the base. It came off another couch that I stripped down and it is attached to the edges to soften the corners of the wood. (I think)
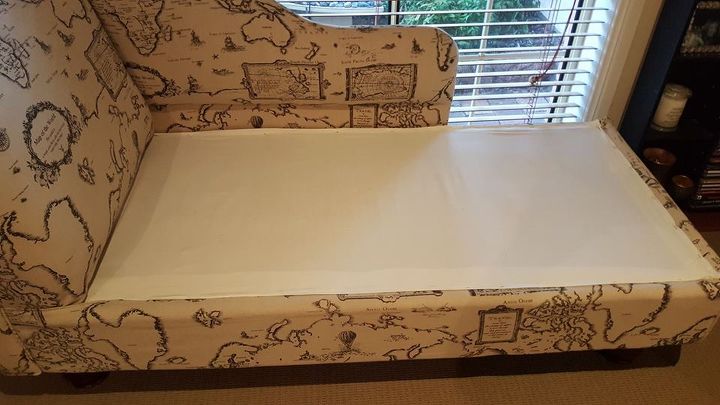
Once the base and arch were covered I added the back support which was an old computer desk top. I drew the arch I wanted on the top and used a jig saw to cut out my shape. I sewed my front and back fabrics together and fitted it around the back. The back was not sewed all the way down the top side, because I still had to attach it to the arch. Once it was screwed into the arch the fabric was stapled underneath and around the arches. And tidied up the base with a sheet to hide all the staples.
The final piece of fabric to go on was the piece under the arch. I stapled it to the top and used upholstery tacks to attach the sides. To hide the staples from the front section of the arch and the back of the arch. I made an arch out of very thin MDF and covered it with foam and fabric and this was attached with hidden tacks.
The couch cushion was an old foam mattress, which was a little bit soft, so I added a couple of layers of wadding, covered it in a sheet and finally in the fabric.
I used a piece of weed mat to seal the bottom and added a piece of felt to the bottom of the legs to prevent them from scratching the floor
At the end of the day the only real cost to me was the fabric, which I saw on eBay and loved it and though it would go great with the Chaise. I know it will not be easy for everyone to make this, I just wanted to show that it could be done with basic woodworking skills.
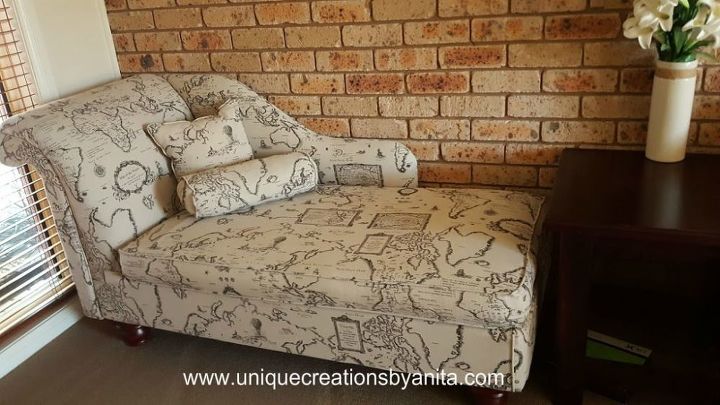
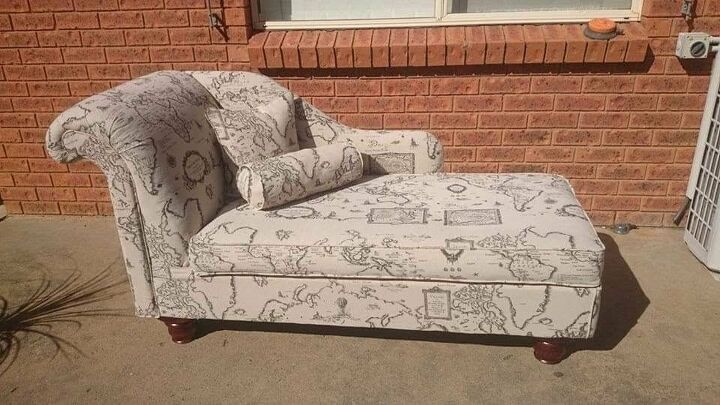
I had to move it for this photo, because of the light coming through the window, I am not very good at photography. But wanted a close up so you could see the great detail on the fabric. I am very proud of this creation. For extra details, I was unable to post on here due to photo limitations visit http://uniquecreationsbyanita.com/how-to-make-a-chaise-lounge-from-recycled-materials/
To see more of my unique creations http://uniquecreationsbyanita.com/from-kitchen-cupboards-to-stunning-headboard/


Comments
Join the conversation
-
Awesome job!!!!
-
Incredible!


Frequently asked questions
Have a question about this project?
Love it !! Where did you get your fabric ?
Very nicely done ☺️,looks like it's right out off a showroom floor
What did you use the barrel for?