Ikea Bookshelf to Storage Bench in 10 Min.

We have had this Ikea bookshelf for years and it is just taking up space collecting junk. One day I had an idea to turn it on it's side and repurpose it giving it new life and new function in our life.
Here is what I did.
We use it as extra seating in the living room (Think family Holidays!) but I may just put it at the end of the bed as a place to put my shoes on in the morning and store some things.
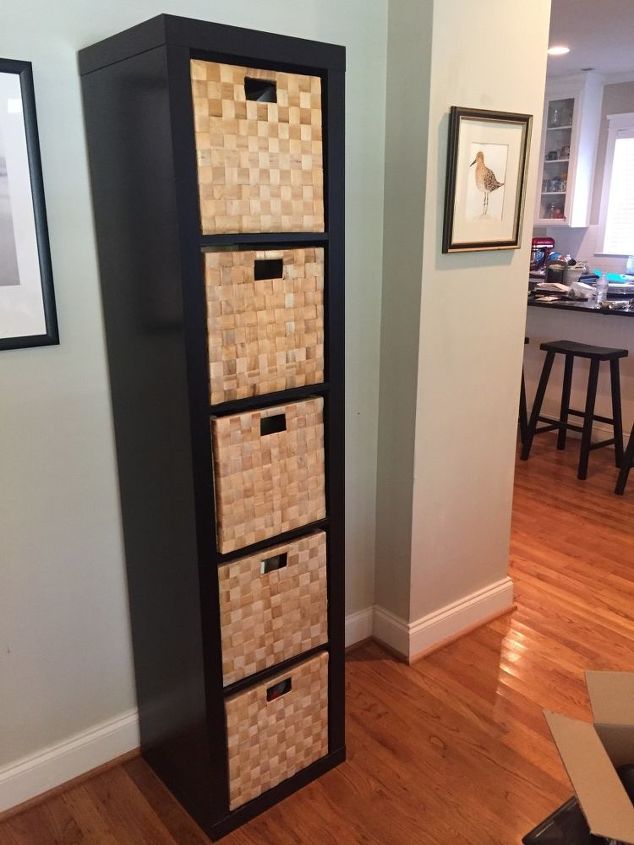
Here is what we started with. A great bookshelf with some basics... all from IKEA (about 6 years ago)
I bought some plastic black 4 inch legs online that come in a pack of 4x. Everything you need is included and it is about $14 a pack.
I bought 2x packs because I wanted at least 6 legs to support the bench. I ended up using all 8x.
A few tools... a couple of drill bits, drill and driver for the screws.
The way the legs work is you need a hole in the center for the threaded rod in the leg to fit into the piece.
MAKE SURE: you do not drill all the way through... IKEA furniture is not solid wood so it is easy to pop through if you don't pay attention.
Once you have the main hole in place... line up the bracket and pre-drill and screw it down... making sure the center holes line up.
Here it is screwed down. Luckily the front screws hit solid wood, the back are just there to keep it from rotating. The weight of the bench on the leg hold it in place.
NOTE.... the space to the right is actually hollow... so DO NOT use that for the legs. push down and feel where it is solid and where it is not.
Leg screws on to the bracket into the center hole. These are basically adjustable legs.... so if you have to level things out you can.... I just put them all the way to the bottom.
4x legs installed. Not going to be enough. Lets go 8x!
PRO TRICK:
When you want to figure out an equal distance so all the legs (of shelves or whatever) do this... The space was about 64 inch between the outer legs. I want 2 more legs in between. That means 3 voids or spaces between all of them... so take 64/3 and that gives 21.3 inches. I rounded to 21.5 and used that as the distance from the outer legs to the next set of legs.
Now all the legs are equally spaced apart. Much more support than just 4x. Math is fun!
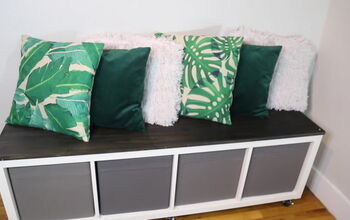
Final product in place, with the baskets put back in.
We might throw some pillows or a cushion along the top to "encourage seating".
If you wanted to... add taller legs to make it a side table... or add a simple wooden frame instead of legs. Lots of options.
Hope this inspires you to build something or reuse something in a different way.
Enjoyed the project?
Resources for this project:
See all materialsComments
Join the conversation
-
 Linda Abate
on Sep 02, 2021
A great idea. Putting this bookcase on its side with the storage baskets is great for a mud room, play room, or in a bed room for storing shoes, linens, or whatever. LOVE IT.
-
-











Frequently asked questions
Have a question about this project?
I love this project... I really like the baskets... where did you get them... Great job... Thank you for sharing...
The bookshelf linked is only 4 cubes.......I looked on ikea and could not find the kallax with 5. Could you post a link to the correct one? TIA
Is this strong enough to have 2 or 3 people sitting on it?