


Marvelous Marble Magnets
5 Materials
$15
1 Hour
Easy
Marble magnets are super easy, inexpensive, quick to make and fun to personalize. Have some craft time with the kids or grandkids, and make a bunch of them.
You will need:
· Bag of flat, round glass marbles - clear
· Craft glue or E6000 glue
· Heavy round magnets (flimsy ones won’t hold the weight of the glass)
· Scissors, craft knife or circle craft punch
· Glitter nail polish
· Printed alphabet letters, sized to fit
· Mod Podge
Make glitter magnets with nail polish
GLITTER MAGNETS
OK, first a disclaimer: I’ve been known to buy glitter nail polish because I love sparkly things. But after I wear it once and have to later take it off (huge pain, in case you’ve never tried nail polish remover on glitter), it’s never used again. So this project was a clever way to finally use some of it up. Or you can go to the Dollar Store and buy several for cheap.
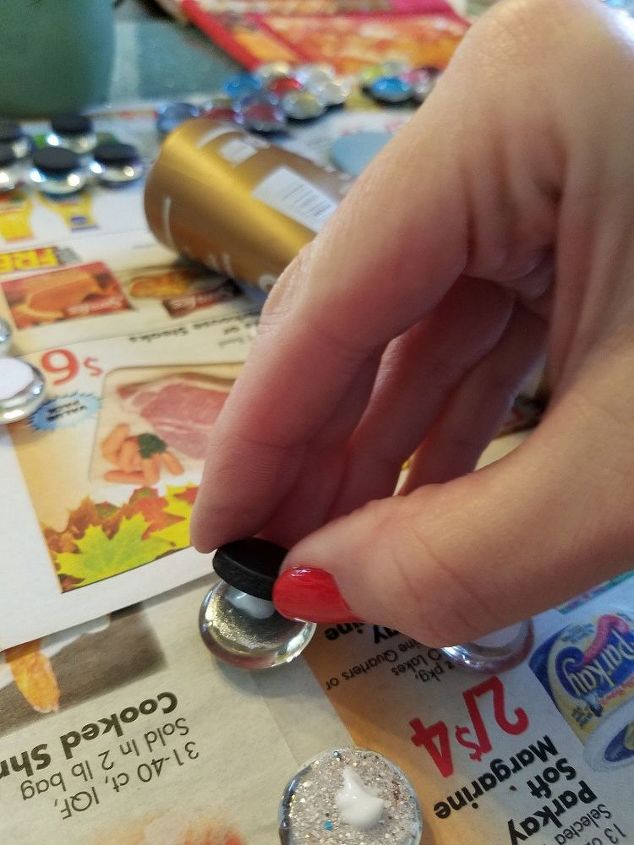
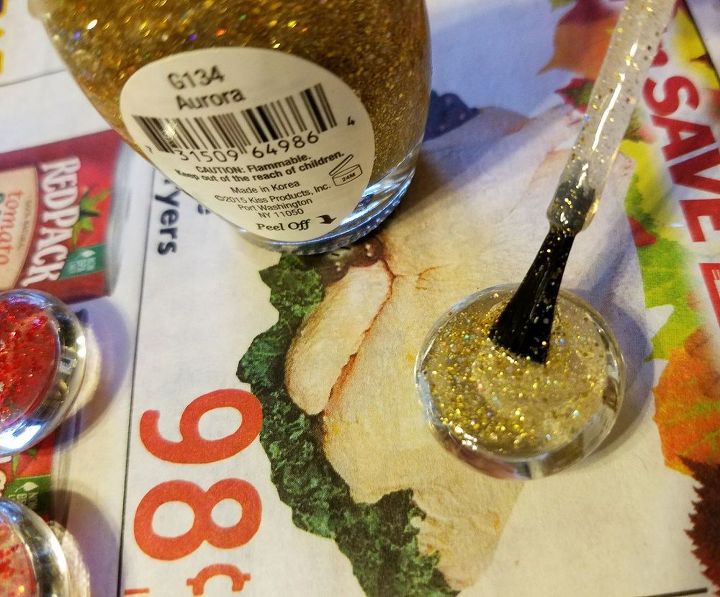
Brush on polish, add magnet
For glitter magnets, flip the marbles over so the flat side is up. Brush on some glitter polish, let dry and brush on more, doing this a few times until it’s as glittery as you want. After they dry, add magnets over the glittered backs with some craft glue (I used Aleene’s). So easy!
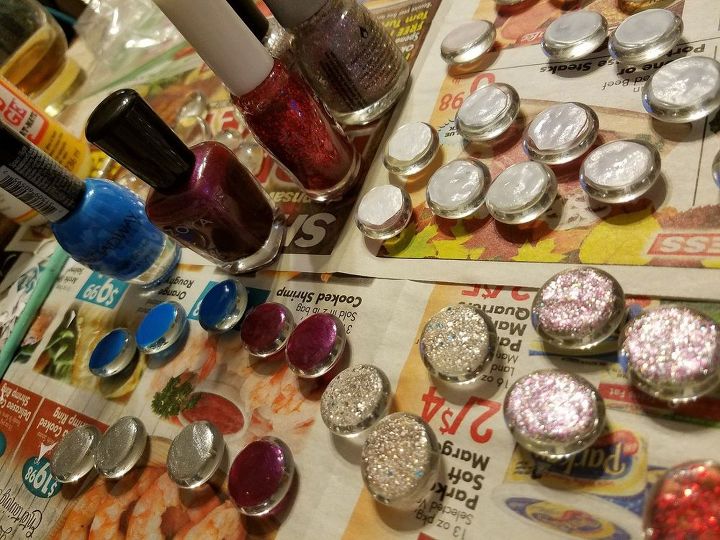
Make a bunch!
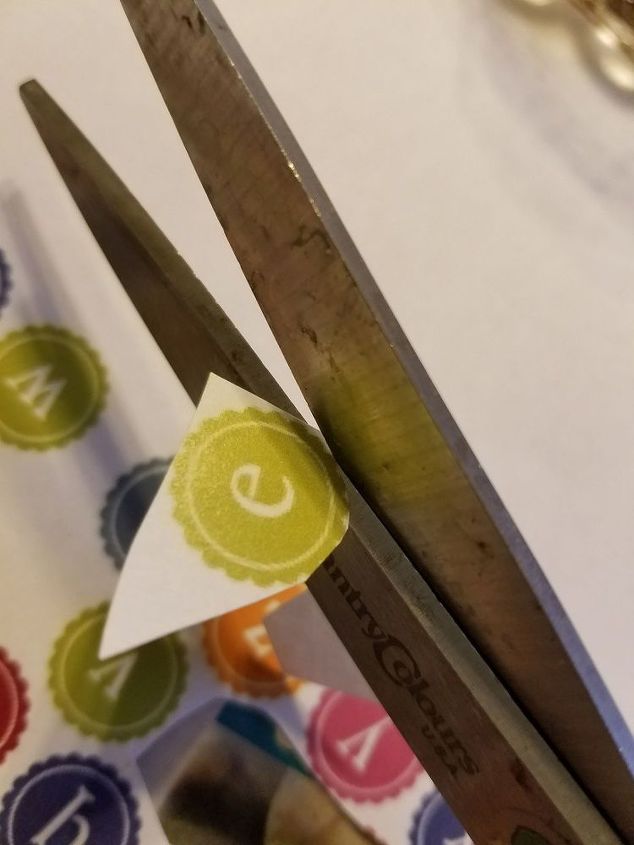
Cut out letters or use a circle punch
ALPHABET MAGNETS
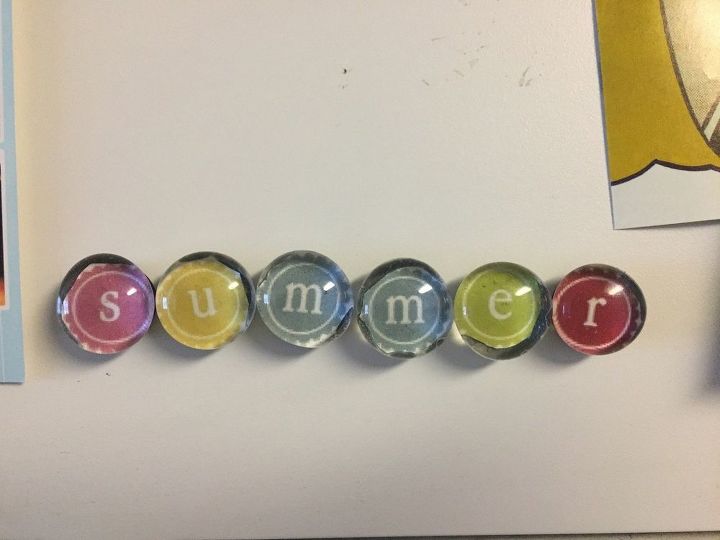
You can also decoupage photos or images onto the marbles. For mine, I printed out some colorful, round letters in a size that would fit the back. I created magnets in both of my nieces’ names for the message boards I gave them.
I cut out each letter with scissors but if you have a round craft punch or even a craft knife, it might be a tad easier. (And you can see my “circles” aren’t perfect.)
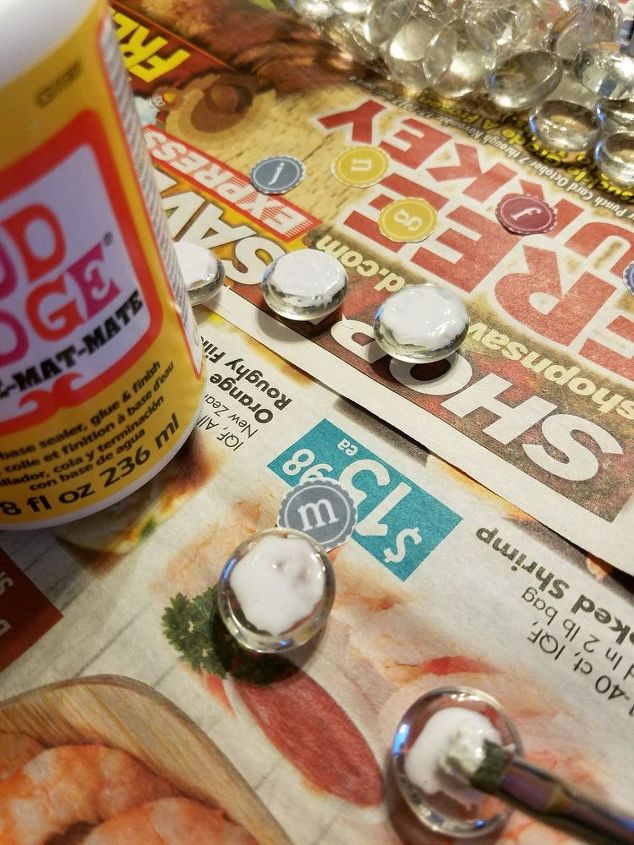
Glue on with Mod Podge then add magnet
On the flat side of the marble, spread a little bit of Mod Podge (it dries clear) or clear glue. Place the round printed image facedown on the glue. Add another layer of glue on the back side. When that’s dry, adhere the magnet with craft glue. There you go!
There are zillions of other ways you can personalize these. Here are just a few ideas of things you could use with your magnets:
· Family photos
· Wrapping paper
· Scrapbook paper
· Maps
· Images cut out from a magazine
· Glitter – sprinkle onto wet glue
· Confetti – sprinkle onto wet glue
· Craft paint – make snowflakes, stripes, lady bugs, baseballs, soccer balls, etc.
· Printed character faces – I saw one done with Sesame Street characters – super cute!
· Write a word or message
· Printed clip art
· Comic strips
· Sheet music
· Fabric

A great way to give these as gifts is to fit several of them down in an empty Altoids tin.
Resources for this project:
See all materials


Any price and availability information displayed on [relevant Amazon Site(s), as applicable] at the time of purchase will apply to the purchase of this product.
Hometalk may collect a small share of sales from the links on this page.More info

Want more details about this and other DIY projects? Check out my blog post!


Frequently asked questions
Have a question about this project?