


Making a Great Whiteboard Wall
2 Materials
I used a press and stick markerboard paper on a wall in my office to help me with planning projects. Here's how I did it.
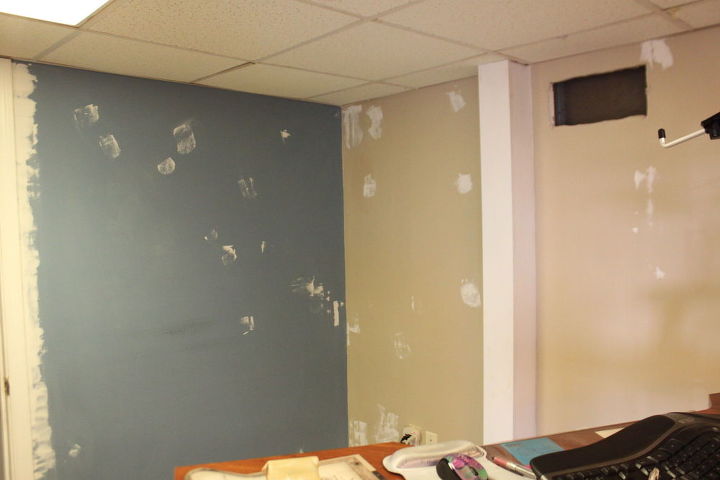
Before picture of my office. We were prepping the wall and getting things ready for the classic yellow paint.

This is after we painted. It took 3 coats. We should have primed the blue wall but forgot. Then we freshed up the trim that was white.
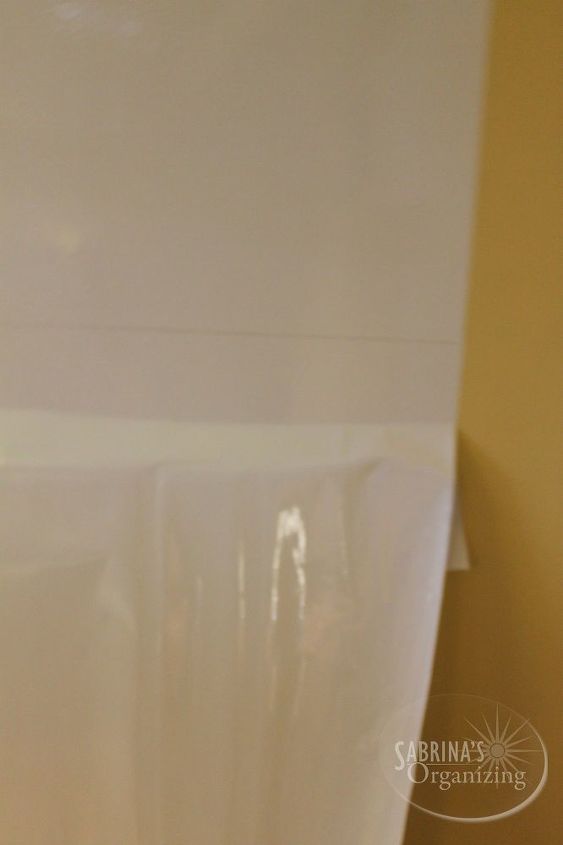
Using a plastic straight edge, we worked our way down the sheet and while removing the backing we took out all the air bubbles.
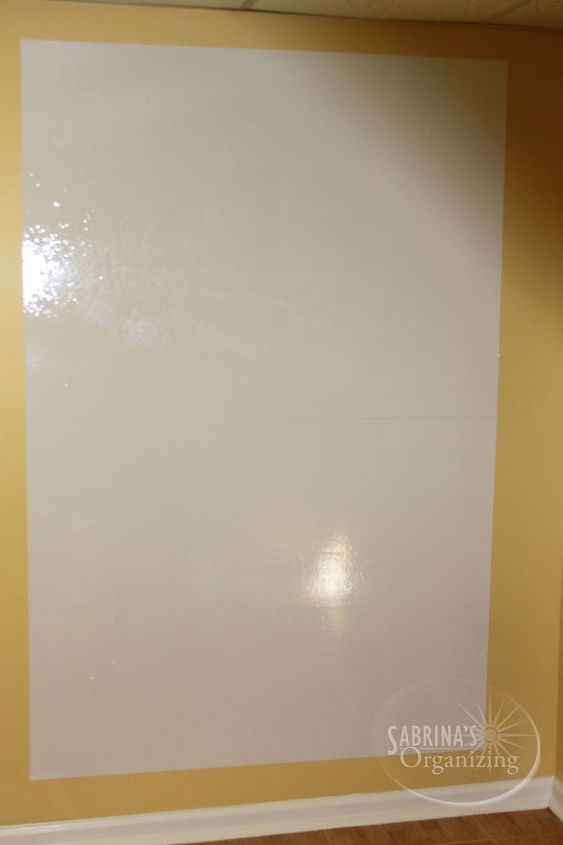
This is the final markerboard wall. Check out my blog post below to see more step by step instructions on how to do this project.

Want more details about this and other DIY projects? Check out my blog post!
Comments
Join the conversation
2 comments
-
I love this! We live in a small space, so I can't do this to an entire wall...but I did something similar to the pantry door in the kitchen. I attached a Command Adhesive cup to house the markers. This is perfect for 'honey-do' and 'stuff to get' lists.


Frequently asked questions
Have a question about this project?