


Cement Block Bench and Bench Cushions

9 Materials
$70-130
1-7 Hours
Advanced
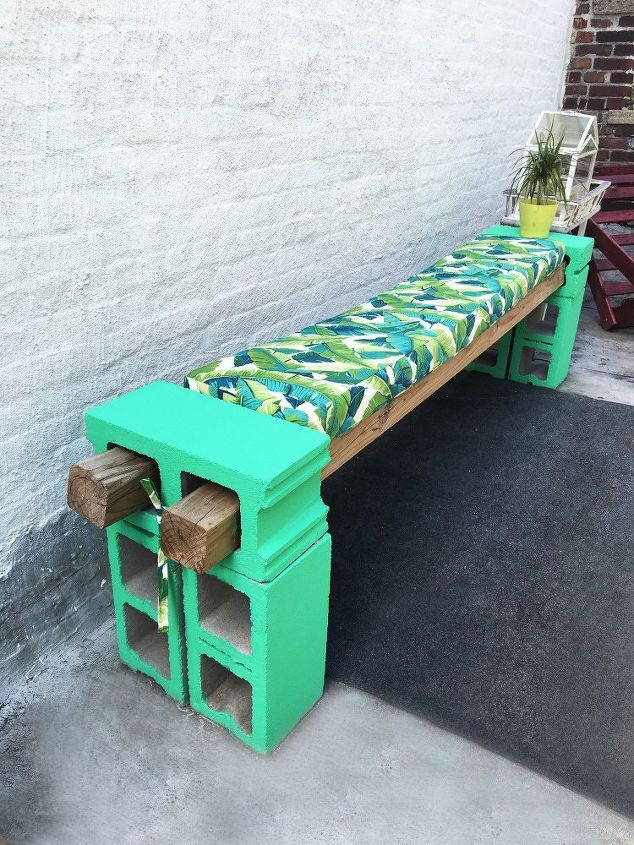
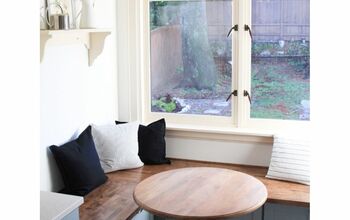
Ok sooooo I made these benches years ago (and they have been amazing), but I always wanted to add some cushions for extra comfort. When someone else suggested it on the Facebook live tour of my house I decided it was about time to take action. I will show you how to make the benches first (super simple) and then get into detail on the cushions. The benches are really just some cement blocks and wooden beams while the cushions are comprised of a cushion filling, batting and fabric. You will need to have a sewing machine for these cushions, but all the seams are straight and simple so you don't have to be a pro.
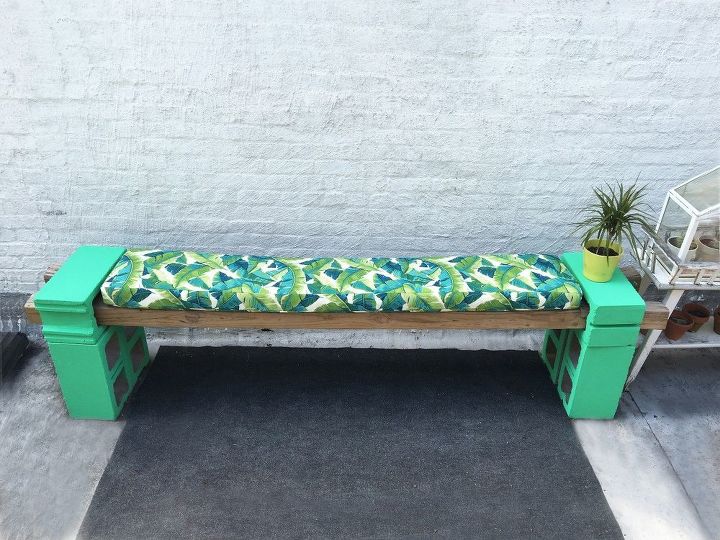
Trust me these cushions are a dream! I feel like they elevate the space plus they are super cushy comfy! So glad I finally made them! I do have 2 of these benches that face each other so take that into account when looking at the cost and time.
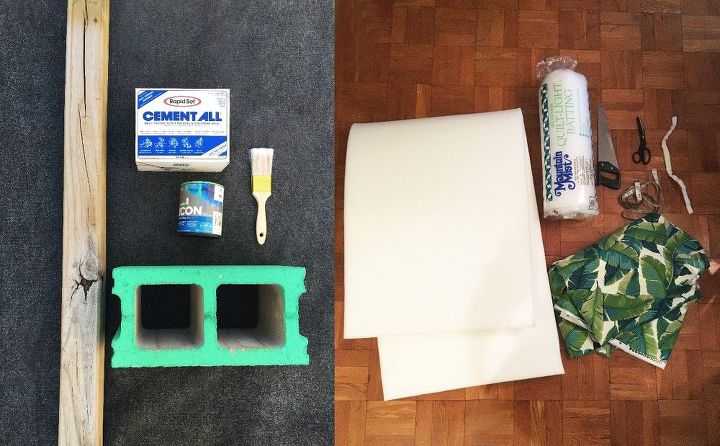
SUPPLIES:
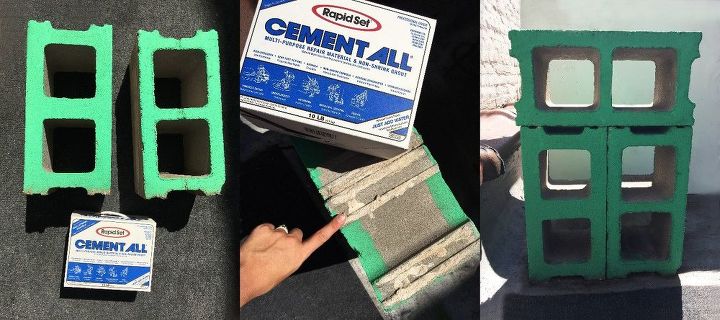
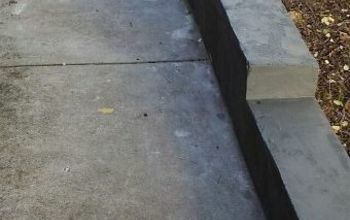
STEP 1: Mix up some cement and spread a bit between 2 blocks and place them together.
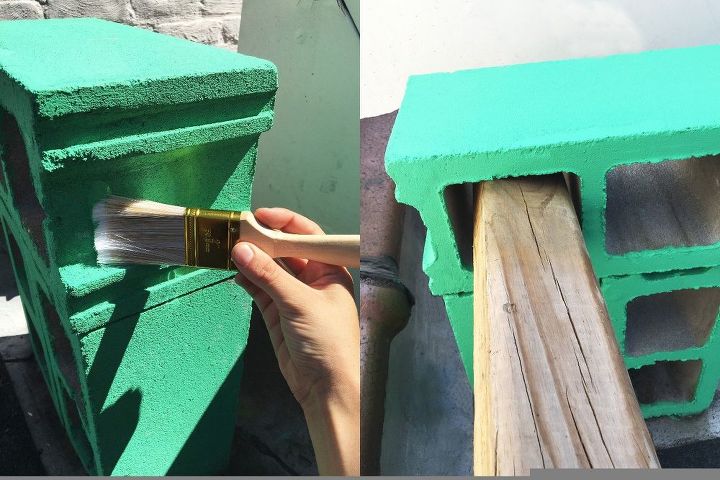
STEP 2: Once you place your blocks where you want to set your bench it is time to paint! If you want to paint the blocks you can do this now.
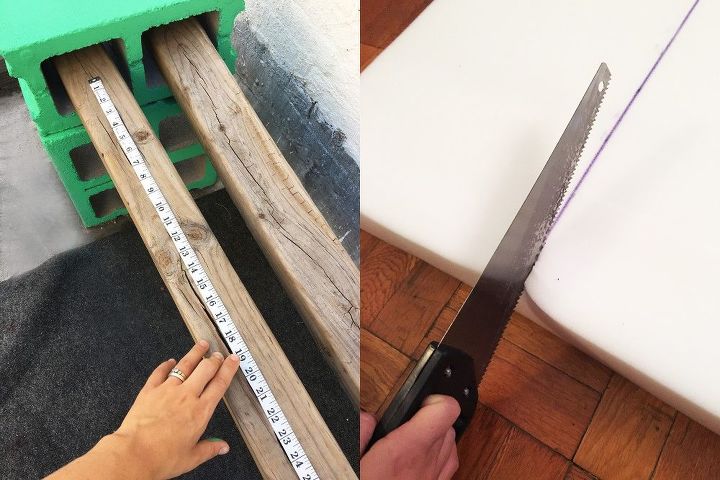
STEP 3: For the cushions you will first need to measure the length and width of the beam between the cement block ends to determine how large the cushions need to be.
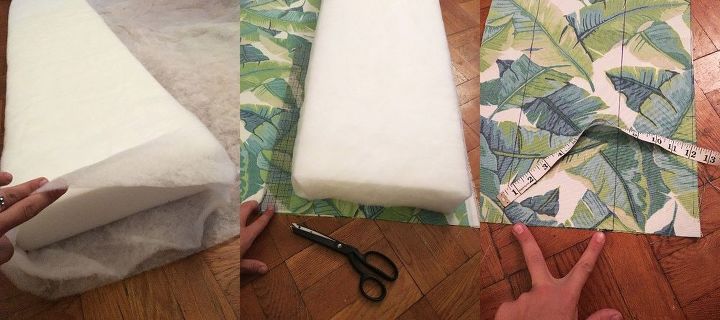
STEP 4: Wrap the inner foam cushion piece(s) with batting and cut the batting so that it evenly lines up with the edge. *I put one layer around the whole thing and two on the top and had plenty for both cushions this way.
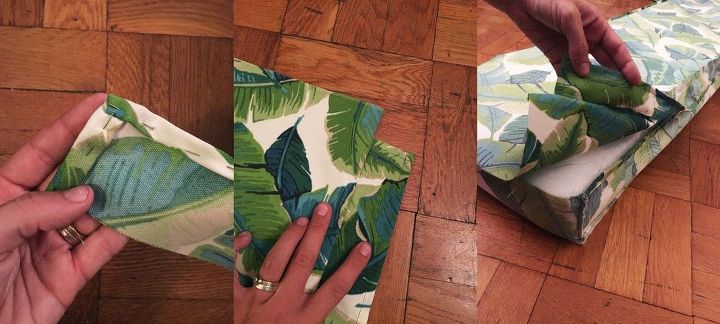
STEP 5: Grab your side panel pieces (reserve the back fold over flap for later) and wrap them around the edges of the cushion, wrong sides of the fabric facing out, pinning them at the corners so that it fits nice and snug around the perimeter of the cushion.
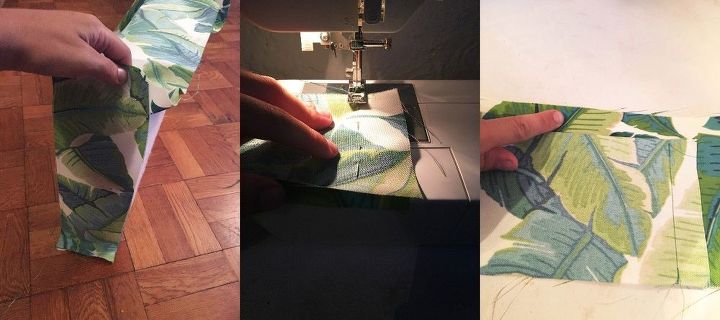
STEP 6: Sew the folded over width in place. (the picture only shows it folded over once, but you will need to fold it over twice so that no raw edges are showing)
STEP 7: Grab your back fold over flap piece and fold over both ends and one long side 2x and sew in place.
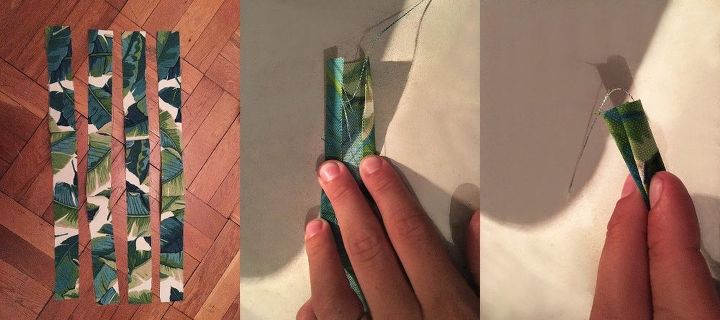
STEP 8: Now it is time to make some ties for the cushions so they stay in place! For each cushion you will need 4 strips of fabric cut at 2" wide and 16"-18" length.
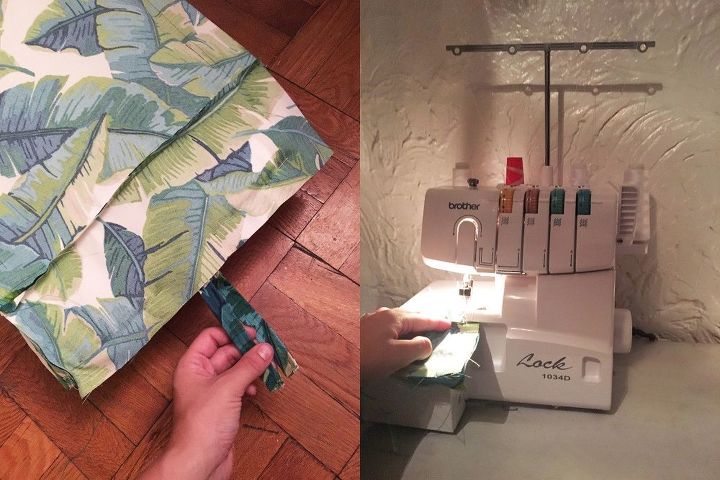
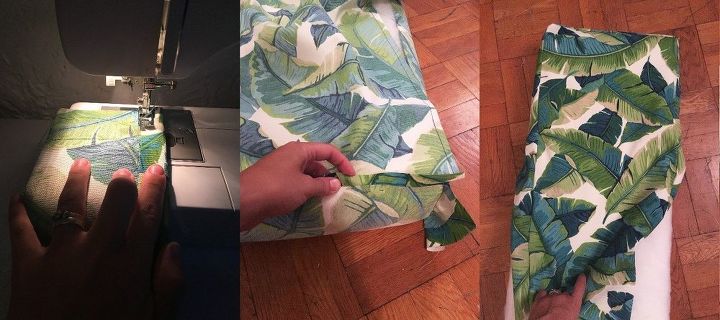
STEP 9: Now feed two ties through each end of the pinned cushion cover (bottom to sides is pinned right now) and pin in place so that the raw edges are even.
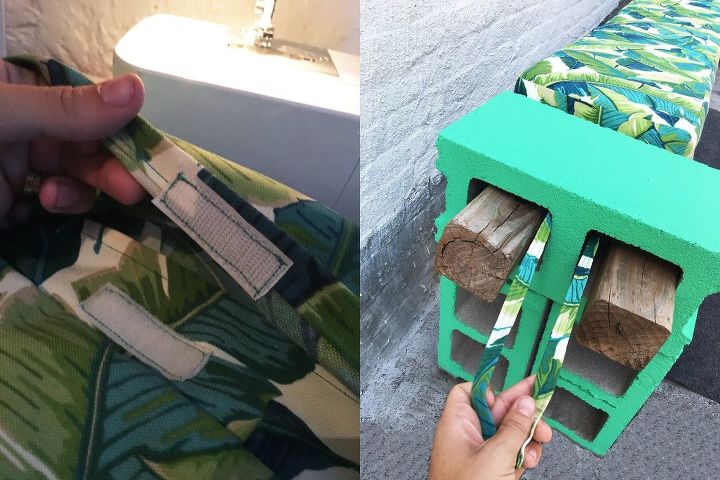
STEP 10: Don't worry we are almost done! Now we just need to add the velcro to the back side panel and the back flap. Place the cover over the cushion and pin pieces of velcro with the rough side on the back panel piece and the soft side on the back flap so that they line up. I added 8 - 2.5" pieces across the panels spaced evenly from one another.
Now grab a nice cold drink and take a seat and treat yourself after all your hard work.
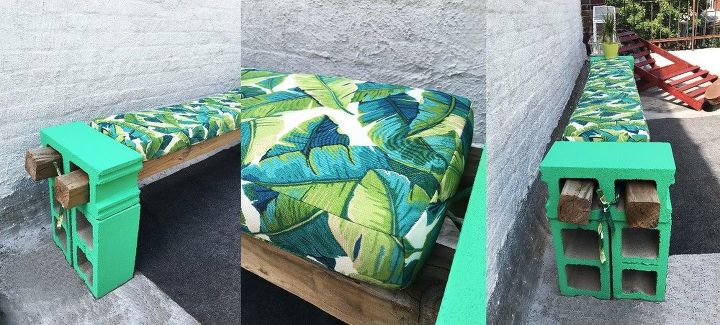
I just love how much character and cush these add to the benches! And they are washable!! Should have added these years ago...
Resources for this project:
See all materials


Any price and availability information displayed on [relevant Amazon Site(s), as applicable] at the time of purchase will apply to the purchase of this product.
Hometalk may collect a small share of sales from the links on this page.More info
Comments
Join the conversation
2 of 72 comments
-
I was just thinking the same thing . . . but maybe I can try something similar using iron on tape? hot glue gun? E6000? I have a sewing machine but it's more for 'looking at' than 'playing with' so I'm always up for a work around!
-
I will try this but thinking of using the long pillows and then putting on a board and covering it with some plastic I have left from a umbrella that broke. great idea thanks. I dont know why I didnt think of it after using blocks and the wood for a book shelf.


Frequently asked questions
Have a question about this project?
why didn't you paint the wood?