Stencil An Outdoor Bench With Chalk Paint (R)

Royal Design Studio
by Royal Design Studio
My wonderful mother passed away 14 years ago. She was passionate about her rose garden, her backyard pond and nature in general. Many of the ferns and hostas in our yard were lovingly brought here from her home just before she passed away.
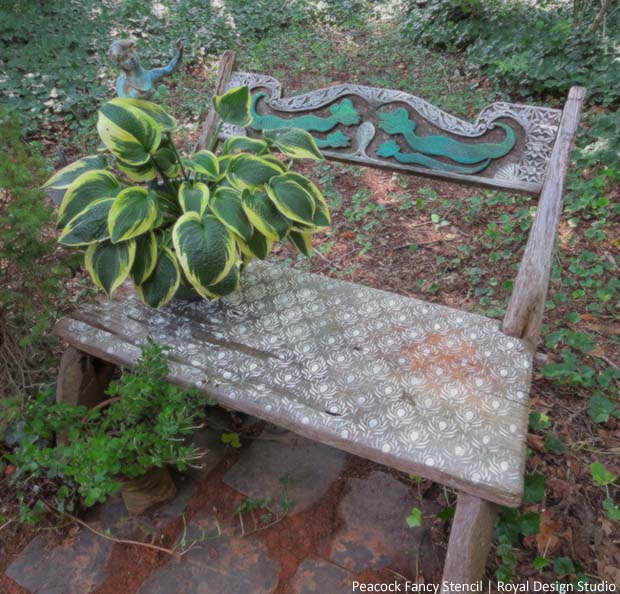
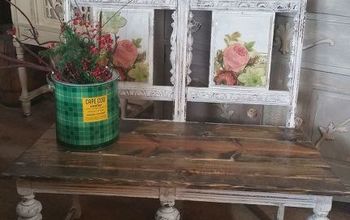
In Mom's honor, I purchased a gorgeous Balinese teak bench. It faces our shady pond situated just below our master bedroom. At night we can go off to sleep to the tunes of the waterfall and a frog serenade. Sigh. The painted details on the bench have completely faded over the years and thus, it has faded into the woodland area behind it.


What to do? Add a stylized floral stencil pattern and a few touches of my favorite colors to brighten it up of course!


That's the easy part I'll admit. August in North Carolina is steamy and buggy. But I really wanted to grin and bear it all to accomplish my goal. If you have an aging garden piece of any kind- wooden, concrete, plaster or terra cotta in particular - that you want to upcycle then this project is for you. Chalk Paint(R) by Annie Sloan weathers beautifully outdoors with no topcoat needed and is perfect for such DIY projects.
SUPPLIES


Royal Design Studio's Peacock Fancy stencil, stencil brushes and Motsenbacker's Lift-Off stencil cleaner


Old White, Florence and Antibes Chalk Paint(R) by Annie Sloan


Color palette like an old cookie sheet, tin foil, paper towels like Bounty, 220-grit sandpaper, tape, rags
STEP ONE


Clean the piece with soap and water and let dry. Find a center and tape down the stencil. Using the Old White Chalk Paint(R) and a large stencil brush, stencil the pattern over the entire surface. Normally when my stencil begins to clog I clean it before moving on, but this bench was so rustic I just kept on going. Let dry for a few minutes. Sand all over and wipe with a damp rag.
STEP TWO


Dip a stencil brush into the Florence Chalk Paint(R) and highlight areas you want to emphasize. Let dry and add some Antibes in a few areas. Add Old White in the surrounding design. Let dry and sand everything lightly. Wipe with a damp cloth.


I left the colors a bit brighter to allow for weathering over time.


Add a plant or two and a patinated statue and enjoy!


Looking for more DIY inspiration? Check out our How-to section here on Paint + Pattern here:
Frequently asked questions
Have a question about this project?
Comments
Join the conversation
2 of 16 comments
  • Royal Design Studio Royal Design Studio on Aug 25, 2014
    @Amanda Eastman @Nancy Hull @Katrina Warren @Teresa R @Wendy Johnson @Jill Morse @Megan Karetny @Kathie taylor @Sheryl Walter @Myrna Engle Thank you for all the kind words! Hope this inspires your next DIY!
  • Megan Karetny Megan Karetny on Dec 10, 2014
    It does! I love stenciling! I'm working on a few projects this week :)
Next