


Hexagon Wedding Arch

If you've ever had a wedding or been involved in planning a wedding, you know exactly how expensive things are. Add in the Corona Virus and you can understand how much more money, stress, planning and RE-planning a wedding can be.
My niece has planned 3 weddings this year. All the restrictions and business shut downs made her drop her 200 person resort wedding down to a 50 person personal property wedding.
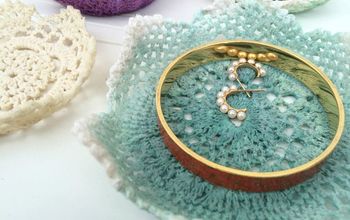
Can I just say...I cant imagine anything more gorgeous than her wedding. (Just wait until you see the last photo!)
She asked my husband and I to build a hexagon arch for her special day and of course we said YES!!
So if you're looking to add a little DIY to your wedding day, give this tutorial a try!
Material List:
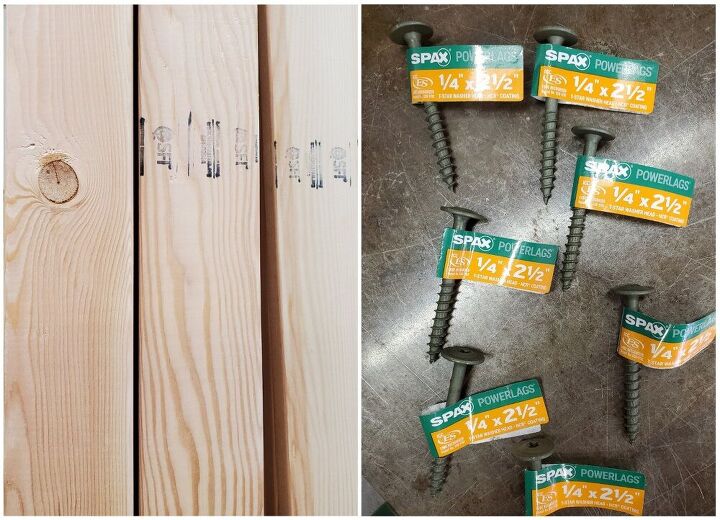
- 13- 2x4x8
- 12- 1/4" x 2.5" Powerlag screws
- 120 grit sandpaper
- 6 ft ground treated board (used for stability and staking the arch to the ground)
- 12- 2 1/2" deck screws
- 1/2" x 30" rod for staking
- Paint thinner
- Spar Urethane (sealer)
Tool List:
- Bevel square
- Miter saw
- Table saw
- Straight edge
- Square
- Tape measure
- Orbital sander
- Impact driver
- 1 1/4" Forstner bit
- Paint sprayer
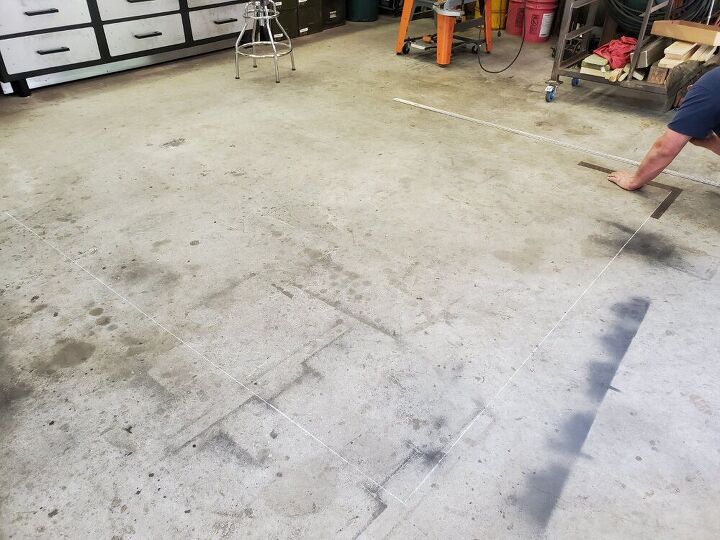
Using a straight edge, square and tape measure figure out what size arch you want to make and map it out on the floor.
We find this method the best way to figure out sizing when you are unsure exactly the size you want to make.
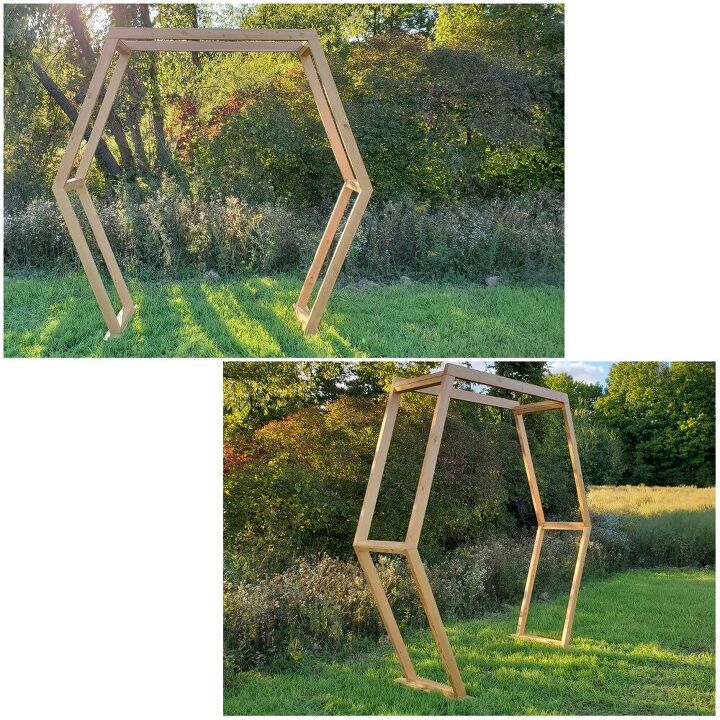
There are a few things to consider when deciding on the size of your arch. Who will be standing under it and the space you have to put it in. We knew there would be 3 people under the arch and one of them is 6' 6". That was the biggest factor for us. We knew it had to be big, so we made an 8' arch.
It was grand and the perfect scale for the open outdoor ceremony area.
This is what our drawing looked like on the floor. I was unsure and felt the angles weren't right but my husband assured me it would be perfect.
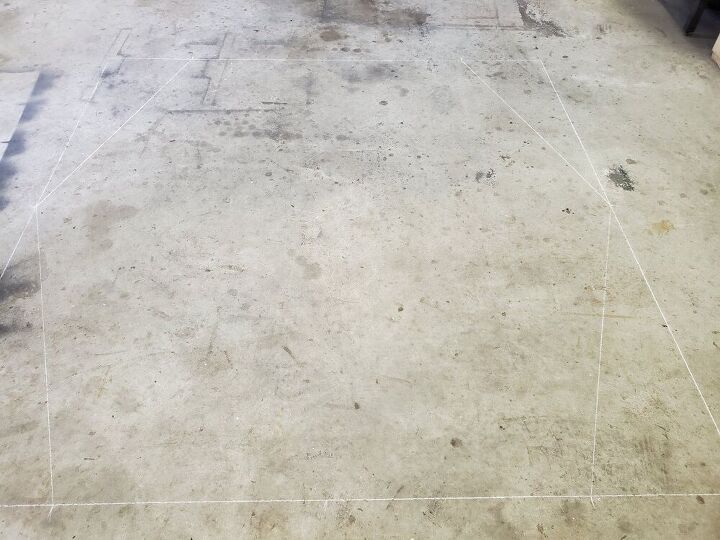
We started with an 8ft x 8ft square chalked on the floor.
Then my husband traced the 2x4 width so I could see the plan better. I'm more of a visual person and this helped greatly.
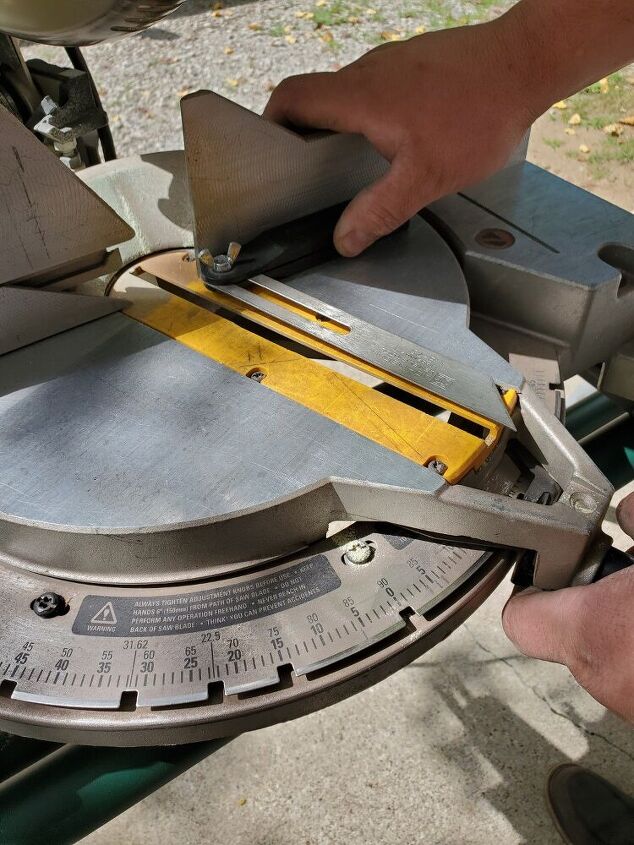
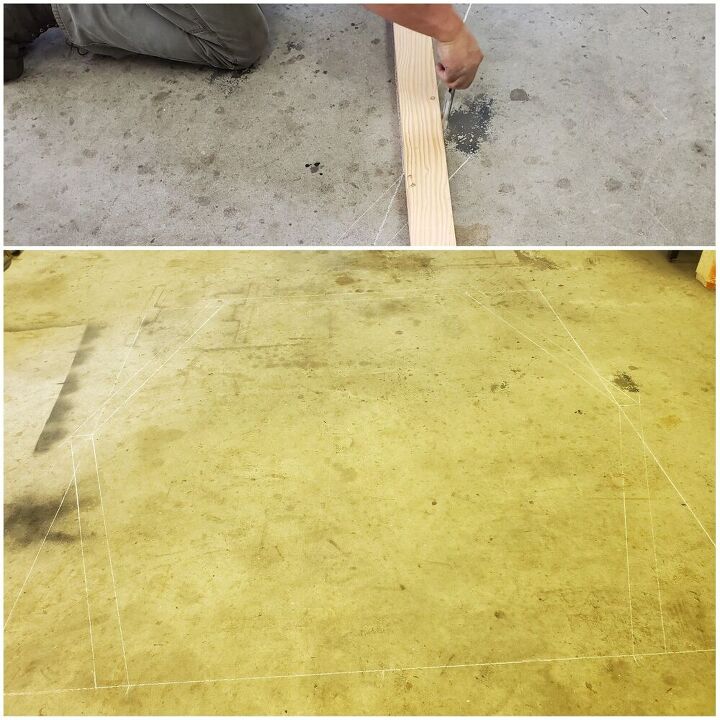
My husband found the angle we would cut the 2x4's with and transfered it to the miter saw. The angle we used was 21°.
Using the miter saw cut the 2x4 boards to length.
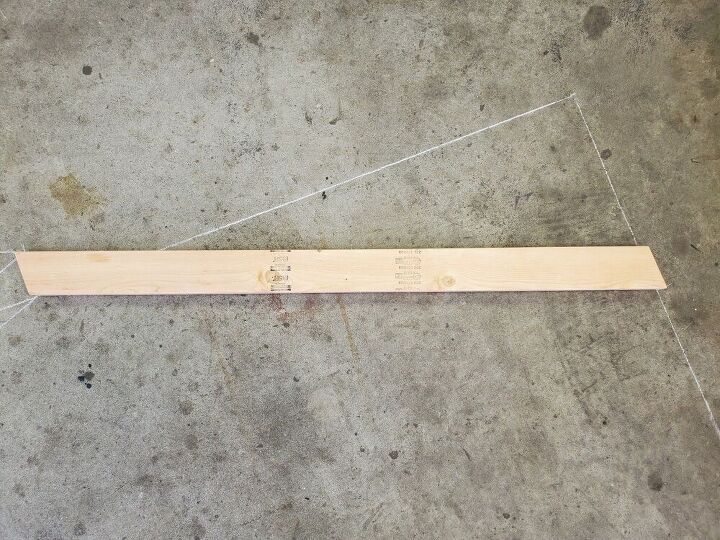
Cut 8 boards to 53 inches first. Then cut the 21° angles on both ends.
Cut the top boards next. (Not pictured)
2- 2x4's at 68". Then cut the 21° angle on them.
Once the sides are done we moved on to the middle braces and ground boards.
Cut 10- 2x4 boards to 21".
Then cut 2- 34 1/2" treated ground boards.
Cut a 45° angle in the ends of the treated ground boards to make it look more finished.
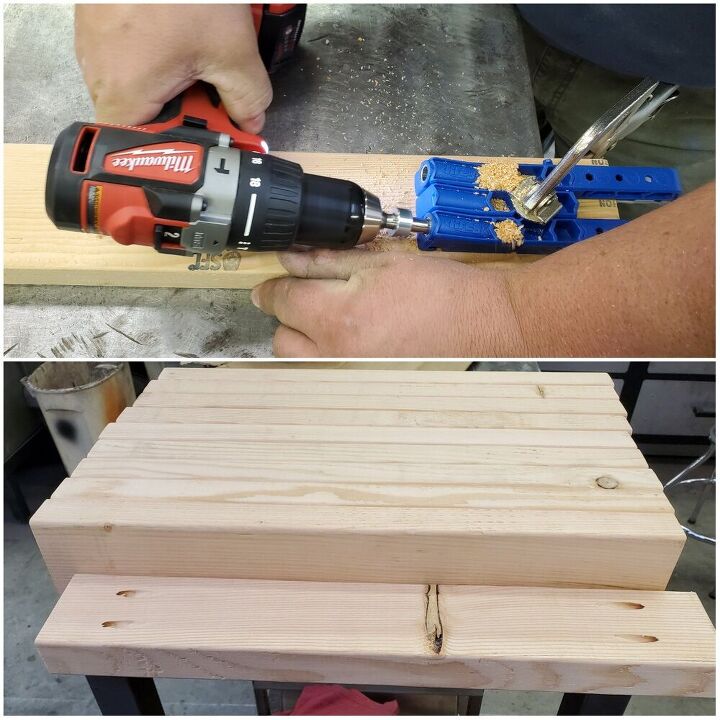
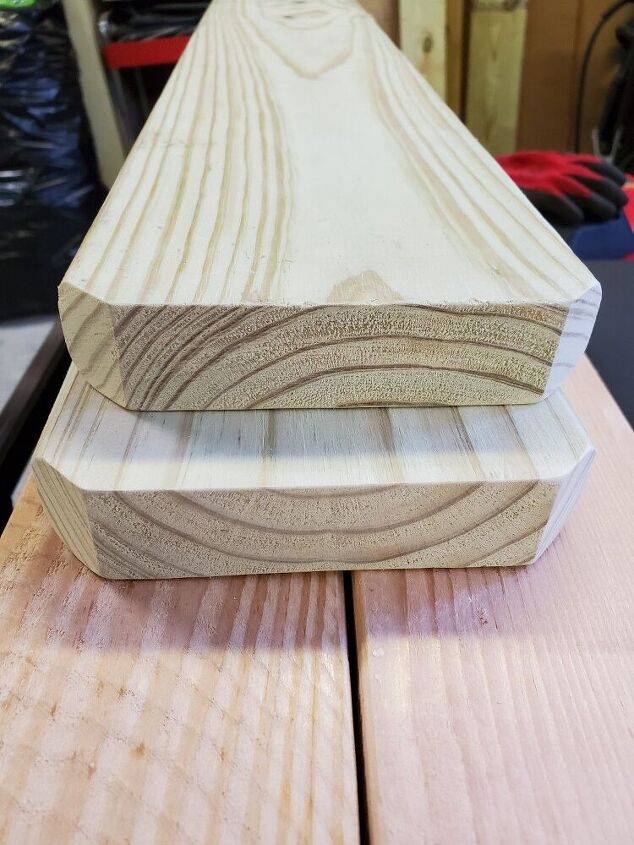
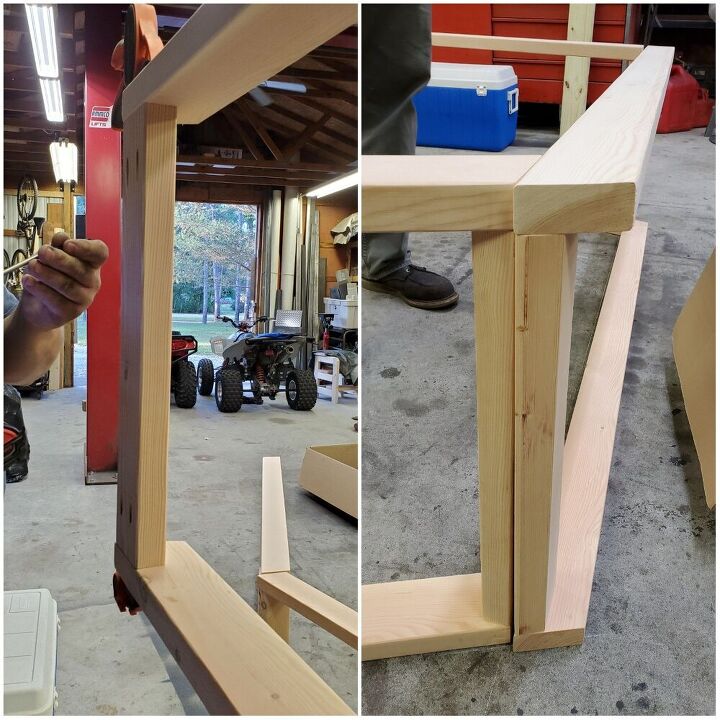
All of the braces get pocket screws. 2 on both ends of each board.
This allows us to create a strong structure while being able to hide the screws from view.
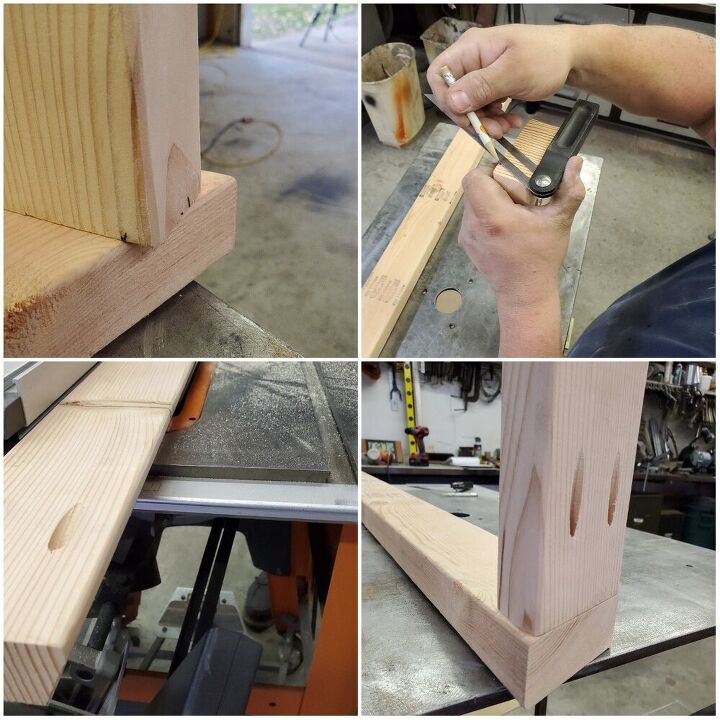
When putting the braces on we noticed the little bit of overhang. We didn't like the looks of that so we used the table saw and marked each board at 21° and took that amount off the edge.
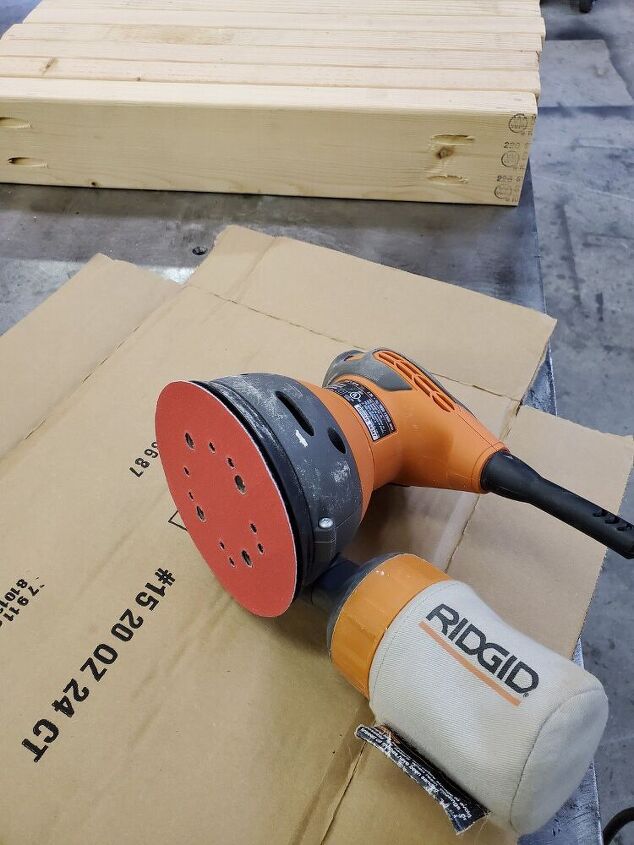
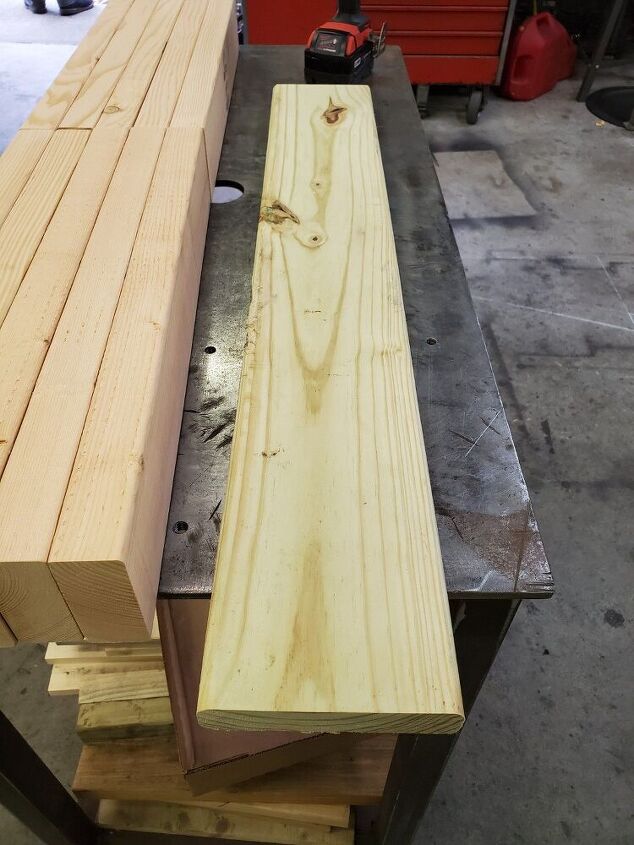
Once everything is cut to size use an orbital sander with 120 grit sandpaper to make everything smooth and ready for sealer.
Take 2 of your 53" boards and 2- 21" braces and clamp them together to build one section of the arch.
You will make 4 of these sections.

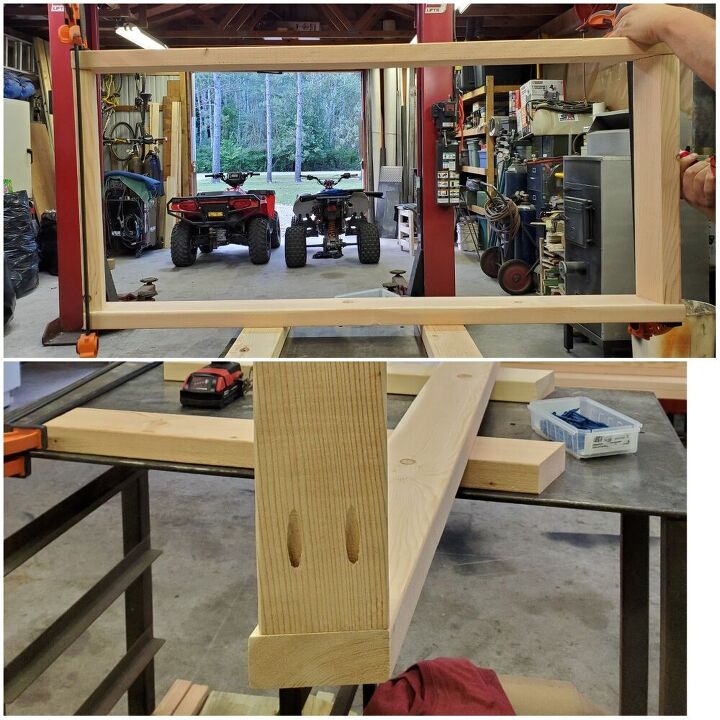
This is how 2 sections will look together. We set ours up on the chalk grid we drew on the ground as we put them together.
Then we put together the top section of the arch. Take the 2- 68" boards and 2- 21" braces. Make sure the brace is at the bottom of the top section. (As seen in the photo) That is where you will attach the top to the side sections.
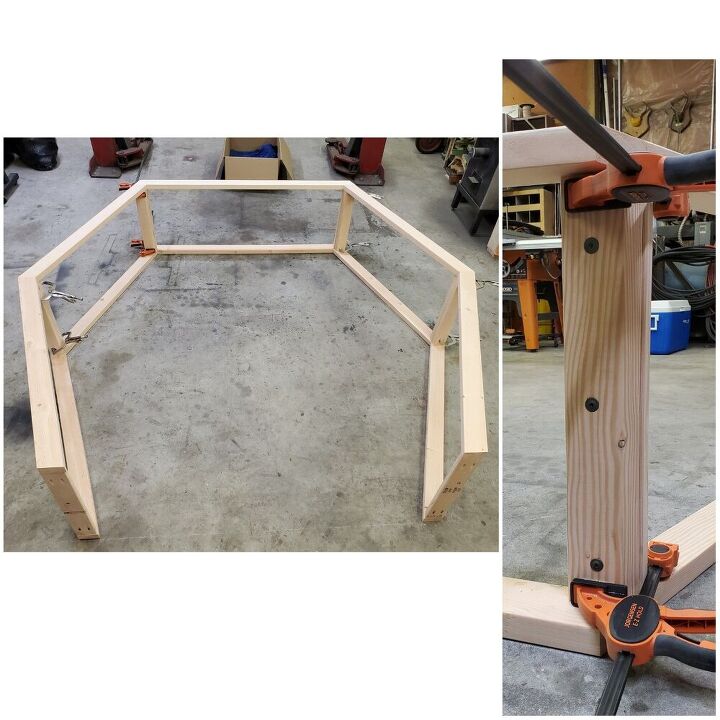
Clamp the sections together and then use 3 of the Powerlag screws to connect every brace to each other.
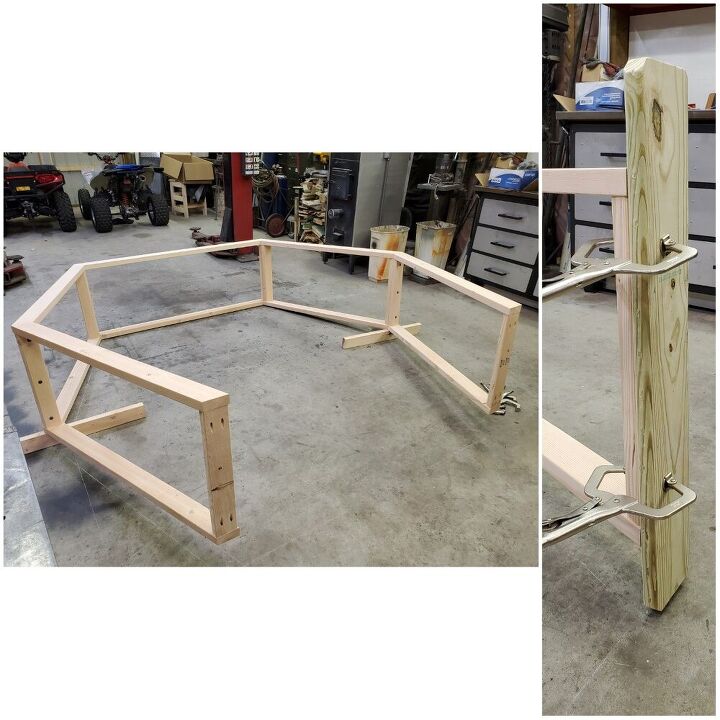
Once the arch is together, put boards under the side sections so you can attach the treated ground boards. We used 6- 2 1/2" deck screws on each side to attach them to the arch.

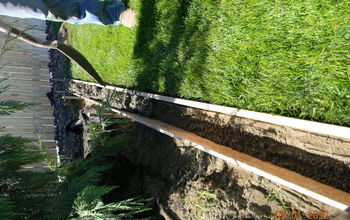
Once the treated boards are attached use the Forstner bit to create a hole half way through the board. We placed ours on an angle so the anchor rods can be put in on an angle and will be more sturdy.
After using the Forstner bit and creating a hole, use a 1/2" drill bit and drill through the board for the anchor rod.
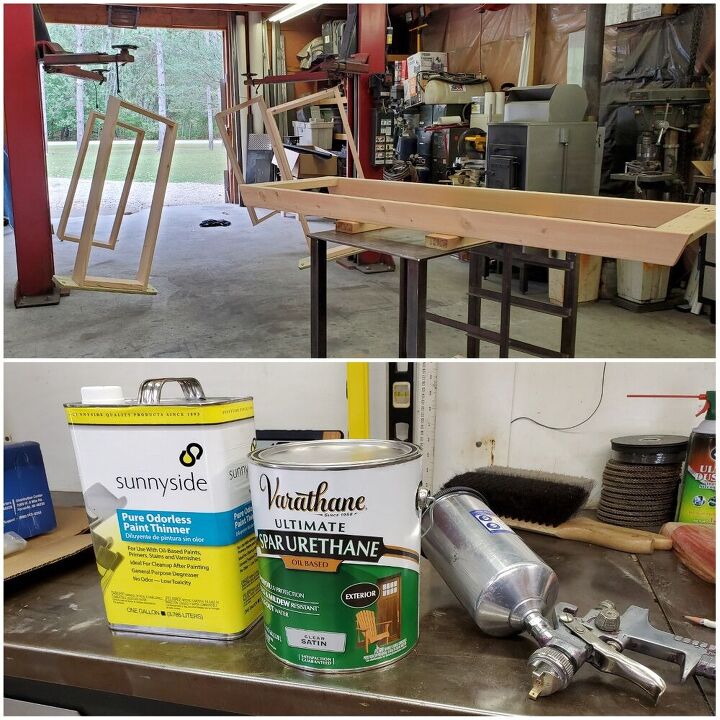
Once your arch is fully assembled we took it apart to seal it in sections. This also allowed us to store the arch unassembled until the wedding.
We used Spar Urethane to seal the arch because we used regular 2 x 4's. We wanted the natural wood color for the wedding.
We used a sprayer and applied 4 coats. The paint thinner is used to clean the paint sprayer.
Here is the finished arch set into place and waiting for the wedding day.
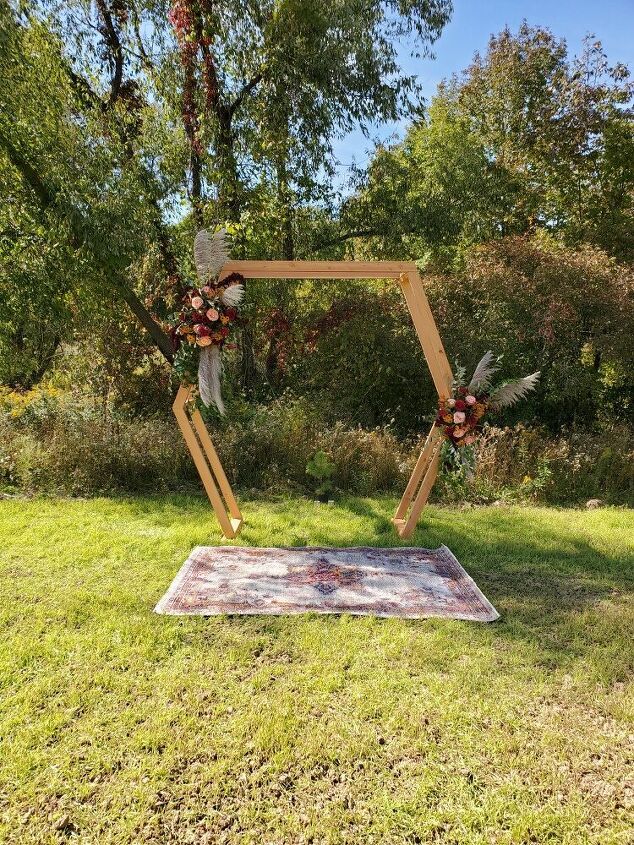
The hexagon arch on wedding day, all dressed up! It was gorgeous!


Frequently asked questions
Have a question about this project?