


DIY House Number With Flower Box and Light
This house number was a request from my daughter for her new house. She had two requests, she wanted it to have a solar light so it was easily to see at night. And she wanted a no maintenance flower box to make it pretty. This is what I came up with for her and it was a huge hit.
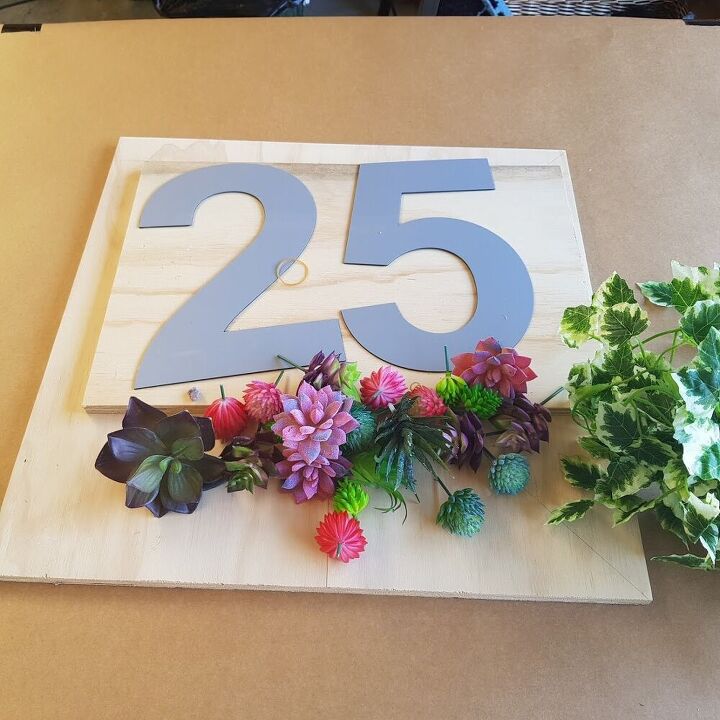
All the wood in this project is recycled so if it looks a bit grotty that is why. I used plywood to make the back and it was cut to 480 mm square. I know that is an odd number but that was the size of my scrap.
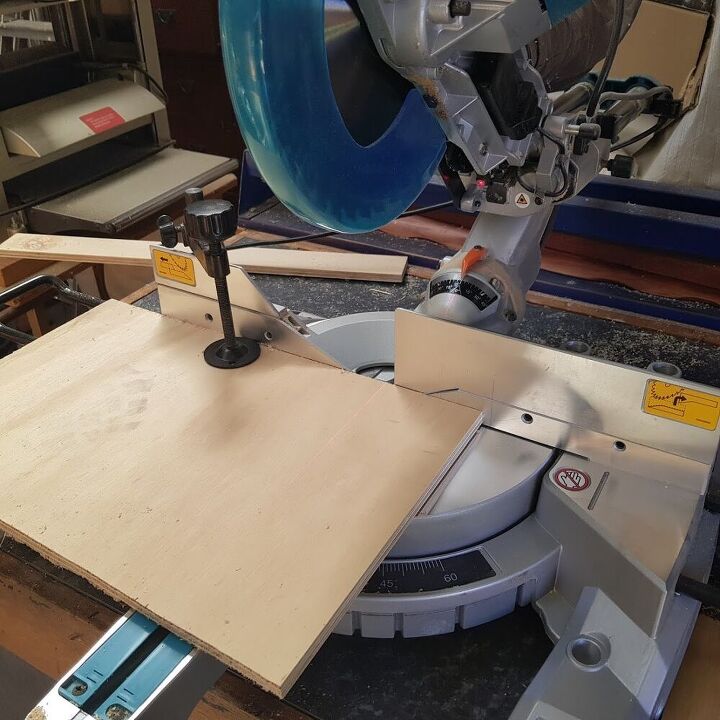
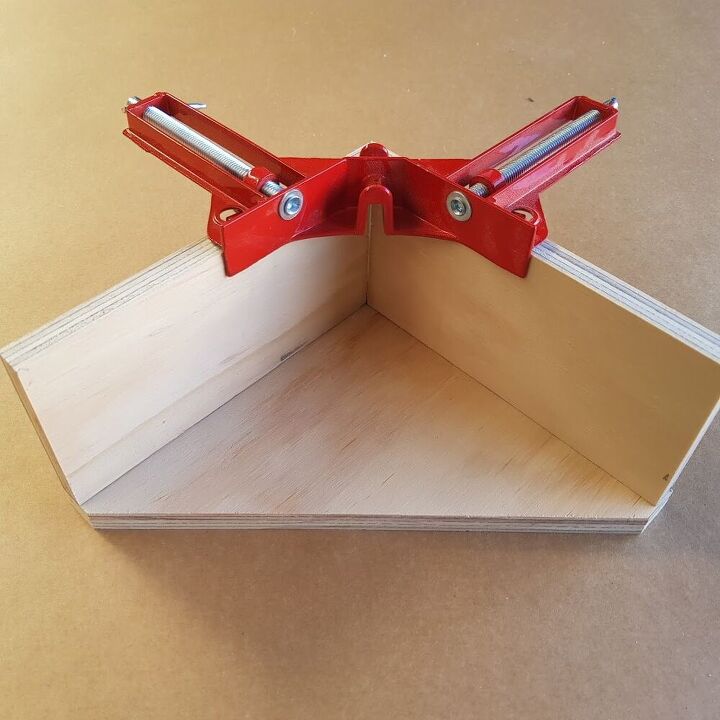
For the box you will need to cut 2 pieces of wood 180 mm long x 80 mm deep. I used a drop saw to cut mine but any saw will work. Ignore the boot print on the wood To get a nice joint on the box cut a 45 degree angle into both pieces of wood.
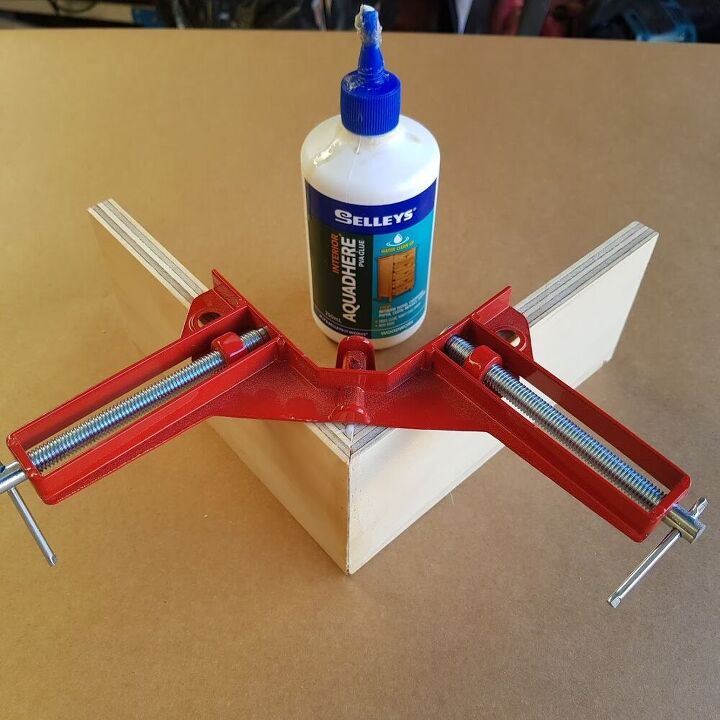
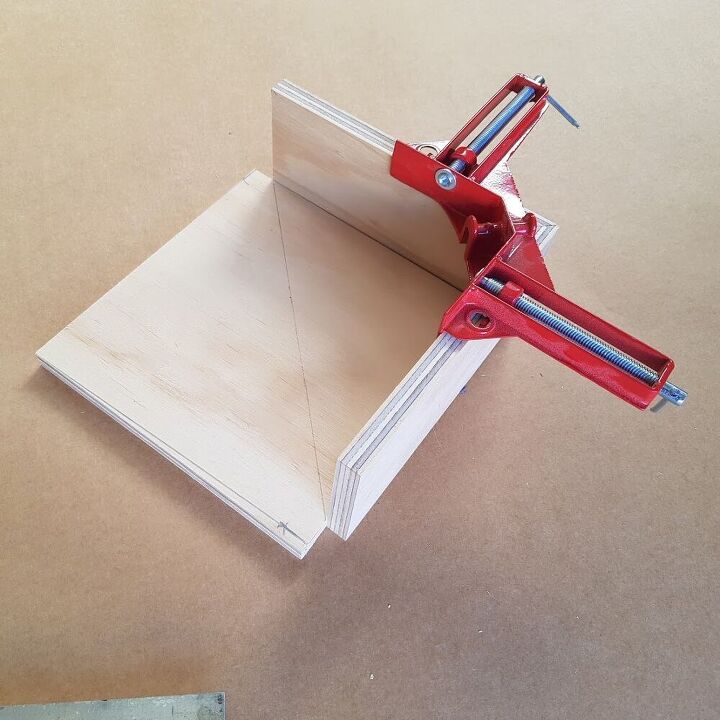
Using a good wood glue, glue the angles together and clamp while the glue is drying.
The flower box needs a front to hold the flowers in place. I made a mistake here and had to cut a new piece. The glued piece of wood should be on top of the wood and not on the outside like my picture. For this step, "Don't do as I do, but do as I say".
Cut the front of the box using which ever saw you have, like the picture.
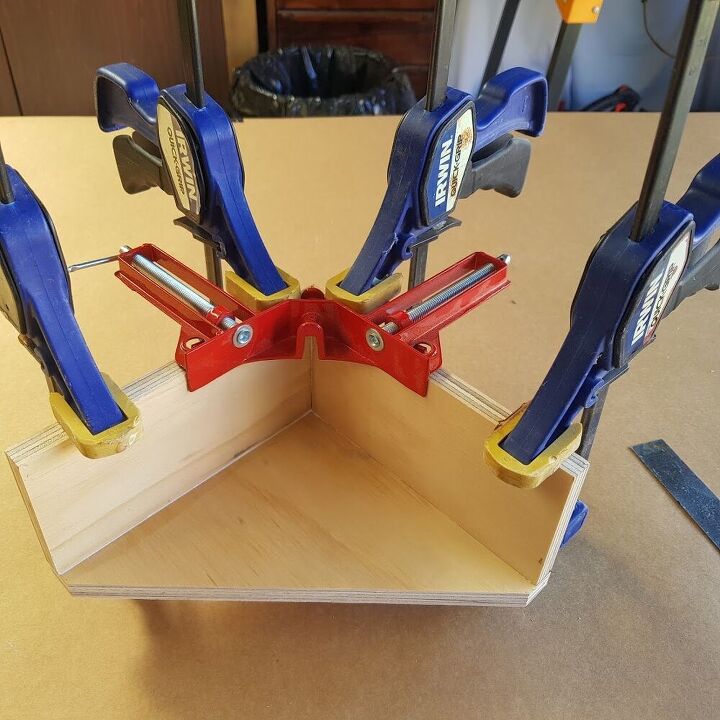
While the glue is drying for the joints you can glue the sides to the front to save time. Clamp them while they dry.
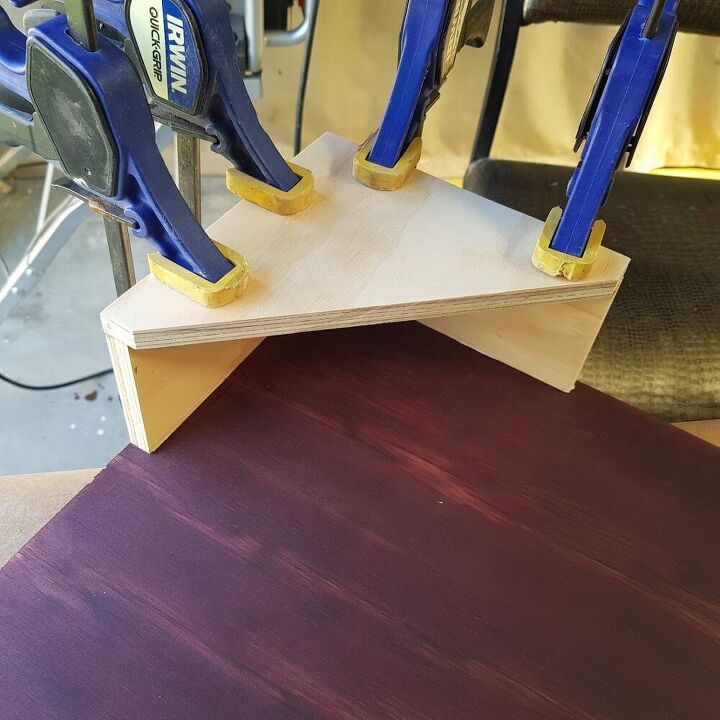
I stained the base first so I did not have to try and get my hands into the box once it is glued together. Using wood glue, glue the box to the base and clamp. The drying time on this project took the longest. I got impatient waiting so I used a nail gun so i could carry on.
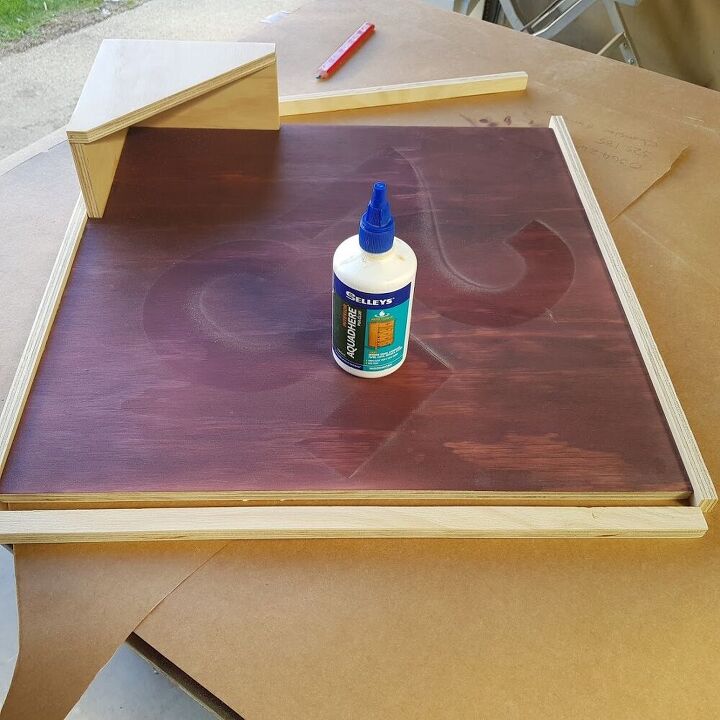
In my opinion the house number looked a little plain, so I framed the base. To make the frame cut 4 x 50 cm pieces of wood X 1 cm thickness. I got a bit lazy here and instead of cutting 45-degree angles, I just overlapped the wood. The frame was glued to the base and nailed with a nail gun.
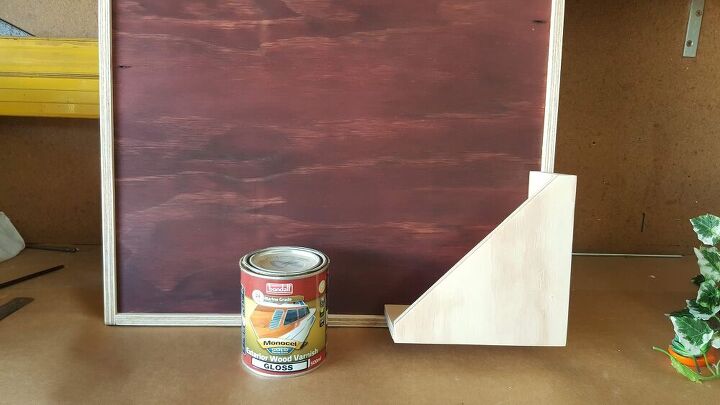
Most house numbers are exposed to the weather most of the time so it is a good idea to seal the wood. I added 2 coats of exterior varnish to all the wood front and back.
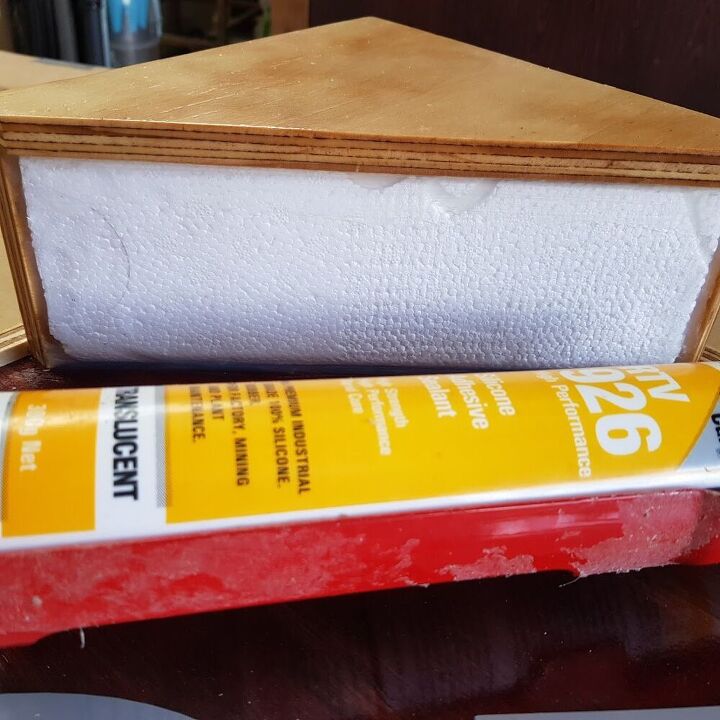
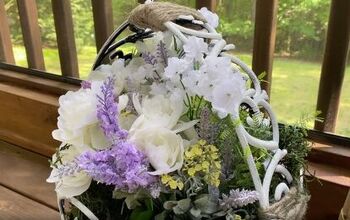
The only way I could think of to add the plants and still keep the water out was to use Styrofoam. This was the packaging from a kitchen appliance that I bought. Cut the Styrofoam to the shape of the top of the box leaving a couple of millimetres overhang on each side. Using a silicone adhesive, glue the foam into the box. The overhang will ensure a nice tight fit to stop water getting inside.
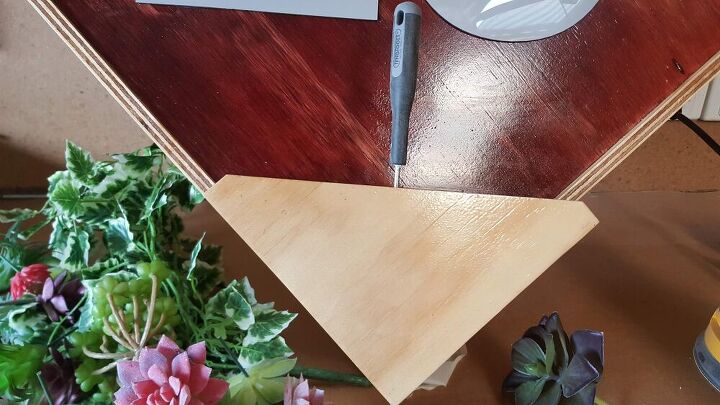
Using a thin screwdriver pock a hole in the Styrofoam and add the succulent using the silicone adhesive. Just in case water does get inside to box you can drill a small hole in the back so any water can drain out.
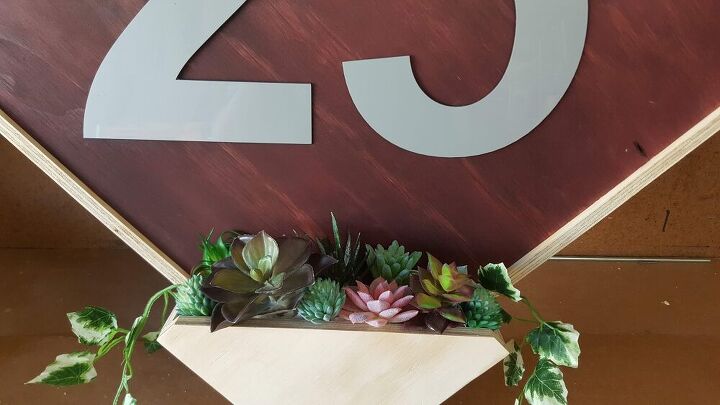
The house numbers were also glued to the board using a silicone adhesive.
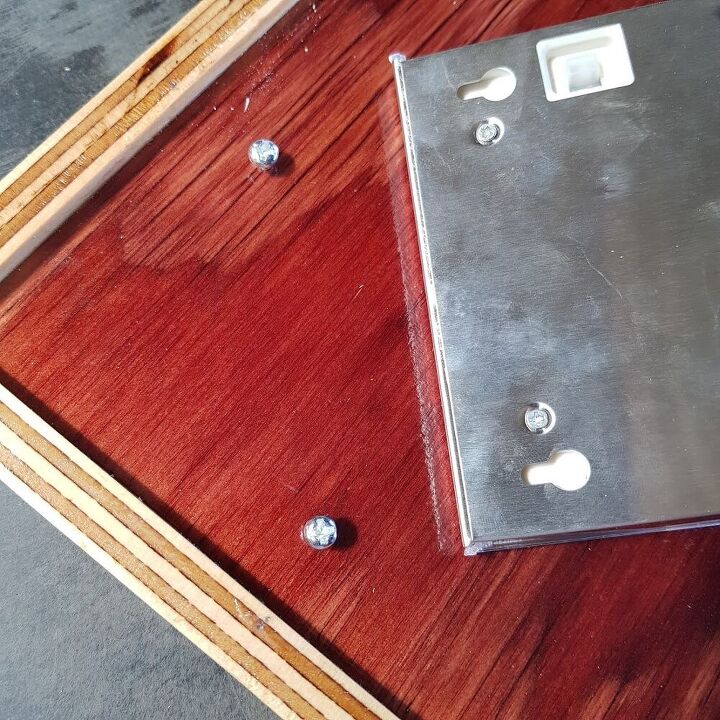
The solar light came with 2 screws which are just screwed into the wood and the light slots onto the screws.

And Ta-Da the house number is complete.

Pop over to my website to see how I created this stunning shoe and turned it into a ring holder.
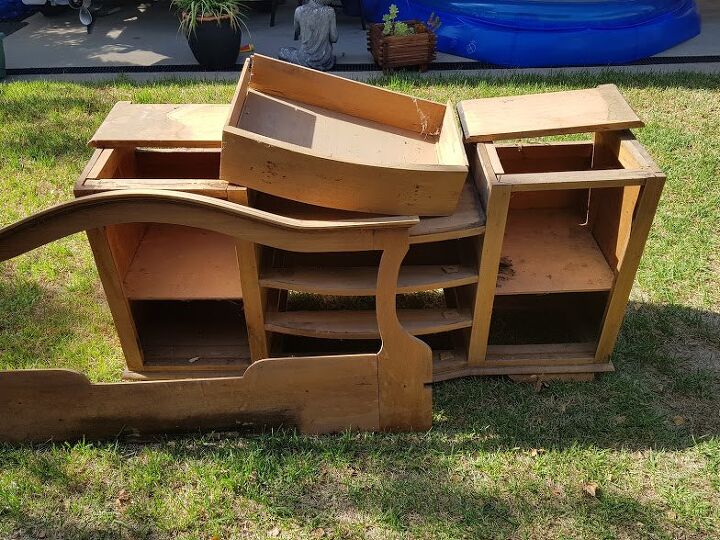
Looking for tips to help you restore that piece of furniture most think should go to the landfill. Check out how I restored this antique dresser to its former glory.
Resources for this project:
See all materials


Comments
Join the conversation
-
I like this idea. Using faux flowers makes it pretty year round. You can also change out the flowers for the seasons too. Thanks!! 💗


Frequently asked questions
Have a question about this project?