


Garden Obelisk Wooden | Step by Step Plans
This wooden obelisk for your garden is simple to make and adds such beauty and functionality to your garden space!
Scroll to the bottom for a video!
This post also contains affiliate links
What is aWooden Obelisk
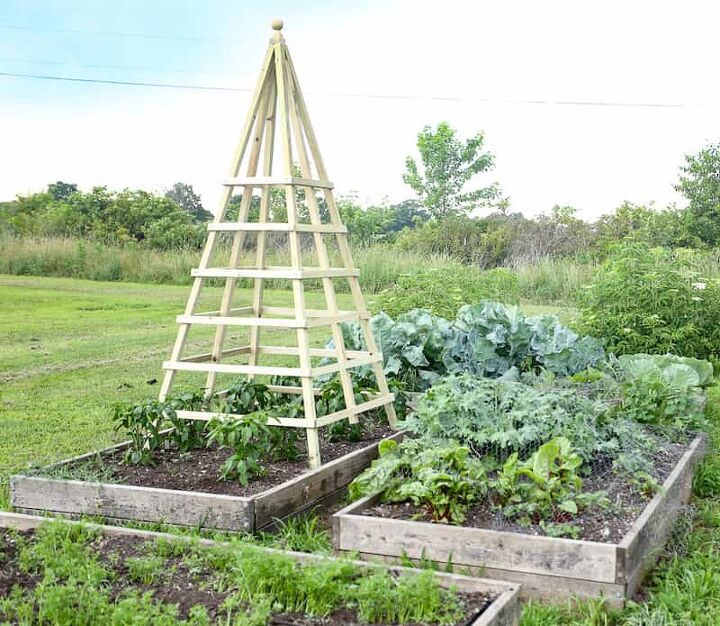
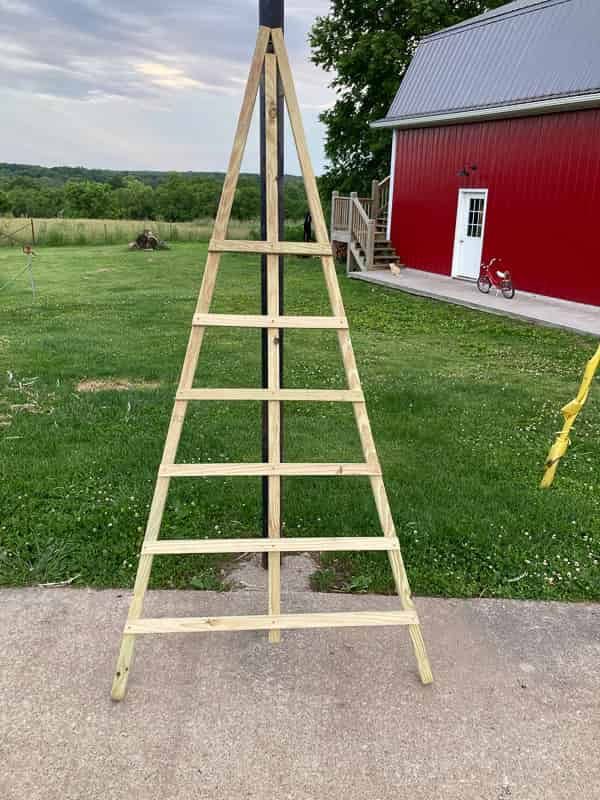
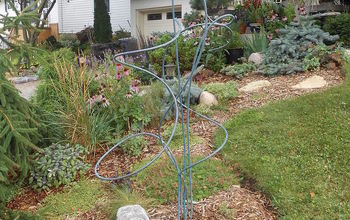
I have always thought that a wooden obelisk is one of the prettiest trellises that you can add to your garden. They are functional, sturdy, and just look so stately!
Maybe you’ve never heard of a wooden obelisk…if so just know it is a fancy name for a four-sided pyramid-shaped trellis. They can be made of wood, sticks, or bamboo, they could even be welded together with metal!
Obelisks are beautiful and sturdy, no more bent-up tomato cages that need to be tossed every season! The size of this particular obelisk is huge! You can always adjust the measurements to fit your needs. I wanted a big impact so we made ours very large at over 7′ tall!
This is June’s Handmade Home Challenge
If you haven’t participated in the it’s not too late! Jump in where you are and start making all the things!! Here’s what we’ve made so far this year!
January- Sourdough Starter Recipe | Simple Easy Sourdough Starter Step by Step
February- Candle Dipping | Hand-Dipped Beeswax Taper Candles
March- How to Sew a Cloth Napkin | DIY Mitered Corner Napkin Tutorial
April- Beginner Soap Recipe
May- Whole Wheat Artisan Sourdough Bread Recipe
What Type of Wood for an Obelisk?
There is much debate on whether pressure-treated wood is safe for use in gardens. Many say that modern pressure-treated wood is not only safe for trellises and garden supports but also safe for garden beds. Pressure-treated wood no longer contains arsenic according to EPA…
Of course, you can discern for yourself whether pressure-treated wood is appropriate for your garden. We had all of the boards we needed on hand to build this trellis out of pressure-treated wood, so we went with that.
Other great options would be cedar, pine, or oak. Of course, if you are using pine or oak, you would likely want to paint or seal with something like boiled linseed oil to give it longevity. I considered painting ours, but the temperatures have been near 100 degrees for over a week and I just can’t get motivated to do it! I have decided that I really like the natural wood 😉
Cut List for Wood Obelisk
- 4- 1.5 x 1.5 x 90″
- 4- 1.5 x 1.5 x 78″
- 24- 3/4″ x 1 1/2″
- Approx cross piece measurements, 38″,35″, 30″, 26″ 21.5″, 17″ ( four of each)
Purchase List
- 8-2″x2″x8′
- 8-1″x2″x8′
Hardware Needed
- 3″ exterior screws- 8 for the top
- 1 1/4″ exterior screws- box of 60 or so
Tools Needed for Building a Garden Obelisk
- A Drill or impact driver
- A Circular Saw
- A Staple Gun or Nailer (optional)
- Stepladder
Steps for DIY Wooden Obelisk Trellis
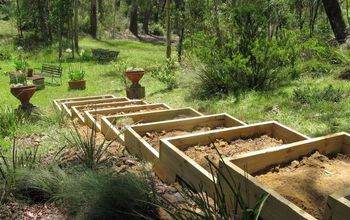
This is truly a simple project. Essentially you are building two sides, and then connecting the two sides with strips of wood that form the two remaining sides.
Step 1:
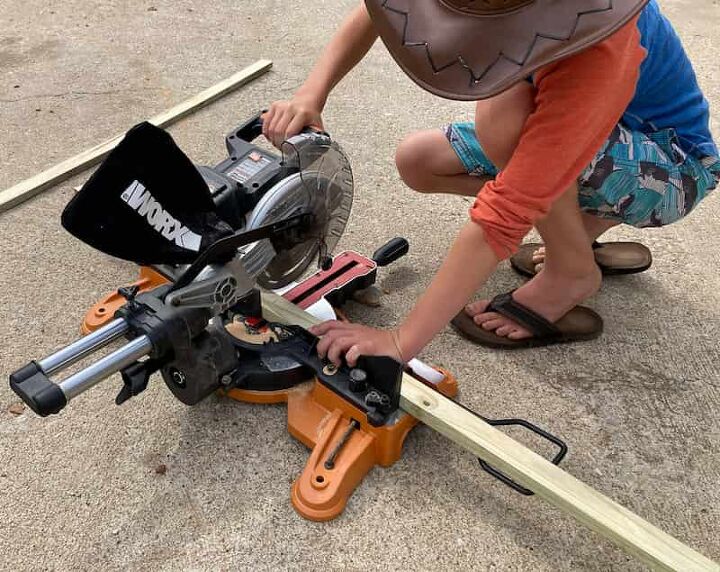
So to start, go ahead and cut all of your uprights and middle supports. Or you can cut as you go, your choice!
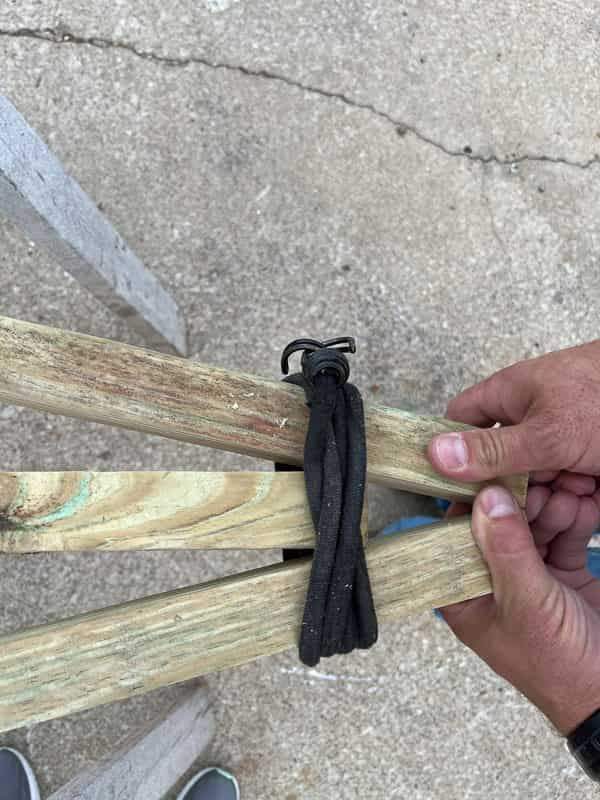
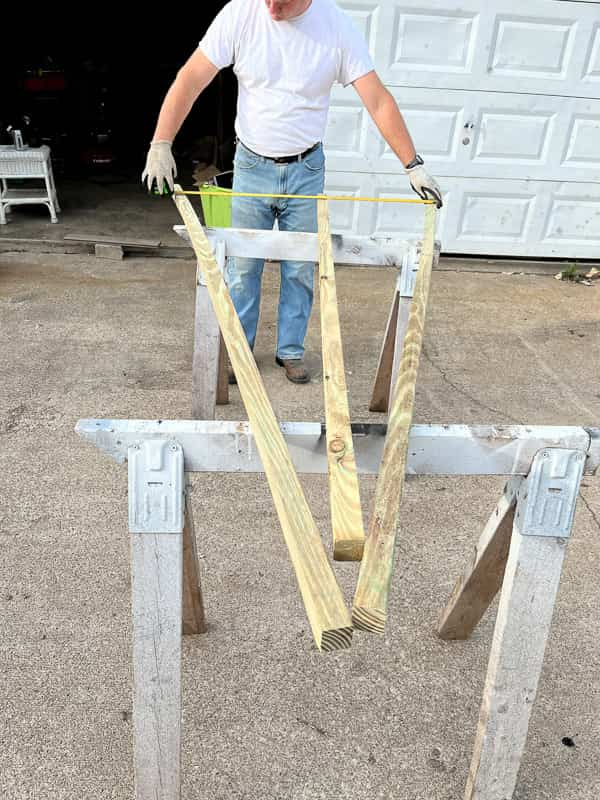
Give yourself a big work area like the driveway or yard. Lay out two of the side supports and one middle support. We used big sawhorses to work on.
Using an elastic strap or big rubber band, wrap the top to hold those three pieces in place.
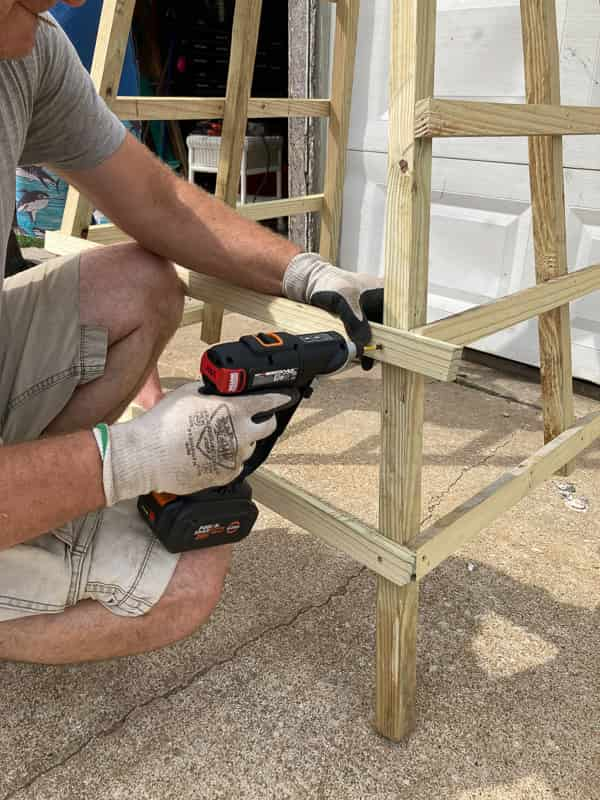
Step 2:
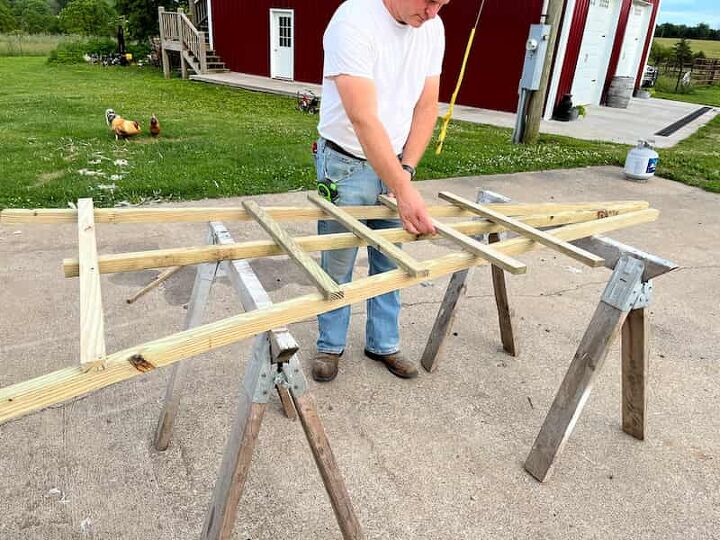
Using a tape measure, spread the bottom ends 38″ apart.
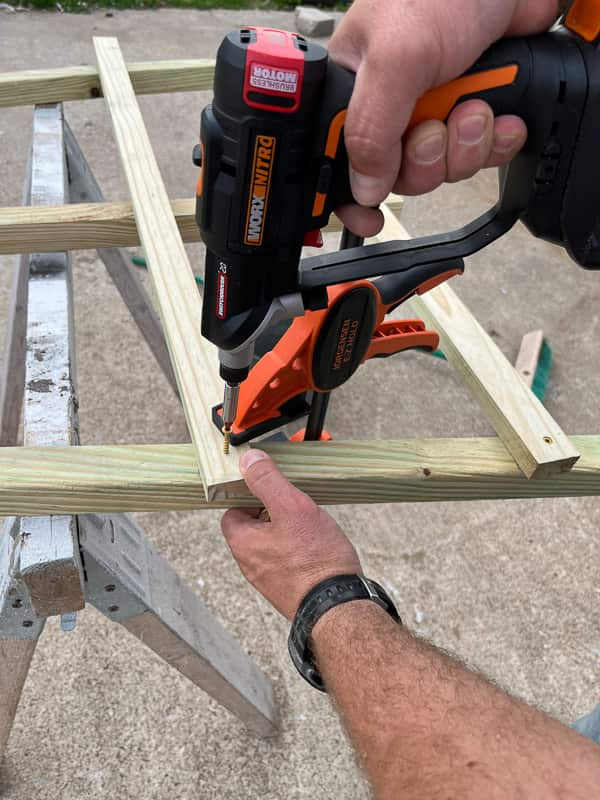
Take one of your cross pieces and place it across the 10″ up from the bottom. You will place 6 cross pieces 10″ apart going up the whole side. I gave approximate cuts for each cross piece, there should be enough overhang to cut along the sides and match the angle of the supports.
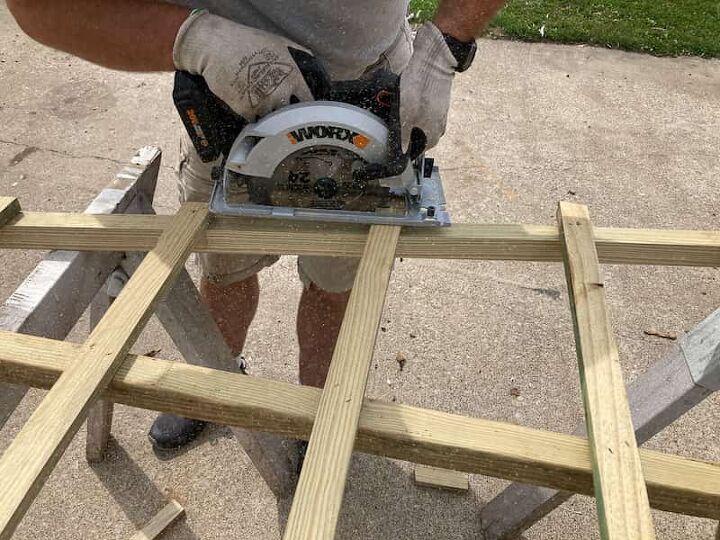
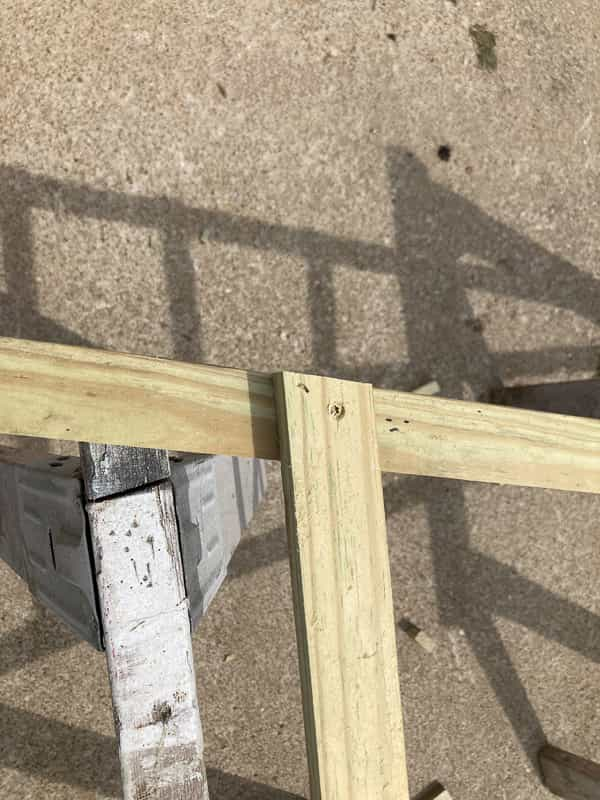
After you have secured 6 cross pieces, you can use a circular saw or a hand saw and trim off any extra so that it is flush and matches the angle of the side supports.
Repeat these steps for side 2
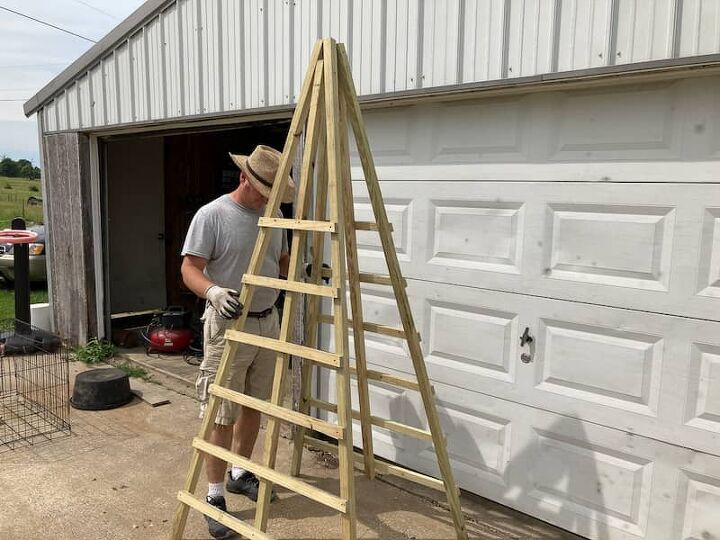
Step 3:
Lean the two sides up against each other at an angle, this is where a second person will come in handy! You can temporarily hold the tops in place with the elastic strap again. Line up the tops, spread the bottoms 38″ apart, and screw the 3″ exterior screws in to hold the top in place.
Now start adding in the remaining cross pieces screwing them in place 10″ apart. After they are in place you can then add a few more 3″ screws to the top to stiffen the joint there.


Step 4
Trim any pieces that need to be trimmed. Lastly, add a finial or decorative piece to the top if you wish. We had a leftover finial from a previous project. You could also wrap the top in sheet metal to hide the screws, we weren’t feeling that ambitious about this so we left the screws showing. It’s so tall you really don’t notice the screws.
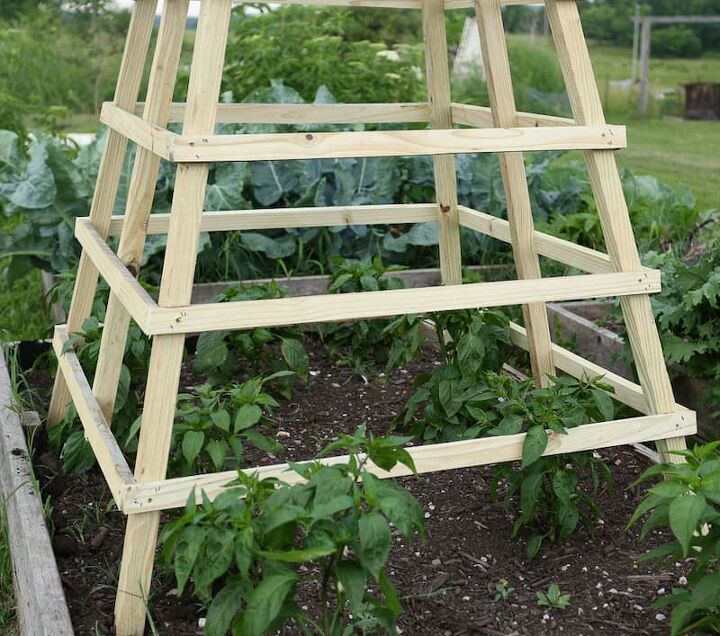

That’s it! Then move your lovely wooden garden obelisk trellis to your garden and enjoy!
Love gardening? Check out these posts!
12 Best Tips for Planning a Vegetable Garden
How To– Sewing A Garden Apron
Propagating Lavender from Cuttings | Two Ways In Soil and in Water
Boston Ferns The Care and Keeping
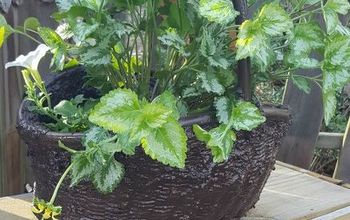
How to Create the Best Large Flower Pots
Video for Garden Obelisk
Resources for this project:
See all materials


Comments
Join the conversation
-
Around here,I would prefer good oak to any pine,even treated,because the wood/carpenter bees here simply destroy any of the softer woods.The bees leave the old hard oak alone and go for the soft wood every time.One of the very best would be yellow locust if you could find it.Nothing touches it,not even rot.
-
Thank you for sharing this! I need one to. Contain on of my roses that has grown quite large and sprawls out into the garden covering up other plants. It will add some architectural elements which I need.


Frequently asked questions
Have a question about this project?