


Amazing Table Set Makeover With Paint and a Stencil
Do you have an old table and chair set that looks worn out? Today I’m sharing an amazing table set makeover I did with paint & a stencil!
Hello friends! Are you ready to see an amazing transformation? We are so happy to partner with our sponsor, Stencil Revolution, to completely makeover a table and chairs!
For more DIY ideas from An Organized Season, click HERE!
THE TABLE SET BEFORE THE MAKEOVER
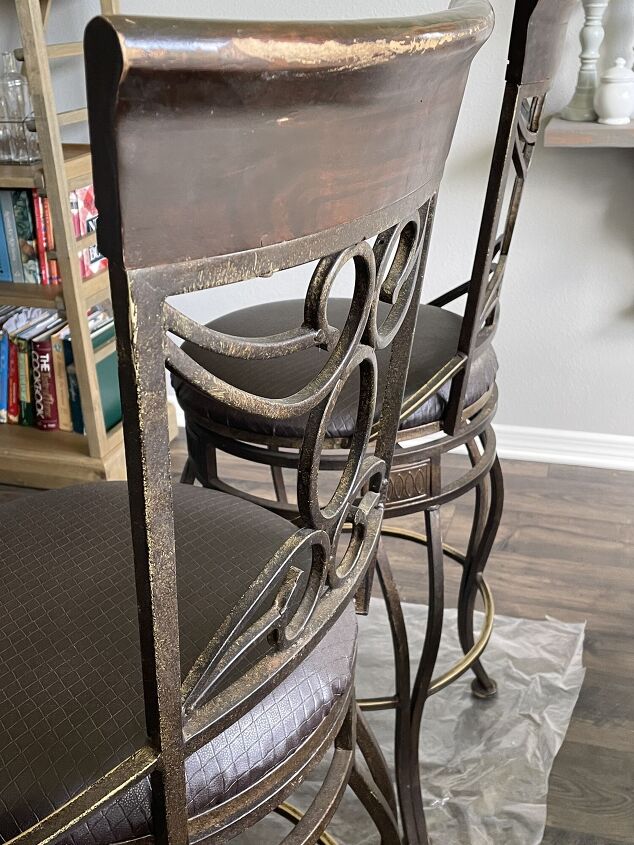
We brought these bar stools with us from Kentucky to use at our kitchen counter.
I know, they look a bit old, and a bit sad, and worn out!
Most people would have left them behind!
But I knew they had potential!
I felt if I added a little paint and love, I could give them new life!
But, when we got to Florida, they were too high for the kitchen counter.
Then, I had a great idea!
You see, we needed a place to eat on our lanai (that’s what they call a back porch in Florida!)
Unfortunately, I didn’t have enough money allocated in the budget to buy a whole new set of outdoor furniture.
So, I went on the hunt for an inexpensive tall table that would work with the bar stools!
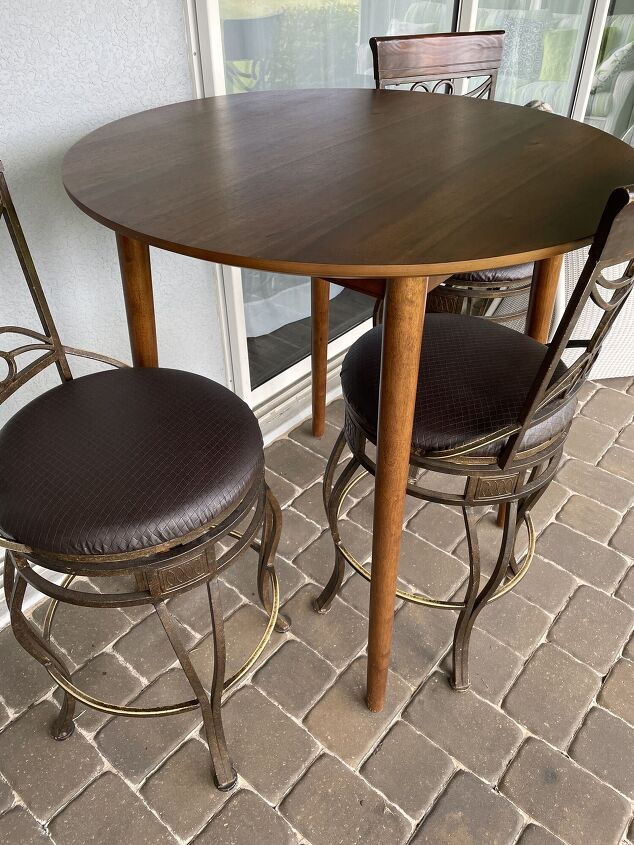
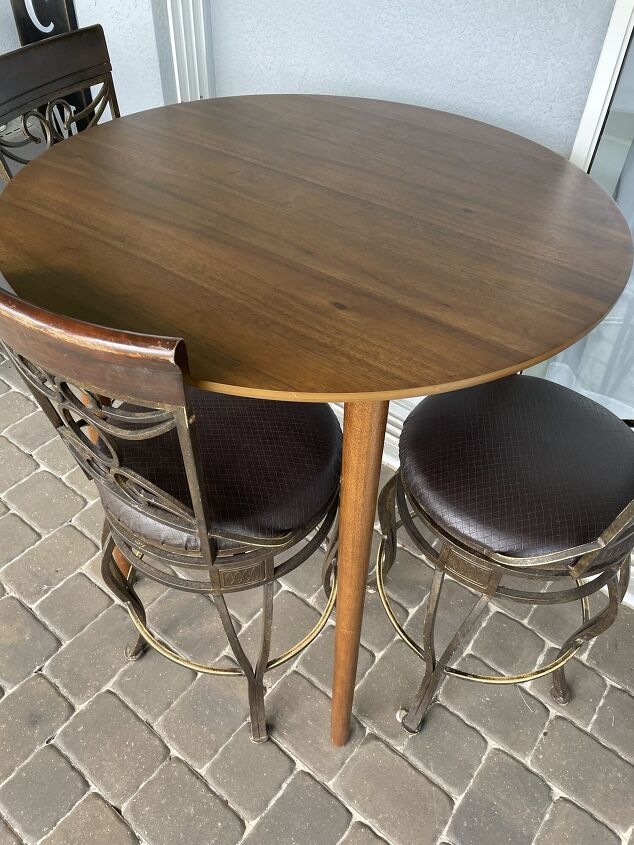
And I found this little beauty! It was the perfect width and height!
But, it was brown!
I’m really tired of brown!
The rest of the furniture on the porch is black and white!
So now, it’s time to makeover this set to give it a cohesive look!
Bye-bye brown!
Hello black and white!
Are you ready to see this transformation!
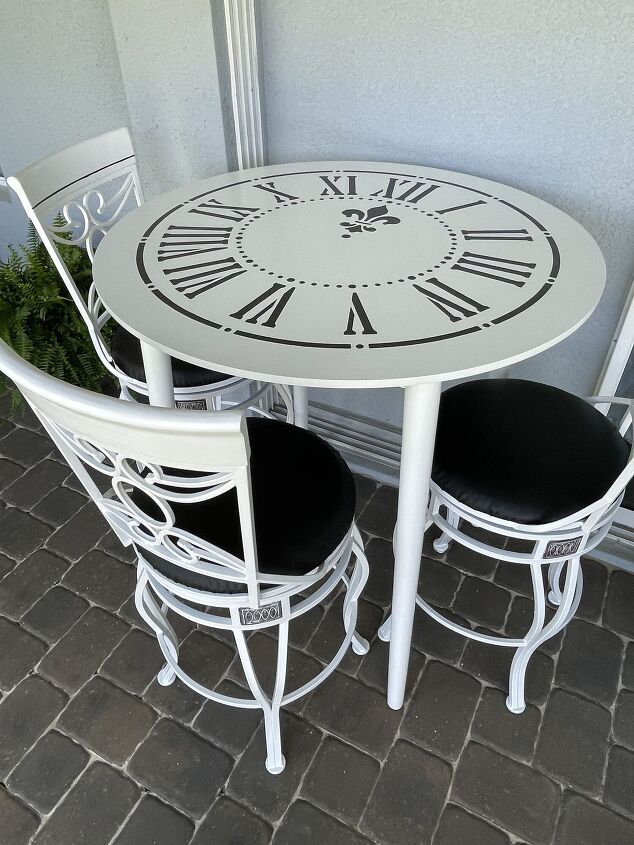
Here ya go!!!
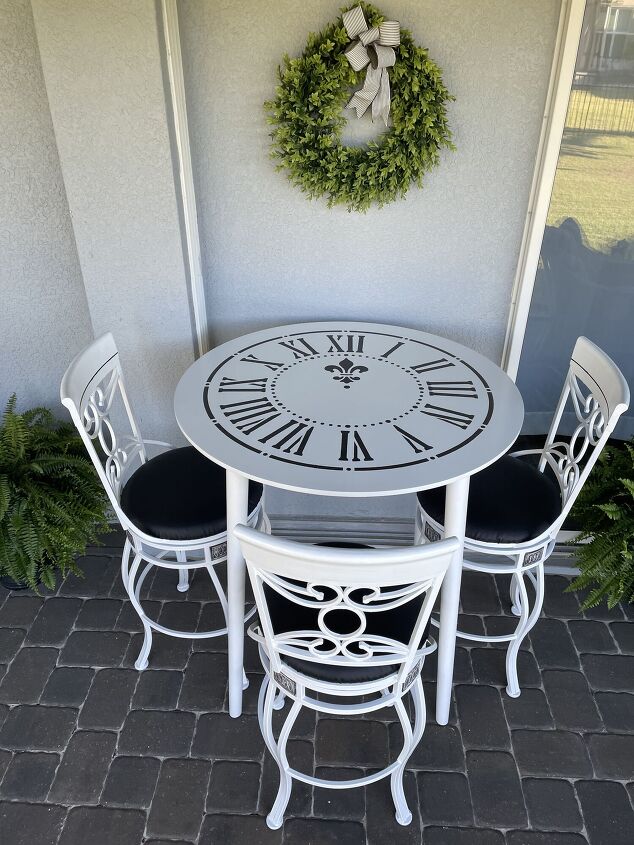
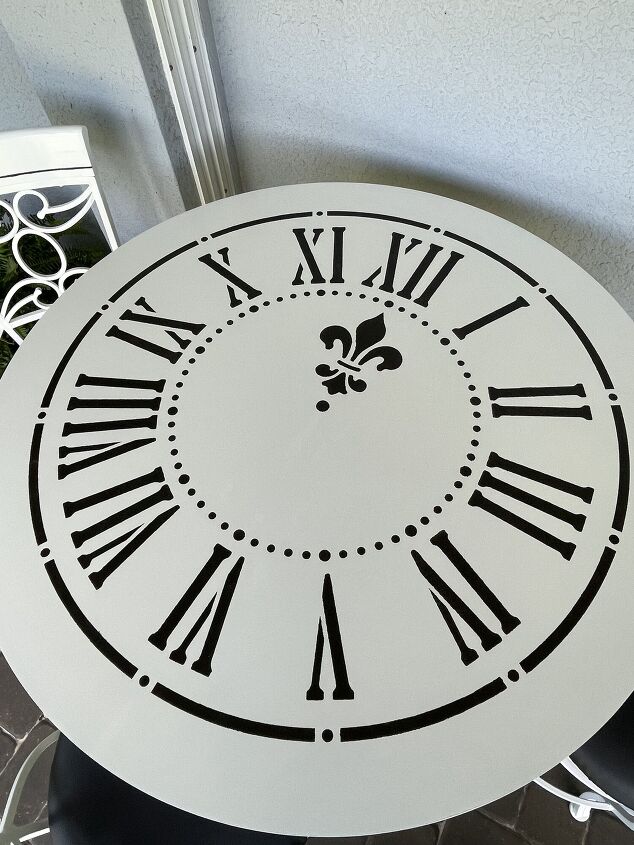
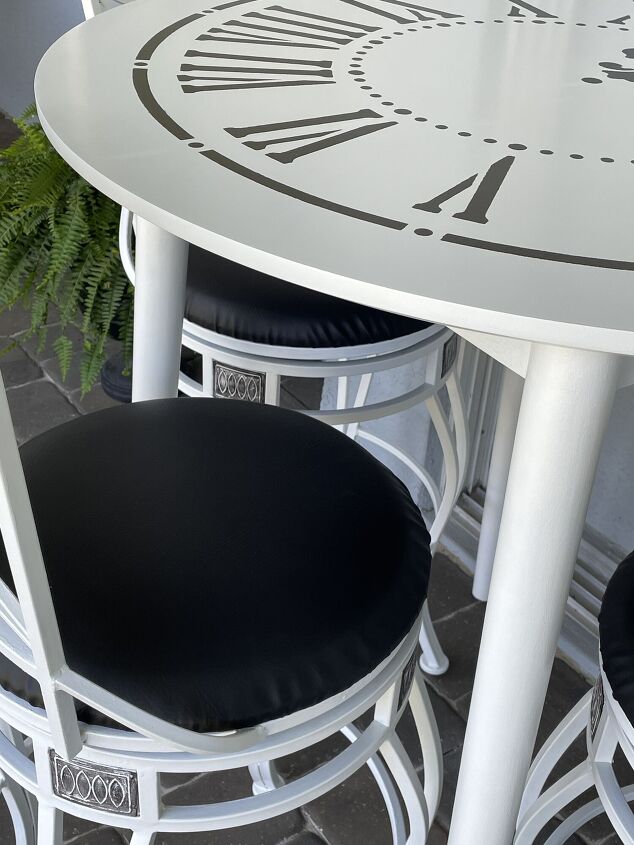
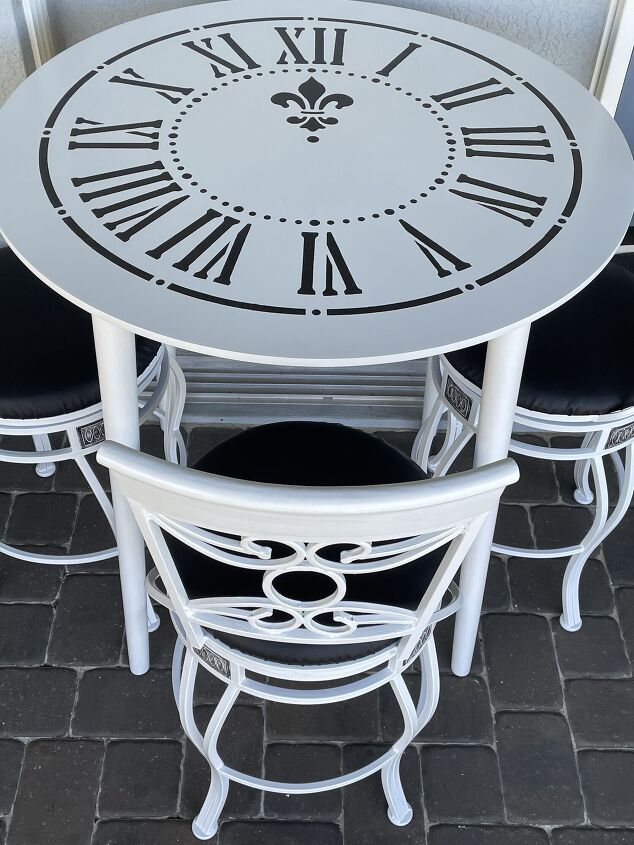
Wow! Can you believe that’s the same set??
Isn’t that clock face stencil amazing!
It gives the table so much character and I adore the Fleur De Lis!
I’m so thrilled with the results!
I can’t wait to show you how I did it!
GATHER
Gather or purchase the following items to do this project:
- Table and chair set
- Screwdriver
- Heavy-duty cleaner- I used Krud Cutter
- Microfiber cloth or paper towels
- Tac cloth
- Primer- I used B-I-N Primer by Zinsser
- Paintbrush
- White paint-I used Sherwin Williams Emerald in Pure White
- Paint roller and pan
- Black paint-I used Sherwin Williams A-100 in Black Magic
- Painters tape
- Paint stands
- Stencil- I used the Clock Stencil by Stencil Revolution(stencil provided by sponsor) Stencils cost from $5-$40 depending on size
- Spray adhesive for stencil-I used Stencil Ease repositionable spray adhesive
- Sealer-I used Minwax Polycrylic
- Paintbrush
- 220 grit sandpaper
PREP
We have a few things we need to do to prepare for this makeover!
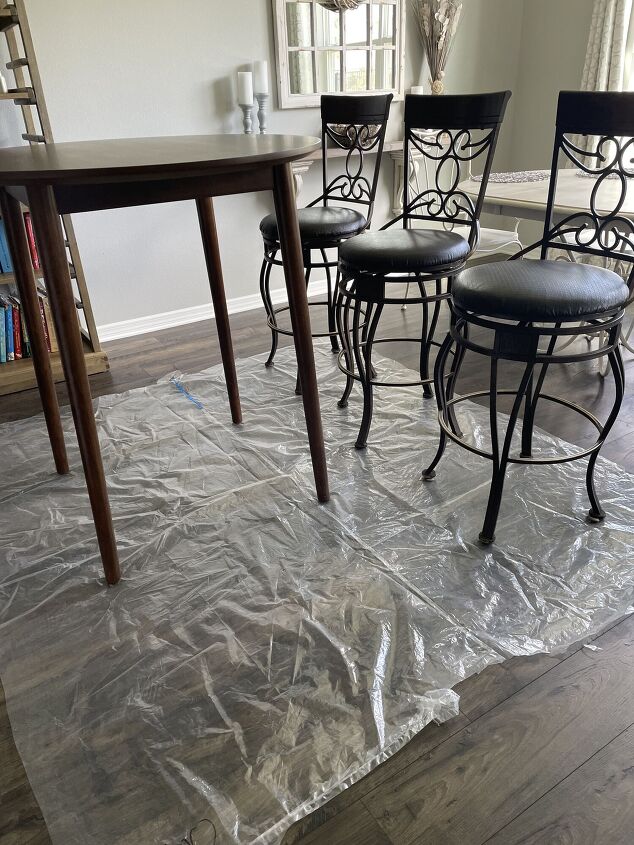
- First, remove the seat cushions from the chairs with a screwdriver.
- Second, clean each piece of furniture with a heavy-duty cleaning product like Krud Cutter.
- Third, place a tarp or piece of plastic on the floor to protect it from paint splatters!
PRIME
Priming is such an important step!
It allows the paint to adhere to the furniture and makes it easier to go from a dark color to a light color like I’m doing in this project!
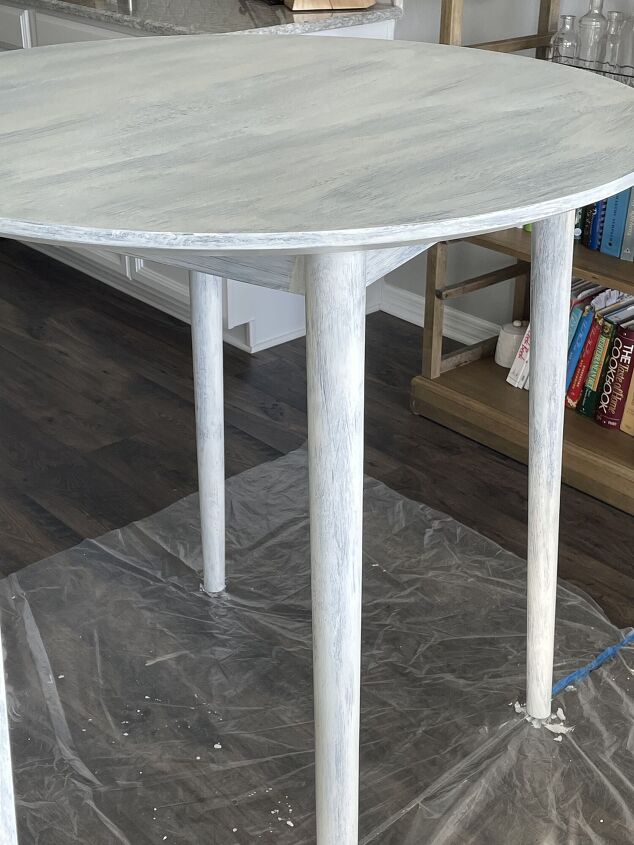
I discovered BIN Primer by Zinsser a couple of years ago and I love the results it gives! I used a brush to apply it to the entire table and each chair.
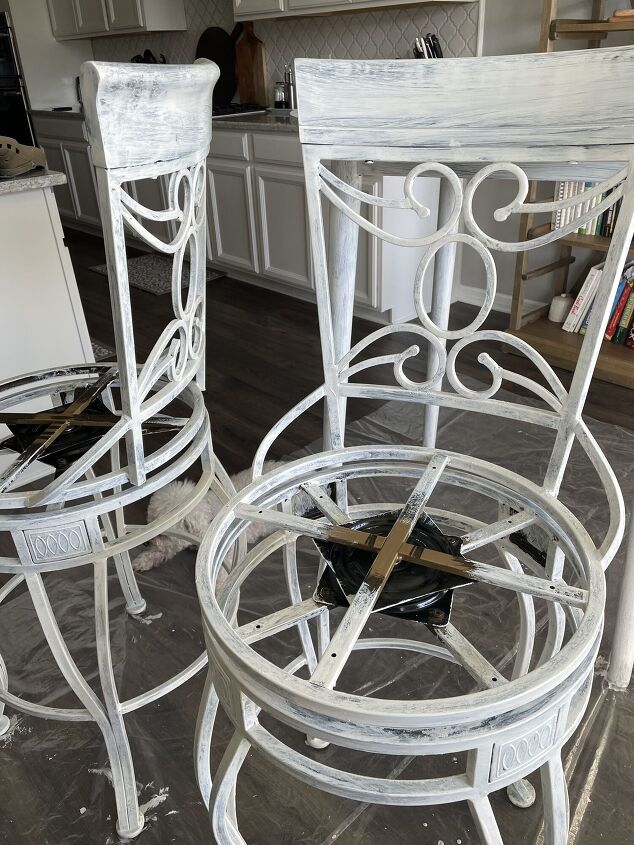
After priming, I always feel so scared that I’ve made a terrible mistake because it looks so awful!
Don’t worry, it will look better with each coat of paint!
PAINT
I decided to paint the tabletop and chairs white.
Then, I’m going to paint the legs black.
I’ll start with the white items first!
PAINT TABLETOP AND CHAIRS WHITE
I’ll be using a roller instead of a paintbrush on the tabletop!
After the first coat of paint, you can still see some of the dark coming through!
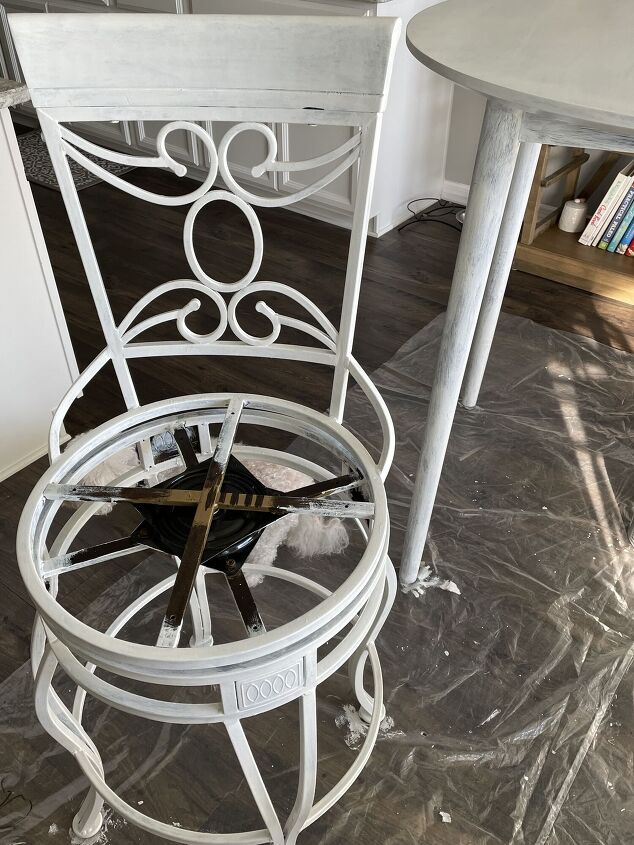
This is completely normal!
The second coat gives much better coverage! From a distance, it looks completely covered. However, when you look closely, you can see it needs one more coat!
Three times is a charm!
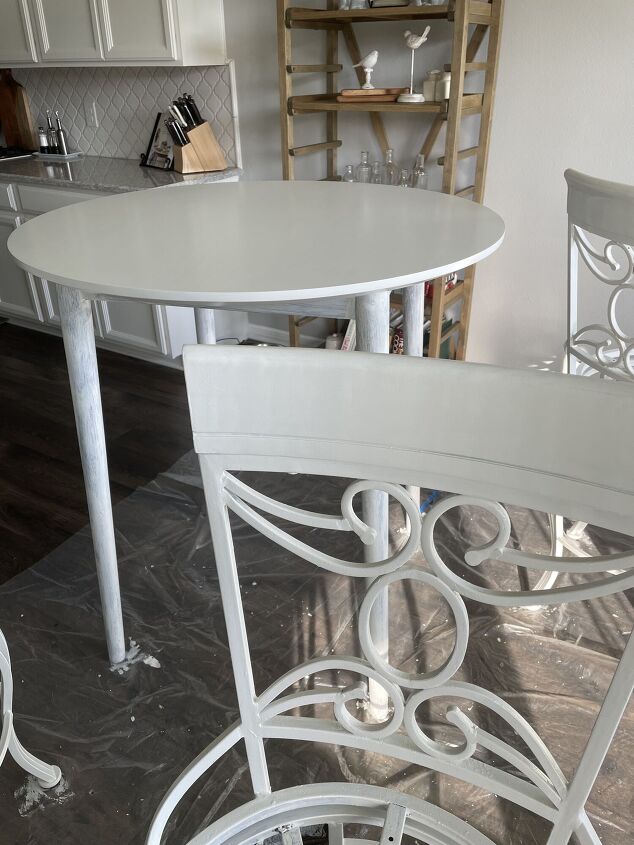
Here are the tabletop and chairs after three coats of paint (on top of the primer)! Anyway, it looks amazing!
PAINT LEGS BLACK
I’m going way out of my comfort zone here! I’ve decided to paint the legs black instead of white!
If I hate it, I can always repaint them!
Even though it will be a pain!
Oh well, I’m going for it!
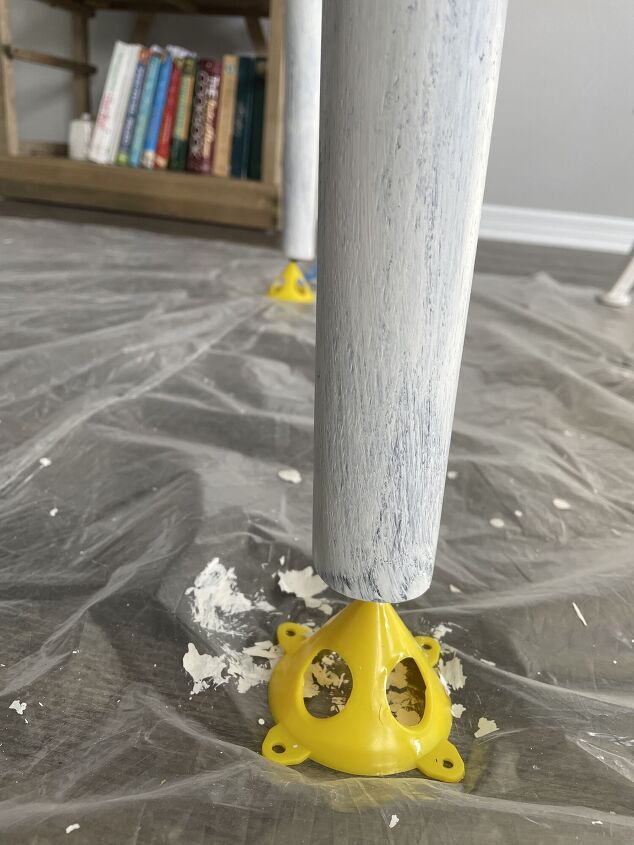
These amazing little pieces of plastic are my newest purchase!
I’m so happy with them. I should have bought them a long time ago!
They make painting so much easier!
It took three coats of paint to get good coverage and guess what????
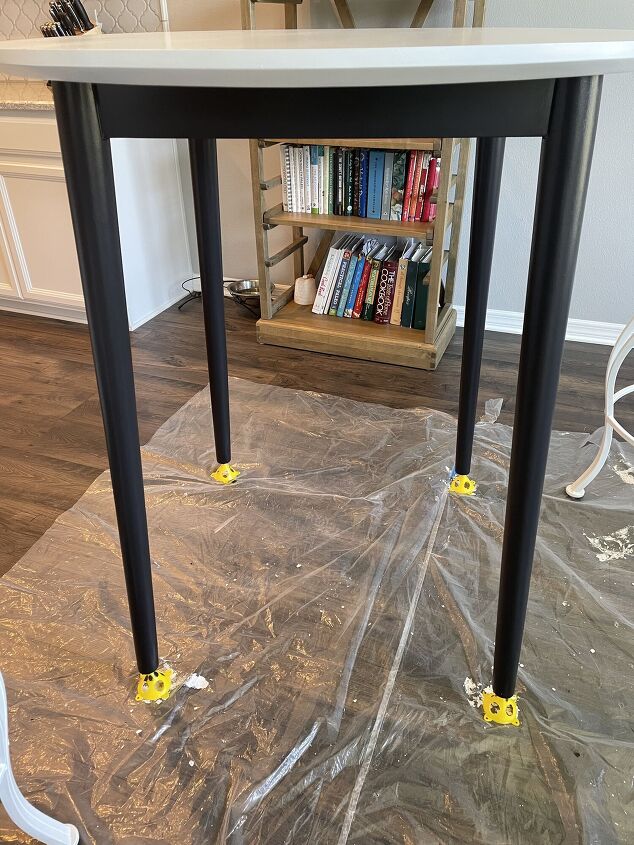
I think painting the legs black was a mistake!!!
If this was a modern table makeover, I would keep them black.
Unfortunately, I think the black legs will draw the eye away from the stencil!
I want the stencil to be the star of the show, so I’ll pull the white paint back out!
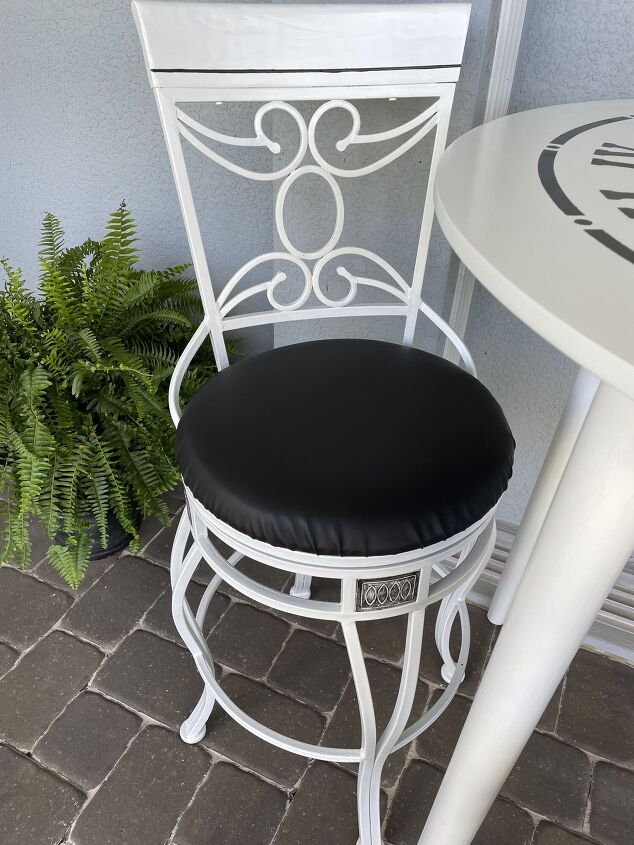
PAINT BLACK ACCENTS ON CHAIRS
Even though I decided against having black table legs, I wanted to add a touch of black to the chairs.
Each chair has a design element that I’d like to stand out a bit!
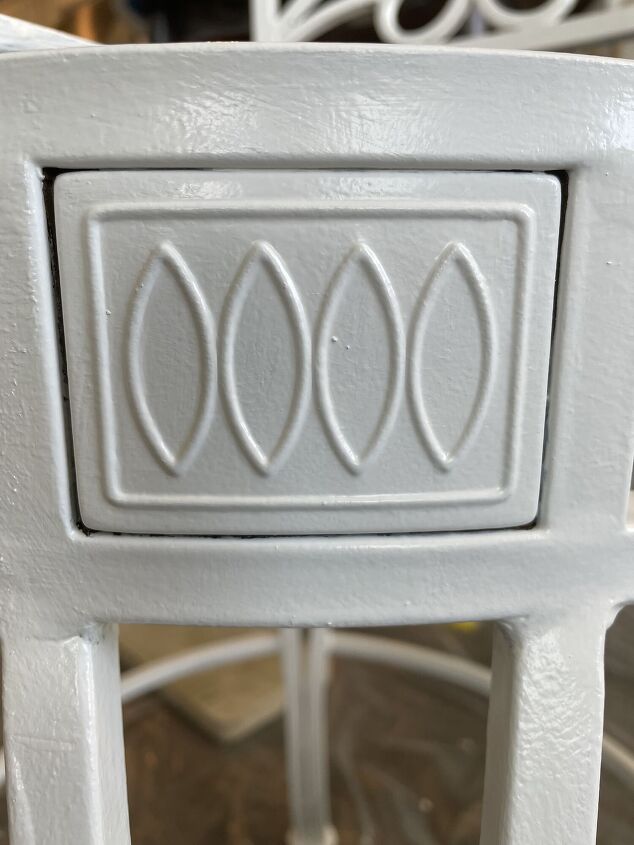
Here you have the design when it was all white!
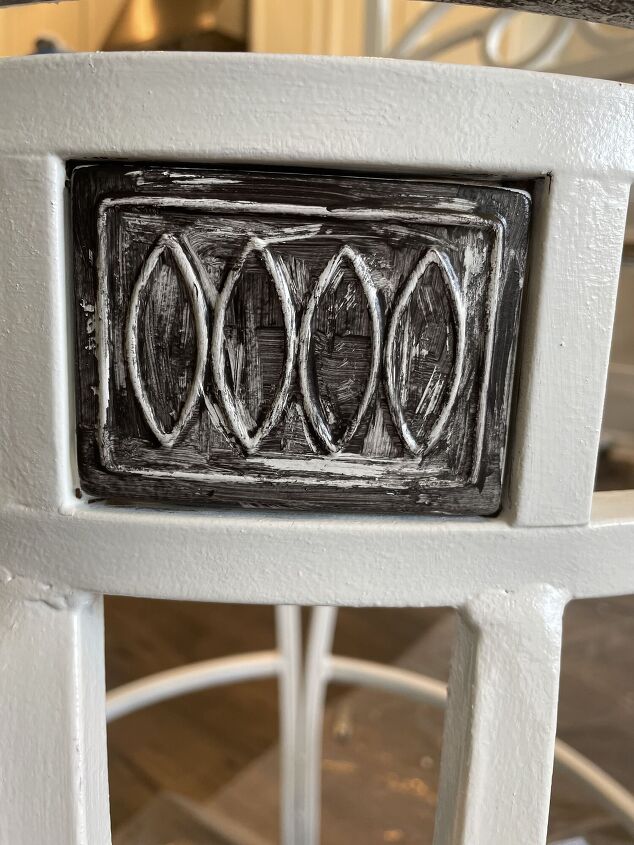
And here is the after I painted the section black and then used a paper towel to wipe the paint off of the raised areas, exposing the white!
Oops! I almost forgot to tell you about this little detail!
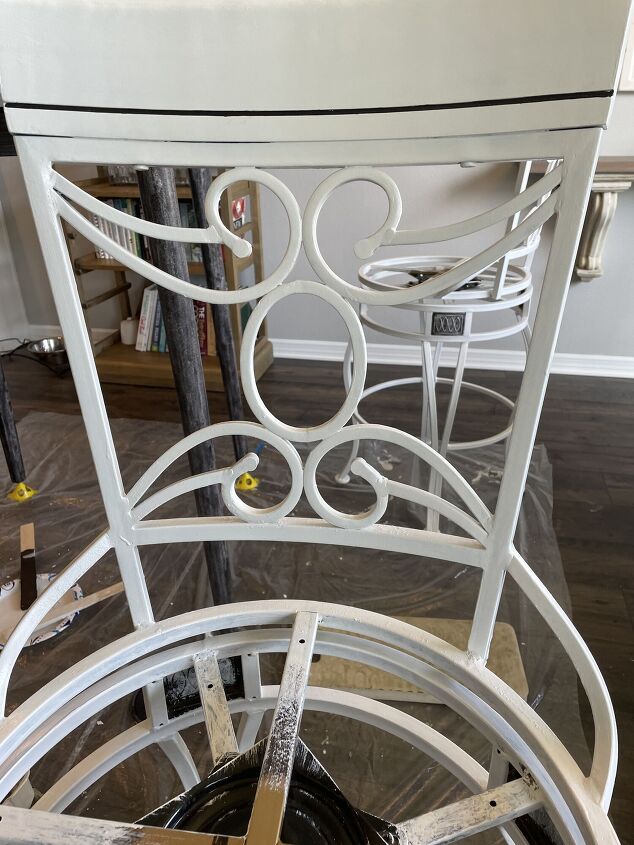
Did you notice the indentation on the top of the chair?
I painted it black, as well! It’s a small detail, but I think it will help pull it all together!
STENCIL
Now it’s time for the most exciting part of this makeover, the clock stencil!
After painting my table, it looks so much better!
But, we are going to take this table from better to AMAZING!
Are you ready??
MEASURE
I pulled Rich in to help with this part!
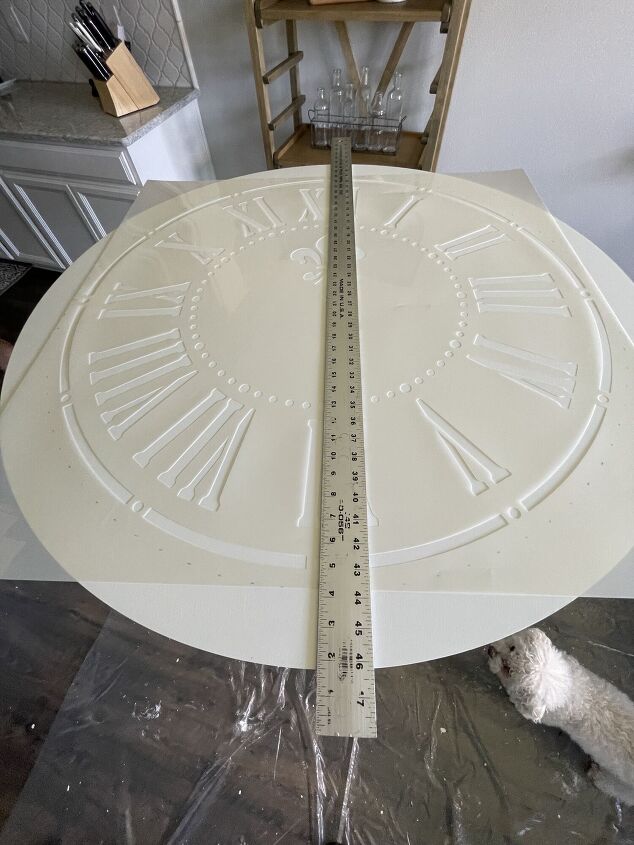
Measure the table and determine the placement of the stencil.
Rich used painter’s tape to mark the four sides.
He made marks on the tape to make sure the stencil was centered perfectly between the chair legs.
APPLY STENCIL ADHESIVE
Since this stencil is so large, I thought it best to use spray stencil adhesive on the back.
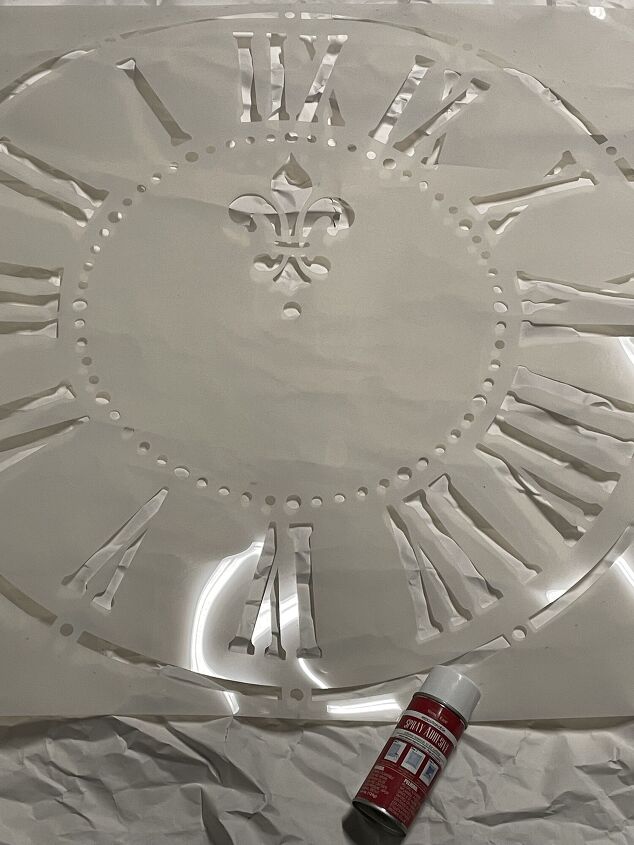
I took the stencil into the garage, laid it on paper, and sprayed the adhesive onto the backside.
I removed the excess adhesive by blotting it on a beach towel.
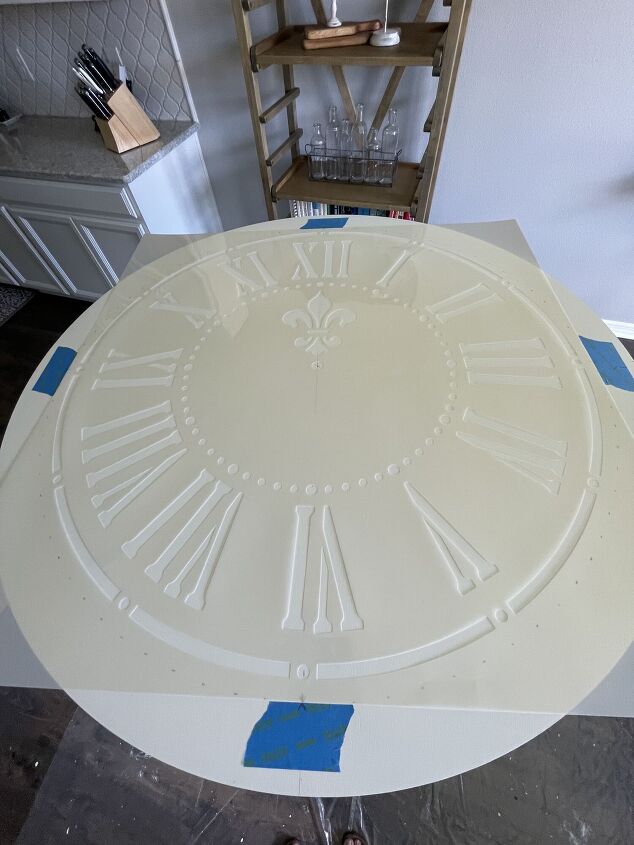
REPLACE THE STENCIL ON THE TABLE
Place the stencil on the table. The adhesive is repositionable, in case you don’t get it perfect at first.
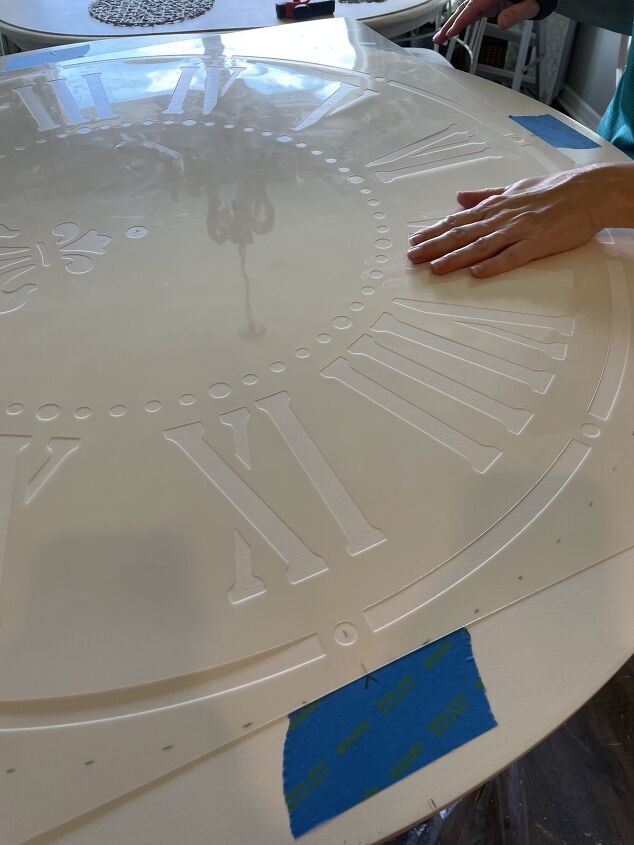
Make sure the stencil lines up with the marks on the tape.
Then, rub your hand over the entire stencil to make sure it is stuck to the table!
PAINT
Cover roller with paint.
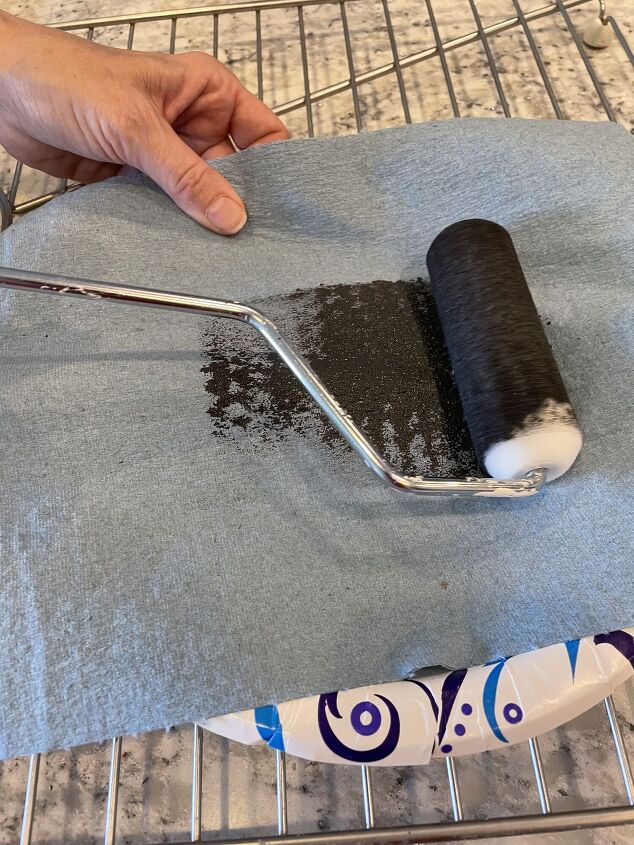
Then, remove excess paint by rolling over a paper towel!
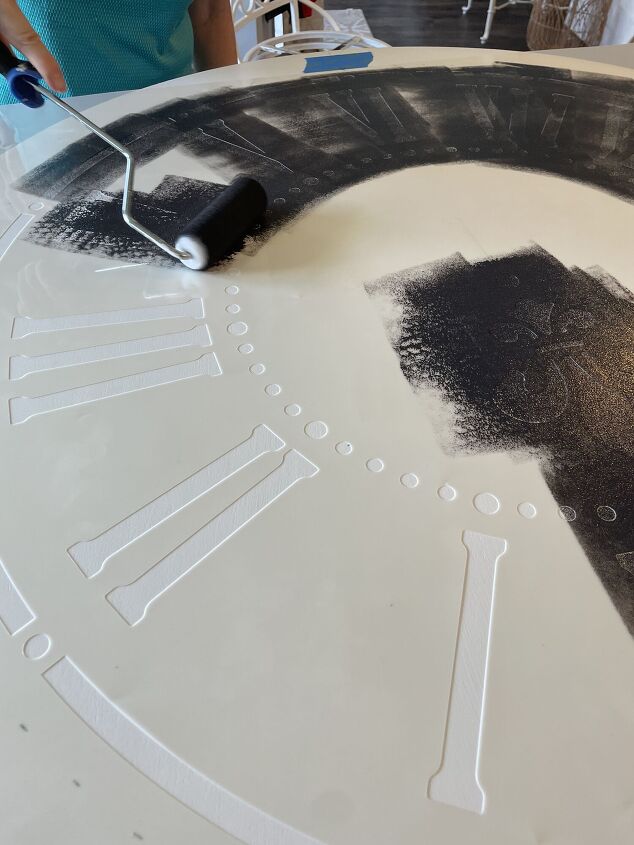
Paint over the stencil going in only one direction, so you don’t move the stencil.
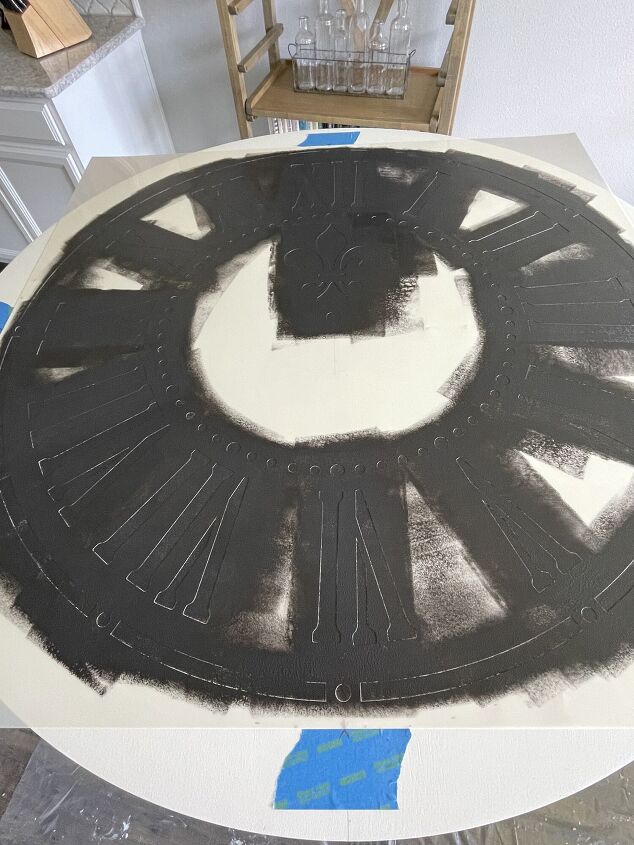
Repeat until you have the desired coverage.
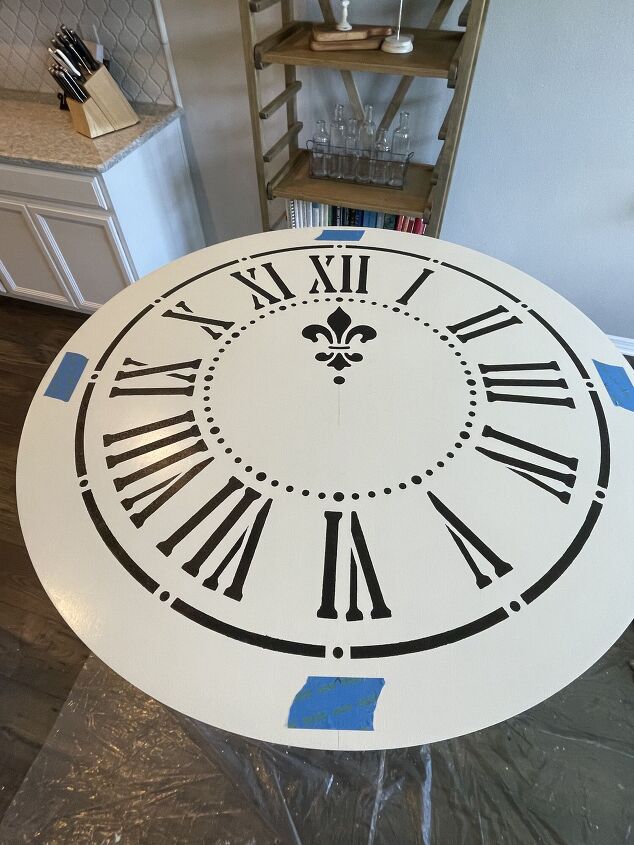
Very carefully remove the stencil. You don’t want the paint to smudge!
Wow! Doesn’t it look amazing!
I cleaned the stencil with dishwashing liquid to remove the paint.
Then, I had to use mineral spirits to remove the adhesive.
It came completely clean and is ready to use another day!
I’m very happy with the stencil!
SEAL
To protect the stencil, I used Minwax Polycrylic and a paintbrush.
Apply a thin layer of sealer. Let dry for 2 hours then, lightly sand. Remove dust with a tack cloth.
Repeat two more times!
REUPHOLSTER CUSHIONS
Now we have come to the last step in this table set makeover! Time to reupholster the chairs!
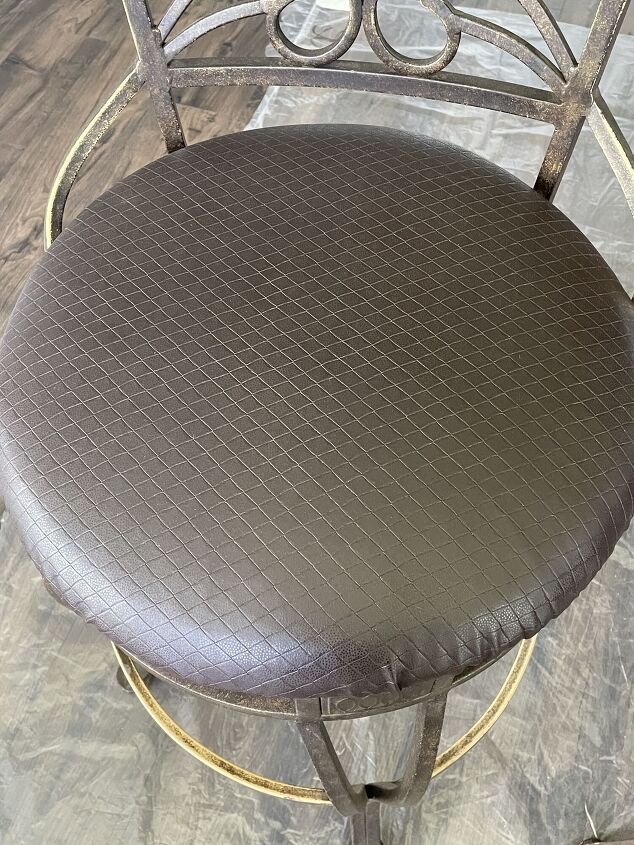
Here is a reminder of what the cushions looked like before.
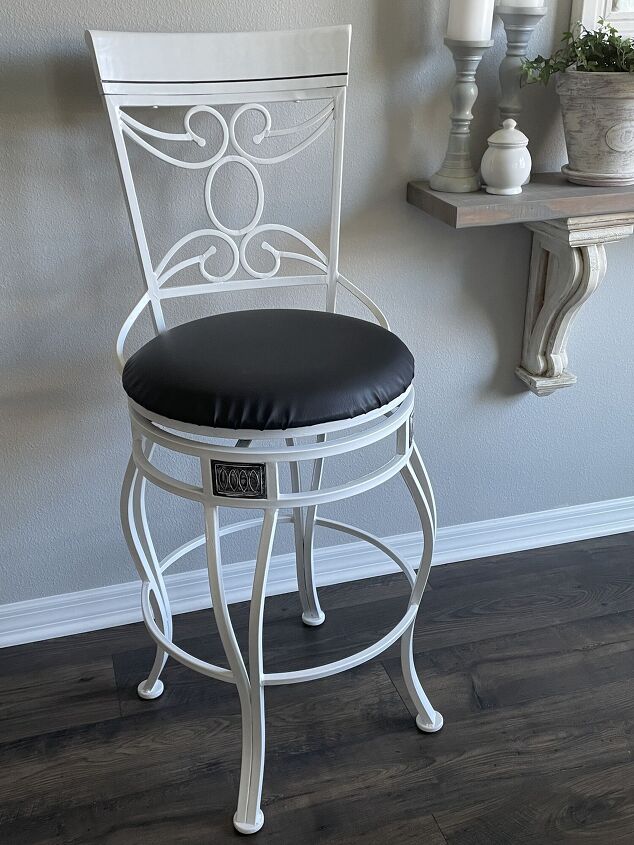
Here is what they look like now!
If you are interested in learning how to reupholster the bar stools, stay tuned, I’ll be doing a post on that soon!
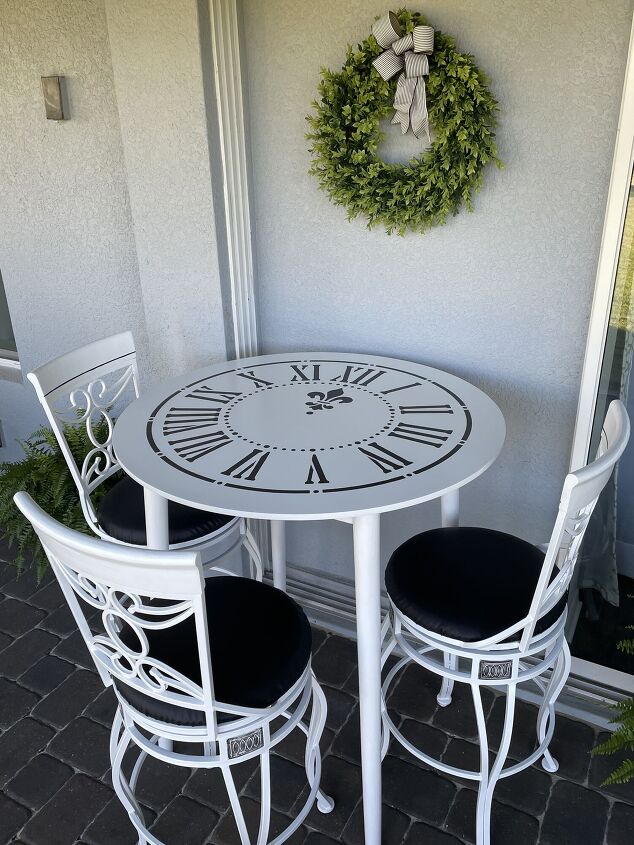
TABLE SET MAKEOVER COMPLETE
Here’s a reminder of what the table and chair set looked like before!
And this is what it looks like now!
We want to thank Stencil Revolution for sponsoring this post and making this amazing table and chair makeover possible!
Stencil Revolution has so many stencils, in different styles and sizes, at a very affordable price!
They are a family-owned small business here in Florida that we highly recommend!
I loved using paint and a stencil to makeover my table set into amazing pieces of art!
What do you think of the transformation?
Have you ever used a stencil before?
Let me know your thoughts in the comments below!
If you are interested in learning more about home organization, seasonal decor, and more diy projects, from simple crafts to full room makeovers visit our blog AnOrganizedSeason.com
Blessings, Donna and Rich
Resources for this project:
See all materials


Comments
Join the conversation
-
OMG, what a transformation. Love that you also finished the chairs to match the table. Definitely a piece that deserves to be show-cased in a home decorating magazine. Another idea, would be to actually put a working clock mechanism and a raised piece of glass on top of it to create a real working piece of art.
-
I love it when people refurbish instead of just tossing and I think this now looks better than it did originally!


Frequently asked questions
Have a question about this project?