


DIY Chalkboard Garden Markers
DIY Chalkboard Garden Markers give your garden space a fun accent (and organization). They're also wonderful gifts for any garden lover!
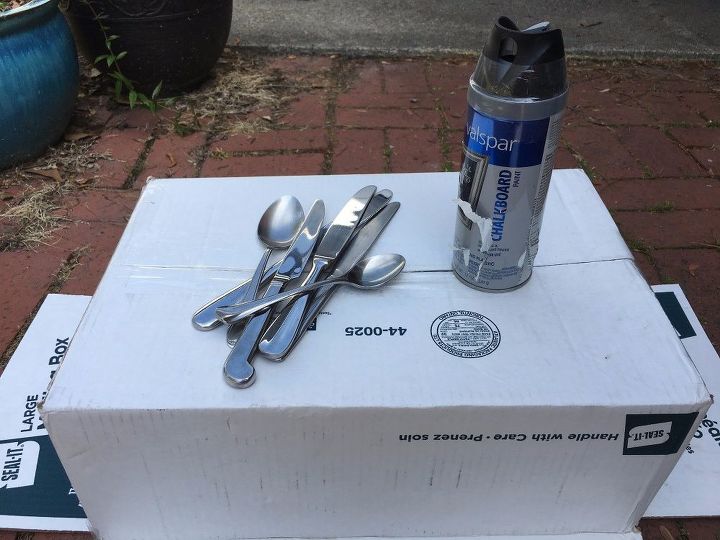
Grab some old flatware from your own cabinet, or if you don't have any laying around, search your local thrift store. Bit and pieces of old sets are usually pretty easy to find. Also purchase a can of chalkboard spray paint.
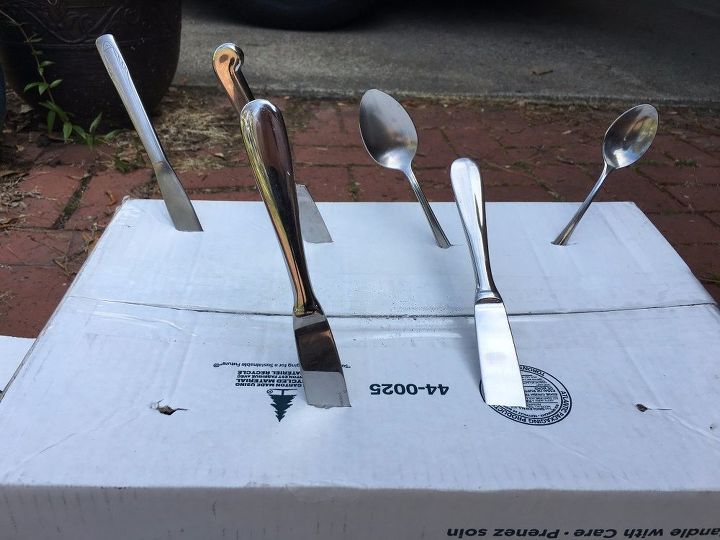
Prep your painting area by using a cardboard box. Cut small slits in the top of the box, and place your flatware in so that the end you're painting is in the air. This gives you an easy way to paint the entire surface without having to turn the pieces over before painting the other side.
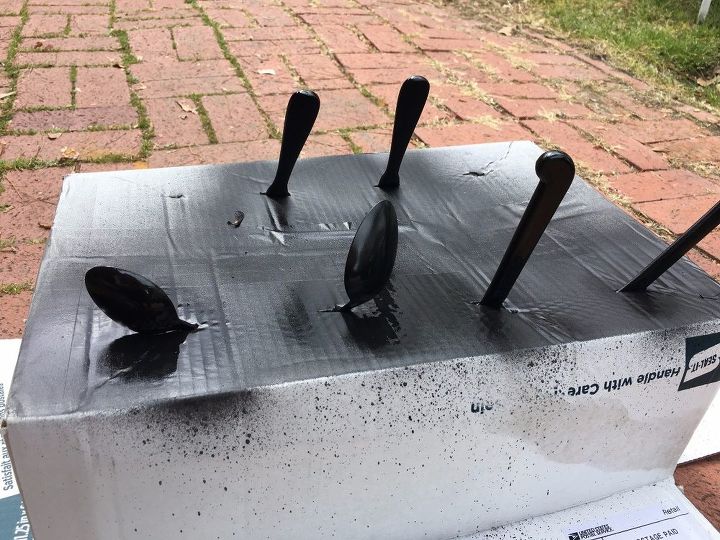
Apply two coats of spray chalkboard paint, allowing time to dry between coats. Follow manufacturers instructions for painting, and be sure to avoid doing this on a windy day. Once you've completed the second coat, let the utensils dry overnight, just to be sure they're good and ready.
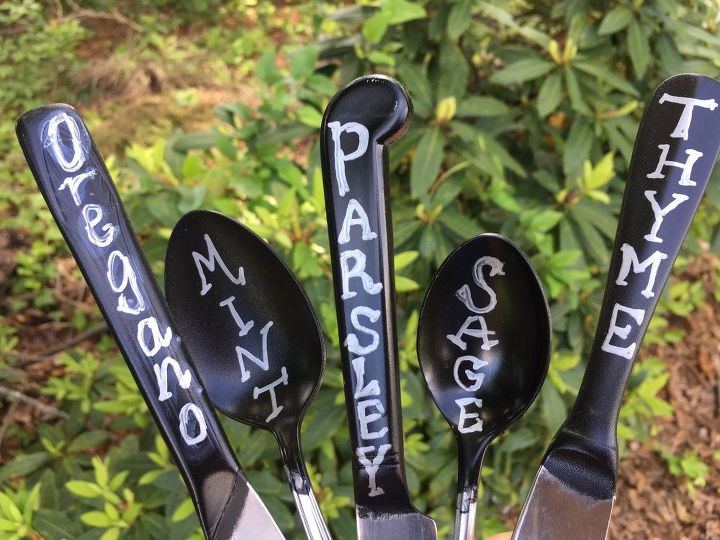
Write your labels! You can do this with chalk or a metallic sharpie; this all depends on where you'll be using the marker and how permanent you want your label. Click the link for details on labeling, as well as how to use these for a lovely gift for any garden lover!
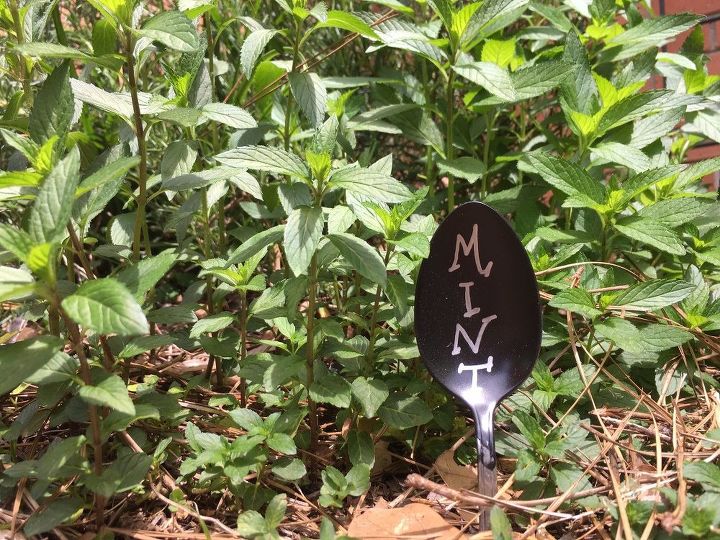
Place your labels in your garden, flower bed, or containers for a lovely accent!

Want more details about this and other DIY projects? Check out my blog post!
Comments
Join the conversation
2 of 6 comments
-
Why wouldn't you just buy garden markers? You can't even see these. This is a stretch.
-
Hi Michael, using what I had on hand, without having to purchase markers, was my inspiration for this. Plastic markers look... cheap, and these give my garden a bit of unusual flair. Thanks for stopping by.


Frequently asked questions
Have a question about this project?