


Dry Creek Bed Landscape

by
Daniela N
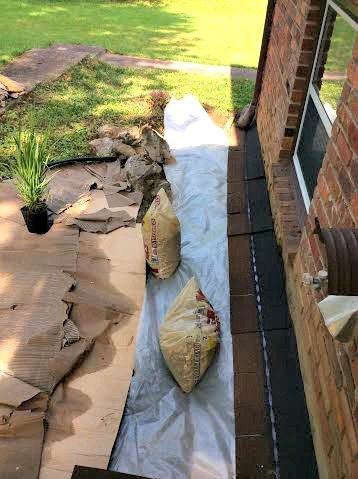
3 Materials
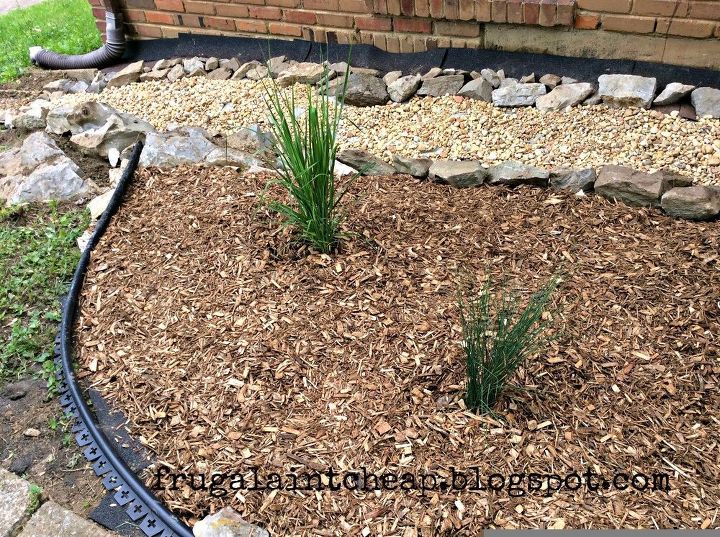
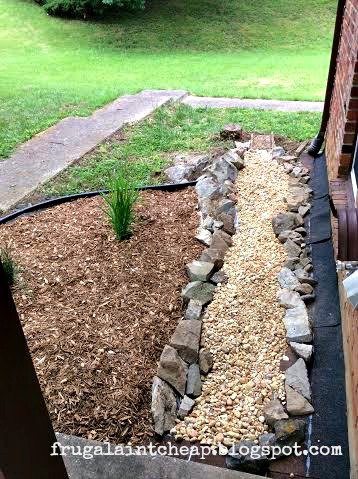
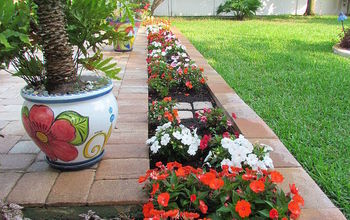
This project was a way to control the flow of rainwater across our front landscape.
Here my 4 easy steps to follow when installing a dry creek bed.
Here my 4 easy steps to follow when installing a dry creek bed.
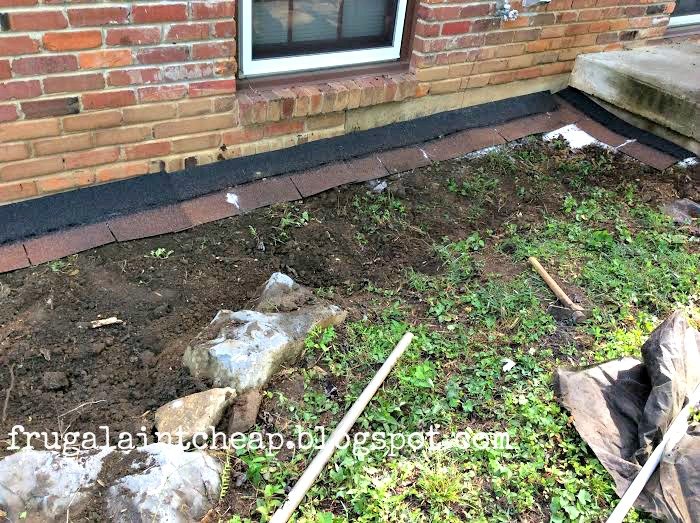
Dig a Trench
Set Large Boulders
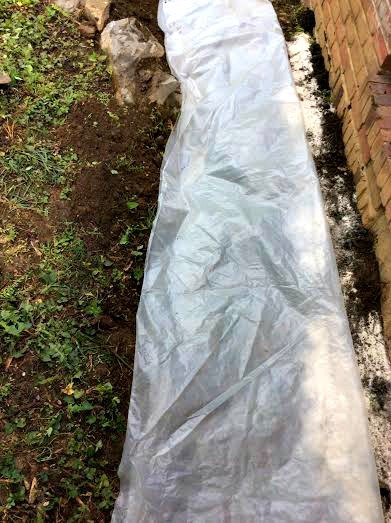
Install Plastic or Weed Fabric
The shingles were placed partially against the foundation wall, to create a semi curve and help the water run off into the creek bed.

Fill with River Rocks
For more projects, visit frugalaintcheap.blogspot.com
Want more details about this and other DIY projects? Check out my blog post!


Frequently asked questions
Have a question about this project?