


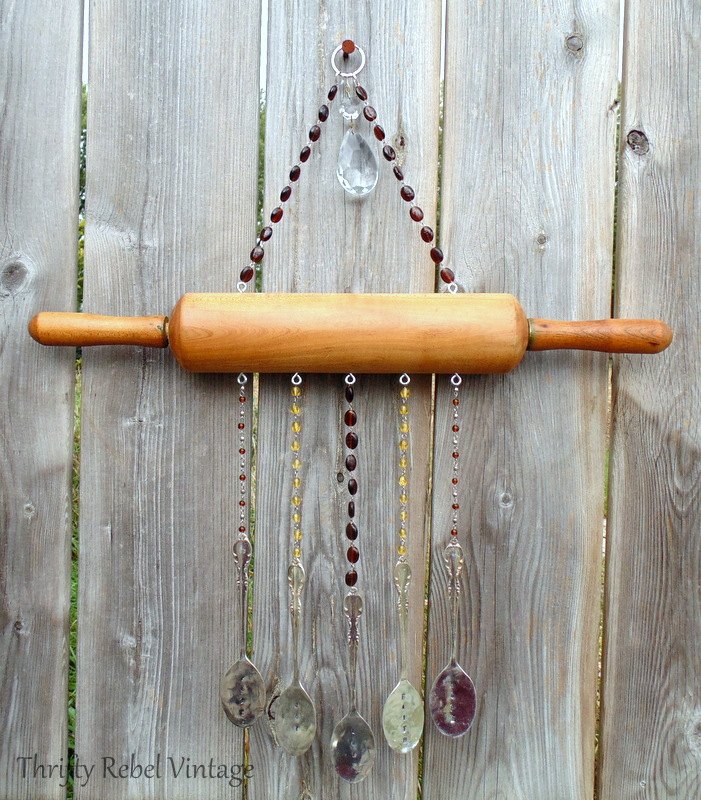
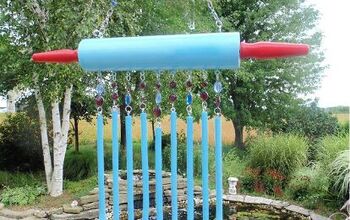
Repurposed Rolling Pin Wind Chime
I have a thing for repurposing kitchen items, especially those that I can easily find at thrift stores, and I love creating wind chimes.
So why not combine my two loves into one project?
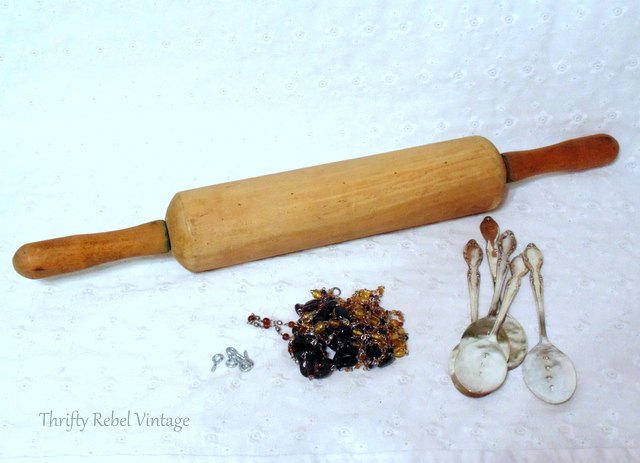
For this wind chime I'm using a $2 wooden rolling pin, some silver plate teaspoons to use for chimes, a thrifted multi-strand necklace, and some screw eyes.
To see a tutorial on how to flatten, stamp, and drill holes into silverware check out my hand stamped spoon bookmark.
Silver plate spoons still sound nice if they’re not flattened so you could skip that, and the stamping as well if you like, and just drill holes into the handles.
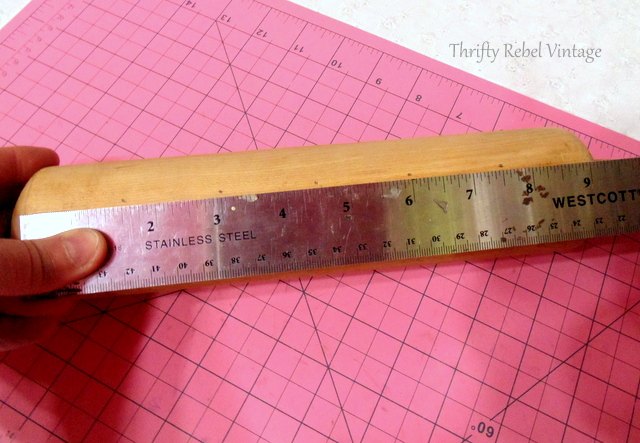
The first thing to do is figure out where you want your spoon chimes to hang.
The main body of this rolling pin was 9″ long so I marked the middle and then measured out from there. I’m having five chimes about 1 1/2″ apart.
You can put them as close or as far apart as you like, but just make sure they’re close enough to touch each other in the breeze or there won’t be any chiming.
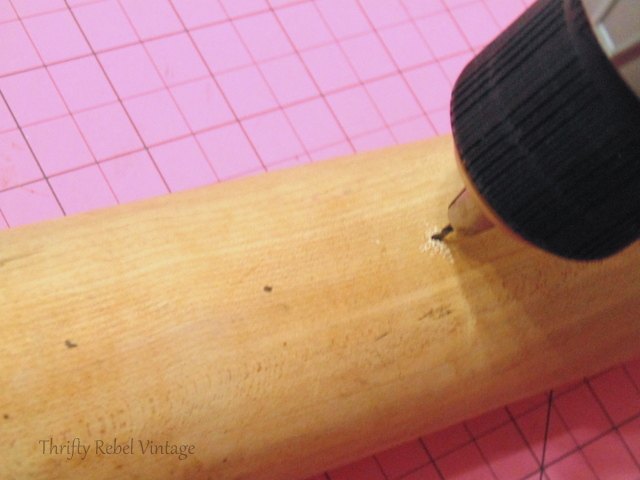
Then drill some small holes where the pencil marks are, making sure to use a bit that is a little smaller than the size of the screw eye so you have a nice tight fit.
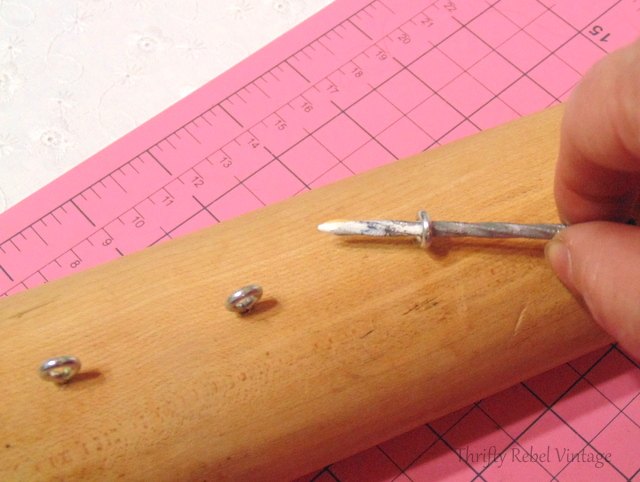
Then install the screw eyes, using a nail to turn them so you don’t hurt your fingers.
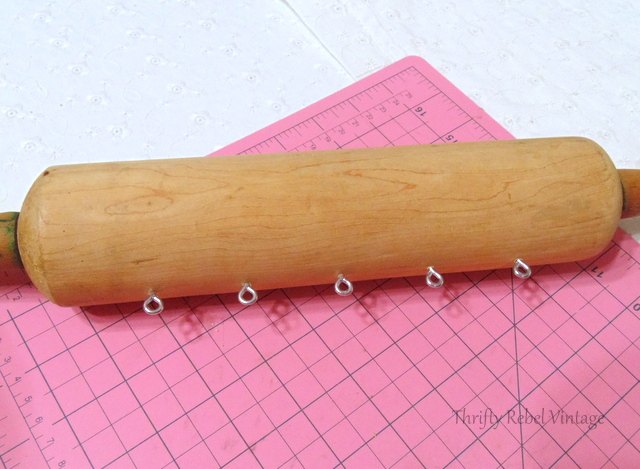
Here’s what it looks like with all screw eyes installed on what will be the bottom.

Next you need something to hang your spoons from.
I went to my every changing necklace window valance in my craft studio and found this lovely multi-strand necklace.
The earthy tones looked kinda fall-ish to me.
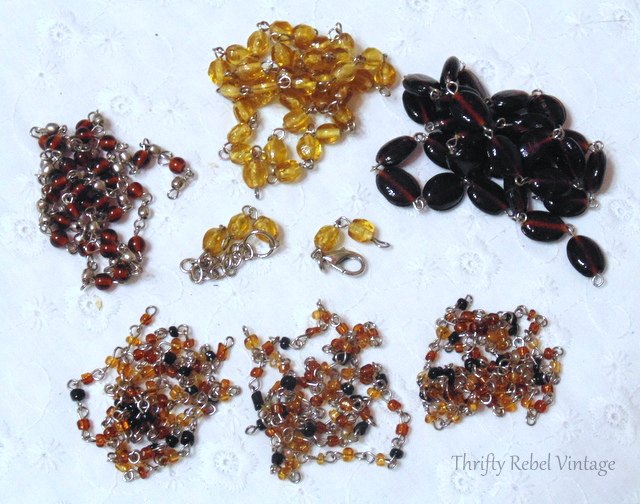
When I took the necklace apart here’s what I had to work with… six 18″ chains… for $1 total.

The rings were large enough that I could attach them to the screw eyes by opening and closing them with needle nose pliers.
After I had all the necklace bits attached I was pondering what to do with the rolling pin because it looked kinda plain to me.
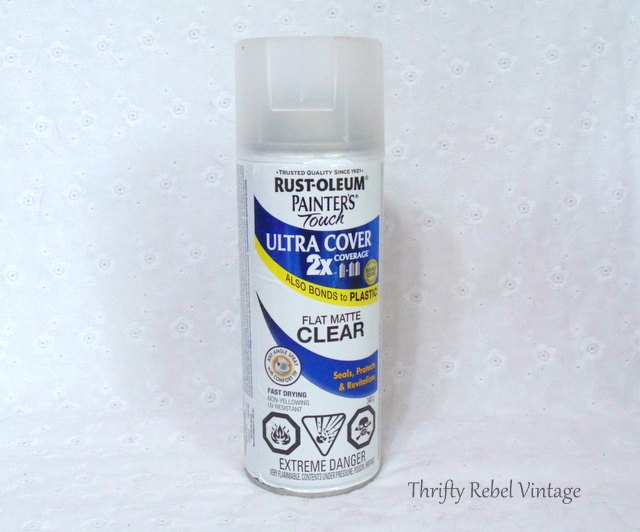
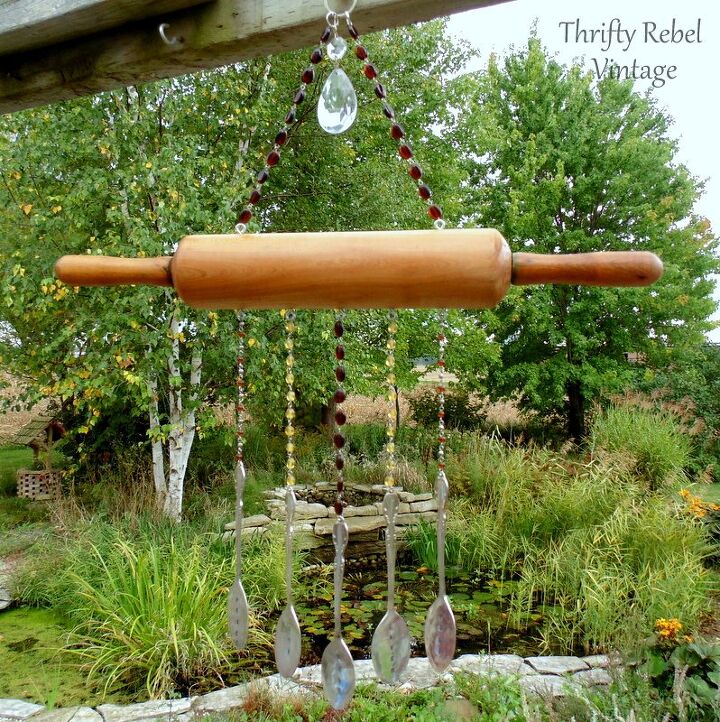
So after much thought I decided to spray it with a protector/sealer.
This not only protects the rolling pin if I hang it outside, but it also brings out the beautiful wood grain.

Here’s the way the rolling pin looked originally, kinda pale and washed out.
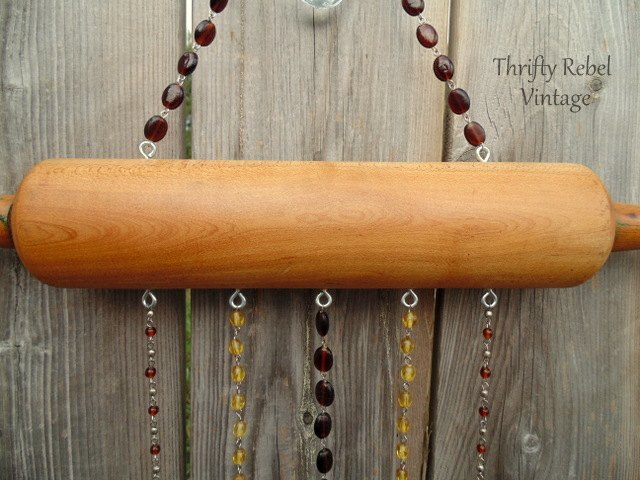
And after spraying… it’s a subtle difference, but the wood grain pops nicely now.
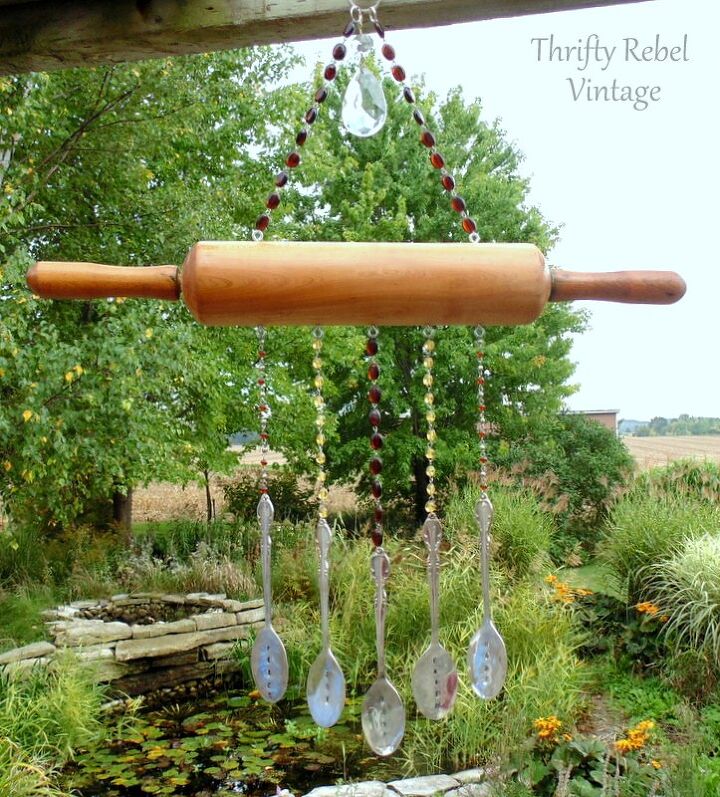
I’m a balance loving kinda girl so I lined up the two top screw eyes for the hangers with the two outside bottom screw eyes. That’s just how my mind works.
If I went any wider or narrower it would look out of whack to me, but that’s just my hang up. Do whatever looks right to you.
Of course I had to add my signature wind chime piece to top it off, which is a vintage glass chandelier crystal.
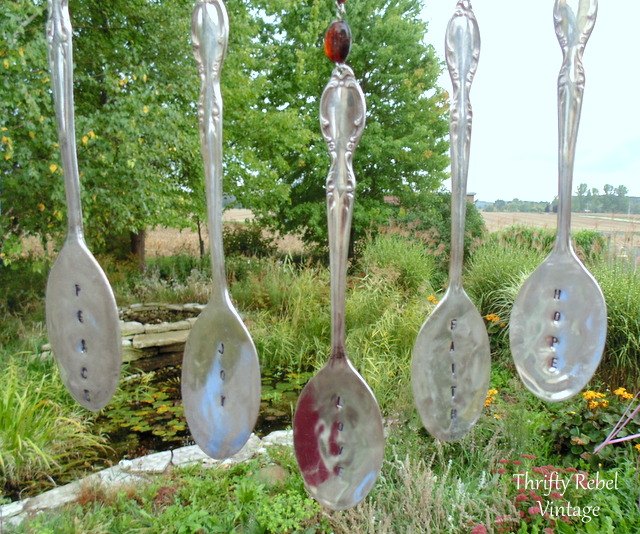
Many of my chimes have the words peace, joy, love, faith, and hope on them.
These are five of my favourite words.
When it comes to projects I often don’t know when to say when, and I had thoughts of stenciling something onto the wood.
But I restrained myself and I left it natural. The wood grain is really beautiful, even more so in person than in the photos.
You can find more wind chime projects on my blog here.
Resources for this project:
See all materials


Comments
Join the conversation
-
I find wind chimes usually annoying too loud too often but I wanted something moving in my greenhouse when the fan was on so hung small flat type shells on thread from a bamboo rod. the sound is soothing and just enough.
-
I LOVE your “five favorite words!”


Frequently asked questions
Have a question about this project?
What kind of drill and drill bit did you use to make the holes in the spoons?
What was the reason for drilling holes in the spoon heads?
cheers