


Simple Solar Chandelier Tutorial – Trash to Treasure
Do you have a dark corner in your yard? Maybe you would like to give this simple solar chandelier project a try.
I don’t know about you, but I can’t get enough solar lights this spring. They are cheerful and whimsical, and I keep dreaming up new ways to add them to our yard.
Here is my latest solar light project.

Step 1 – Gather Supplies
For this project, you will need the following
- Solar string lights
- Large tin
- Cordless drill
- Center punch
- Heavy gauge copper wire
- Florist wire
- Wire cutters
- Krylon Fusion All-in-one copper metallic spray paint
- Pencil
- Paper
- Scissors
- Ruler
- Tape
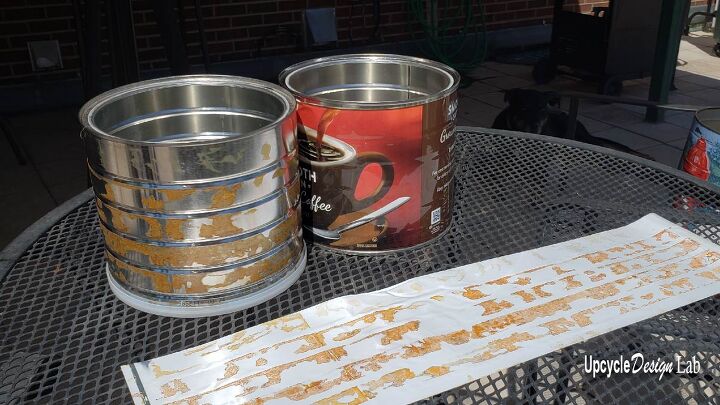
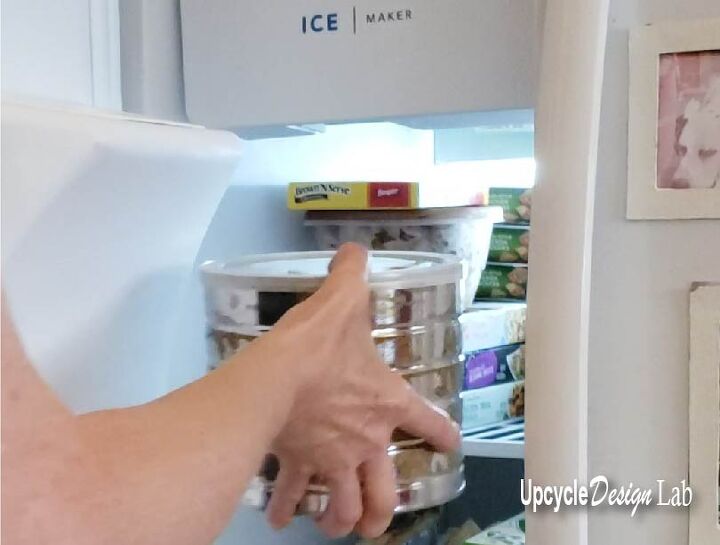
Step 2 – Prep Coffee Can
To prepare the can, remove the paper label, fill the can with water and freeze overnight.

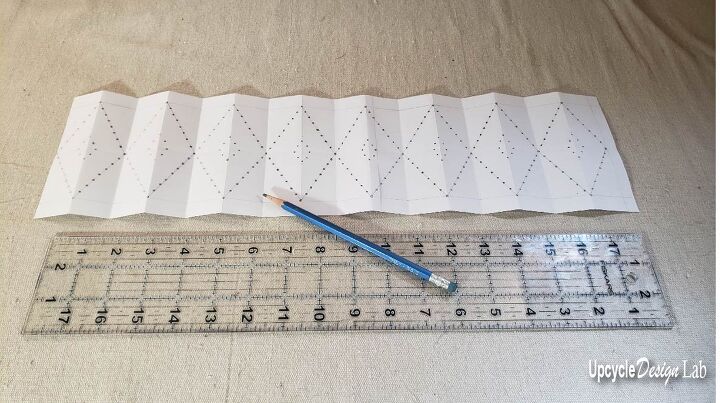
Step 3 – Make Paper Template Design
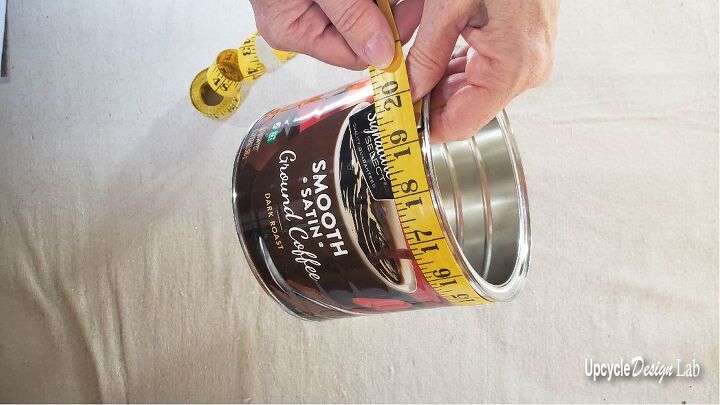
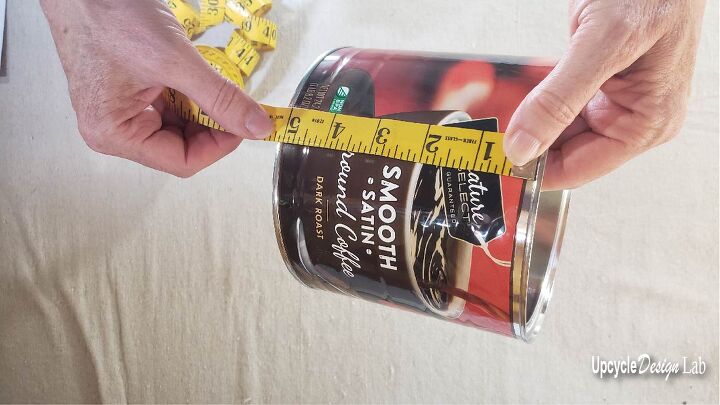
Design your paper template by measuring the height and circumference of the can. Then draw a rectangle to those measurements. Leave about 1/2 inch at the top and bottom, then sketch out your design once the design is complete and a dotted pattern along the design lines for drill holes.
Step 4 – Apply Design
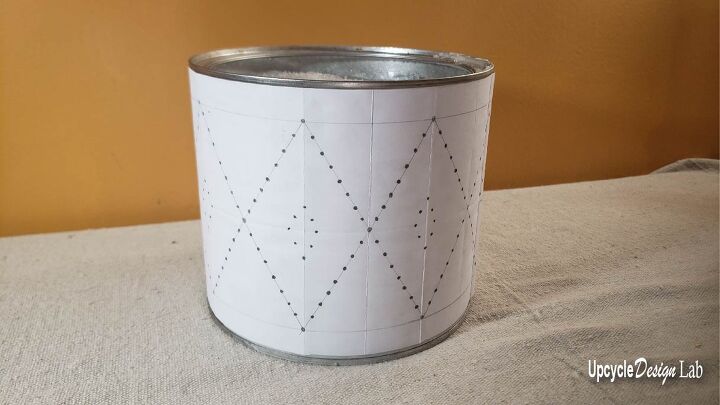
Next, use tape to attach the paper template to the frozen can.

Cover the paper template with clear packing tape to protect your design. The ice melts as you are working on drilling the holes, and the paper template will not hold up without the extra support of the packing tape. The surface also gets very slippery, so be careful.
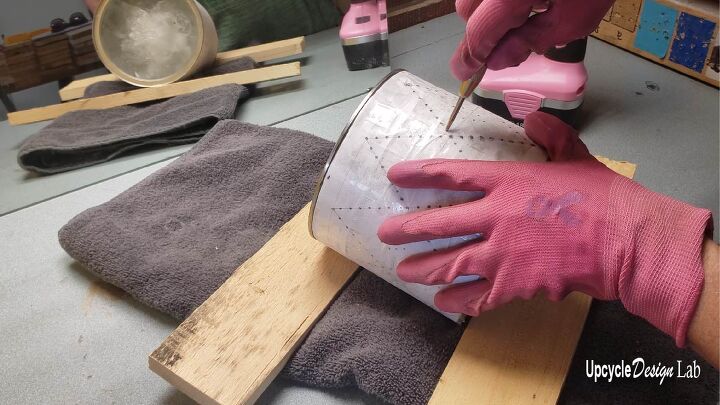
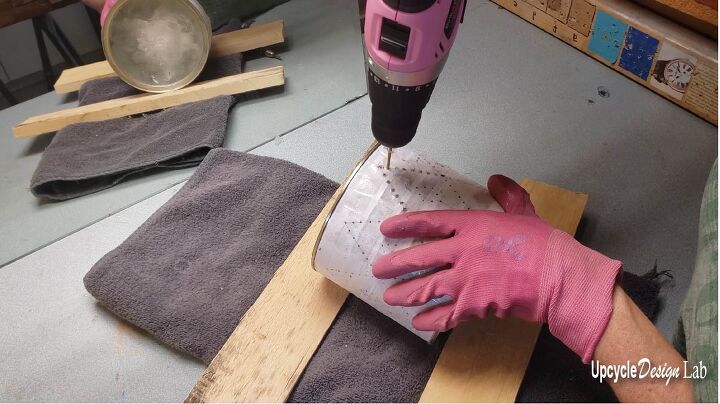
Mark each dot with the center punch and carefully drill holes. I used a 7/64-sized bit for my design. Note you may want to refreeze the can a few times during the drilling process.
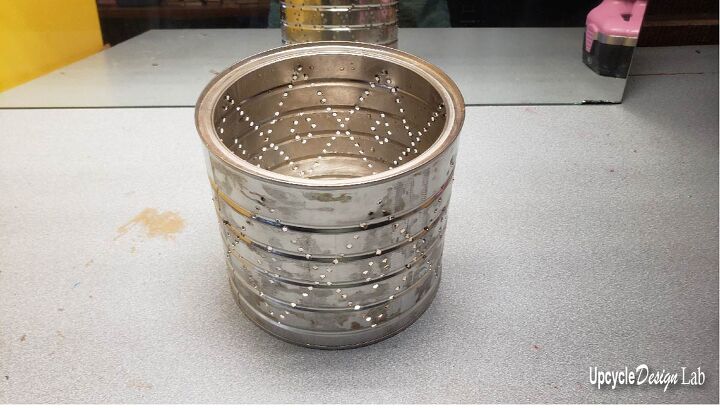
Once all the holes have been drilled, you can remove the paper template, allow the ice to melt, and dry the can.
Step 5 – Paint
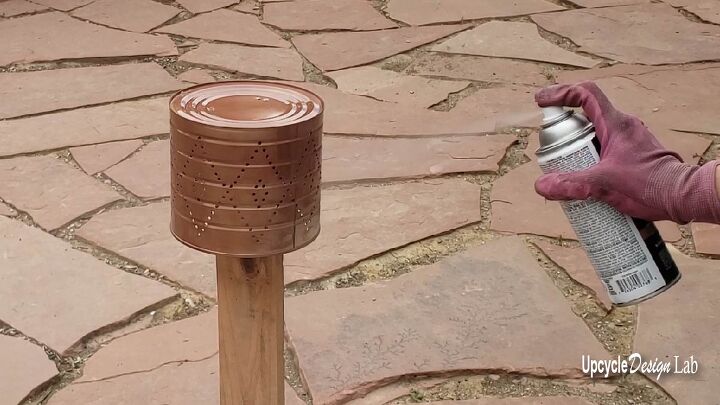
I have been using Krylon Fusion all-in-one copper spray paint for many of my projects this summer. It claims to have 5times the adhesion and be good indoors and outdoors, so I hope it will hold up for a few years. I used two coats to achieve the color and coverage that I wanted.
Step 6 – Assemble
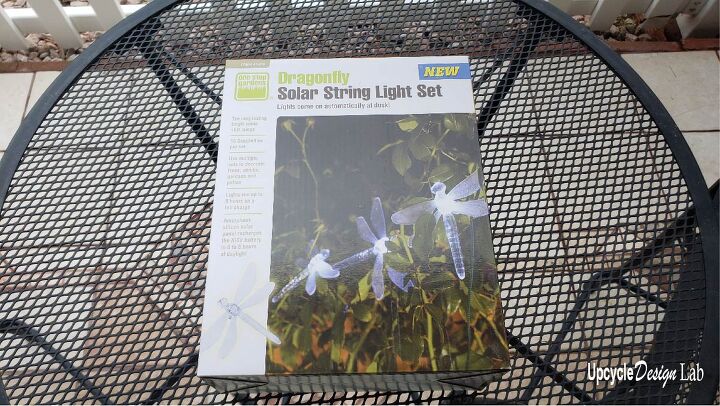
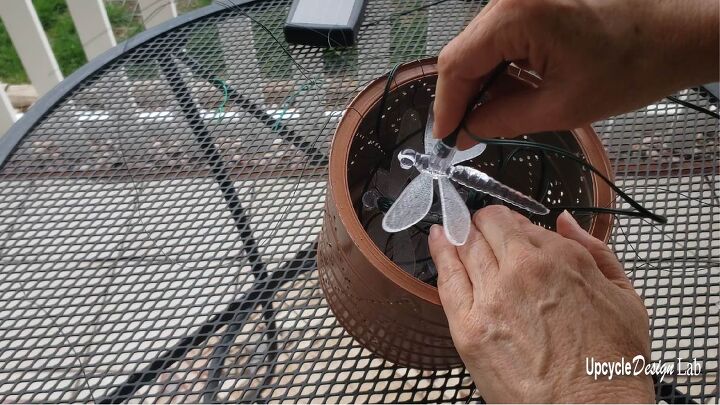
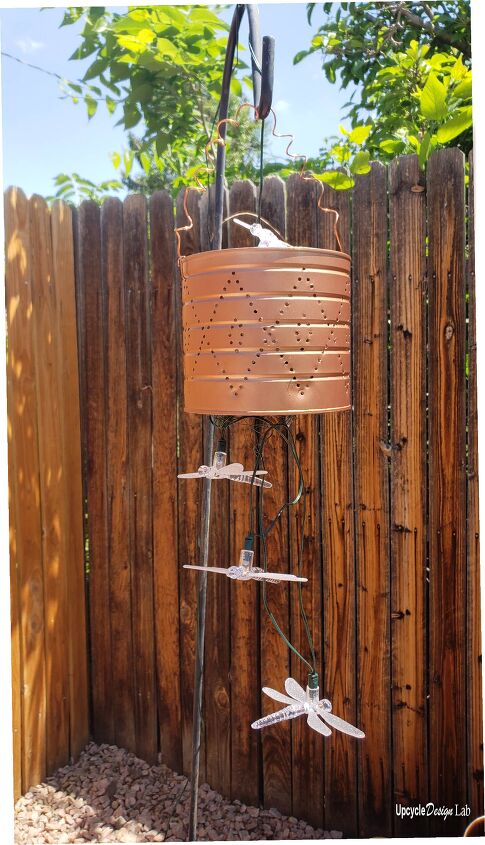
I used a string of 10 dragonfly solar lights for my chandelier, but any string lights will do. I decided to place one dragonfly on top of the can, so I drilled a couple of holes in the center of the top, and I also drilled some holes to attach the handle.
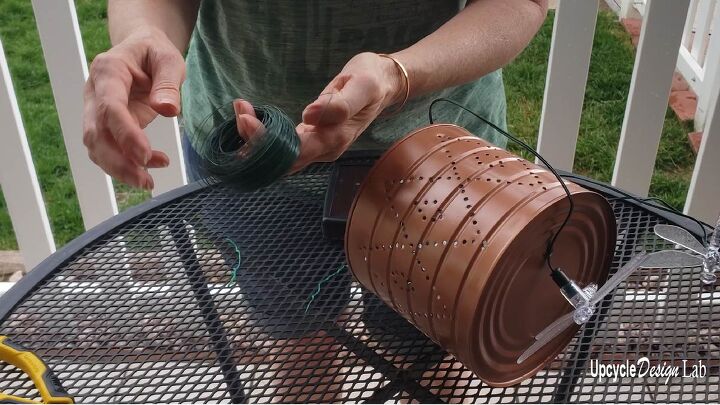
The dragonfly lights get tangled very quickly, so I laid them out and then used some of the florist wire to attach the first dragonfly to the top of the can. Then I used more florist wire to secure the rest of the dragonflies.
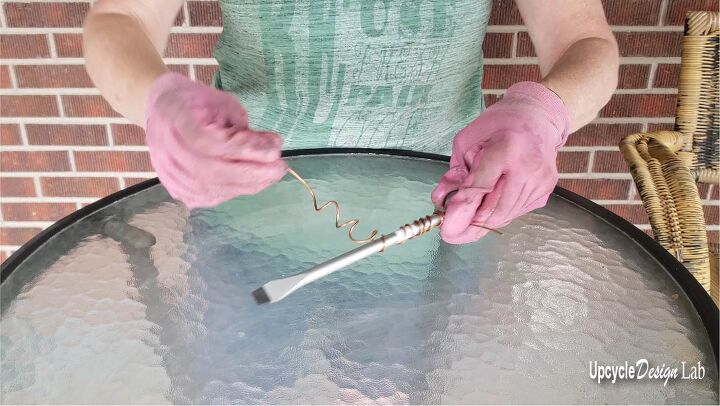
I used the heavy gauge scrap copper wire coiled around a screwdriver and then attached it to the can to make the handle.
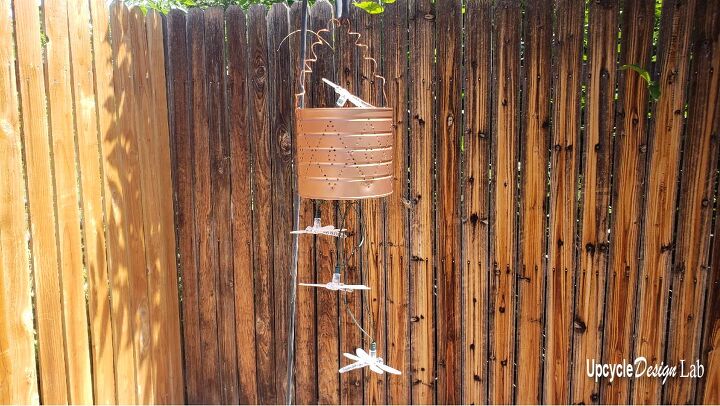
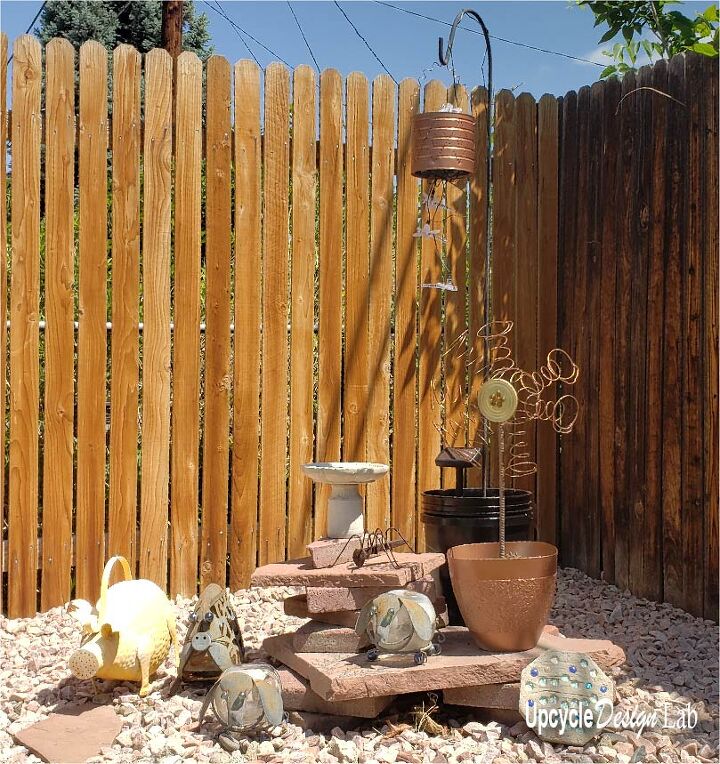
Step 7 – Hang
To add a place to hang my solar chandelier, I used a home depot bucket that was spray painted black and a long shepherd’s hook.
Happy Upcycling,
Cindy
Resources for this project:


Comments
Join the conversation
-
I like the light and the big copper flower. Do you have the plans for it?
-
Absolutely love love love this! Dragonfly mega enthusiast here so this is perfect to try! Unfortunately, I’m not sure where to find a can that size…🤔
☝🏻💡maybe chain smaller cans together & run lights down…🤔


Frequently asked questions
Have a question about this project?
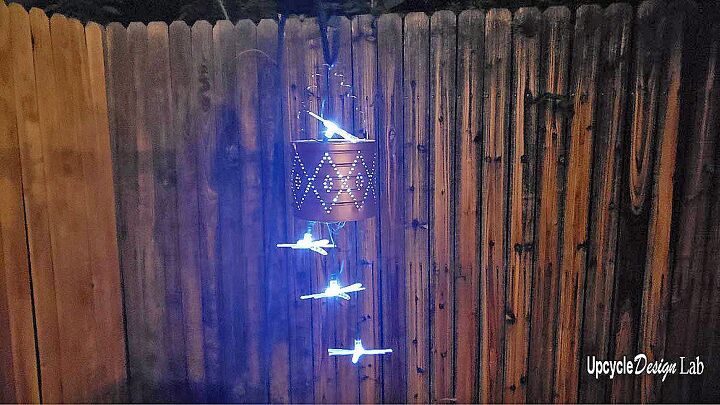
Any chance you could show a picture of it lit up at night?
How to fix a seam in that linoleum floor
Where did you put the solar charger?