


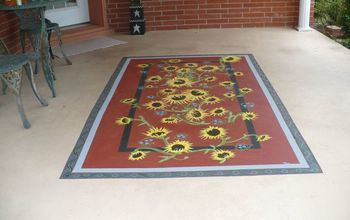
How To Make An Outdoor Rug - The Antiqued Journey
How To Make An Outdoor Rug
Posted on
May 28, 2021
in DIY Projects
This tutorial will walk you through how to make an outdoor rug!
It is exciting to have an outdoor space at your home that is cozy and inviting. The beautiful spring and summer months are so fleeting, making it even more special to create a haven outside that can be enjoyed.
This tutorial on how to make an outdoor rug will help to enhance your outdoor space, so follow along and be inspired!
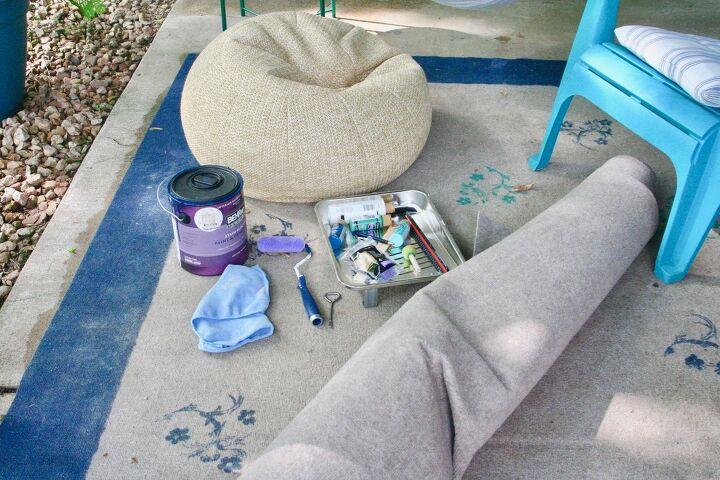
- a plain outdoor rug (I linked to the one I used from Home Depot)
- 1 quart of paint for border ( I used leftover paint from a past project)
- paint stir stick
- paint tray
- 4 inch paint roller with 3/8 nap (I linked to the one I used from Home Depot)
- tape measure
- a pen
- a stencil
- foam dobber
- craft paint for the stencil design
- paper towels
- a large, solid work surface such as plywood or cardboard
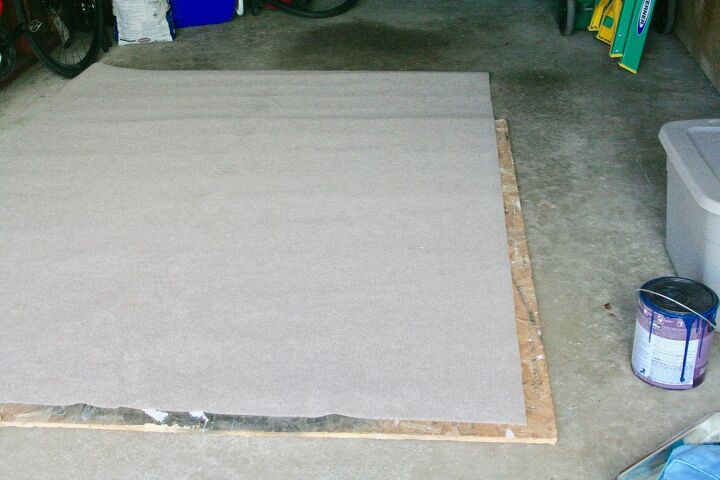
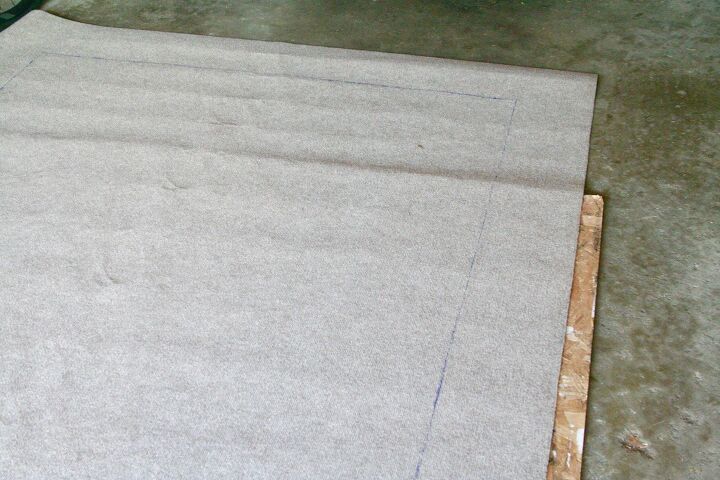
I’ve had a large piece of plywood in my garage for years and it comes in handy for many projects! I laid that down first, then laid the rug on top of that. Having a solid item under the rug helps to be able to paint the edges of the rug without getting paint on the ground as well as keeping your roller free of debris.
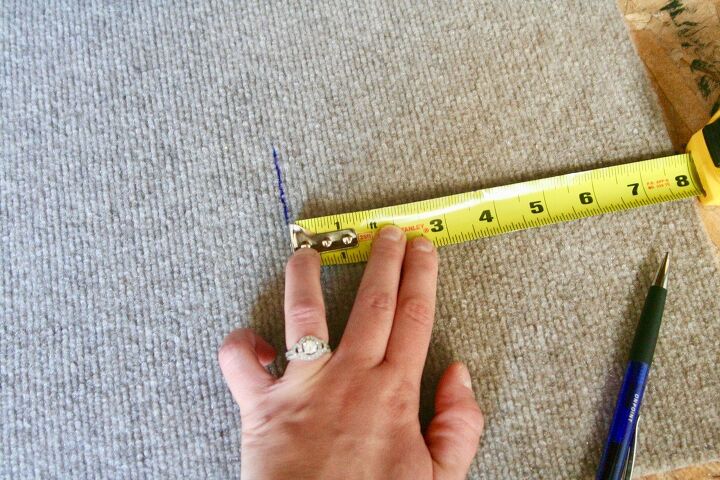
Using a tape measure and a pen, measure 8 inches in from the edge and draw a small line. Notice here how I am near a corner, so at the same time, just flip the tape measure down and measure up 8 inches from the bottom and connect those 2 lines together.
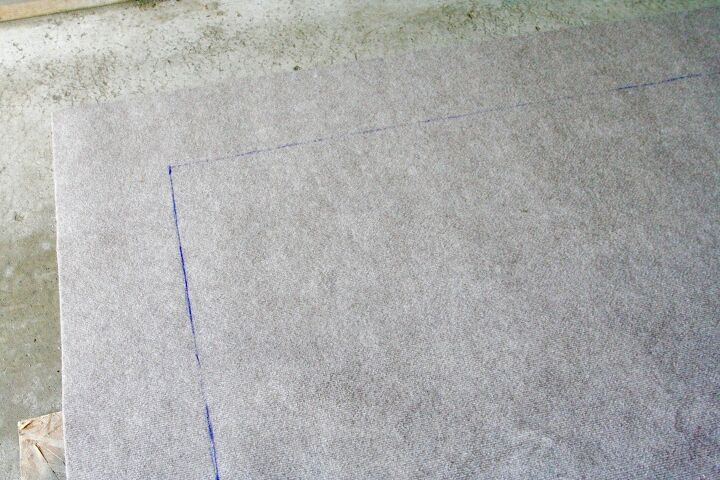
Now going off that small line you drew, use the tape measure to help you draw one long line along each side of the rug until you have a connected pen border all the way around. Tip: You can try to use painters tape for this, which I attempted, but it didn’t stick to the rug because of the ribbed texture.
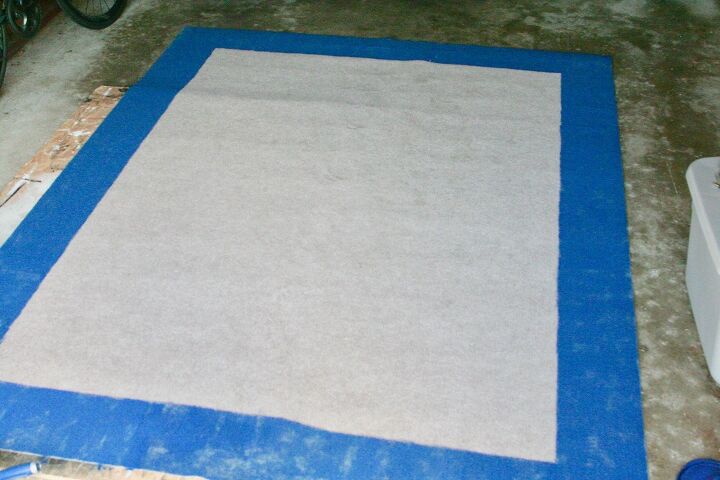
Let that paint dry completely and then you can do a second coat if you see the need. I ended up doing 2 coats of blue because there were some blotchy spots. Again, let that paint dry completely before continuing.
I just used a paper towel and put the paint right on there, but a paper plate would work as well. Stick the foam dobber straight down into the paint and dab off the excess.
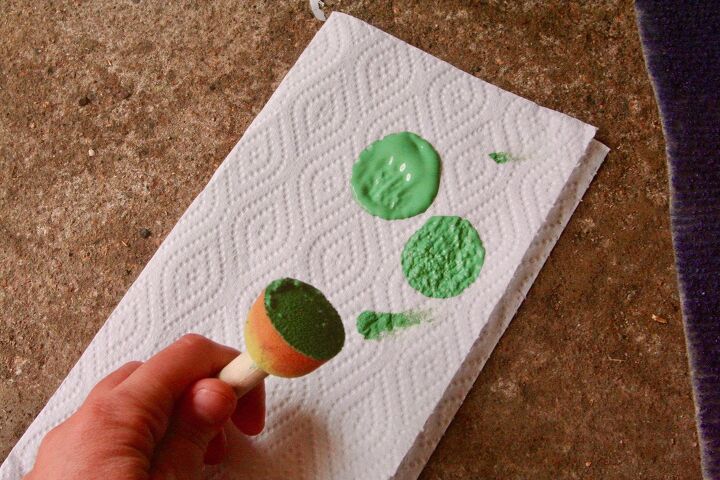
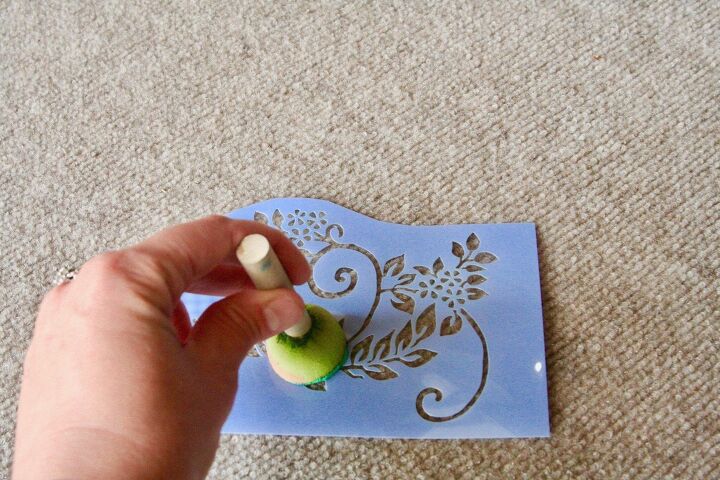
Place your stencil on the rug and push firmly over the design with the dobber.
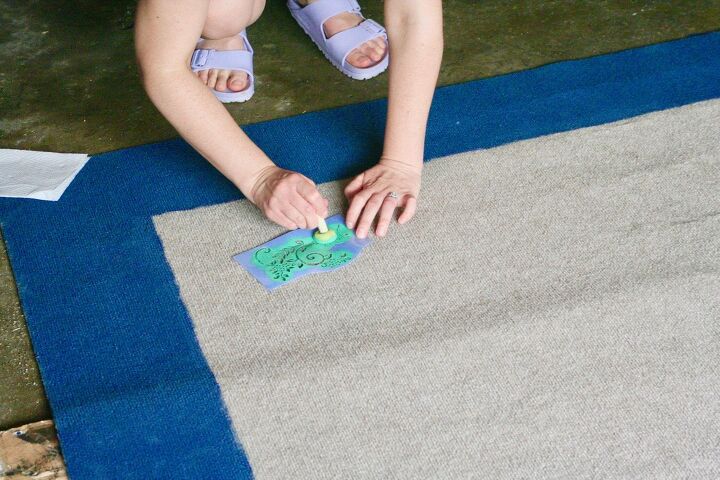
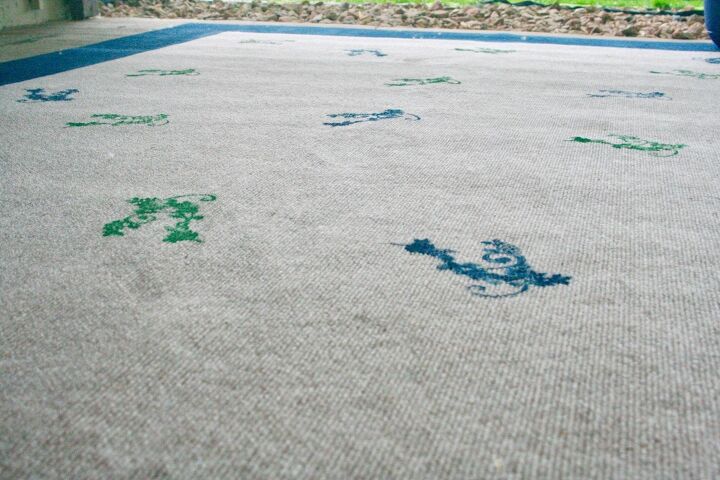
Continue this process until you are satisfied with the look of your rug. You can do as few or as many patterns as you like! Tip: I ended up using 2 different colors of paint for the design. I used that green color and then the same blue from the border to tie it all together. Allow the paint to dry completely before moving it to avoid any smudges.
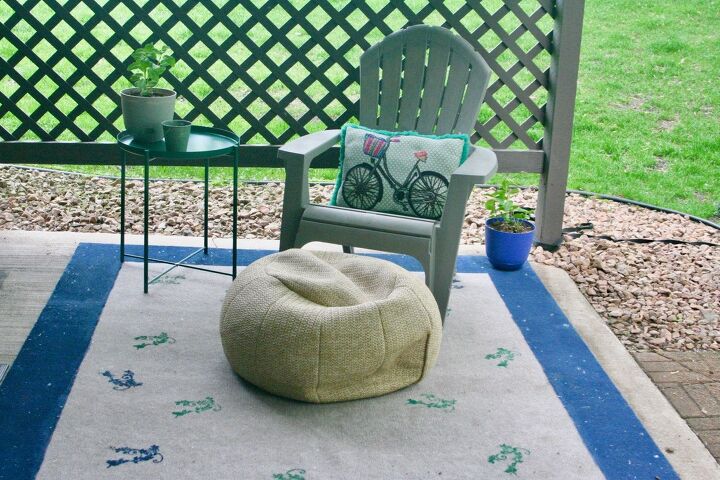
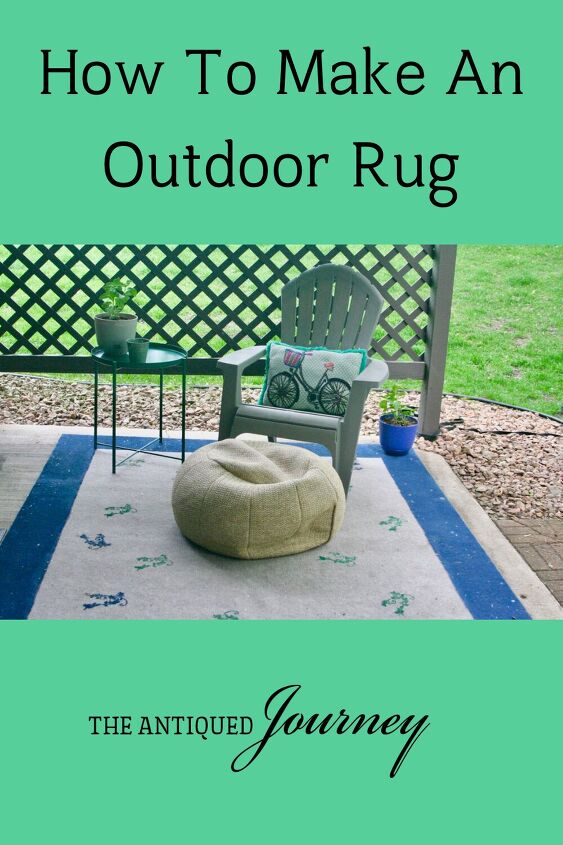
Display your pretty rug in your outdoor space and allow it to infuse joy into your days. Add some flowers or greenery in, a simple chair, and a small table and it’s the perfect little spot for your morning coffee or your evening happy hour!
I hope this encourages you to create an outdoor rug of your own and gets you outside to enjoy it. Be inspired!
Check out more DIY projects for your home!
Comment below and let me know what you think of this project or how it went for you. I would love to see your creation!


Frequently asked questions
Have a question about this project?
What kind of paint?