


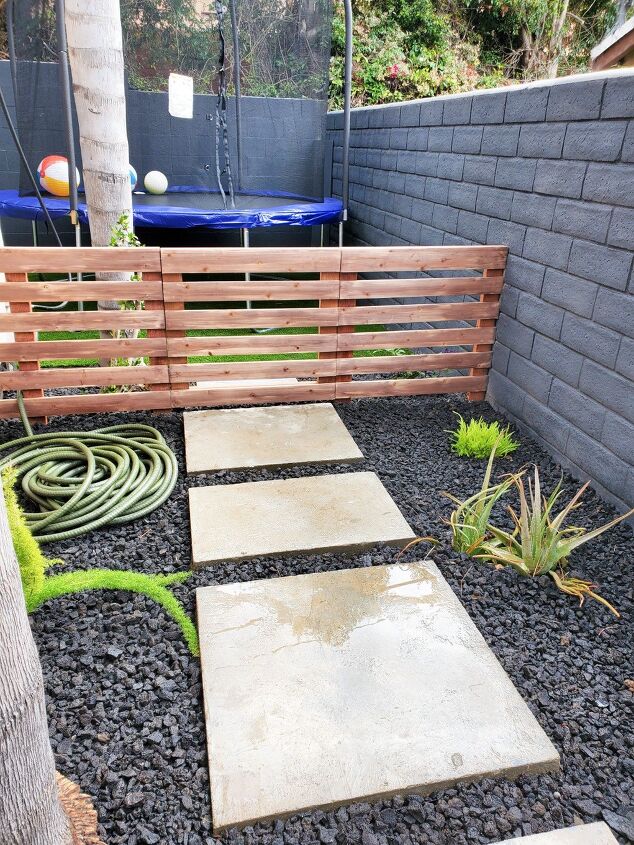
Small Garden Fence With Gate
We recently added some artificial turf in our back yard and wanted to block it off at our side yard so the dogs didn't go back to that particular space. We decided to build a small fence with a gate for easy access.
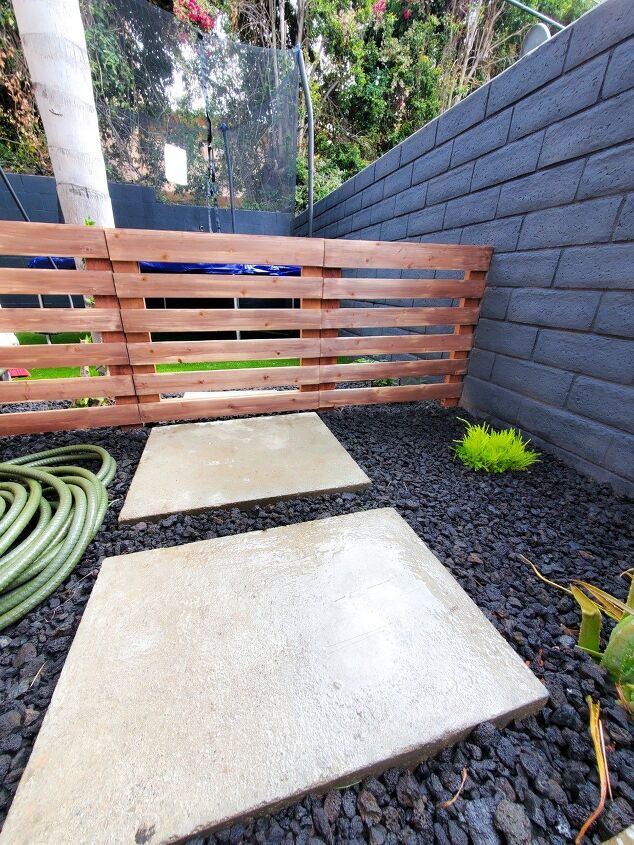
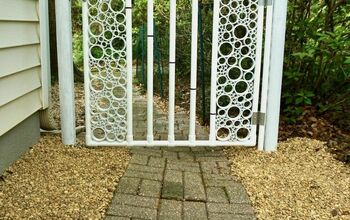
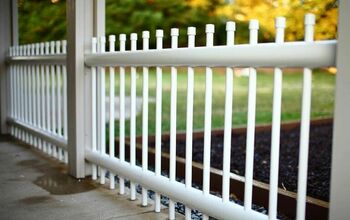
Here is what we ended up with!
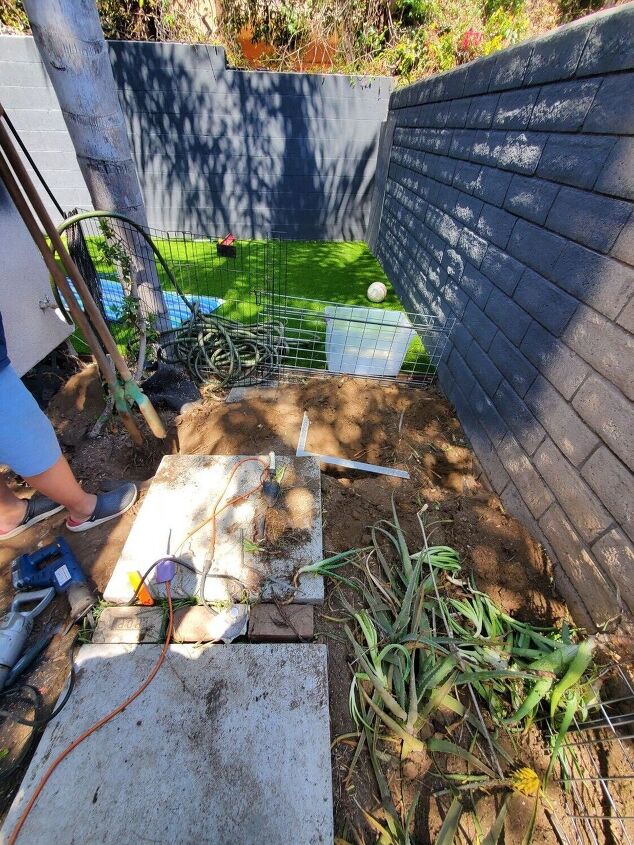
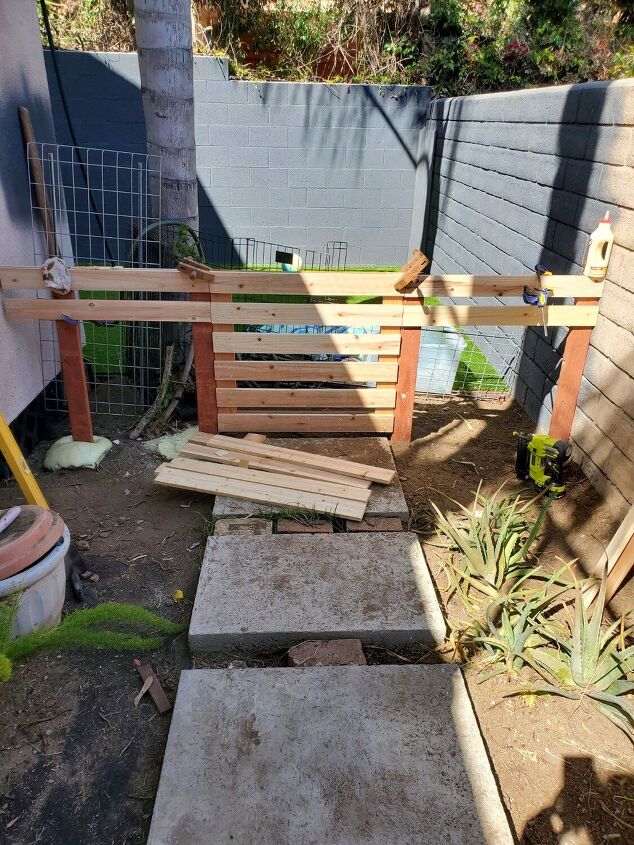
This is where we started... (Excuse the mess! 😂) We decided on the spot that we wanted our fence and did some research and a few mock ups first before we decided on a design and dimensions.
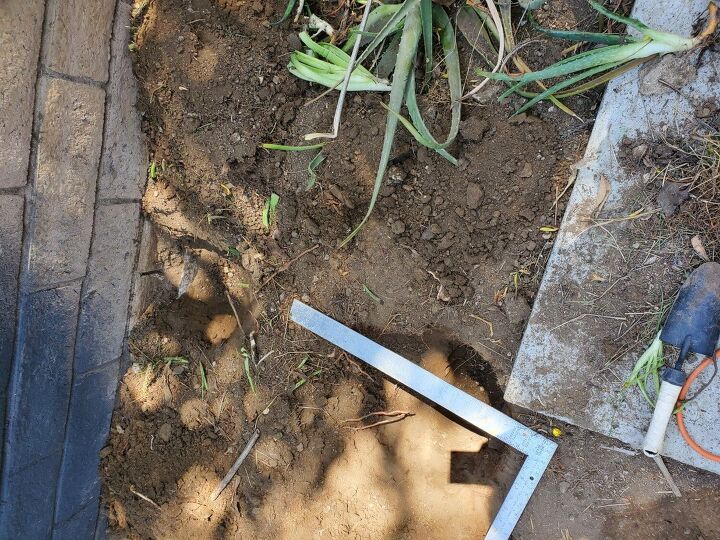
I always suggest that you do your own research before completing any project, especially one involving digging and structures. For our project, we needed 4 12 inch holes for our posts.
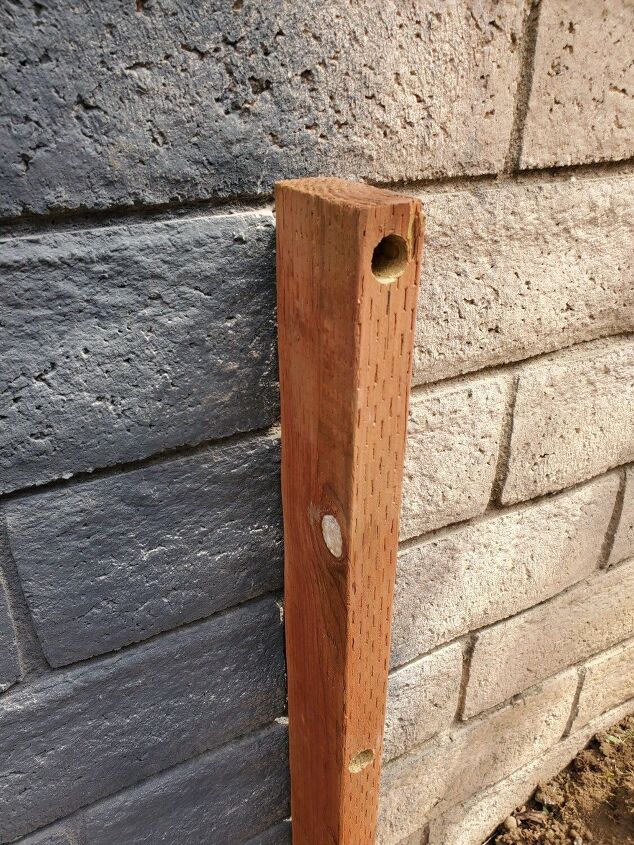
We decided to secure one of our posts directly to our brick wall. We also opted to use 2x4s instead of 4x4s which is standard for fence posts. Our fence is small and short so we decided that these should suffice. We also made sure we used pressure treated wood for all 4 posts. We counter drilled holes into the post and secured it to the wall using concrete anchors.
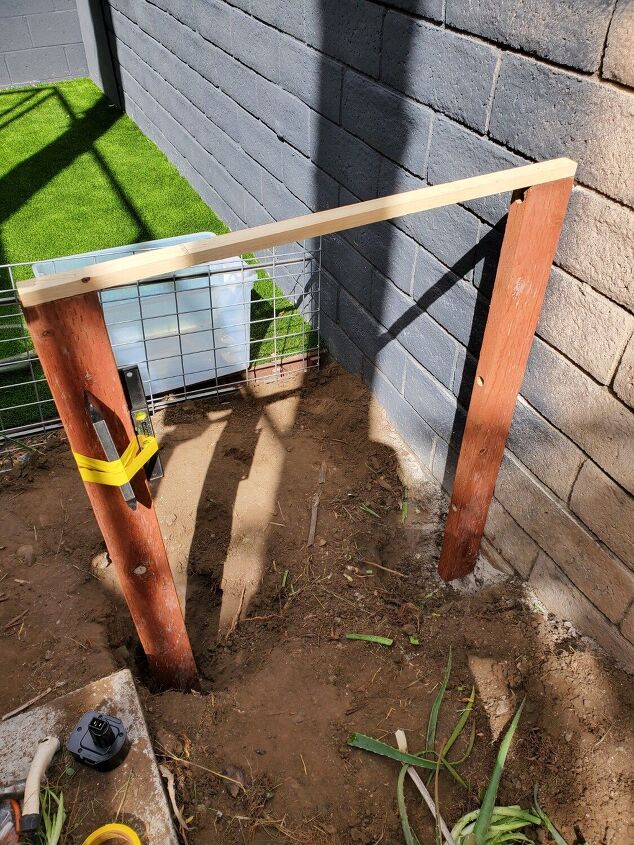
We found a few tricks during our research for setting posts but it was still a little difficult to get all of them just perfect. I didn't want to have to cut them after they were set so we trimmed them beforehand if needed and then worked them in the hole until they were level. Taping two levels to the post really helped us get it in the right spot before setting it.
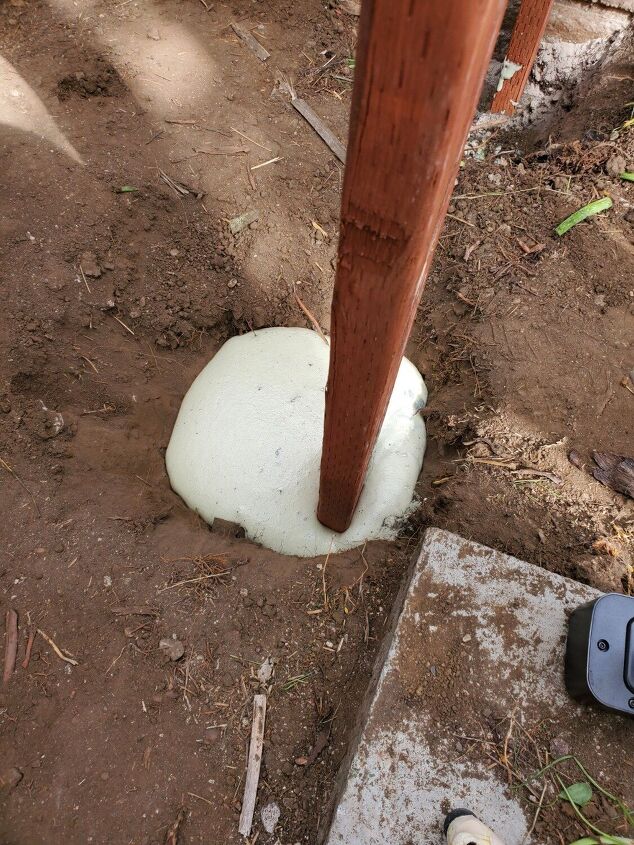
We had planned on using concrete to set our posts but then came across a product called Sika Post Fix. It's a two part mixture that foams up and hardens around your post. We watched a few videos and carefully read all instructions before starting since you only have a limited time to use this product before it sets.
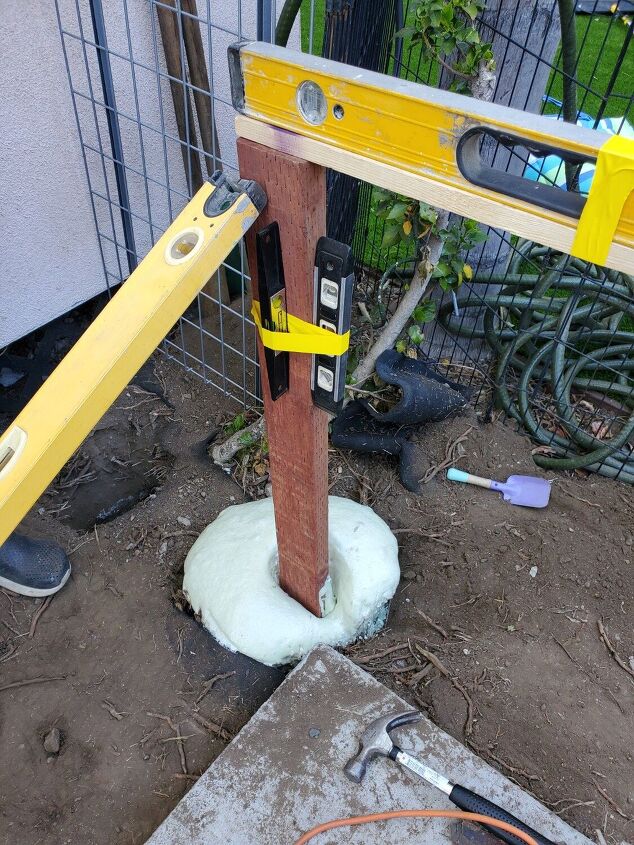
One of our posts started moving a tiny bit with the foam so we used a long level to prop it in the exact position we wanted while the foam hardened. Overall, I found this product pretty easy to use and it seems to be really strong. Also, it doesn't weigh 50 lbs like a bag of concrete mix which is a huge plus! We trimmed off the excess foam the following day. We tried a Sawzall and an electric carving knife. They both worked pretty well.
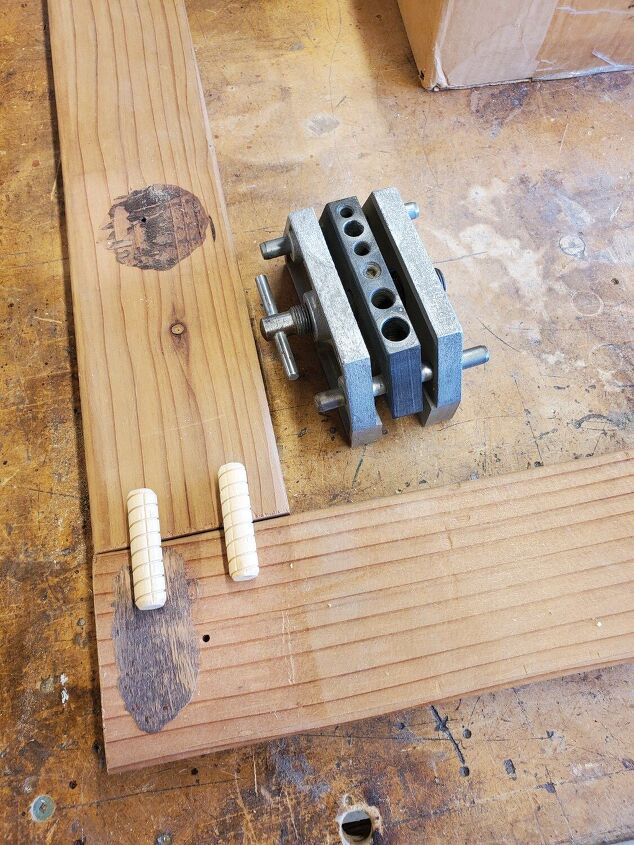
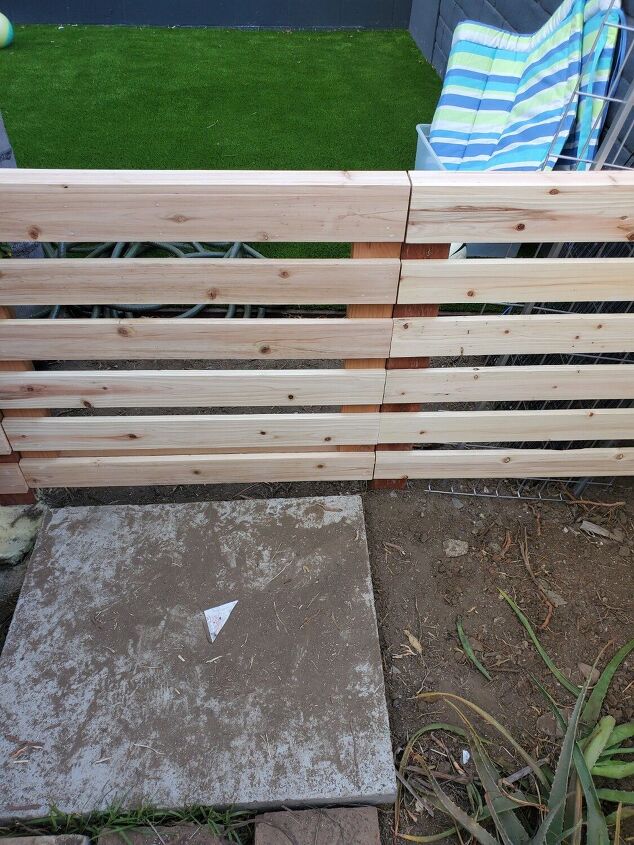
Once we had our posts set, we moved on to building our fence. I used redwood 2x4s for the support frame and secured them together using wooden dowels and wood glue.
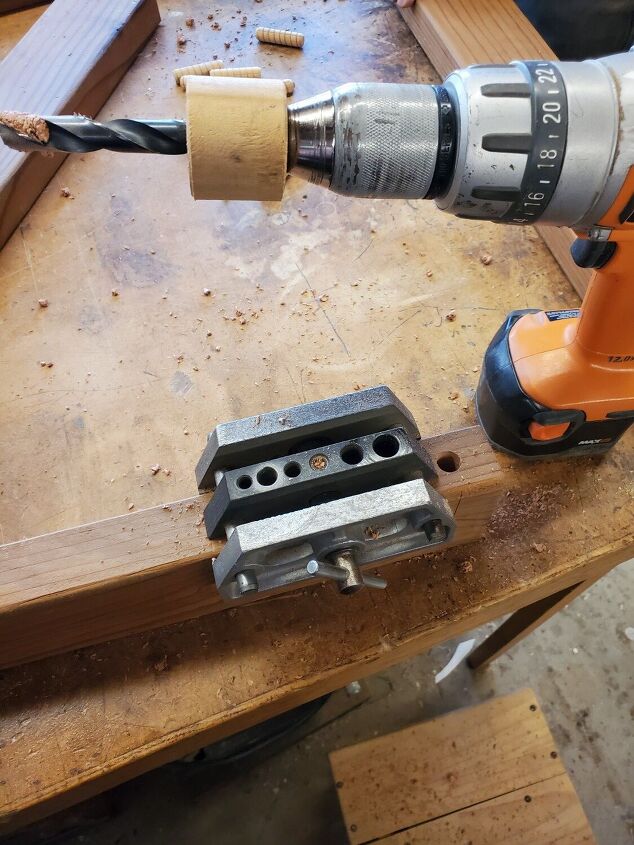
Here is my dowel jig set up.
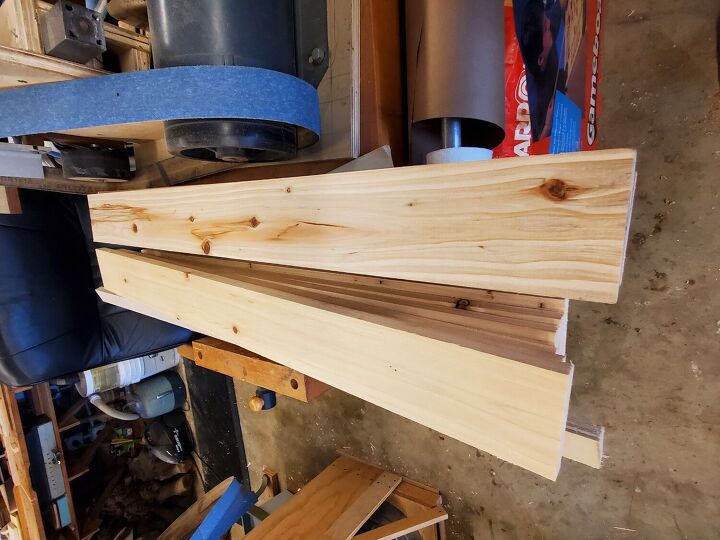
Next, I cut all of my gate and fence slats to length.
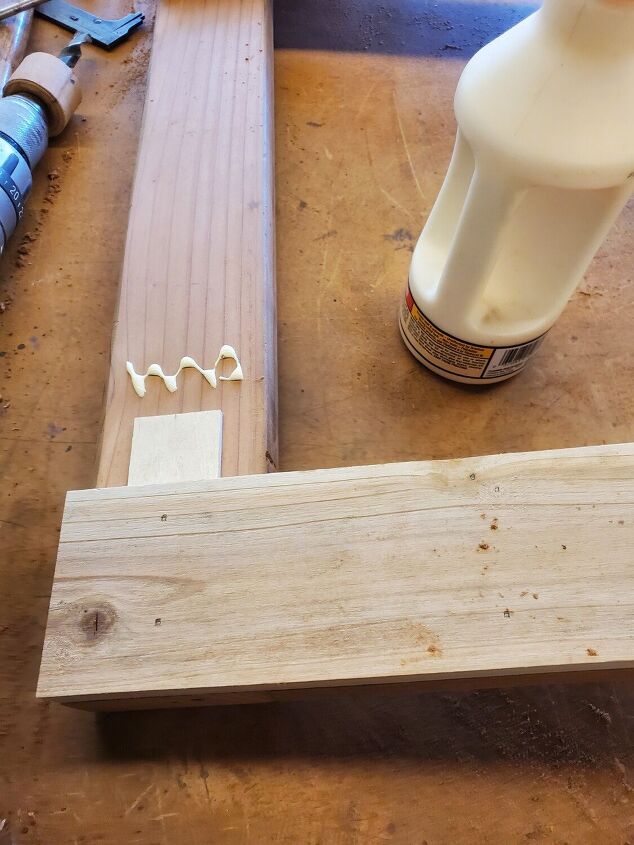
I used wood glue and a nail gun to attach them to my gate frame as well as the fence posts.
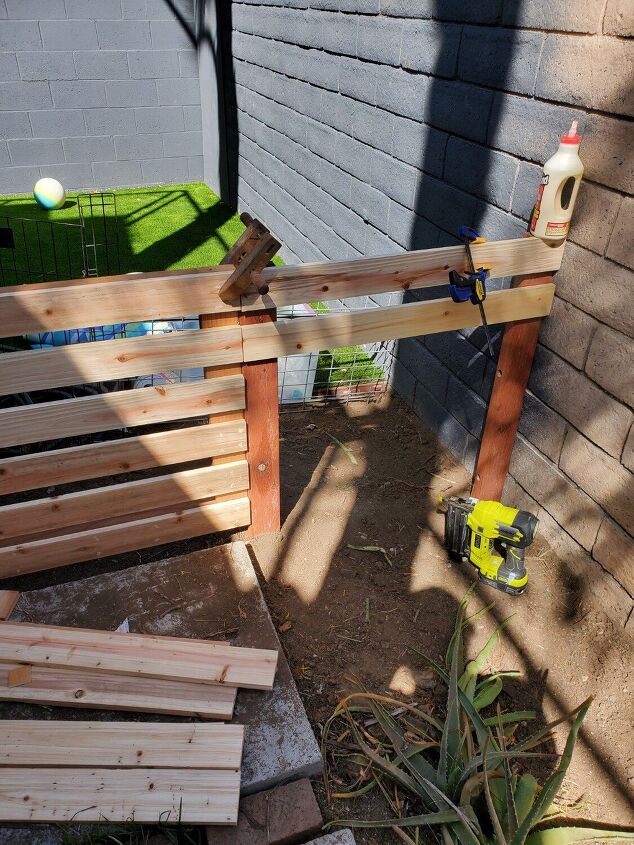
Even though I used a spacer when attaching the slats to the gate, I didn't realize that each slat wasn't the exact same width. They were only off by a tiny bit but they didn't end up lining up perfectly when I used a spacer on the fence portion so I secured the gate in place and lined up the rest of my slats that way.
So far, so good!

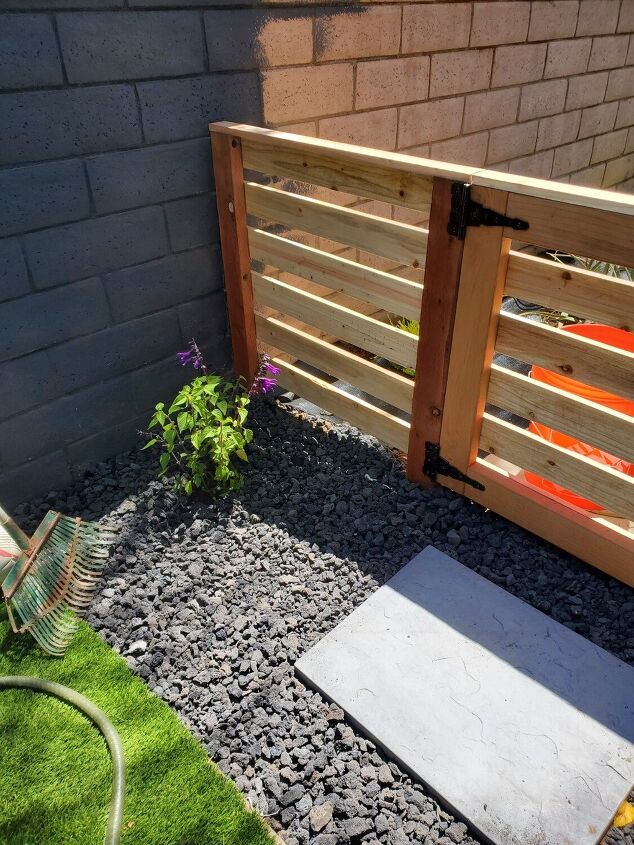
After all of the slats were glued and nailed, I ripped another cedar board down a bit and used it as a cap to to give the gate and fence a clean and finished look. We also installed the gate hardware.
I used plastic wood to fill all of the nail holes and then sanded everything smooth once the putty was dry.
Here is what it looks like from the back.
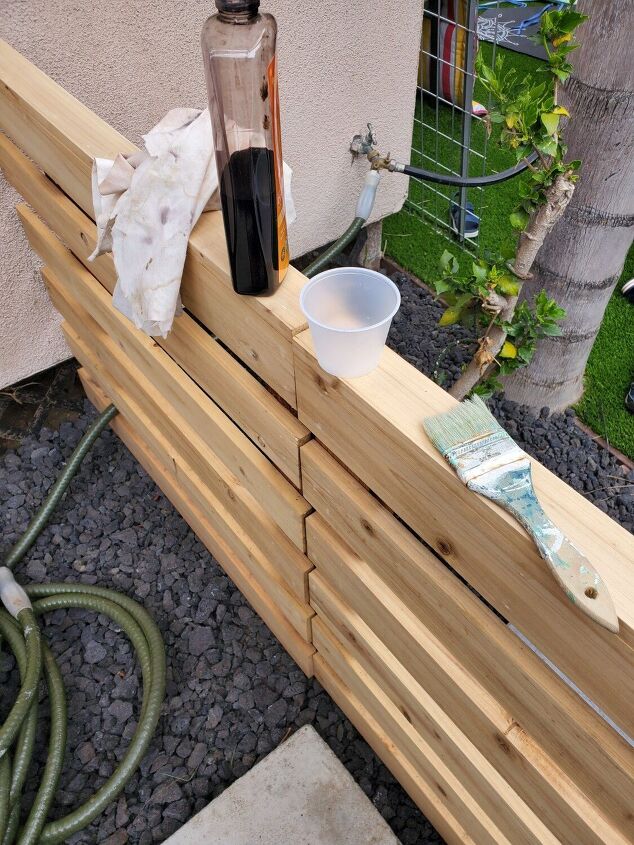
Now it's time to stain! I used a product called Trans Tint and mixed it with alcohol. I applied it with a chip brush. I used this stain on several previous projects and really loved it. You can mix it with water as well but I like the alcohol since it dries faster. I keep my mixture in a plastic squirt bottle. I allowed the stain to completely dry and then applied a clear exterior polyurethane.
All done! Thanks for following along and I hope this inspires you to start a DIY project of your own!
Resources for this project:
See all materials


Comments
Join the conversation
-
I love what you did! Did the foam dry like that? Can you scrape down and level it before it dries and hardens? Alot of work sure pays off, right?
-
It looks wonderful 🙀🙀🙀


Frequently asked questions
Have a question about this project?
Love the finished look! Where did you get the black stones/gravel??
what did you have to do with the dirt to prepare for the pavers and gravel. I need to do this with a small area of my side yard.