


Beginners Stenciling

9 Materials
$5
4 Hours
Easy
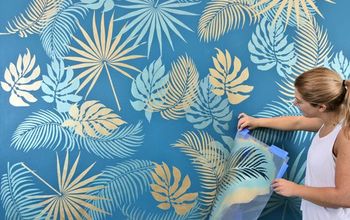
Our challenge this week was to stencil something, and I realized that I had never stenciled fabric. Oh, sure, I had done the kind where you cut out a stencil with the Cricut, then stick it on something, or spray paint it, then stick it on. I had even stuck a stencil over fabric and then spray painted over it, and then removed it to reveal the pleather underneath. Cool!
So I thought I would do a post for those of you who, like me, have never stenciled fabric. An experiment, if you will. Now, I knew about this challenge about a month ago. I have debated what to stencil ever since. Finally, I decided to decorate the cushion cover that I made for my friend’s stool ( )
Beginner's canvas. Literally

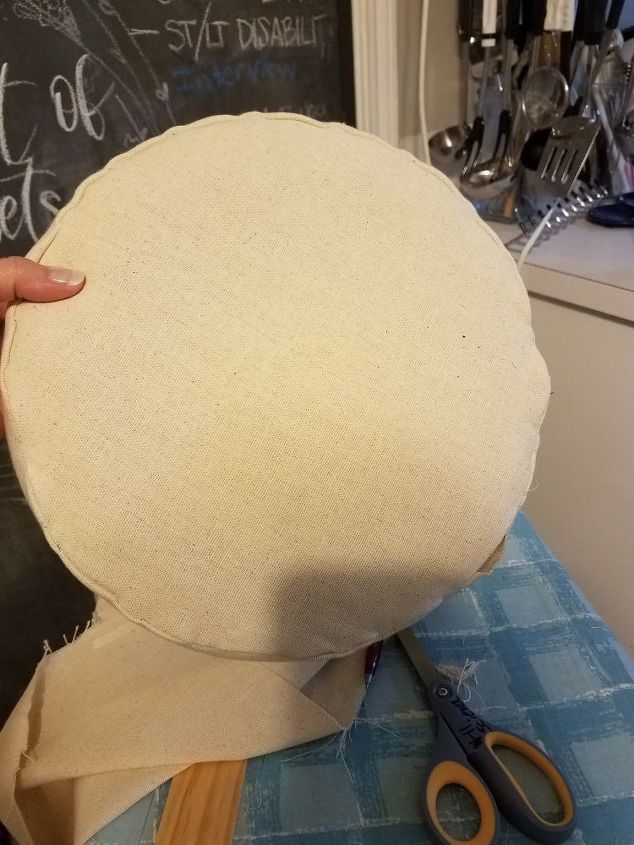
Original cover
Here’s the original cushion cover. Eww! Can’t get much worse, can it? She didn’t care what I did, so long as it wasn’t stained and nasty like this one (her words).
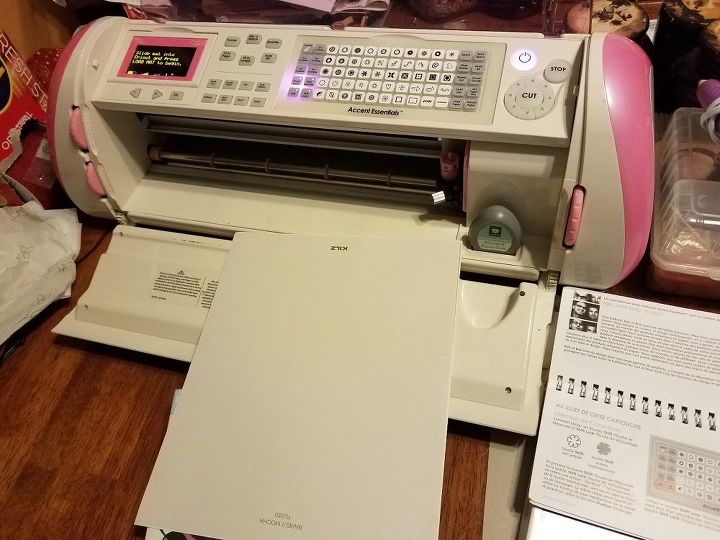
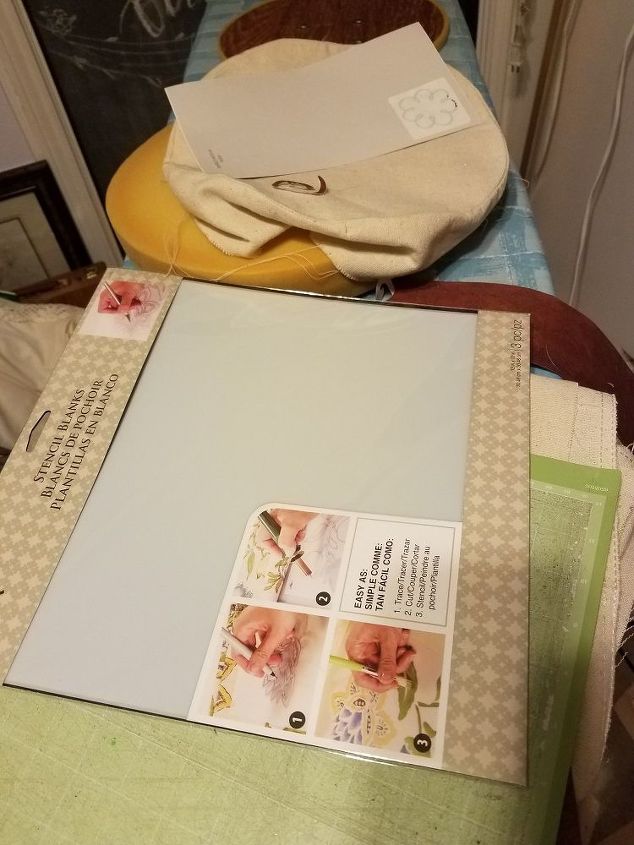
That leaves a lot of room for experimenting! Last night, I played around with the Cricut, choosing different images from the cartridges that I had at home. I finally stumbled upon an example in Accent Essentials where it describes how to cut small fleurs de lis and layer them randomly on a picture frame. I decided to try this with an organic figure that would be all in one piece. I didn’t want to have to try to place multiple pieces. Now, I had purchased blank stencils, but because I was still experimenting, I ended up using a Kilz stick on sample and a sheet of transparency film for my stencils. I made an outline of a city skyline from the Plantin Schoolbook font, a butterfly and flip flops from the Pink Journey Campaign Rose, and finally, the swirl outline from the Accent Essentials cartridge. I checked, and if you love these fonts, all the cartridges are still available. I listed my sources below. Now, I didn’t go out and buy the machine and cartridges for this one project, but I definitely used it for this! LOVE it! I listed them in materials, but didn't include in prices, because I had them on hand.
Test size swirl
For the swirls, I cut 1 of different sizes. I finally decided that one inch would work well with the size fabric I was using. Then I started playing around with placement. I finally went with forward, flip, forward, rotating until I got to the end of the page. Then I discovered line return! What a time saver! Sometime when I was cutting the many stencils, I must have moved the size dial. It shrank to ¾”. Oh well, random, right?
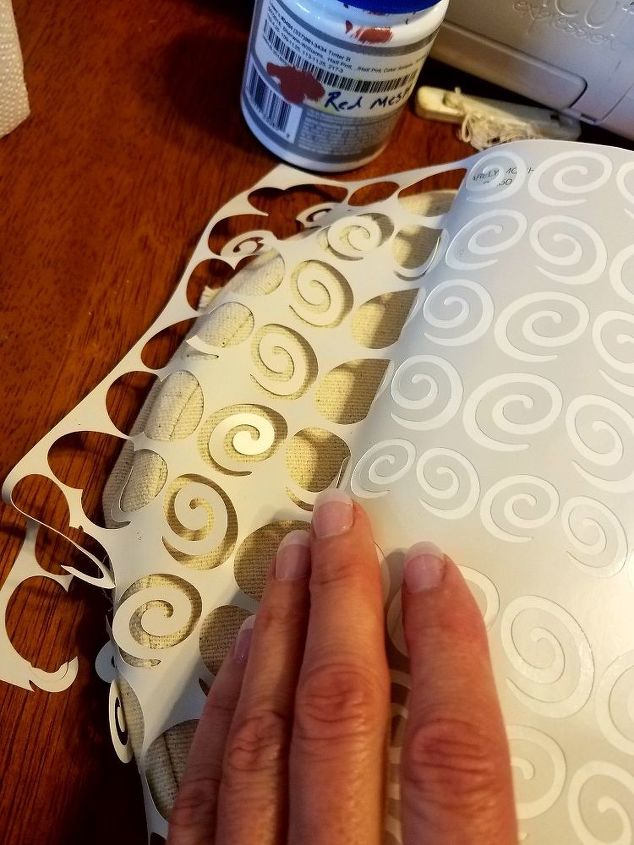
This is where I should mention that the blank stencil, when I read the directions, recommended that a 1” margin be left around the stencils. Uh-oh! Too late for that. But you can learn from my mistakes. That’s why I make them, then share with you, so you don’t. When the stencil page was full, I started removing the insides of the swirls, leaving the attached pieces on the entire sheet, so that it could be placed all at one time. I will note here that I was too cheap/lazy to get a new paint sample when I discovered line return, and had run one line down the page, then turned it and went across, so even though I spaced twice, it still cut over the original line. That’s why there are open spaces along the edge of the stencil. Also, I am sure that there is a way to program what you want and let it print, but every time I pressed “flip,” the figures would all go one way, so I pressed them one at a time. This added considerably to my time for the project. If you are lucky enough to find a pre-made stencil that you love, you will save lots of time.

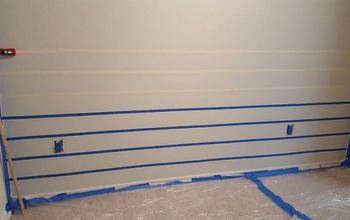
In order to stencil the top of the seat cover, I lined its inside with doubled paper towels and placed the wooden base inside the seat cover so that I had a firm surface to paint on.
Applying stencil to fabric.
Then I peeled the stencil off its contact sheet and stuck it to the fabric. It has a stick back, so I didn’t glue or mod podge it down. I wasn’t too worried about bleed through, because it was a very thick, somewhat loosely woven fabric. It’s designed to absorb paint. Besides, I knew that I could always paint the whole thing, and my friend would be perfectly okay with that, too. She has no idea that I decided to stencil it.
Next, I chose the color. I was using painter’s drop cloth, and I know my friend likes shades of brown and rust, so I took out a paint sample that I bought when I was choosing colors to paint my fireplace (not done yet, but I didn’t choose this one in the end!) It’s Red Mesa by Sherwin Williams, and I had a sample mixed at Lowe’s.
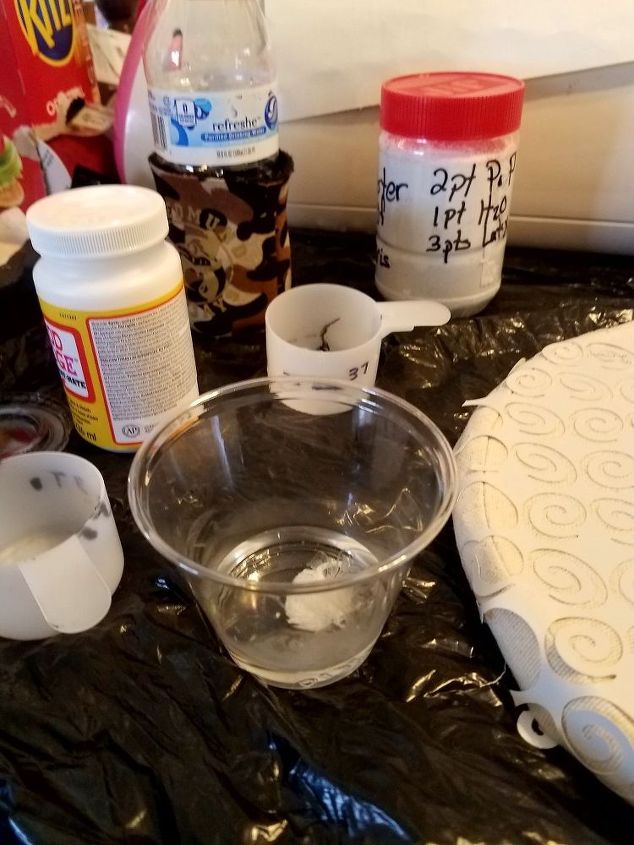
Mixing water, glue, POP and paint
I took a very little bit of paint and mixed it with homemade Gesso, which was basically about 1 tablespoon warm water mixed with a little Elmer’s School Glue (it's a white swirl in the cup above) and about ¼ teaspoon plaster of paris (POP) so it would dry more quickly. Then I added the paint until it had the desired consistency.
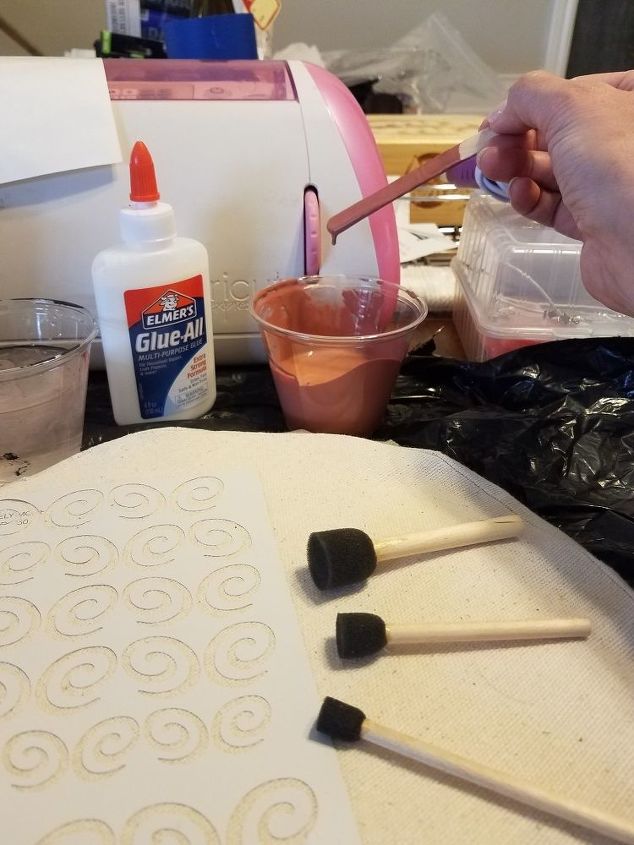
Pouncers
Now it was time to paint over the stencil. I’ve never used a “pouncer” before, either, and I can say that even the smallest one in the picture was too big for this stencil. I finally ended up using a sponge brush that looks like an eyeshadow sponge with a longer handle for this part. It came in the same huge package of craft brushes as the pouncers and other sponge brushes. I am still experimenting, and thought I would share my trials and errors with you, as well as the successes.
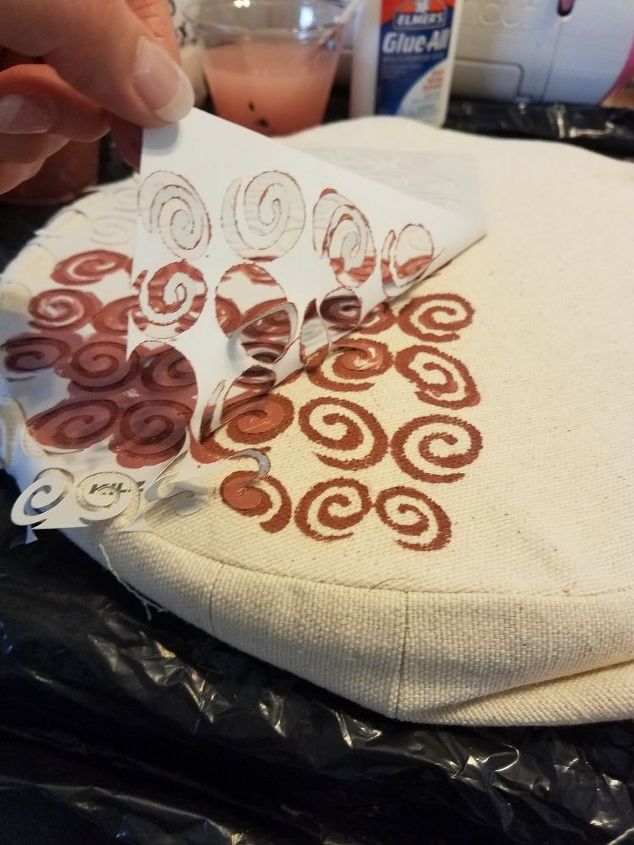
Taking a quick peek
This part was slow and extremely tedious. If I ever do something like this again, I think I will stick my stencils down on the fabric before cutting it, and run over it with a high density foam roller, creating the pattern all over the fabric. Then I’ll cut out what I need.
Also, since I’m extremely impatient, I couldn’t resist picking up a corner to see how it was coming out. Looking good so far!
I painted more, then, when I got tired of that, decided to try a new stencil. After all, this is a trial run for beginners, right? We need to learn how to use those pouncers! So I peeled up the rest of the swirl stencil. Not too much bleed through for a trial run!

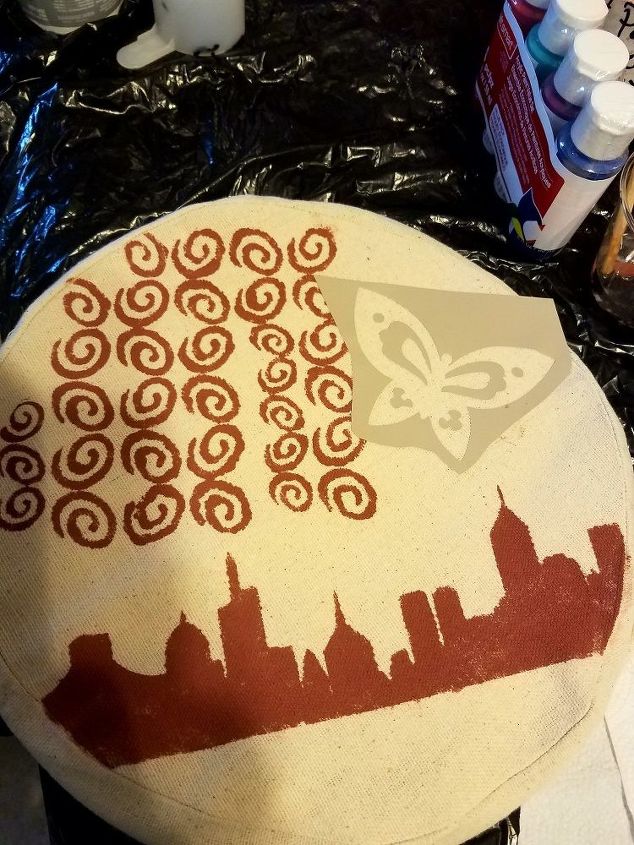
Cityscape
I decided to try the city stencil. It should go much faster. I didn’t have any mod podge open, nor a clean brush to apply it to the transparency, so I used Elmer’s glue and spread it with my fingers (impatient, remember?). It started drying out while I was still applying glue, so I smeared it with water once I was through spreading the glue. It didn’t look very nice, but it certainly did the job. I stuck it to the fabric, then used the largest of the pouncers and smushed it around to spread the paint. I scraped it off on the sides of my cup instead of drying it off on a paper towel. If I was using a thinner fabric, I would certainly unload the brush, but it worked fine for this heavy duty weave. I found that brushing away from the edges of the stencil worked best, making the outline crisp but not pushing paint under the stencil’s edge. When I needed to get into the tiny crevices, I used the eyeshadow brush again. I pulled the stencil off as soon as I finished painting.
One more stencil
While that was drying, I got a little braver and decided to use the butterfly stencil, after all. Instead of just making the shadow of a butterfly, I wanted to make it multicolored. I bet you were worried this whole thing would be monochrome, weren’t you?
I don’t know the name of the technique that I used for the butterfly, but I will try to describe it here. First, I cut the outline of the stencil out, leaving as large a margin as possible without cutting up any other stencils. Then, I peeled the whole stencil up and placed it on the fabric. Next, I lifted up the inside outline that I would paint on the fabric off and saved it for later. That left the outside part of the stencil on the fabric, an empty outline, and the pieces for the inside that would leave details rather than a blank shadow. I tried to show this in the pictures.
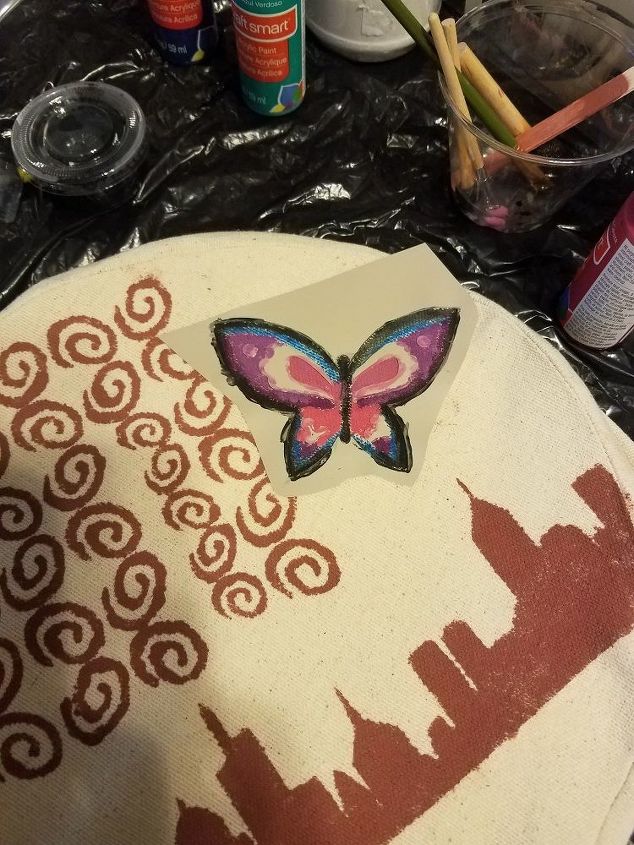
Adding some color
Since this would be a somewhat realistic butterfly, I painted its outline black, using some leftover homemade black chalk paint and the eye shadow brush. I didn’t stir it, so there wasn’t much plaster of paris, if any, in the paint that I used. Once I had the outline, I colored inside it with a blue oil pastel color. It was okay, but didn’t have the effect that I wanted, so I broke open some more of my acrylic paints. I used just a few drops of the bolder colors, Plum and Cherry Cobbler, and added white to lighten them up. I finally blended the resulting violet and pink to make one of the other colors that I used.
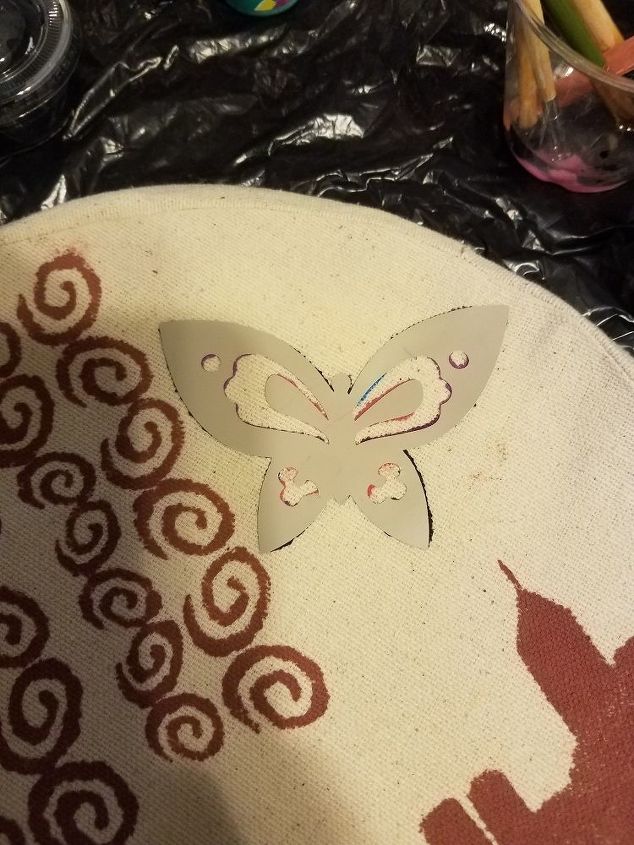
Reverse Stencil
Once all that detailing was reasonably dry, I placed the inside outline of the butterfly back inside the stencil. Then I pulled off the outside outline of the stencil and the inside details that had been covered by the previous stencils. Basically, I had a reverse of the original stencil covering what had already been painted and revealing the clean material underneath. I then proceeded to paint the final details.
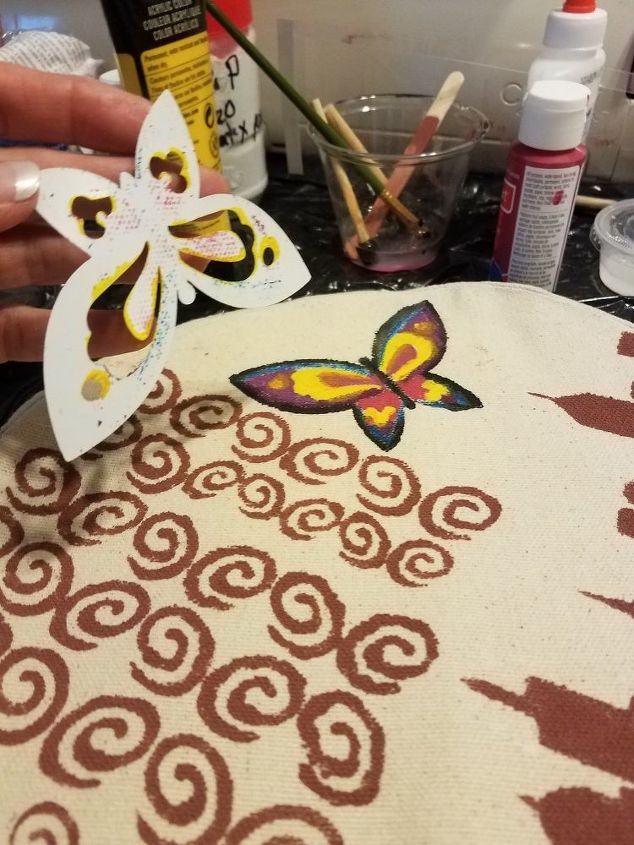
Closeup of bleed through
I thought it would be sticky enough, so I didn’t glue the outline to my previously painted piece. I should have. It bled through a little when I pulled up the details and painted those last little bits. I hurried up and blotted with Q-tips. It worked pretty well , considering how much yellow you can see on the butterfly stencil above.
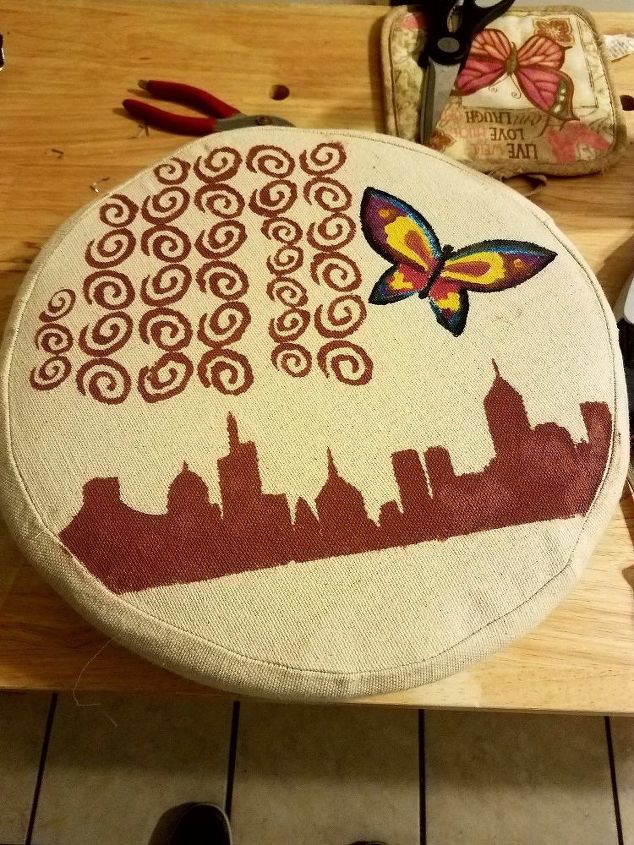
Giant Butterfly attacks city?
Overall, I’m excited about my first foray into stenciling. I hope my friend is pleased, too. It does sort of look like the cover of a comic book, though!
Be sure to check out the project Sew Easy Cushion Cover to see how I made this cover!
Comments
Join the conversation
3 comments
-
I just love it!!
-
You did a super great job!


Frequently asked questions
Have a question about this project?