


Bathroom Cabinet Makeover
4 Materials
$25
1 Day
Easy
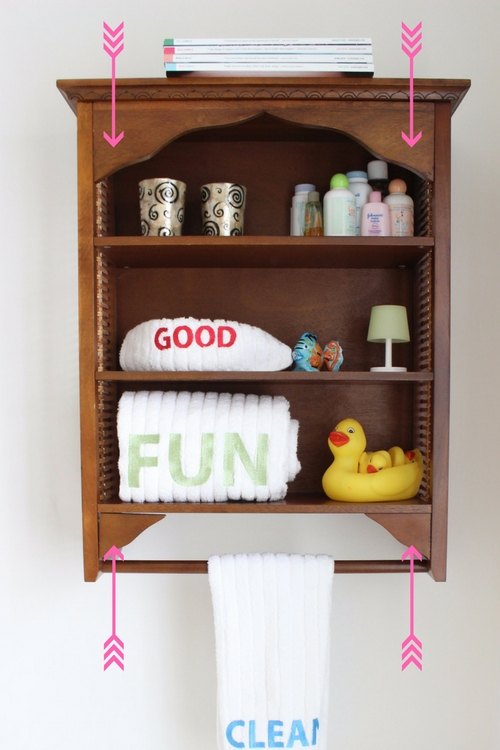
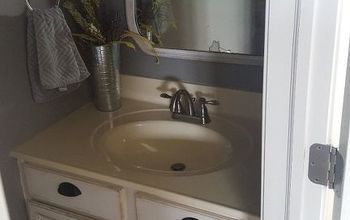
I have had this brown boring bathroom cabinet for years. I decided to give it a makeover by removing some pieces, painting, and sanding.
First, I removed the top piece to open up the top shelf.
First, I removed the top and two little bottom pieces to give the cabinet a more sleek look.
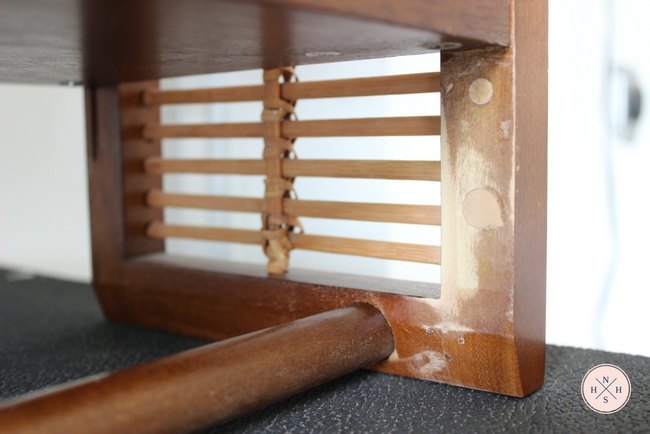
I filled in the holes with wood putty and sanded them down.
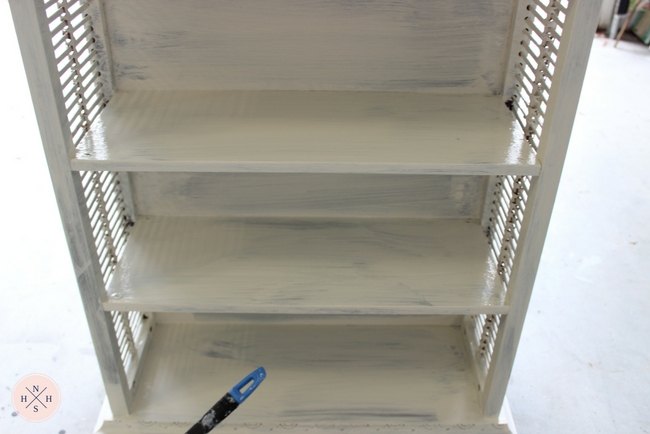
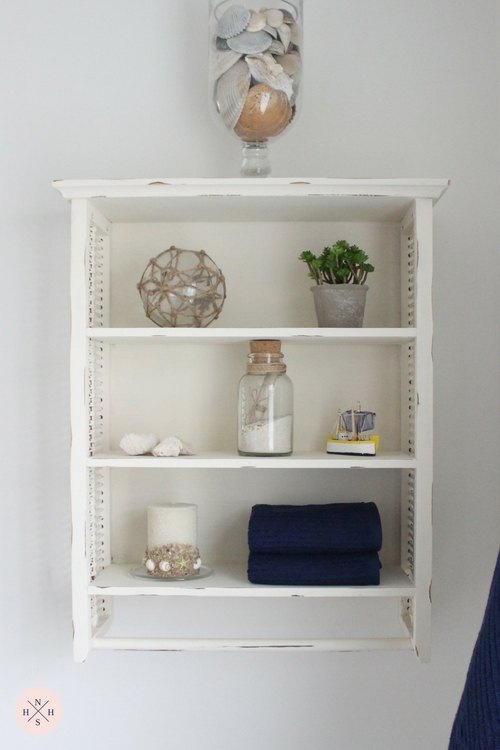
I painted the cabinet with ivory paint I had leftover from other projects. Because the furniture is dark and the paint is light, I applied an extra coat.

After a second coat, the cabinet still had a few imperfections, but I left it that way since I wanted to achieve a Shabby Chic look.
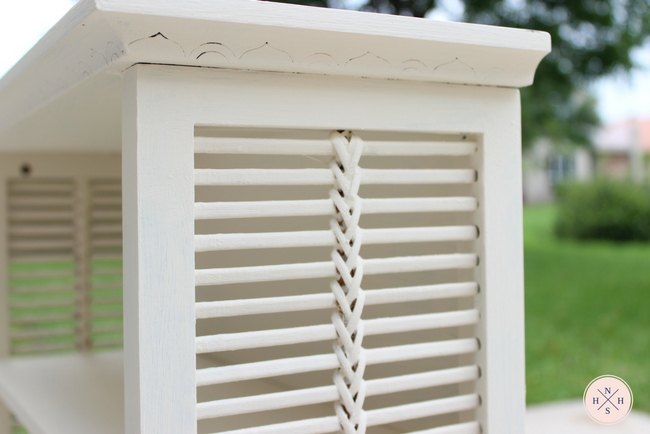
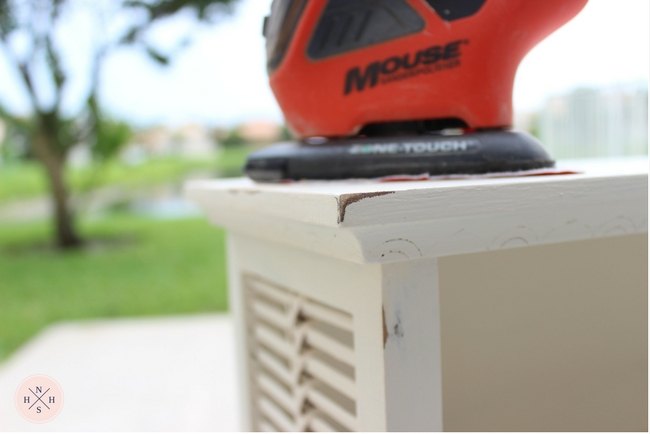
With a palm sander and 220 grit sandpaper, I sanded some of the edges and corners to make scuff marks and achieve the Shabby Chic and cottage feel look.
I added navy blue and coastal chic decorations on the shelves to bring out the cottage feel on the cabinet.
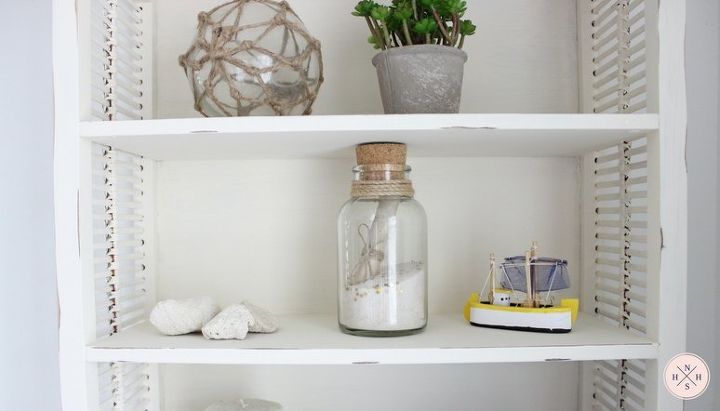
I added some beach and nautical decor, to bring out the coastal feel of the cabinet.
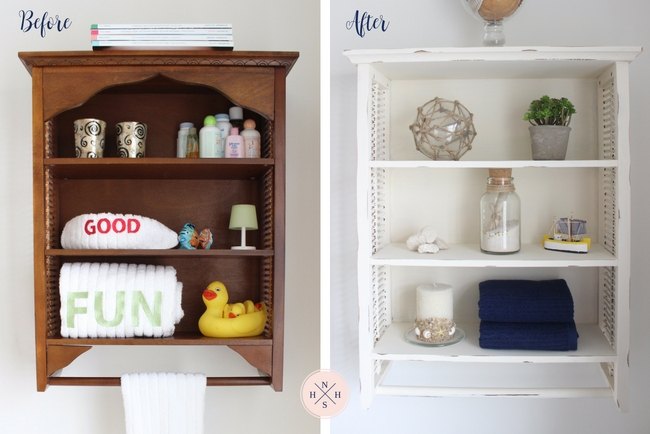
Here is a look at the before and after.
What a difference a coat of paint makes!
For more details on this project, visit my post: DIY Sabby Chic Bathroom Cabinet

Want more details about this and other DIY projects? Check out my blog post!


Frequently asked questions
Have a question about this project?