


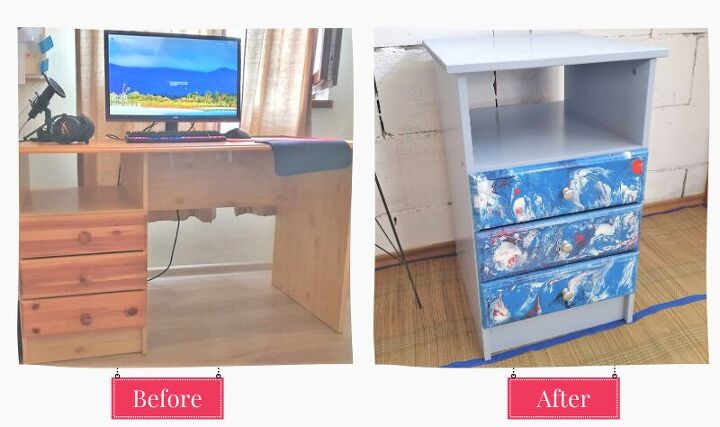
From an Old Desk to a WOW! Marbled Nightstand

You can easily acquire a marbled look using a few colors of paint and a sprinkle of water. You can’t go wrong with marbling, because the paint is doing all the job. Mix it with an old desk, and what you get is a brand new piece of furniture. That's what I did, and you can see it HERE!
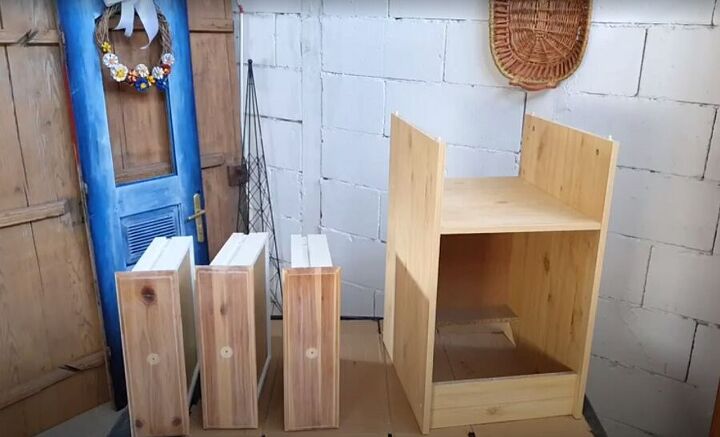
First, I had to dismount the desk and set apart the drawers. I kept the drawers unit and put the rest of the pieces apart for a different project.
Cleaning and sanding lightly the frame and the drawers was mandatory since my kid used heavily this desk for a few years.
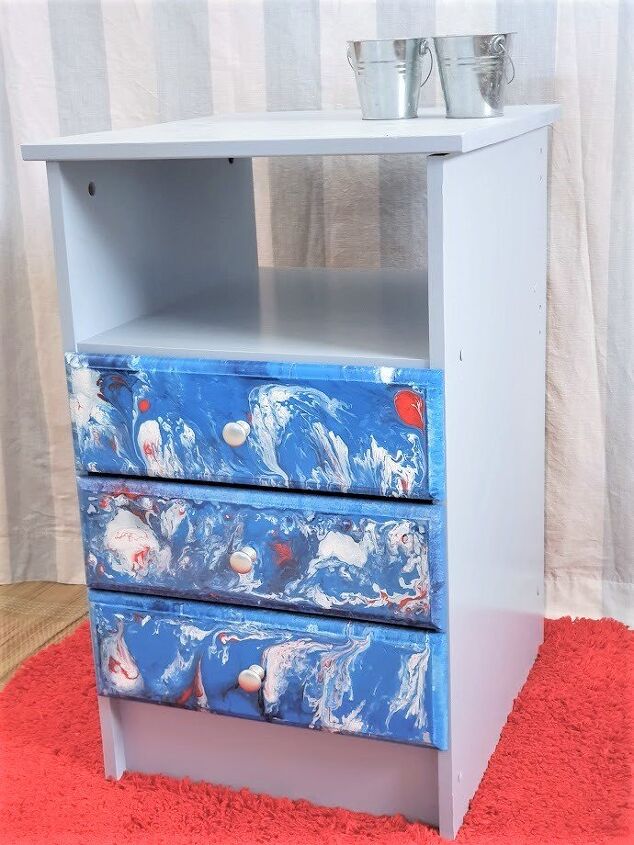
I got a new piece of plywood, cut it to the size of the unit, and crafted a new top for the drawers unit.
As for the paint, I chose one that was fit for wood and laminate equally. Painting the frame and the drawers was the easiest thing to do before going further and craft the marbled look.

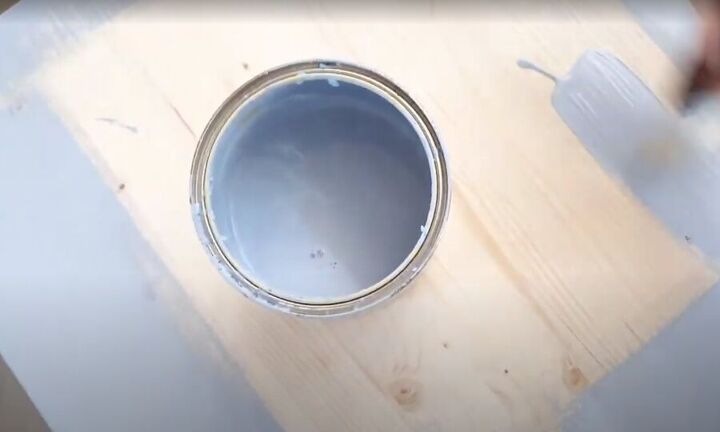
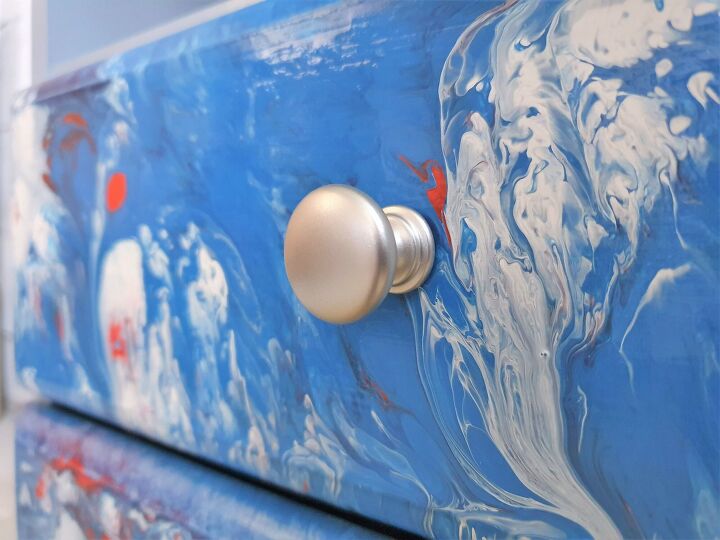
Prepare the colors in small recipients and add a bit of water till they have the same consistency as a syrup. Sprinkle a bit of water on the surface you want to paint, then pour the paints here and there, then shake the drawer in your hands and lean it on one side and another to make the paint bleed.
If you think that watching a video might help you get it better, then check the article on my website about this project and you will find one there.
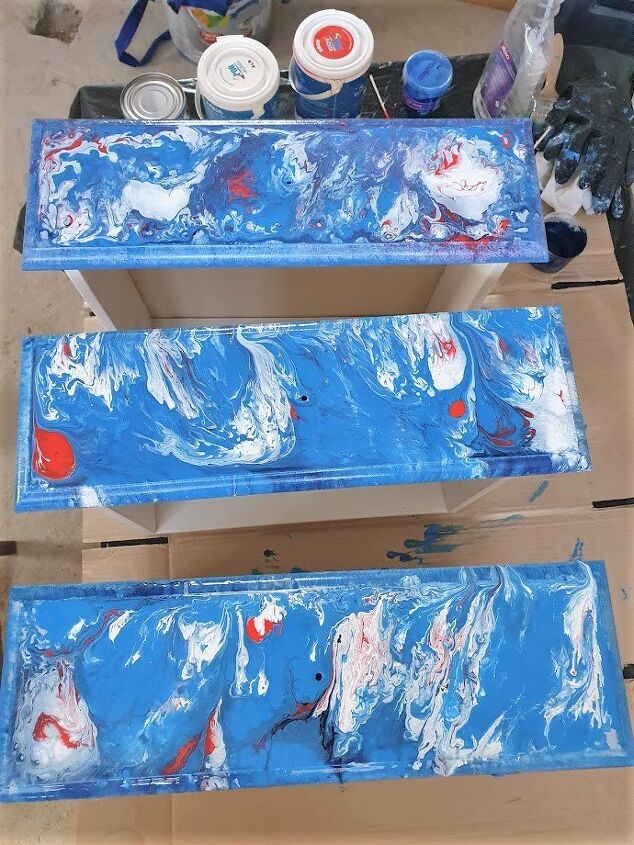
Go further with the next color and repeat the operation.
You don’t need to cover the surface entirely, the paint will do it while bleeding. Shake after each paint addition so the paint would easily spread and bleed. You can help them bleed by sprinkling water then shake again.
When you got the desired look, let the drawer dry on a perfectly horizontal surface. Keep an eye on them to prevent the paint drops from drying in while pouring on the sides. Wipe them gently with a brush or a clean cloth.
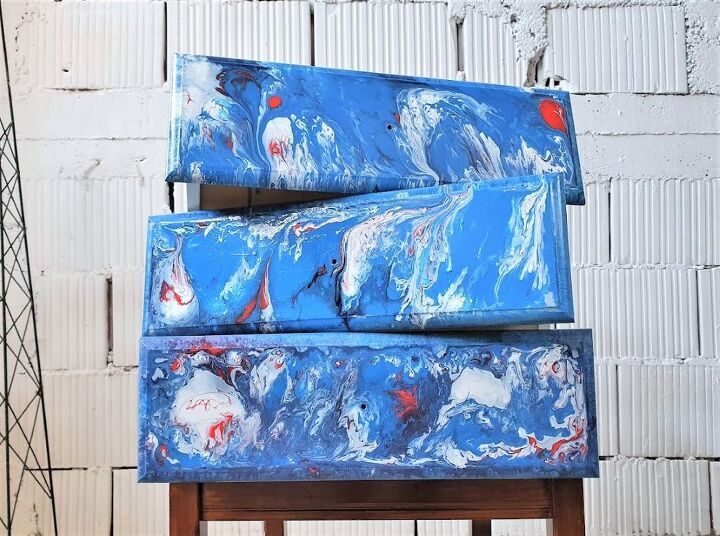
Depending on the paint, it may take a few hours or even a day to dry completely till you can add the hardware.
I don’t know about you, but I’m completely in love with this technique, considering the huge difference it makes within this DIY project.
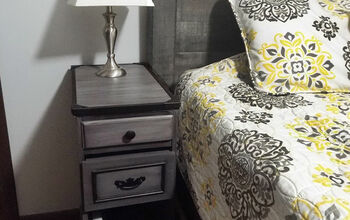
I hope it helps, I hope it inspires you, I hope it will give you the courage to start your own flipping furniture project.
You can find more DIY projects on my blog - gabiralea.com.
Stay safe!
Resources for this project:
See all materials


Frequently asked questions
Have a question about this project?