


How to Paint Furniture the Easy Way
Dixie Belle Paint sponsored the product for this post, but all ideas and opinions are my own.
I love painting furniture! I can write a book on how to paint furniture considering all the colors and techniques I have experimented with over the years. Some of my most recent paint projects include this hutch makeover and this chair makeover. Oh, and let’s not forget the painted front door and the kitchen cabinets that I’m busy painting! You get the picture.
Needless to say, when Dixie Belle Paint Company asked if I would like to try their products for a project, I did not have to think twice!
Nightstands for the guest bedroom
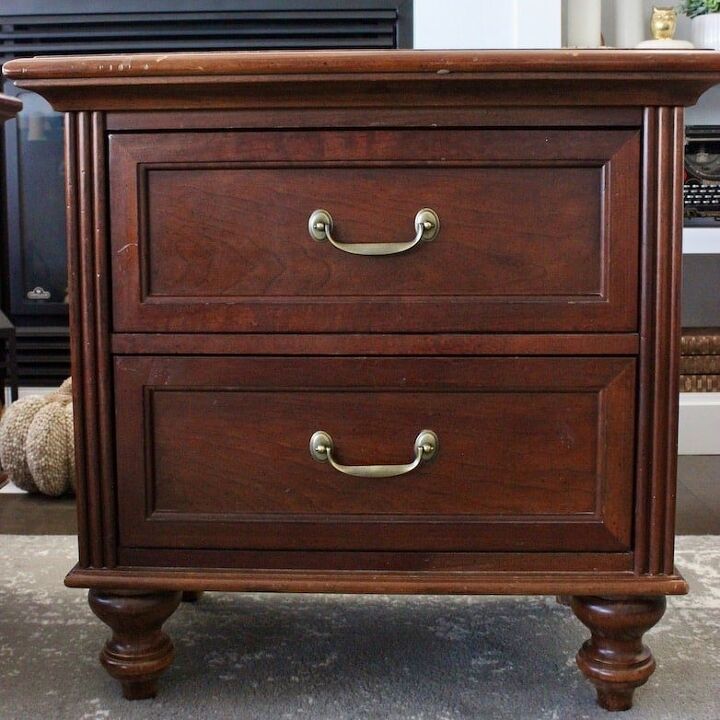
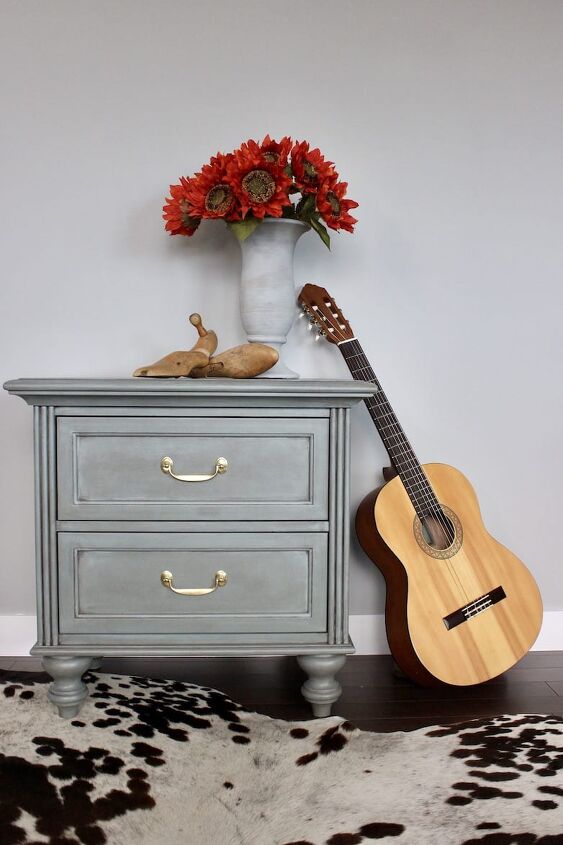
I saw these nightstands on Facebook Marketplace and thought they would be perfect for our guest bedroom. At $25 for the pair, I could not resist. They are big and heavy, and I love all the detail. The wood was scratched, dinged, and mostly veneer, so painting them was nothing to feel guilty about. We are not dealing with anything fancy or antique here!
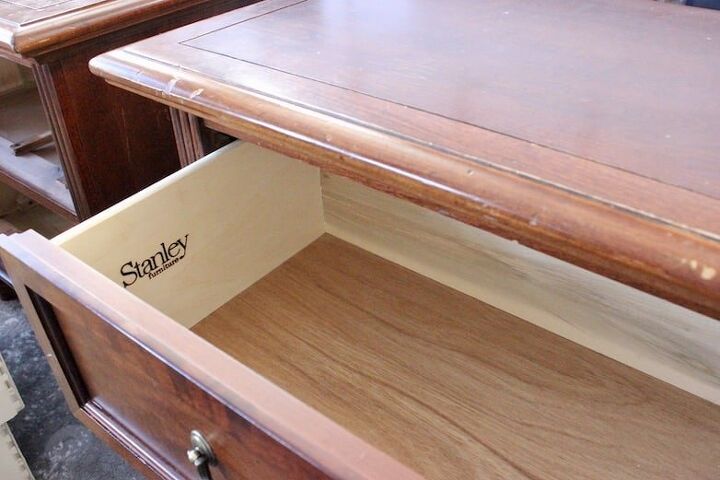
Despite their slightly rough look on the outside, they look brand new on the inside!
How to prep before painting
My first step was to remove and clean the brass hardware. That was quite the process and worth a post on its own!
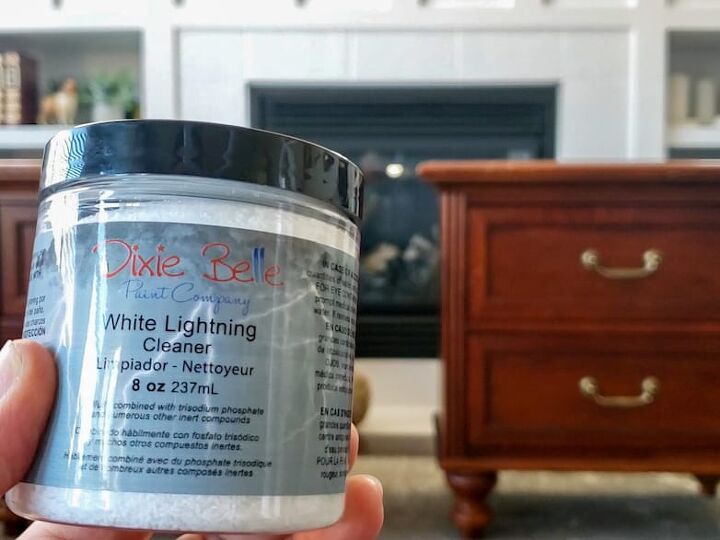
The beauty of chalk paint is that you do not need to do a lot of sanding or paint with a primer before applying your color. The furniture does need to be clean, though, and Dixie Belle makes it easy. You simply mix two tablespoons of White Lightning Cleaner with warm water and use it to lightly wash or wipe the furniture piece(s) you want to paint. Repeat with clean water, and you are ready to go!
How to paint furniture
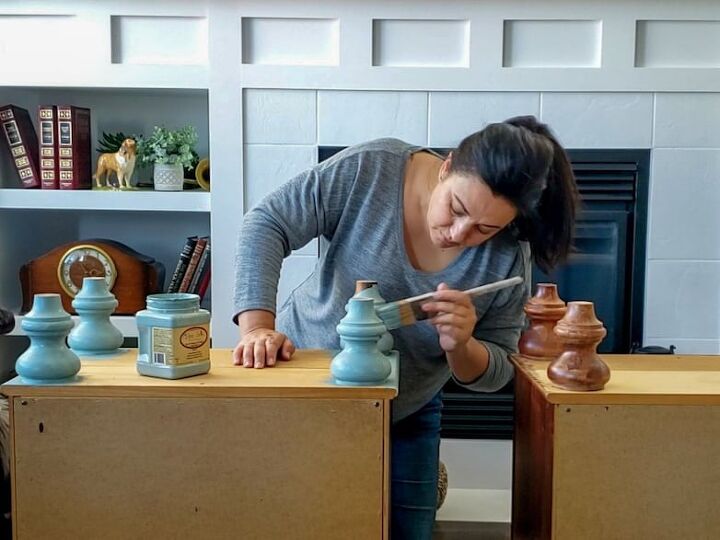
I turned the nightstands upside down and started with the feet. While the feet were drying, I painted the drawers.
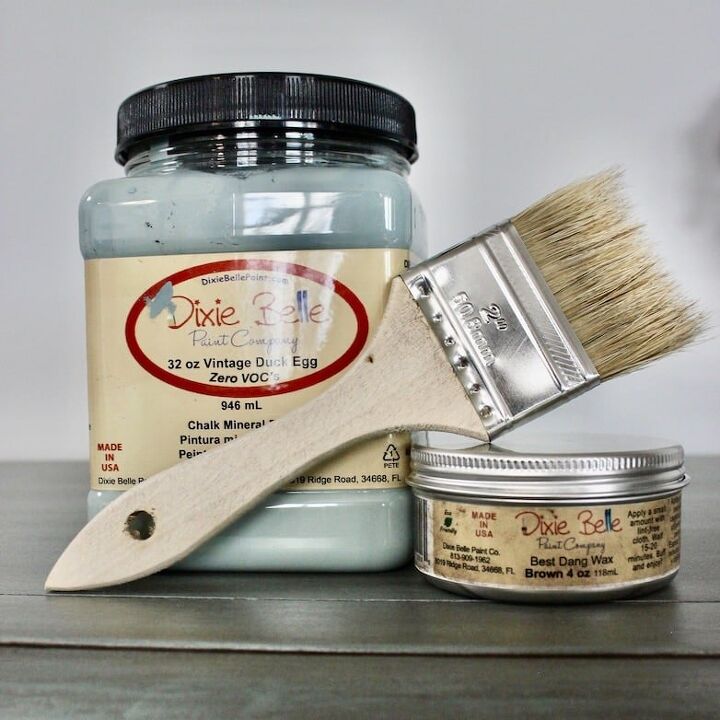
I used chalk mineral paint in the color Vintage Duckegg. It is a beautiful blue-grey color with a hint of green, and it is very similar to the color I painted my kitchen cabinets. I considered using this for the cabinets, but it dries slightly darker than I wanted.

The coverage this paint offers is fantastic. After just one coat, it looked almost done. I am a firm believer in two coats of paint, always, so that is what I did.
Adding brown wax
The color is beautiful, but it looked a bit flat after all the pieces were painted and lacked dimension or depth.
Maybe I was just curious to try more of the products Dixie Belle sent me. Who knows?
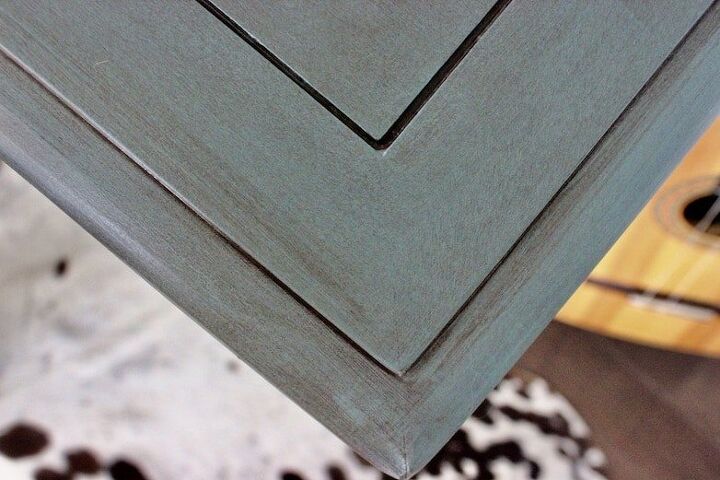
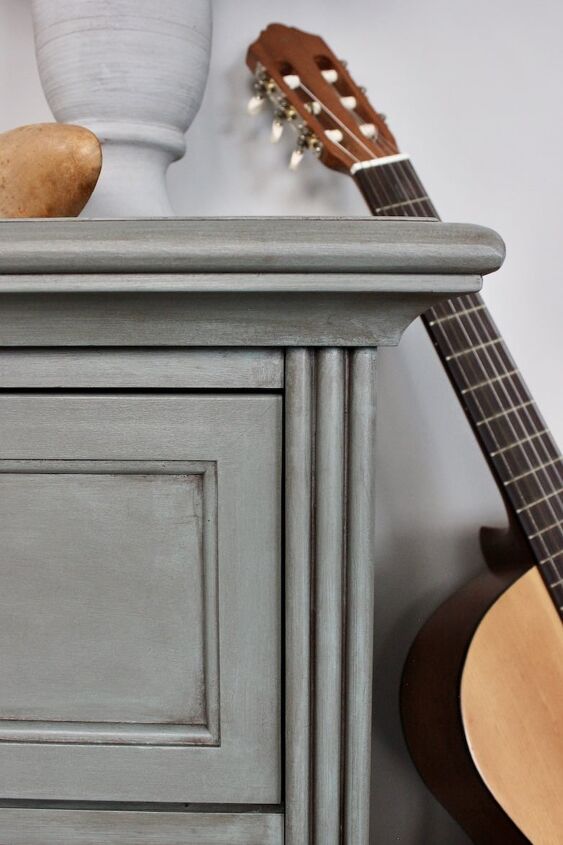
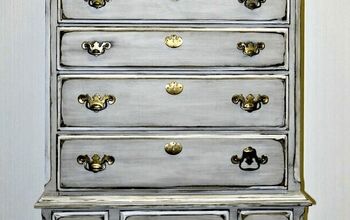
I decided to dust off my paint technique skills and use dark brown wax to highlight all the beautiful detail on the nightstands. I have created this look before, but not with dark wax. This was an experiment! I also had no idea how the brown on blue would look, but you know me, I’m willing to try anything even if it means redoing it.
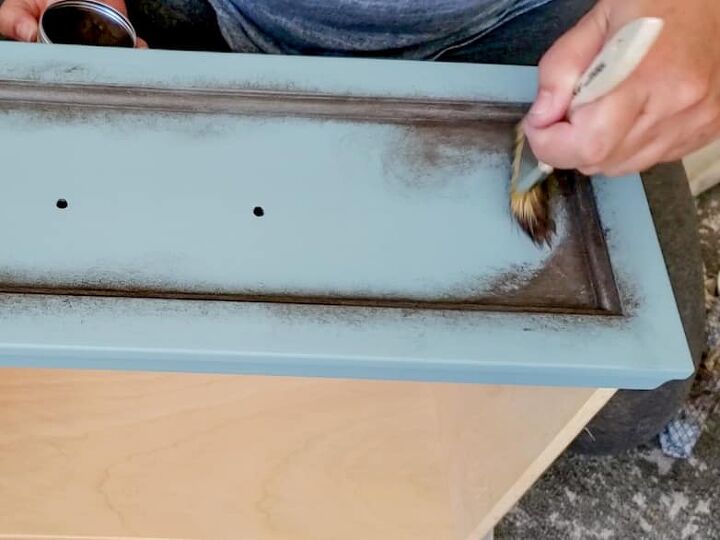
I used a brush to work the wax into all the nooks and crannies and a cloth to wipe it over the smooth surfaces.
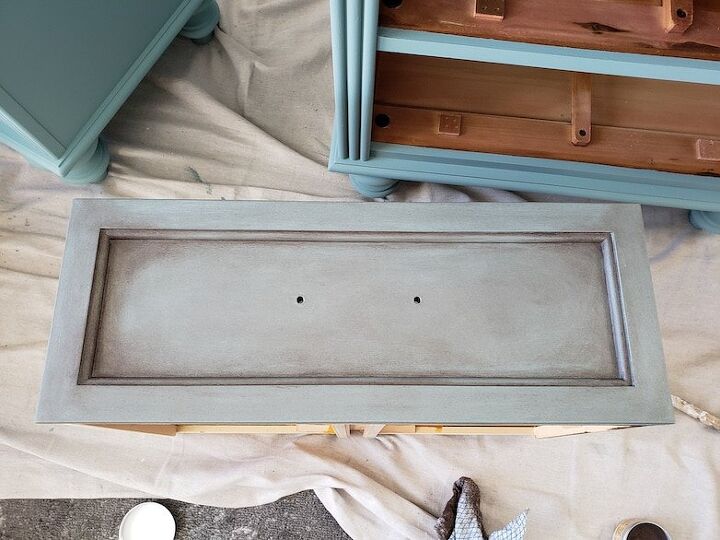
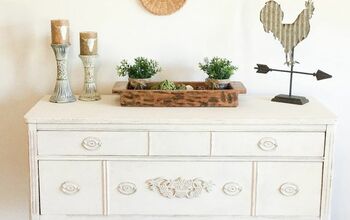
Imagine my surprise when the blue was no longer blue but a lovely gray color! Not what I had planned, but I love it! In all fairness, I did not have a clear plan of what I wanted it to look like.
Here you can see the paint with and without the brown wax next to each other. I am thrilled with the effect it created.
I think what I like most about Dixie Belle’s “Best Dang Wax” is that it is water-based! Yup, none of that sticky yuckiness you get with traditional wax. You can wash your brush and hands with soap and water, and it will be clean! They definitely gave it the right name.
After applying and buffing the wax, I used the clear coat sealer from the same product range. That was also very easy to use and dried beautifully without showing streaks and brush marks.
The only mistake I made was not giving the wax more time to dry and set. I did take some of it off as I brushed and rolled on the sealer. Nothing too serious but next time, I’ll allow more drying time.
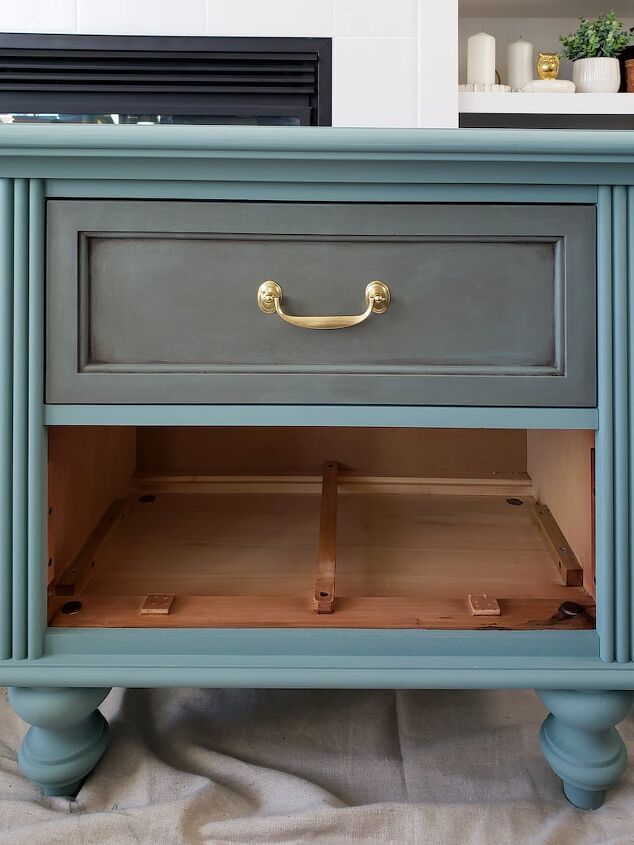
How beautiful is this?! I think I might be hooked on paint techniques all over again!
But most of all? I am hooked on Dixie Belle Paint! I love the paint, and the wax, and the sealer!
Now I need to find a headboard I can paint to match the nightstands!
And some pretty curtains and maybe some wallpaper…

Comments
Join the conversation
-
Love, love the way it turned out!
-
Awesome job and the color is very pretty. It is always a good feeling bringing something old back to life. Love it.


Frequently asked questions
Have a question about this project?
How can I contact u
How can I contact you