


How To Stain Wood: Tips for Beginners

I recently tackled my first wood staining project and want to share with you some staining wood tips that I learned while completing this project. Staining wood DIY projects can be fun and rewarding - especially if you get all of your supplies ready and do some research first on how to tackle a project like this.
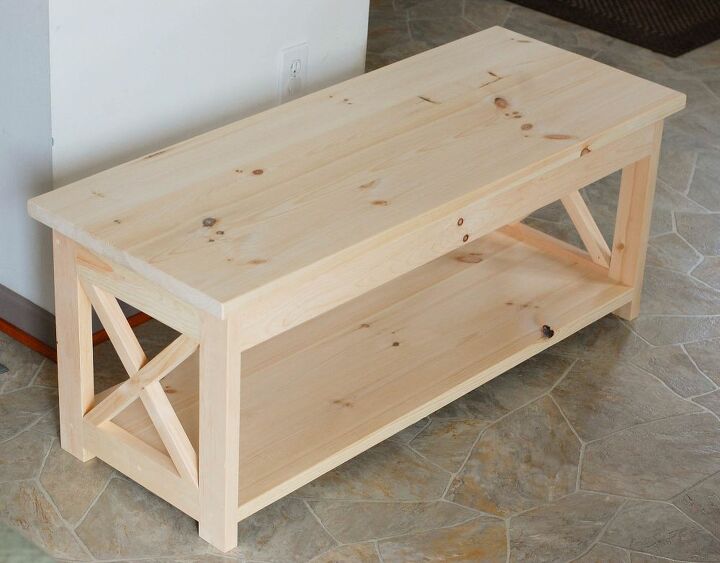
I had a coffee and end table set in my living room that were still in good shape, but were hand-me-downs from my parents and were totally stuck in the 90's. So I've been brainstorming with my handy husband on how we could work together and make an updated set ourselves.
Aside from being an engineer, my husband is also pretty good at woodworking. So I showed him a picture on Pinterest of what I wanted. He drew up a design, and off we went to Home Depot to buy some wood. We spent $121 in pine 5/4" x 4 and 5/4 x 6 boards and $17 for the stain. All other materials we had on hand. That's a total of $138 for both a solid wood, matching, coffee table, and end table set. A similar coffee table alone I found over on Amazon was $179! If you have the time to tackle a project like this, the money saving is totally worth it! Not to mention all the compliments you'll get when you have visitors say, "You did that?? Wow!"
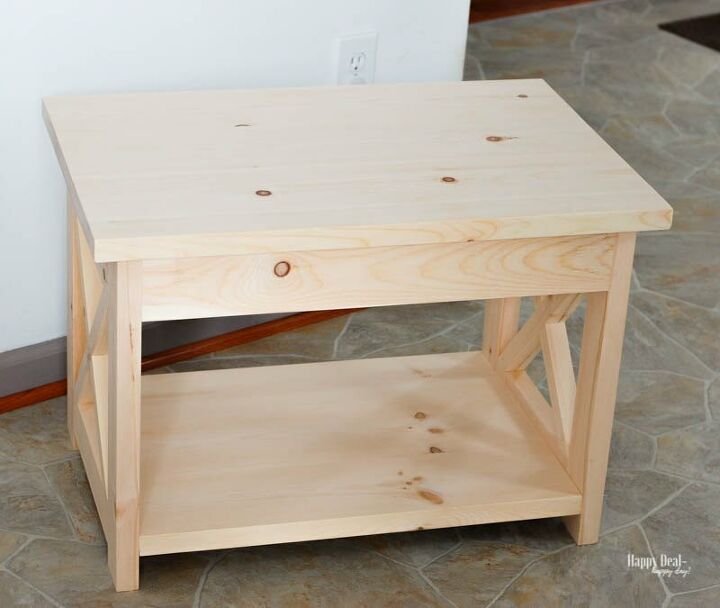
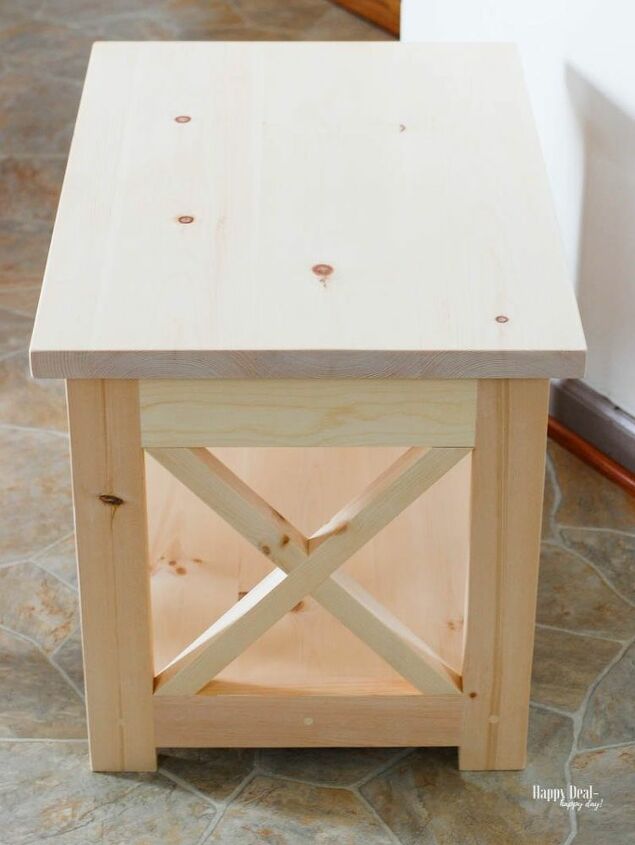
Here's the end table before I stained it. My husband did a great job at doing a simple design that had the trendy "X" on the end that I made sure was a part of the design!
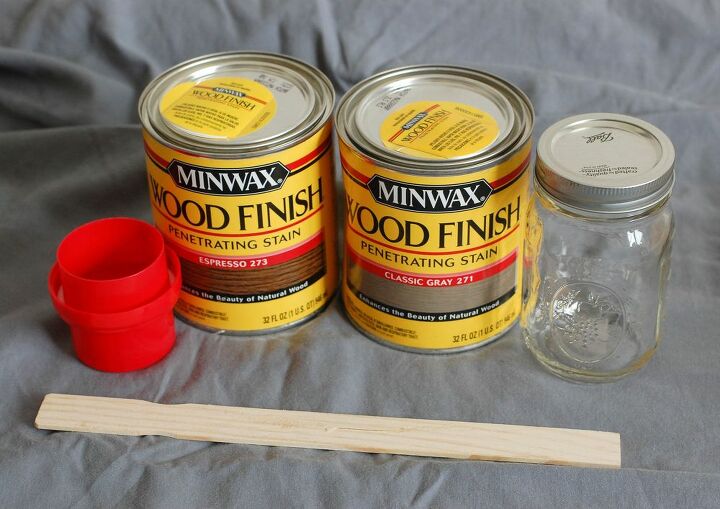
Materials needed for staining wood furniture:
- Minwax Pre-Stain Wood Conditioner
- Minwax Wood Finish (Espresso & Classic Gray)
- Mixwax Polyurethane
- old t-shirt or rag
- disposable nitrile gloves
- small paintbrush
- mason jar
- foam brush
- paint stir sticks
- block of test wood
- 3M Half Facepiece Reusable Respirator & 3M 2097 P100 Particulate Filter with Organic Vapor Relief, 1 Pair
This post was originally going to include all of those building plans as I told him to create an easy design. But the perfectionist in him took over, and the plans got more complicated, so instead I'm just going to focus on that part I did - and that was to stain.
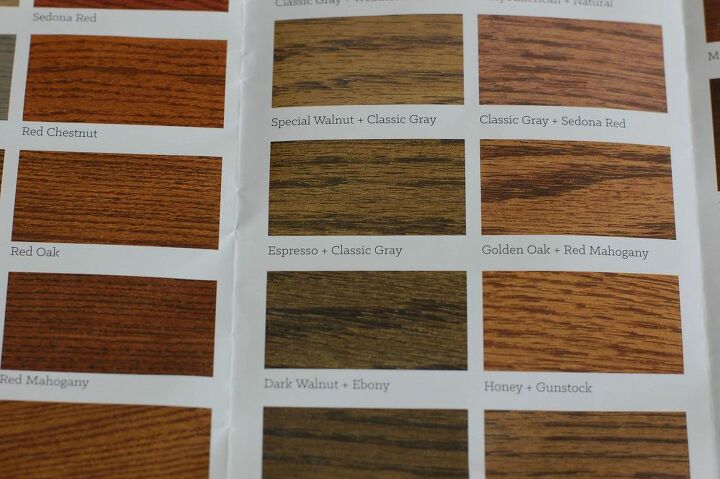
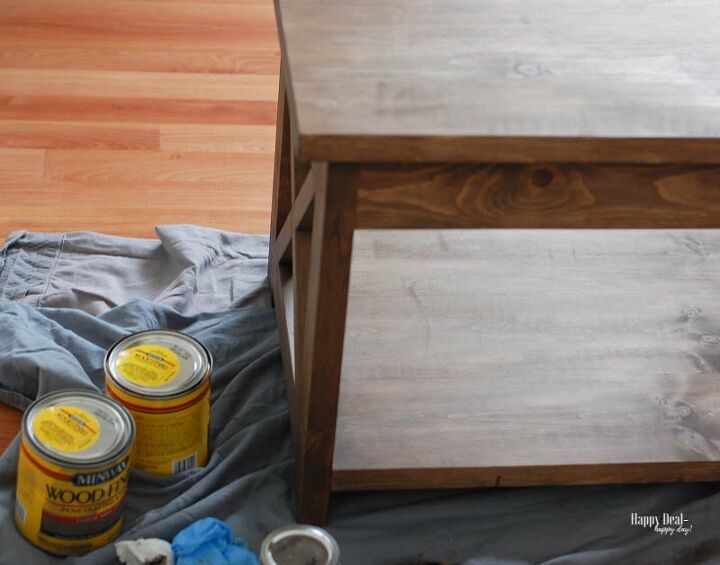
I went to Lowes to pick a color and picked up the Minwax brochure on the color choices. To my surprise, I learned that they had "recipes" for mixing colors. I never thought about mixing stain colors - I just figured I'd get what I needed pre-made in a can. But when I looked through the brochure, the exact color I wanted was a 50:50 ratio of Minwax Espresso and Classic Gray.
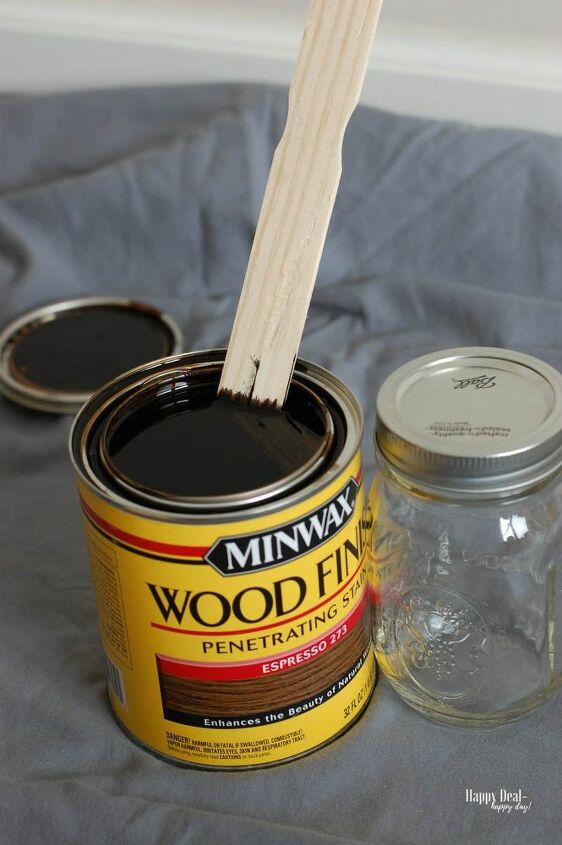
If you too want to try and mix stain colors for a custom color, be sure to mix each color individually in its can for a few minutes.
After you mix the stain in the can, its time to mix your custom color. To get the 50:50 ratio, pour 1/2 cup (or 4 oz) of each color into the mason jar (which does have a fluid ounces gradient on it). That amount ended up being more than enough for me to finish the project.
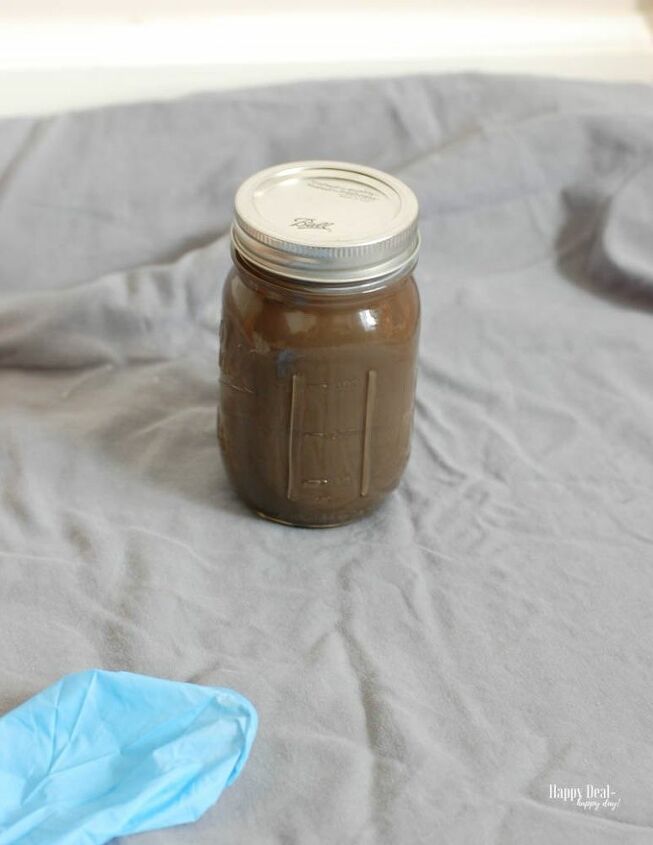
If you want to be sure you like your mixed color, be sure to test it on the same kind of wood you will be staining. My husband had a block of wood left over from the project and I rubbed some of the mixed stain on it and compared it to my TV stand (of which I was trying to match). It was perfect!
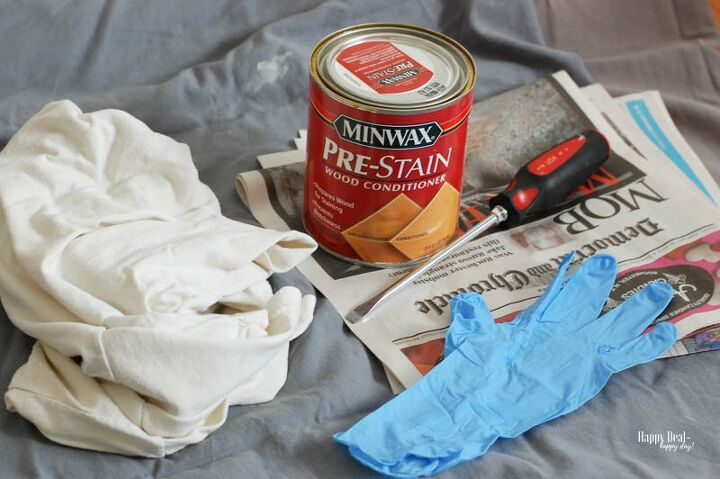
Before you start staining, I highly recommend putting on a coat of Minwax Pre-stain wood conditioner. I tried to be lazy and get out of this step, but my husband got out a test piece of wood and made me cover half with the conditioner and half without and stain it so I could see the difference.

He was clearly right in that the stain came out more evenly and smoother on the side that had the pre-conditioner. The other thing to take note of is that the end of the piece of wood where the end grain is exposed will inevitably soak up more stain than the rest of the wood. I put on two coats of conditioner just on those end grain edges so they wouldn't get too dark compared to the rest. It still came out darker, but it blended well enough that I was happy with it.
With the pre-stain - be sure you cover the entire piece in one sitting. If you don't, there will be edges left where you can tell where the conditioner was and it will be challenging to go back and sand it to blend it in to look smooth.
After you let the pre-stain conditioner dry (at least 15 minutes,) then it's time to start staining.
Here are some tips for beginners I recommend on how to stain wood:
1. First of all, wear a mask! I tried to be all tough and rolled my eyes when my husband warned me about how stinky stain is and how bad it is for you to breathe in. I just opened a window on the first day and went to town without a mask. Big mistake. I had to quit early that day because I was feeling light headed and nauseous. I didn't start this project again until Amazon dropped off the mask and filters at my door!
2. Wear gloves! You don't want pre-stain conditioner, stain, or polyurethane on your hands! It's a bear to get off. Have a few pairs of disposable gloves on hand for the duration of the project.
3. Have a large drop cloth underneath your project. I used an old king sized sheet.
4. Complete your project in a room with good ventilation, or even in your garage. I used our guest room because we could just keep the window open to let out stain fumes, and keep the door closed to the rest of the house while it was drying.
5. When its time to begin staining, use a rag and fold it up into a small square. Then dip the folded rag in the stain just enough until its wet. Start rubbing the stain on the wood in a circular fashion until the wood is evenly covered. Then do a final wipe down rubbing with the grain, until the color is even and smooth.
6. You may need to have a dry rag nearby to wipe off any stain that is layered on too thick.
7. When you start staining, be prepared to cover the entire surface in one sitting. You can split it up into different sections, but be sure to finish the entire top for example before walked away. Otherwise, you'll end up with a stain line down the middle that will not be easily rubbed out. Then trying to sand it and blend it in without it being noticed is just a huge pain. So just stain the entire part of one flat surface at a time.
8. It is sometimes hard to tell if a spot is darker than the rest because of the wood grain, or because the stain is too thick. I recommend being conservative with your stain at first. You may need to add a bit more stain in certain spots after you let it dry for a day. It's always better to add more stain later than try and remove too much.
9. Watch for drips - if any stain drips and you miss it, it will dry on like that and you'll have to sand it off, and patch in new stain, which can be challenging. (I know from experience on this project! I was lucky though that a quick sanding and a quick swipe of stain repaired it so it was unnoticeable.)
10. Use a small paintbrush to get into the nooks and crannies of where the angles of the wood meet. A rag alone won't get into those small or tight spaces.
11. Staining is an art - more so than painting a wall! I thought it would be easy peasy wiping on wood - but it was tricky trying to eye out areas to be sure the stain looked even.
In terms of a time-frame to schedule your project, I started with just the end table - preconditioned that in one day, and just stained the flat top. After I realized I needed a mask, I stained the rest on the day the mask arrived. Then I spread it out the same for the coffee table over the next couple of days.
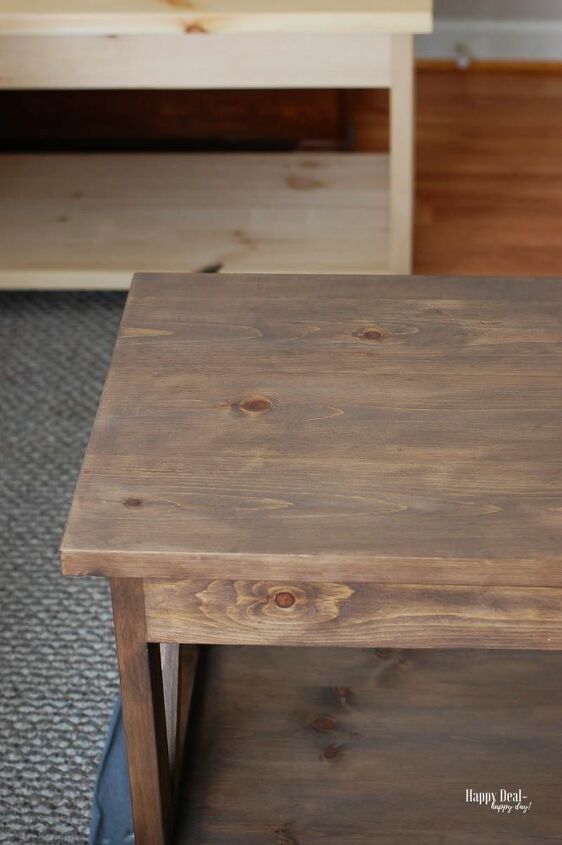
After you let the stain dry for a full 24 hours, finish off with at least one coat of polyurethane over the entire table. I used a foam brush for the polyurethane application. I applied one coat on the entire table, and 3 coats just on the top. I wanted extra protection against moisture on the top layer, as that would be where we'd place drinks.
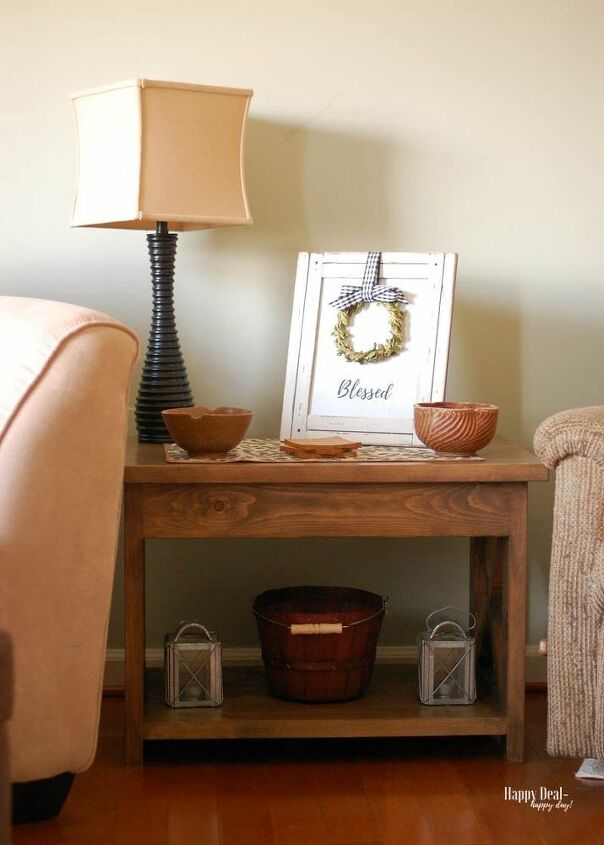
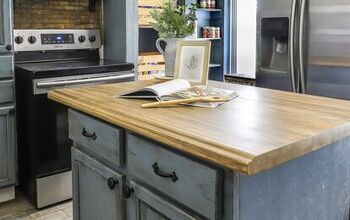
Here is the end table in my living room - complete with my framed "blessed" sign - that you too can make with the instructions over here!
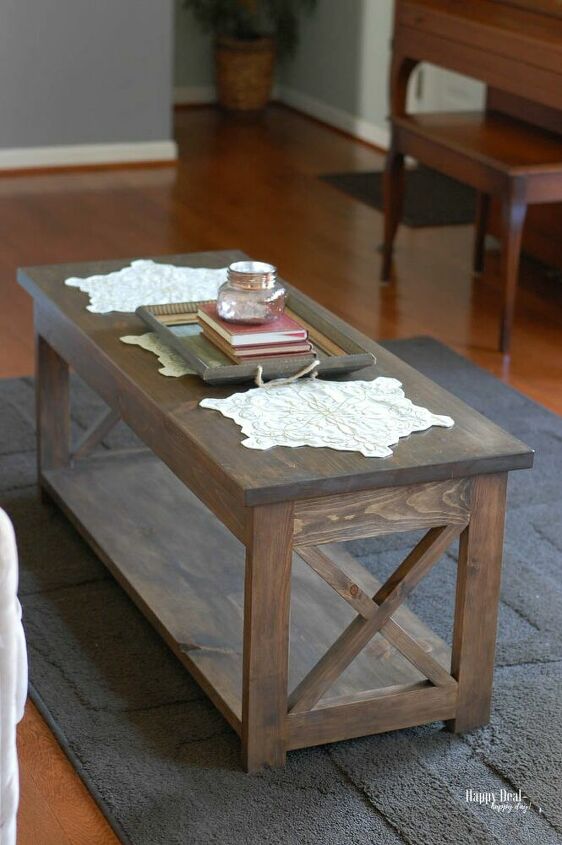
Here is the coffee table - topped with the upcycled picture frame, turned into a wooden tray!
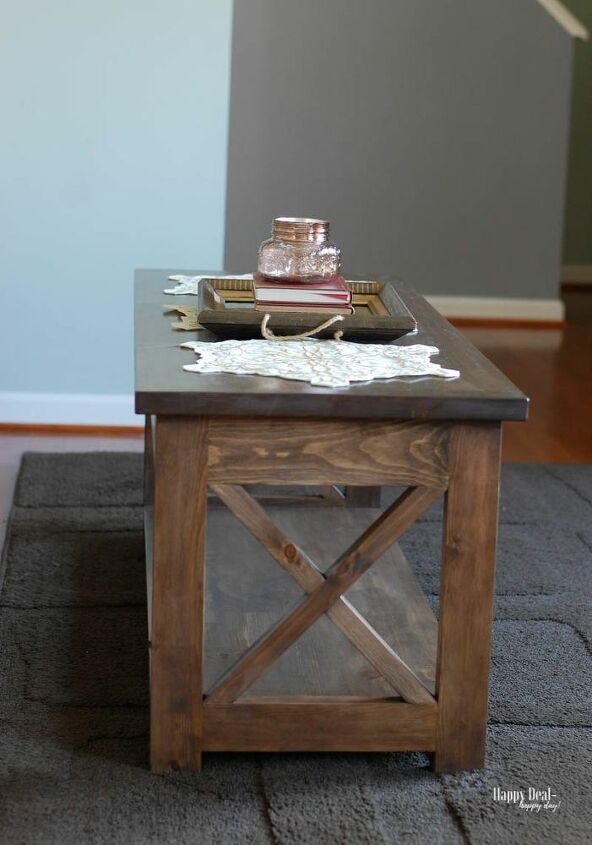
Will I sign up to stain another big project like this anytime soon? I'll admit that staining these two tables took me much longer than I thought it would and applying stain is trickier and more detailed than just painting. But the final product turned out amazing and I'm so happy I did it!!!
Comments
Join the conversation
-
Outstanding! Looks amazing. Perfect tips. You did everything right. I also use Minwax products. When I started woodworking back in the early 70's it was a learning experience.
-
Well done tutorial. You included the most important step that should be always done to raw wood— conditioning/sealing prior to staining. Sometimes you can skip this step if the piece has been previously finished, but many wood species are unforgiving. They will blotch and stream without pre-treatment and especially with any exposed end grain. At a minimum, one should wet the surface with the solvent of the stain you are using.
An extremely good tutorial.


Frequently asked questions
Have a question about this project?