Homemade Vintage Wood Stain

by
Amanda C, Hometalk Team
(IC: paid contributor)
5 Materials
$2-6
9-10 Hours
Easy
Sometimes I feel like stain and paint are just crazy overpriced at the hardware store. Not that they are all that expensive, but when you are working on a big project it can certainly add up! That's why I decided to make this homemade vintage wood stain. With some regular household items like vinegar, coffee, and steel wool sponges you can make some homemade wood stain too!
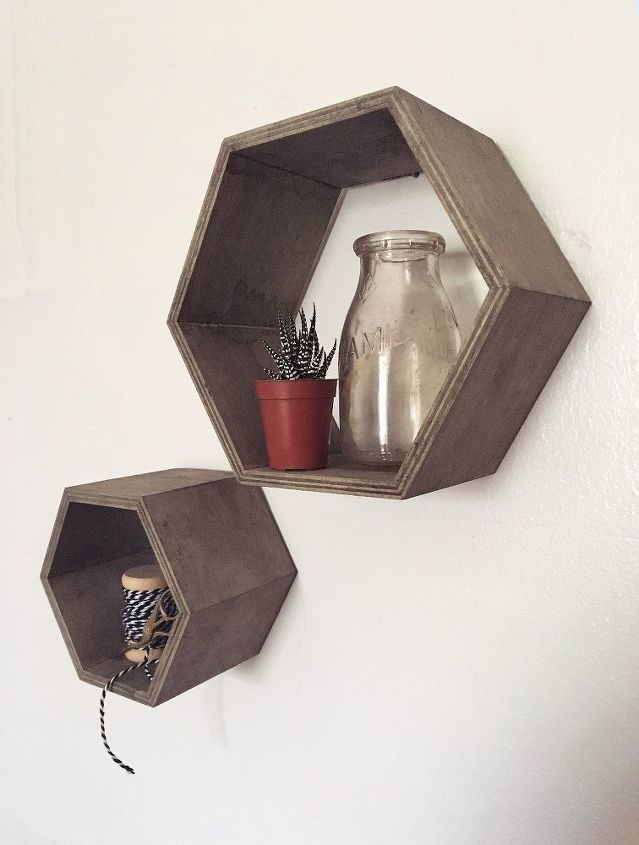
I just recently spent close to $10 on a stain that looked super similar to this and this cost me less than $2! I bought the steel wool sponges at the dollar store for $1, but it was a box of 10 and I only used one. The vinegar was 99¢, and the rest I already had on hand! Obviously, the hexagon shelves were an additional cost, but for the stain you are looking at somewhere close to $2.
SUPPLIES: -Raw wood object to be stained -1/4 cup used coffee grounds -White Vinegar -Steel Wool Sponge -A container with a seal of sorts
STEP 1: Cut your sponge Cut your steel wool sponge in half. (You could probably use the whole thing, especially if you are making a large batch, but half should do the trick). *I couldn't find regular steel wool, so I got the one with soap in it, but it worked just the same.
STEP 2: Add coffee grinds to the sponge Place your cut steel wool piece in a container that has a lid or can seal in some sort of manner. Top your steel wool with 1/4 cup of used coffee grinds.
STEP 3: Fill it with vinegar Fill the rest of your cup almost to the top with white vinegar. I probably used about 2/3 cup or so. There isn't an exact science to the measurements, so don't get too caught up on that.
STEP 4: Shake it Close your container and shake the contents till they are well blended. Set your mixture aside and allow it to set overnight. *The ingredients will separate, but that's fine.
STEP 5: Use the sponge to stain your wood In the morning (or 8-10 hrs later), your stain is good to go. Pull out the steel wool sponge, and use it to apply the stain to your raw wood. You will need to do one coat, allow it to dry completely, and then add a second coat. Don't worry when you don't see a change at first; it changes color as it oxidizes.
STEP 6: Set your pieces aside and allow to dry.
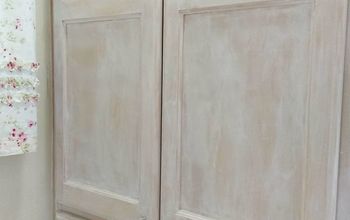
Just look at how great this color is! These shelves didn't have much grain to pull on, but I can only imagine what raw beams would look like!
I have a couple other homemade stain ideas I will be sharing with you in some other posts later this month. This one was super easy though, and I have plenty left over for future projects!
I snatched these hexagon units up from Michael's. You can obviously apply this stain to any raw wood, such as a picture frame, shelves, whatever you like!
Enjoyed the project?
Suggested materials:
- White Vinegar (Grocery Store)
- Steel Wool Sponges (Dollar Tree)
- Used Coffee Grounds (My coffee pot)
- Hexagon Shelves (Michael's)
- Sealed Container (Had on hand)
Published July 14th, 2016 10:14 PM
Comments
Join the conversation
2 of 37 comments
-
 Gary arnold
on Apr 14, 2024
Try applying old English oil after the stain fry's . ( Try on an inconspicuous spot first) or you could use marine varnish
-
-
 Iri94234180
on Apr 16, 2024
Yes most definitely!!! ☺️😀 9
-













Frequently asked questions
Have a question about this project?
Hometalk indicated the idea was to make the hexagon shelves not stain them. That being the case, I wondered what angle to cut the ends of the wood pieces.